After cooking this, we sat and ate it in silence! We scoffed it down! So tasty! Definitely one of our new favourites!

")
RidgeMonkey
BBQ & Fire
Cobb / CADAC
Slow Cooker
Air Fryer
One Pan
After cooking this, we sat and ate it in silence! We scoffed it down! So tasty! Definitely one of our new favourites!
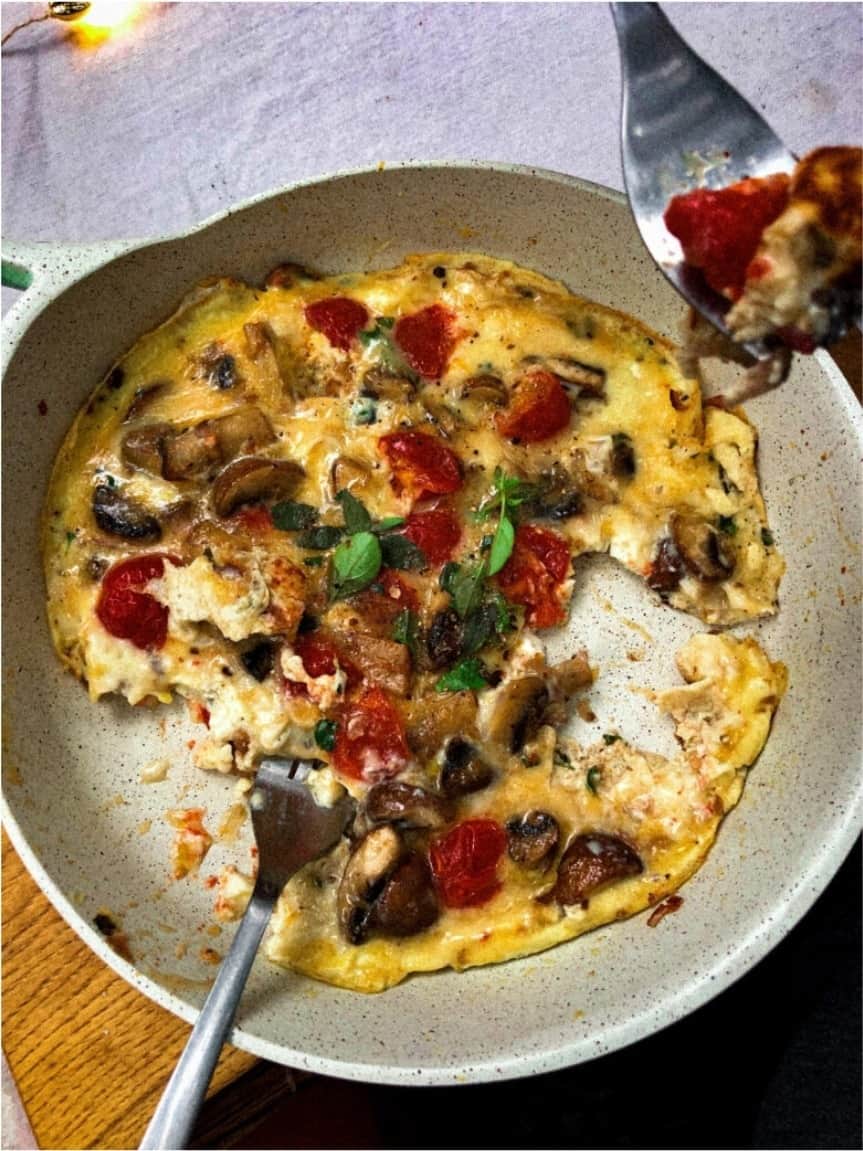
Fritatta’s are a great way to use up any leftover veg.
Choose any toppings as you like, but remember, the softer the toppings, the quicker the meal.
Some topping combos we like:
* Mushroom, Broccoli and Feta.
* Tomato, Mushroom and red onion.
* Cherry Tomatoes, Onion and Basil.
* Multicoloured Peppers and Feta.
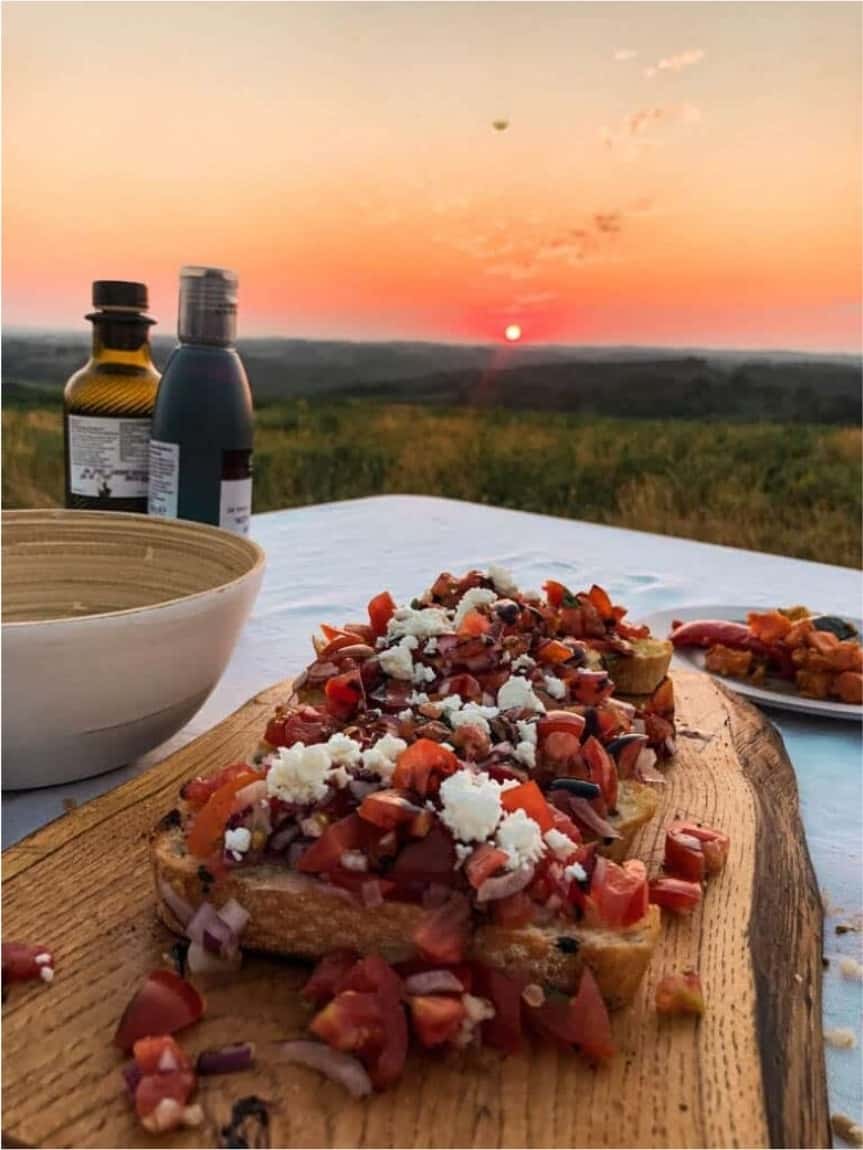
When Italy meets Mexico.
I like to do Bruschetta with Pico de Gallo on top. Quite similar but it is a little different.
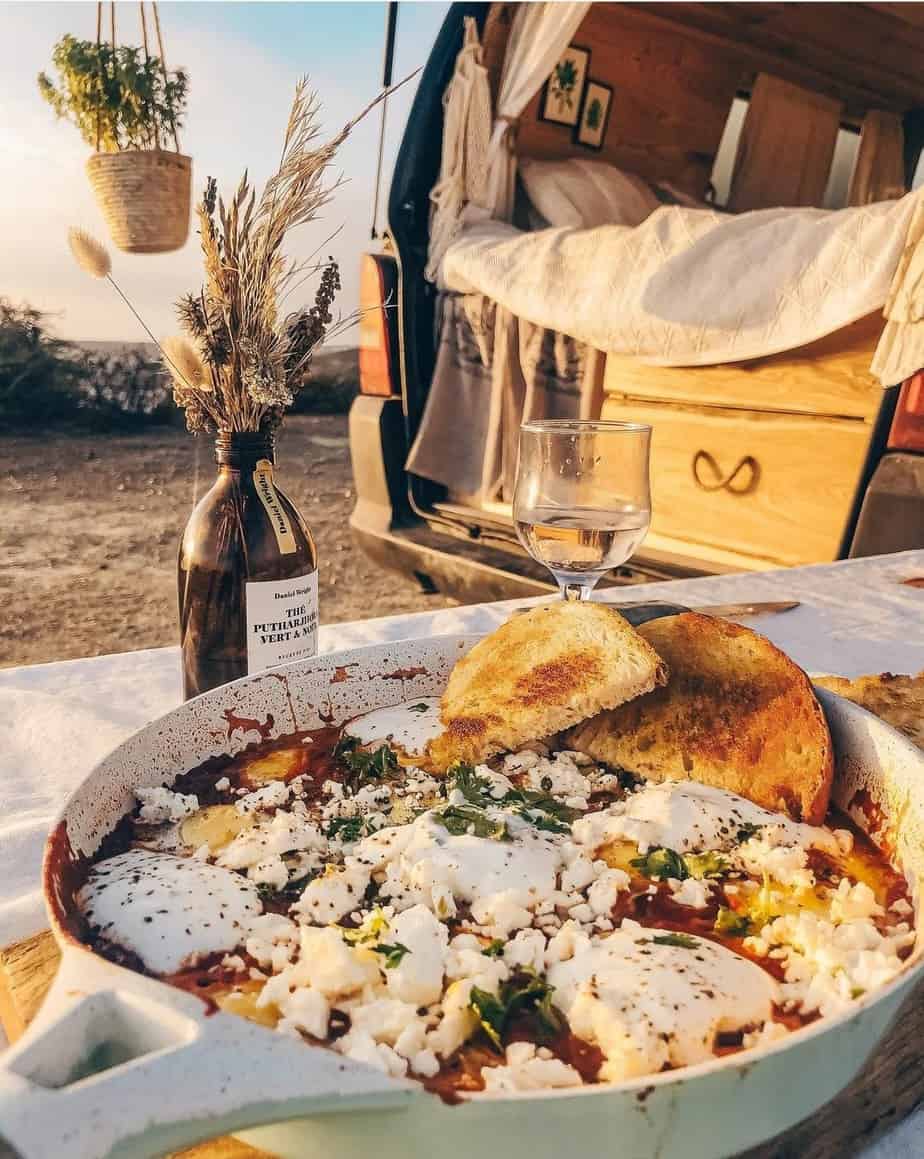
A definite favourite when it comes to vanlife breakfast or brunch!
*You can use normal eggs, but they will take a bit longer to cook, and you won’t need as many*
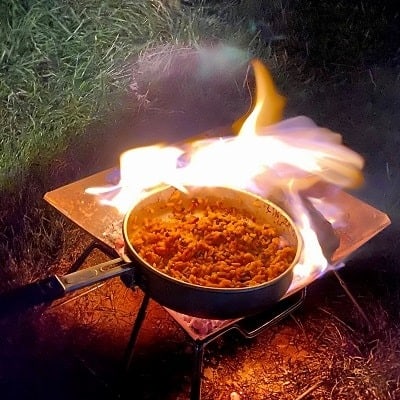
A delicious simple one-pot Vegan chilli with pretty much zero prep time. Easy to cook on a camping stove when hiking, climbing, or even camping! Plus one put means less washing up.
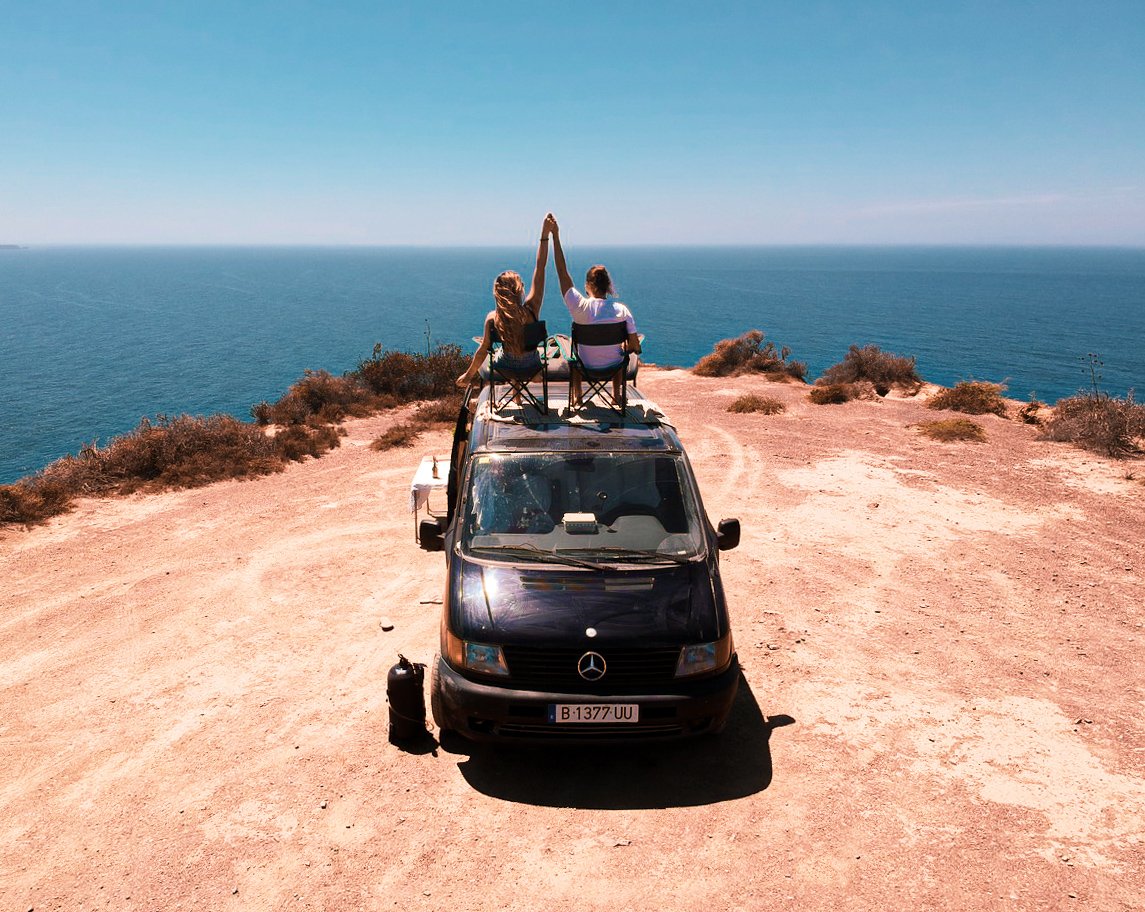
Meet featured vanlifers Antoine & Alaena of @vantashjoey. They travel full-time in their van Joey and are currently between France and...
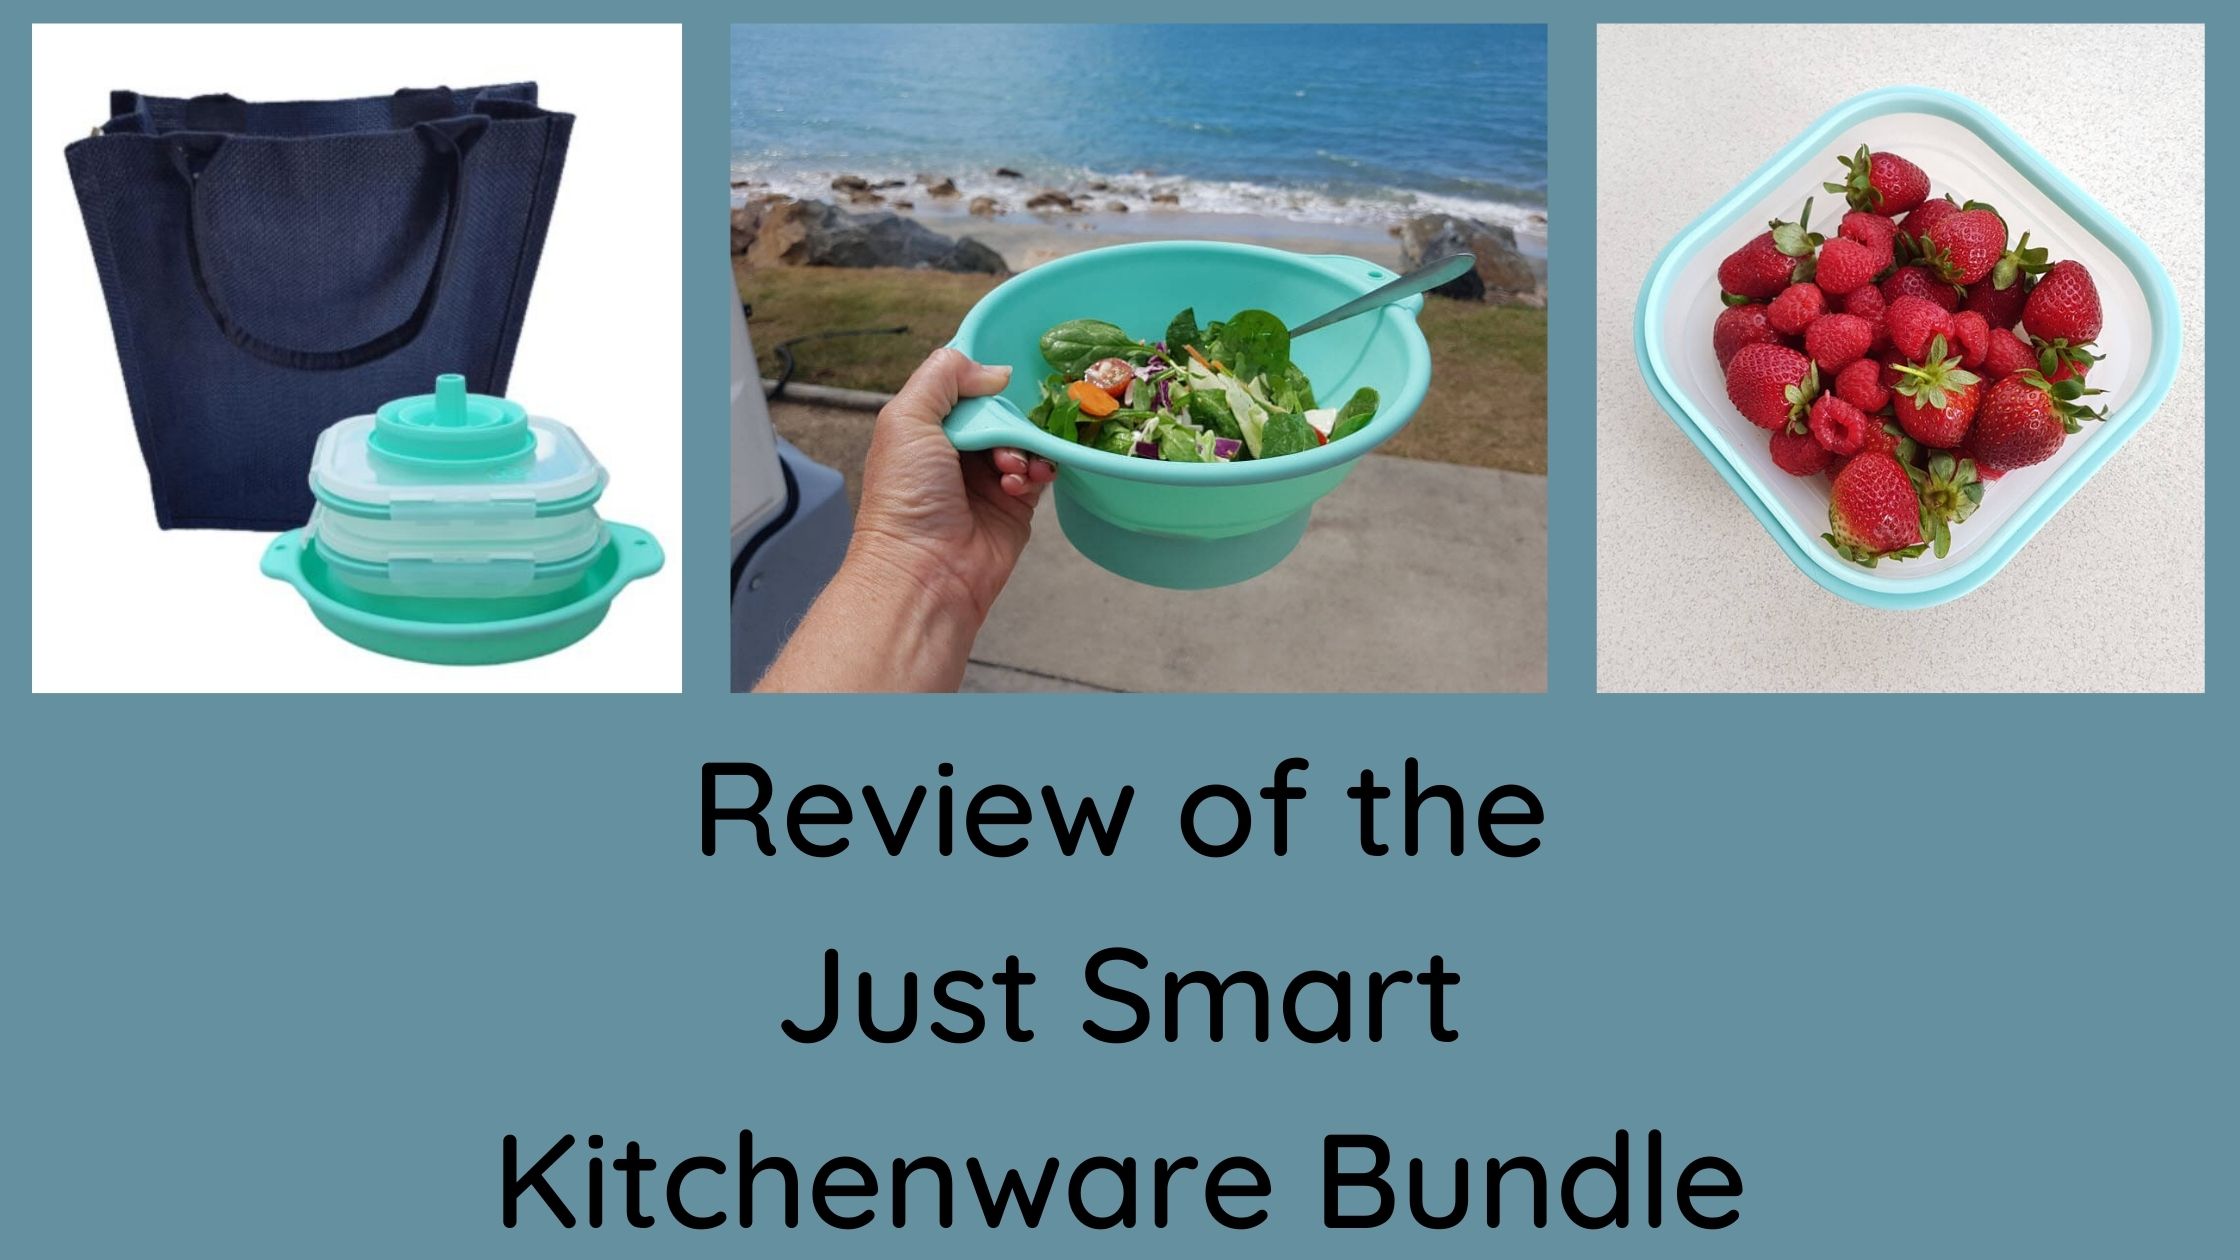
Here at Vanlife Eats we have been very lucky to receive a bundle from Just Smart Kitchenware to review. Click here to go to the product review...
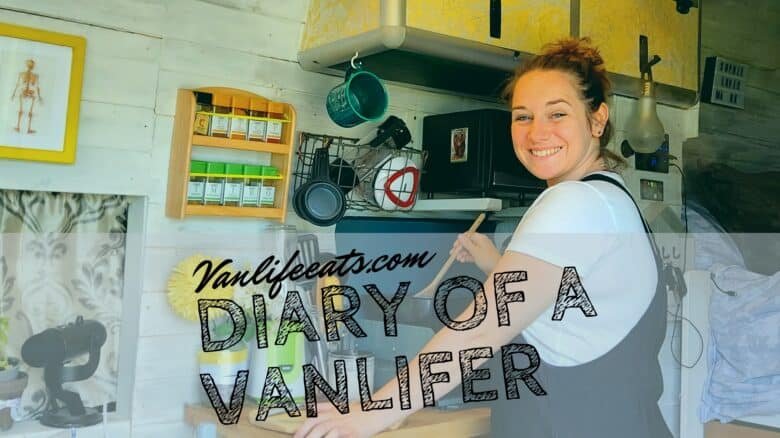
Cooking in a tiny home can come with some challenges, and tiny homes do not come much smaller than a van! In this food diary from one of our...

Just Smart Kitchenware sent us some products to review in our van. Read more to see just how smart we think their products are... A little...

Our latest featured vanlifers are Sacha & Derek of @shanti_nomads_. They are a Maltese and Gozitan couple and are currently travelling...

Carrie & Glyn live full-time in their motorhome with their dog Buttons, they have had their van for 4 years. Currently they travel the UK...
These little balls are perfect for an on the go snack!

It very much depends on the size of your tajine and your personal taste to the amounts you use so I haven’t given amounts. This is a vegan recipe but you can add meat or fish as is often done in Morocco.
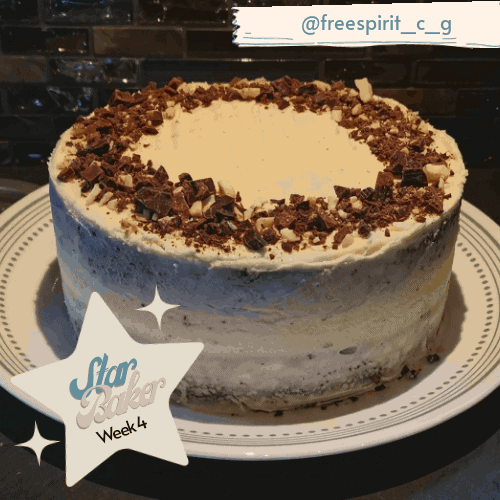
This recipe was selected as star baker for chocolate week in van bake off 2020.

Spaghetti and homemade meatballs
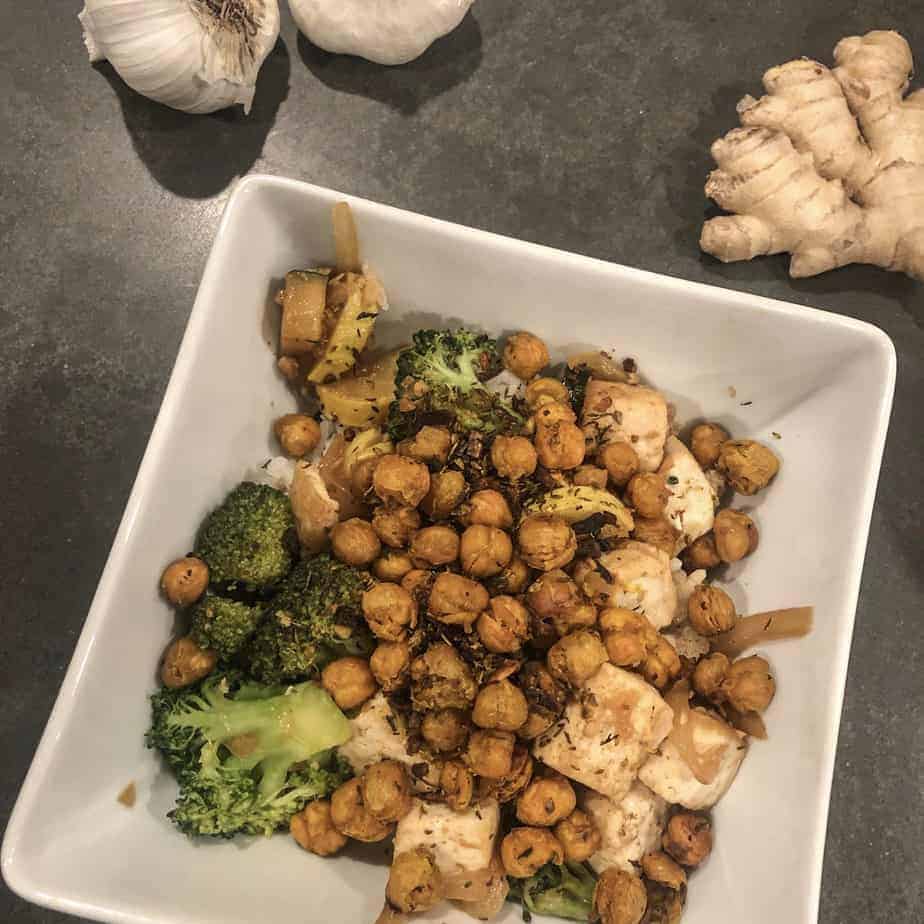
Fresh and Simple Tofu and Veggie Stir Fry

Cold Veggie Noodle Salad

We always seem to buy bananas, they don’t get eaten and end up looking sad and brown on the side. We wouldn’t want to waste them so using them up in cakes is ideal!
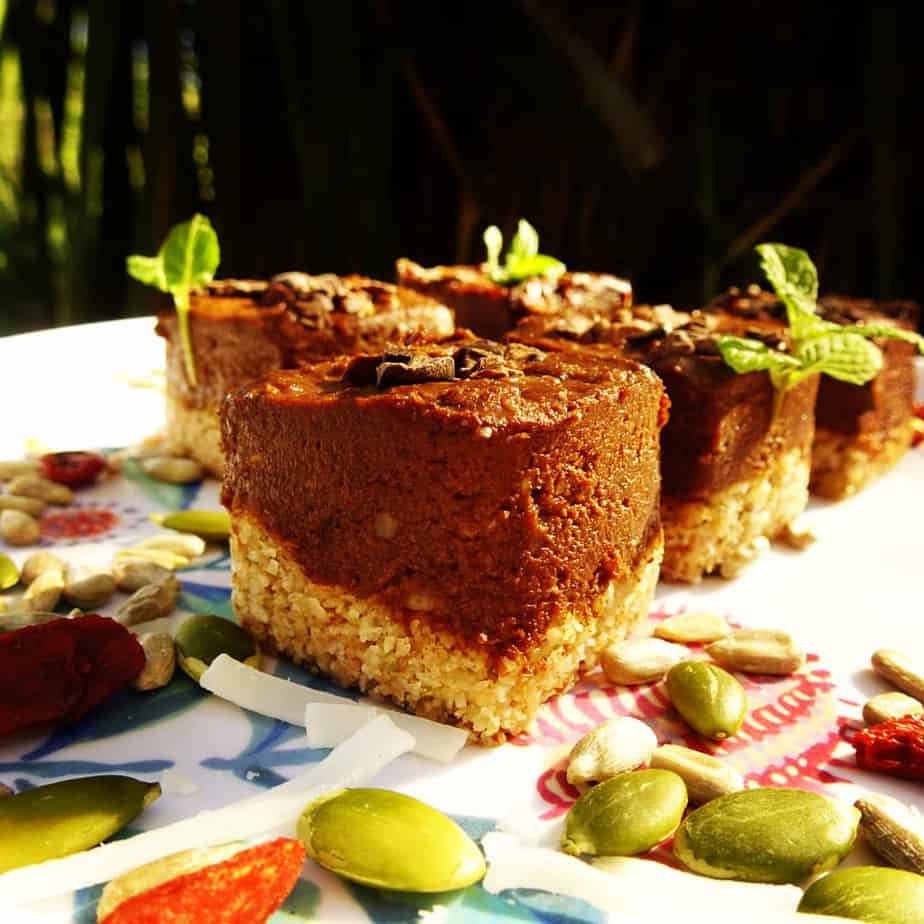
These indulgent yet super healthy sweet treats are so easy to make.
This recipe is a winning star baker recipe for Van Bake Off 2020.
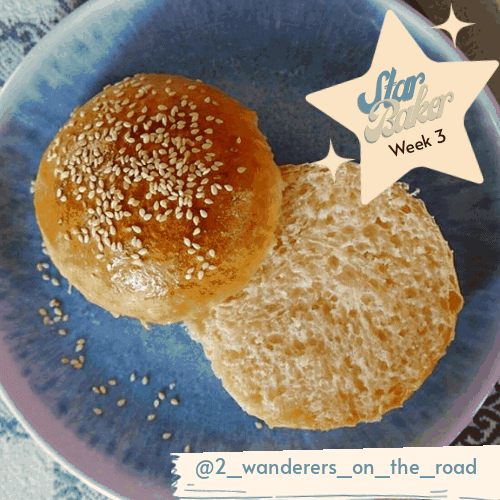
I organized myself in order to have freshly baked buns for lunch.
I started at 2.30 pm the day before in order to use less yeast and make these buns easier to digest. You can double the amount of yeast and start early in the morning. It is up to you. It all depends on whether or not you have access to a fridge for an overnight rest.
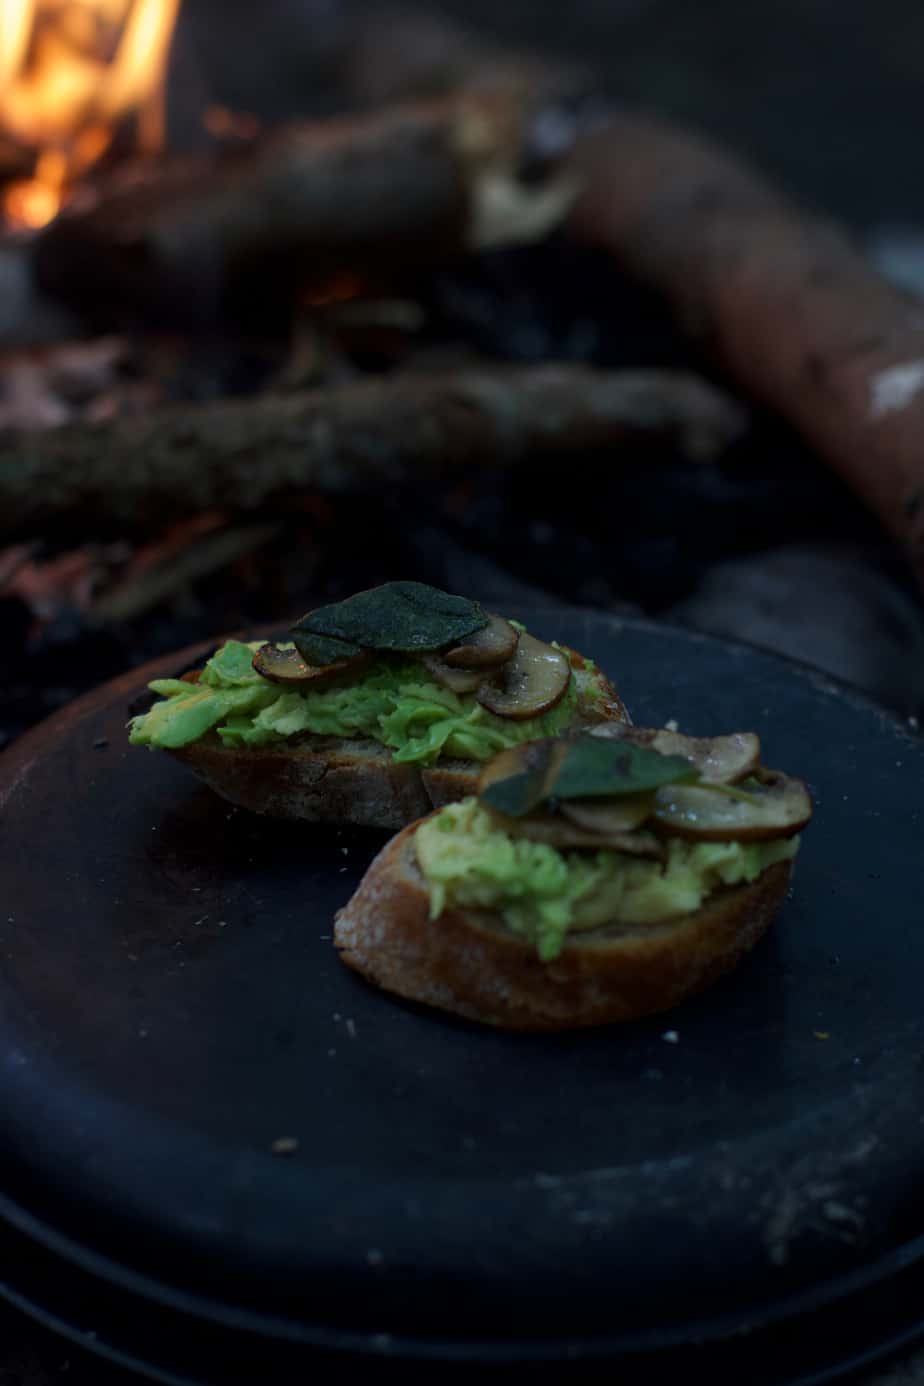
Avocado Mushroom Crostini
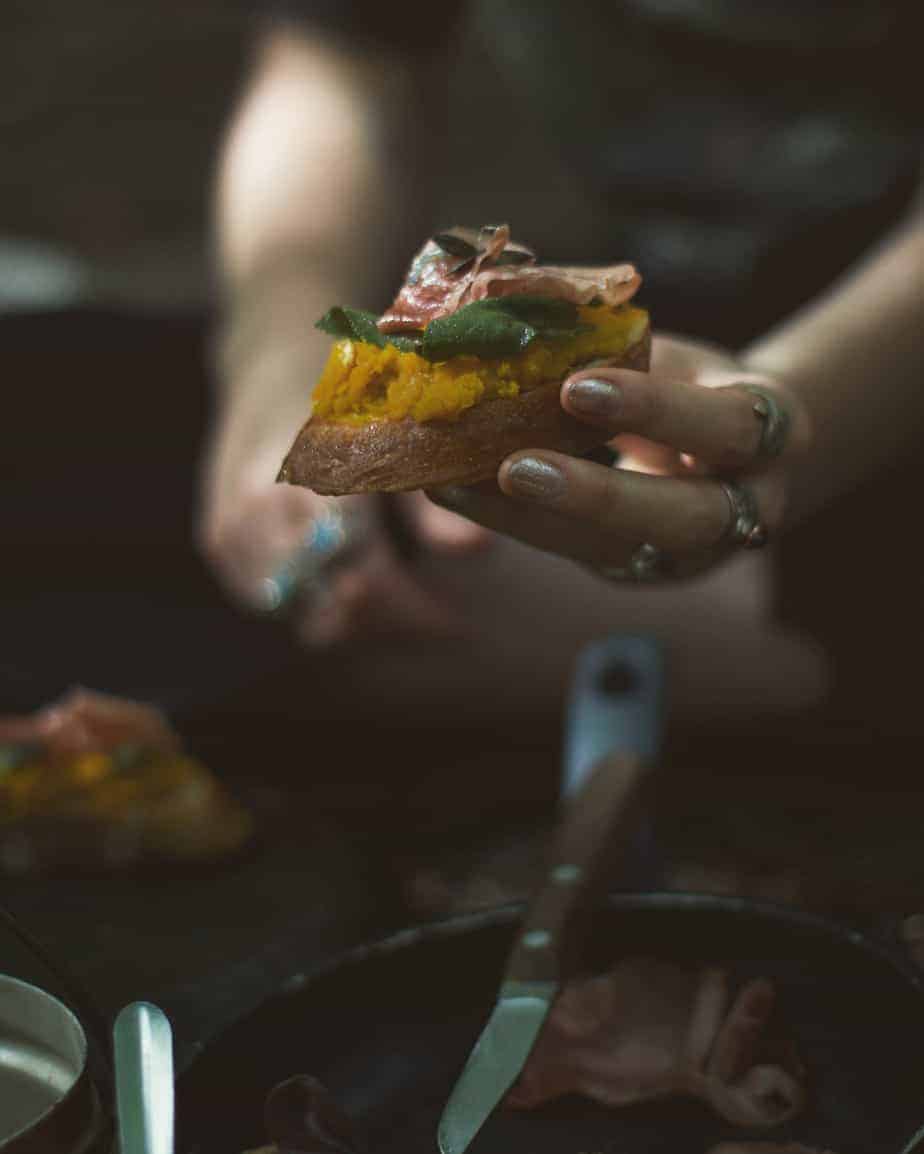
Pumpkin Prosciutto Crostini
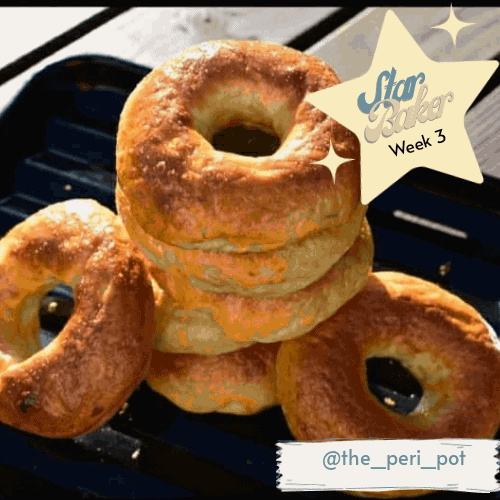
This recipe was selected as star baker recipe during bread week of Van Bake off 2020.
Bagels in a van are awesome, even better when used as burger buns!

One of my all time favourite comfort foods is a cheese and onion crisp sandwich using white bread. This loaf brings back those memories of this after school snack with the gentle flavours of the cheese and onion.
