For the first weekend of Spring here in the UK and we are inviting Vanlifers anywhere in the world to join us with a celebratory afternoon tea...

")
RidgeMonkey
BBQ & Fire
Cobb / CADAC
Slow Cooker
Air Fryer
One Pan
For the first weekend of Spring here in the UK and we are inviting Vanlifers anywhere in the world to join us with a celebratory afternoon tea...
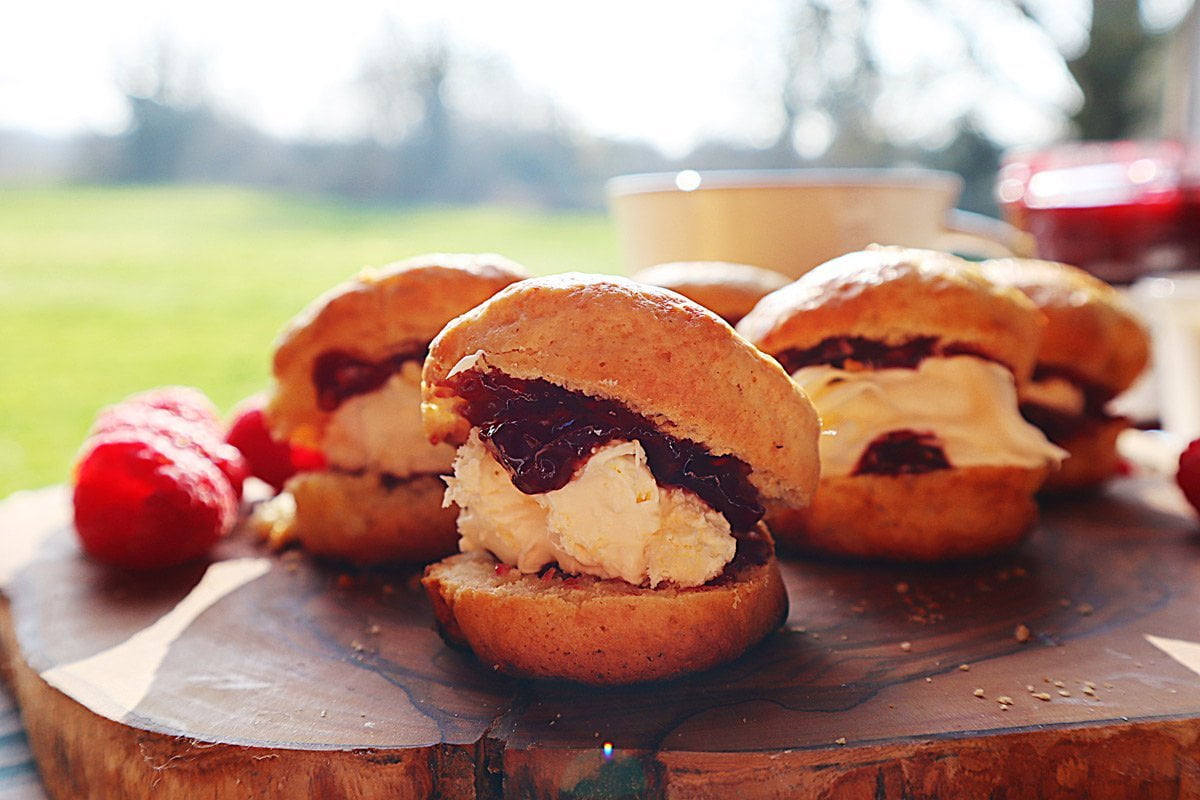
With spring around the corner we decided to share our tasty mini scone recipe that we bake in our Omnia stove top oven. Enjoy these with a cup of tea in the sunshine!
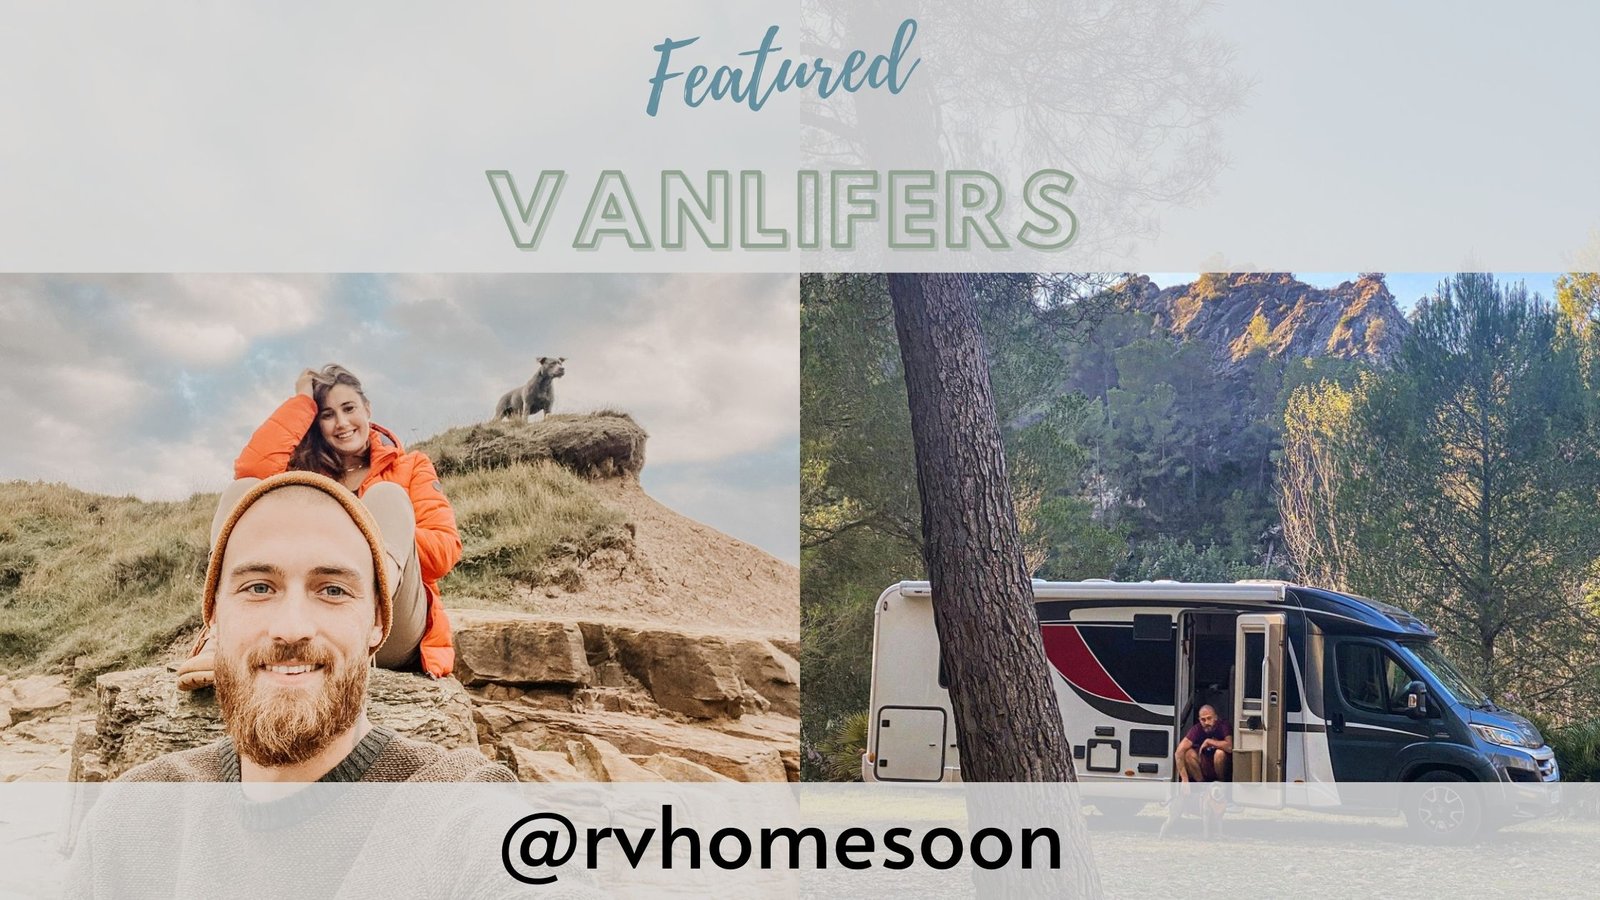
Meet featured vanlifers Xanthe, Martin and Reggie of @rvhomesoon. The trio have been exploring Europe in their van Pablo. Be sure to follow...
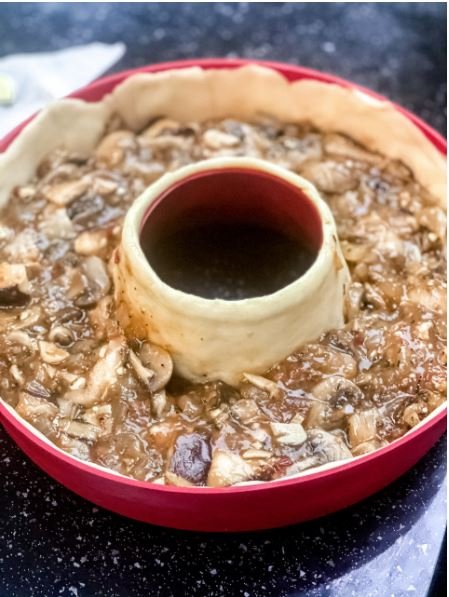
This vegan mushroom & ale pie is a team effort from our featured vanlifers @rvhomesoon.
No oven? No problem. The Omnia oven means pie is definitely on the menu in this campervan.

Cannelloni with ricotta and spinach!!….simple to do in our van.
The bechamel can be substituted with cooking cream.
The meat sauce can be replaced with a vegetarian sauce
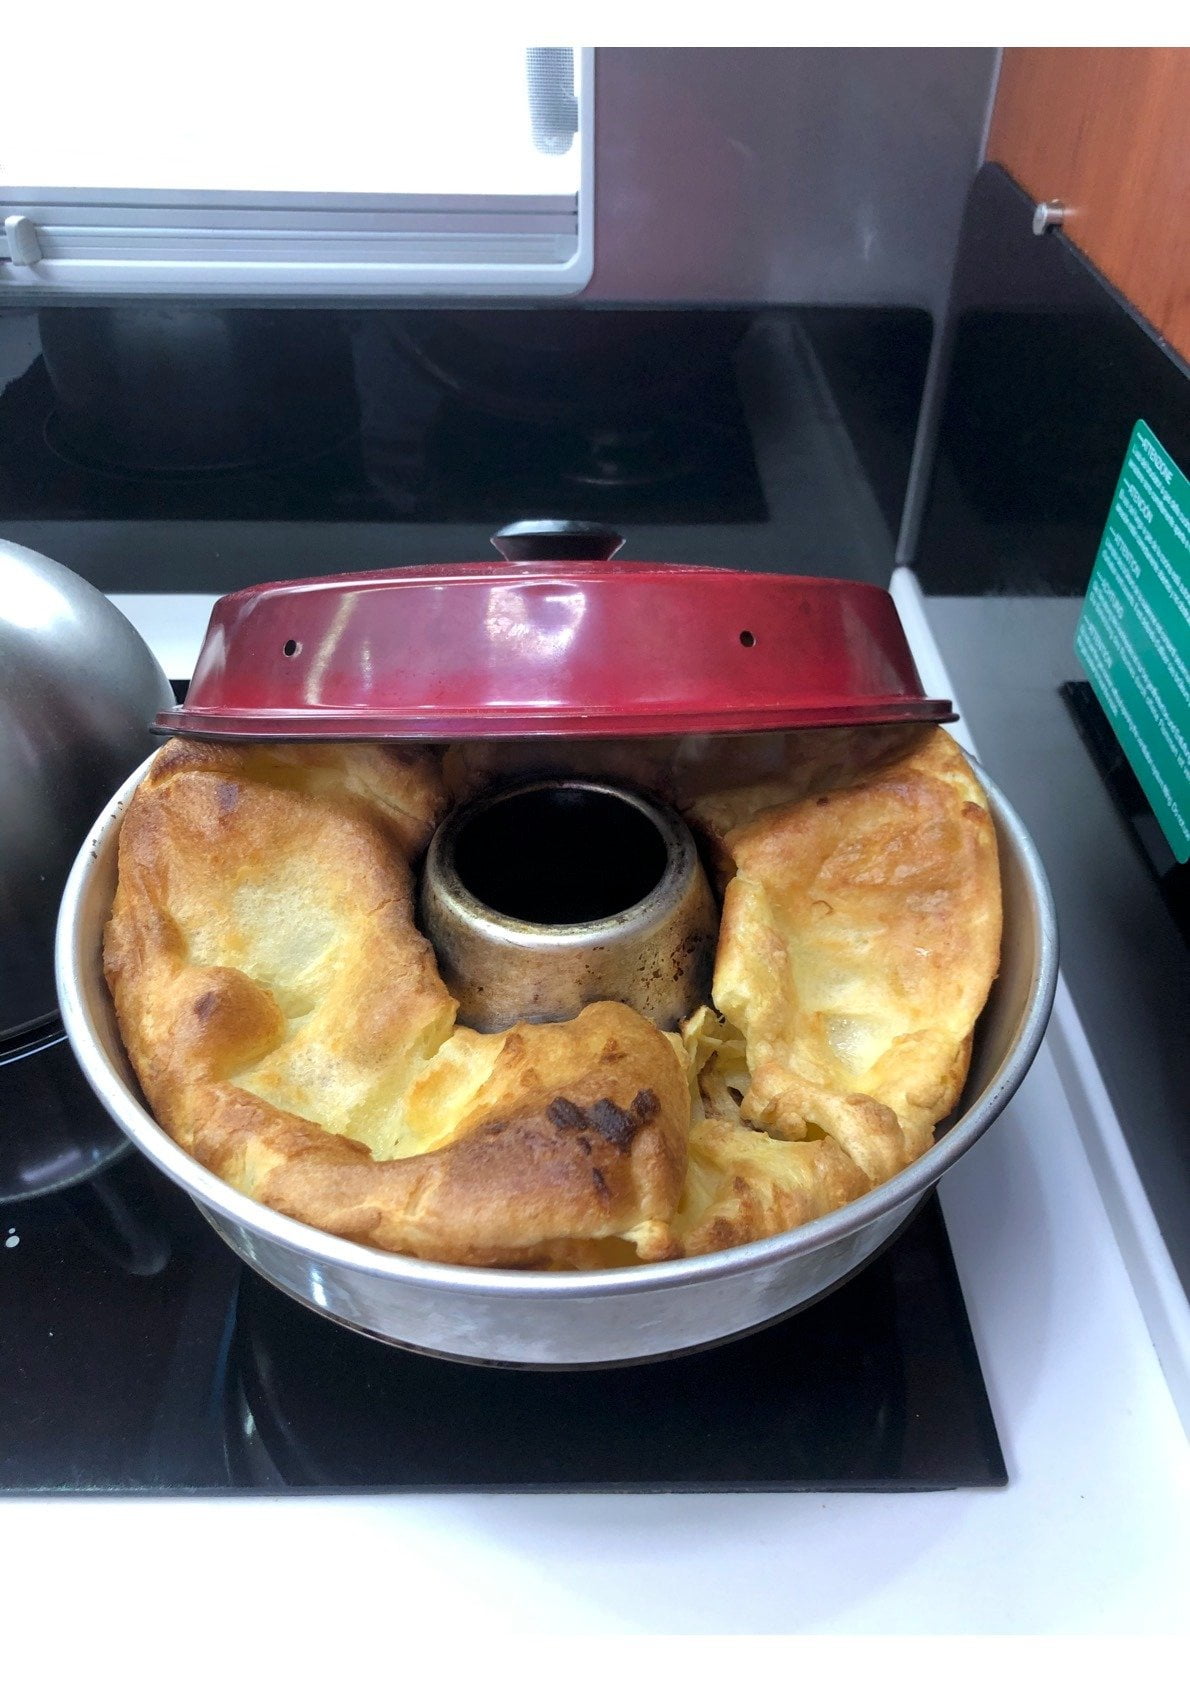
Yorkshire Pudding cooked in a Swedish Omnia, with a Gin & Tonic Twist
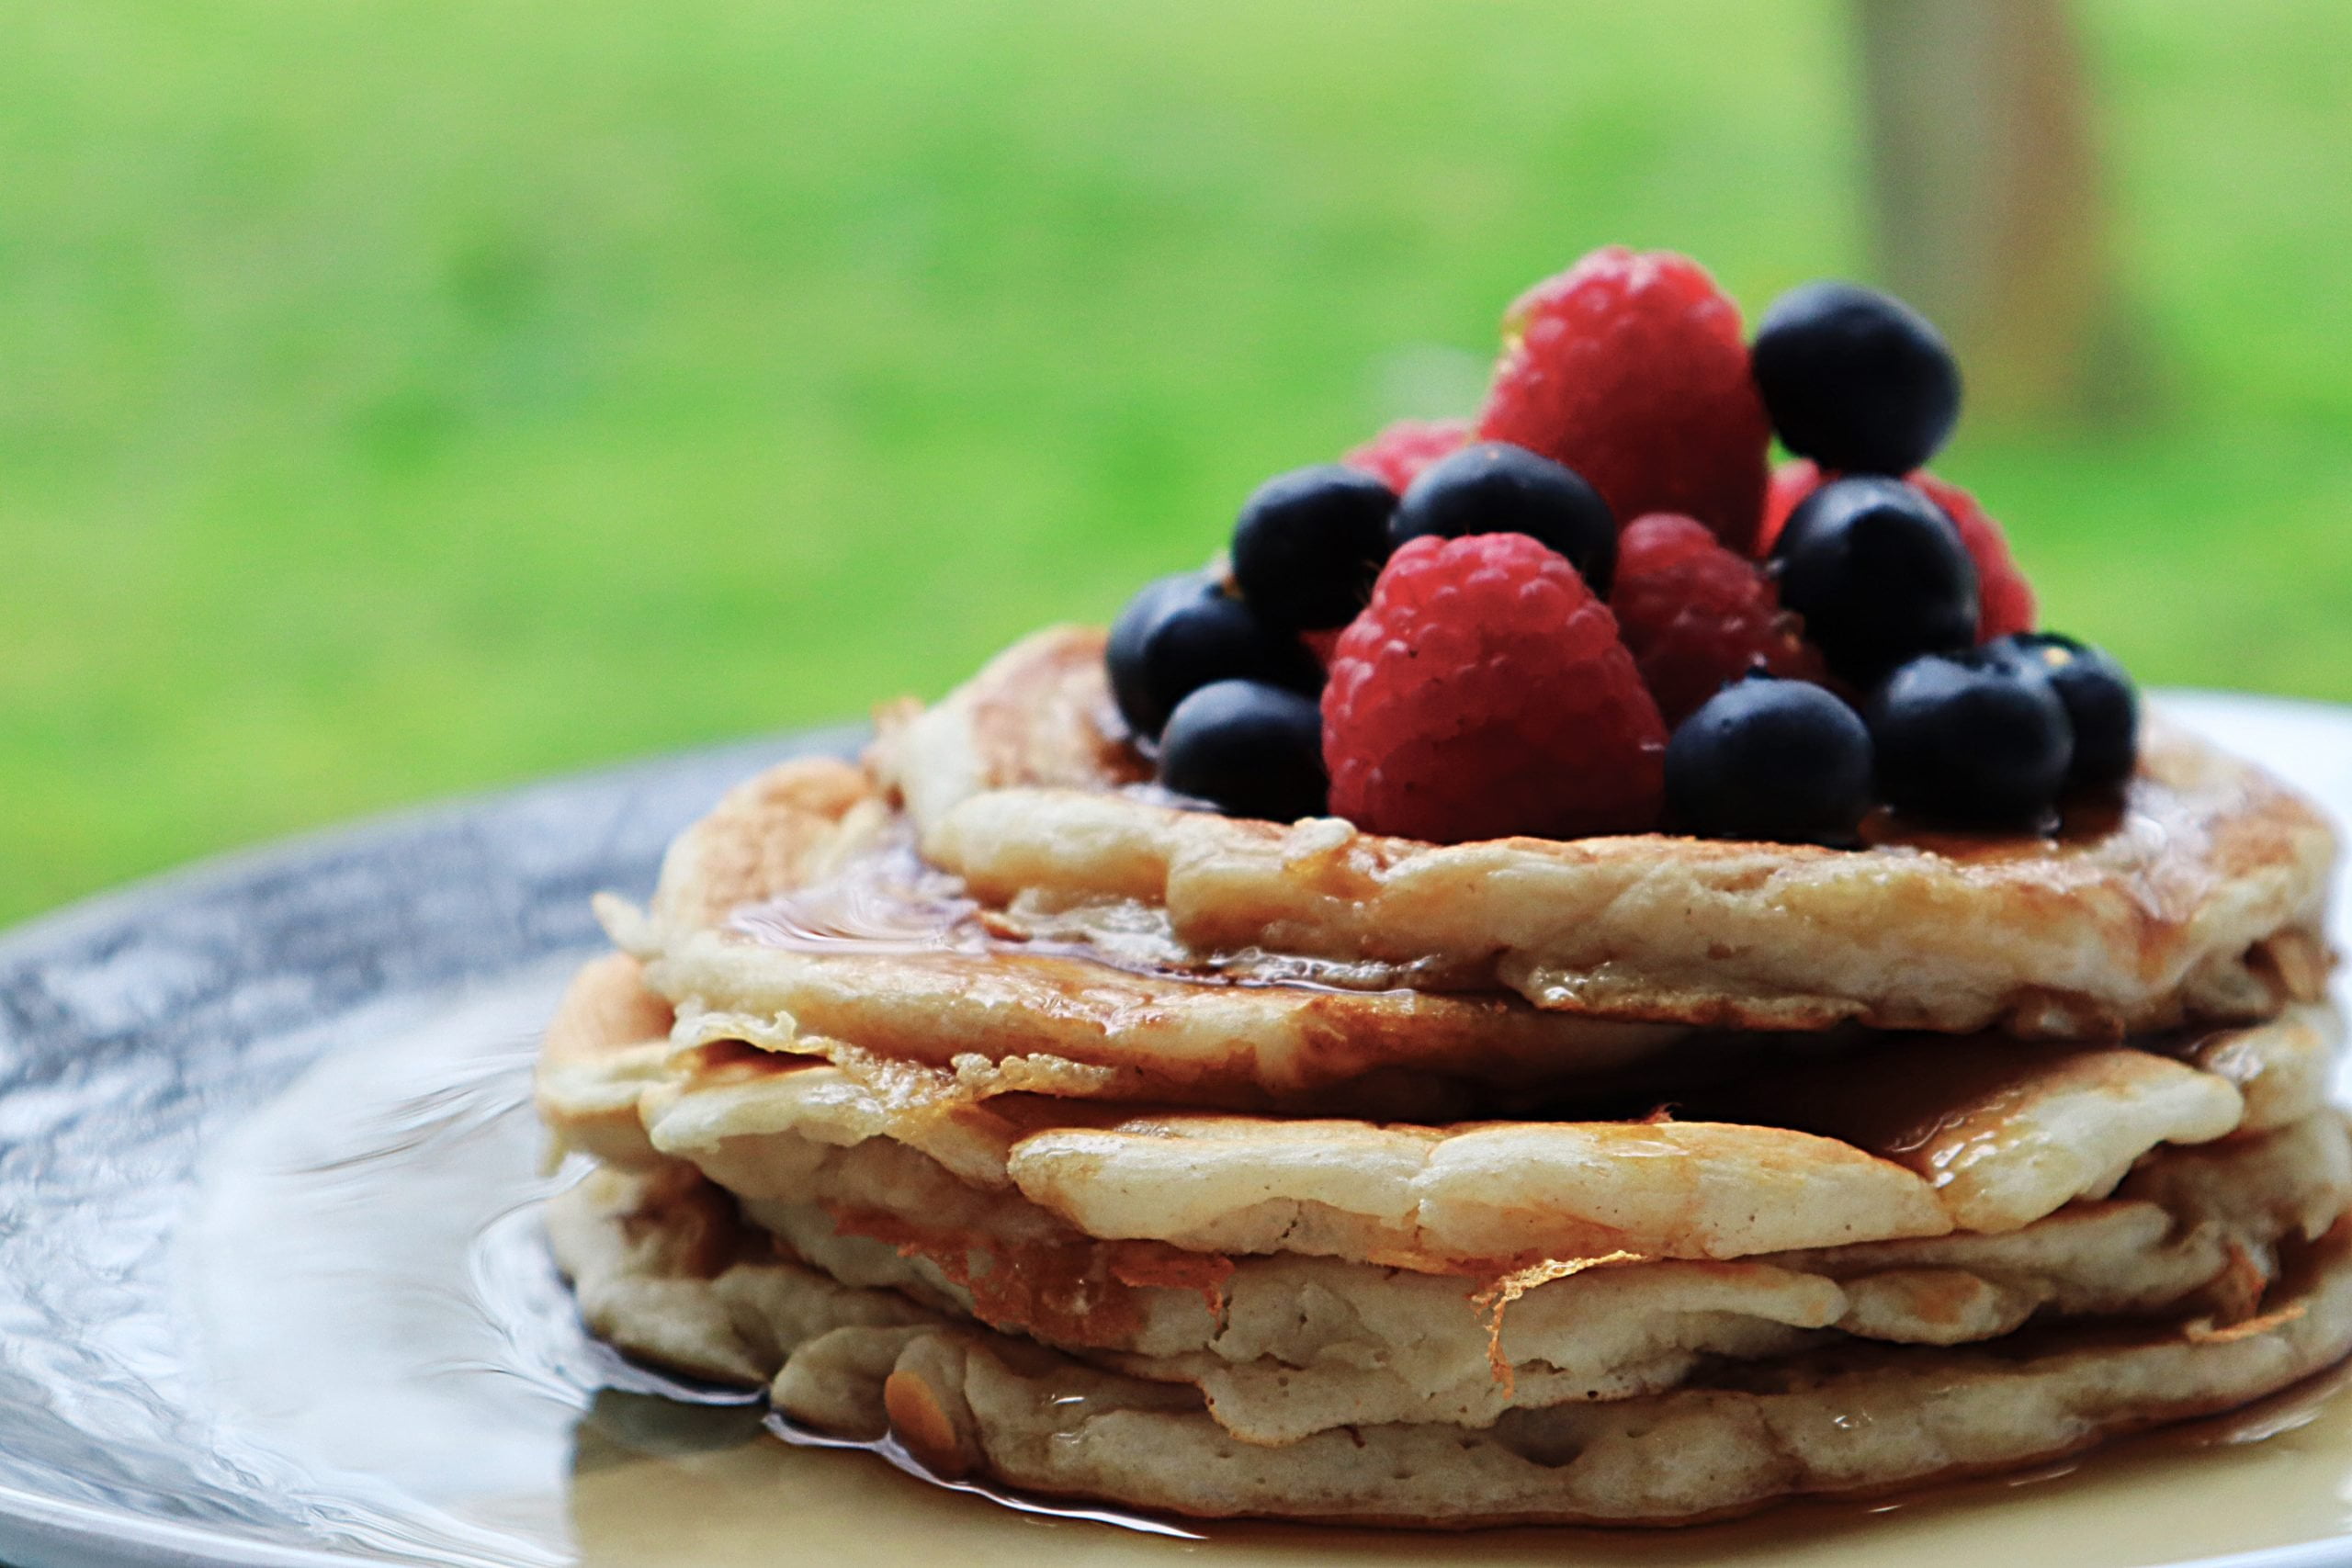
A campervan recipe every vegan should know! These pancakes (or vancakes as we call them) are fluffy and light and we top them with either berries and syrup or nutella and banana! What is your favourite pancake topping?
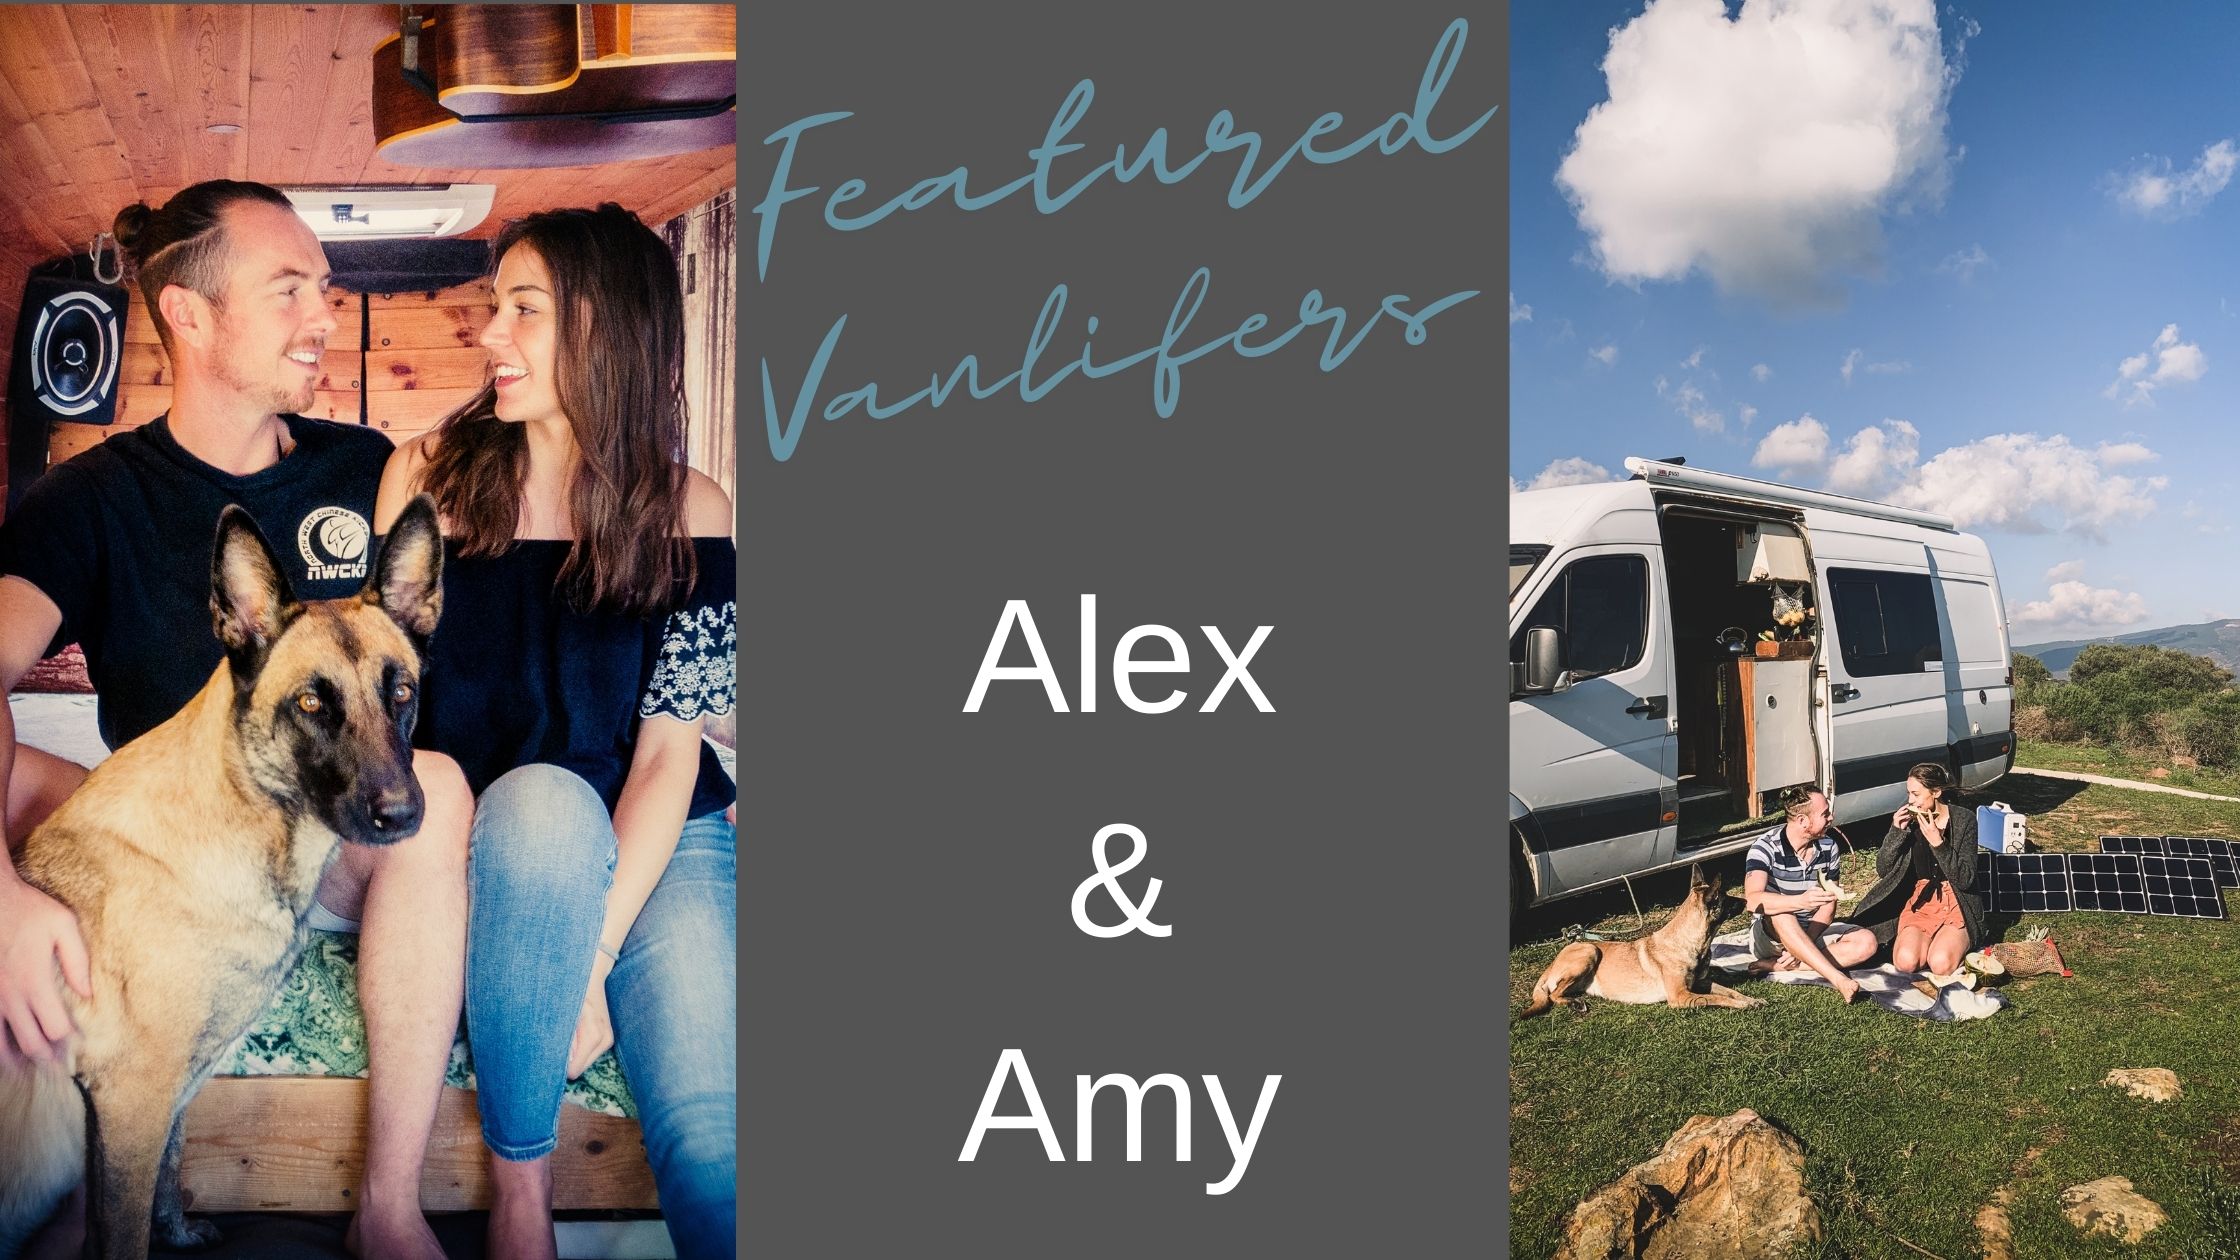
Meet Featured Vanlifers Alex and Amy.. Many things can happen when travelling on the road as a vanlifer, this includes falling in love. They...

King of Potato Salads.
A recipe dating back to when Germany had a king. It has developed over generations, as ingredients were discovered and became available. (This was made with salad cream in the 70’s), before mayonnaise became known. Each Otto generation added their own touch. It’s still a good salad using salad cream and plain yoghurt. But that’s another time.
It’s a great dish on its own, or as an accompaniment to a cold buffet, or BBQ with those over cooked sausages, or under cooked chicken?
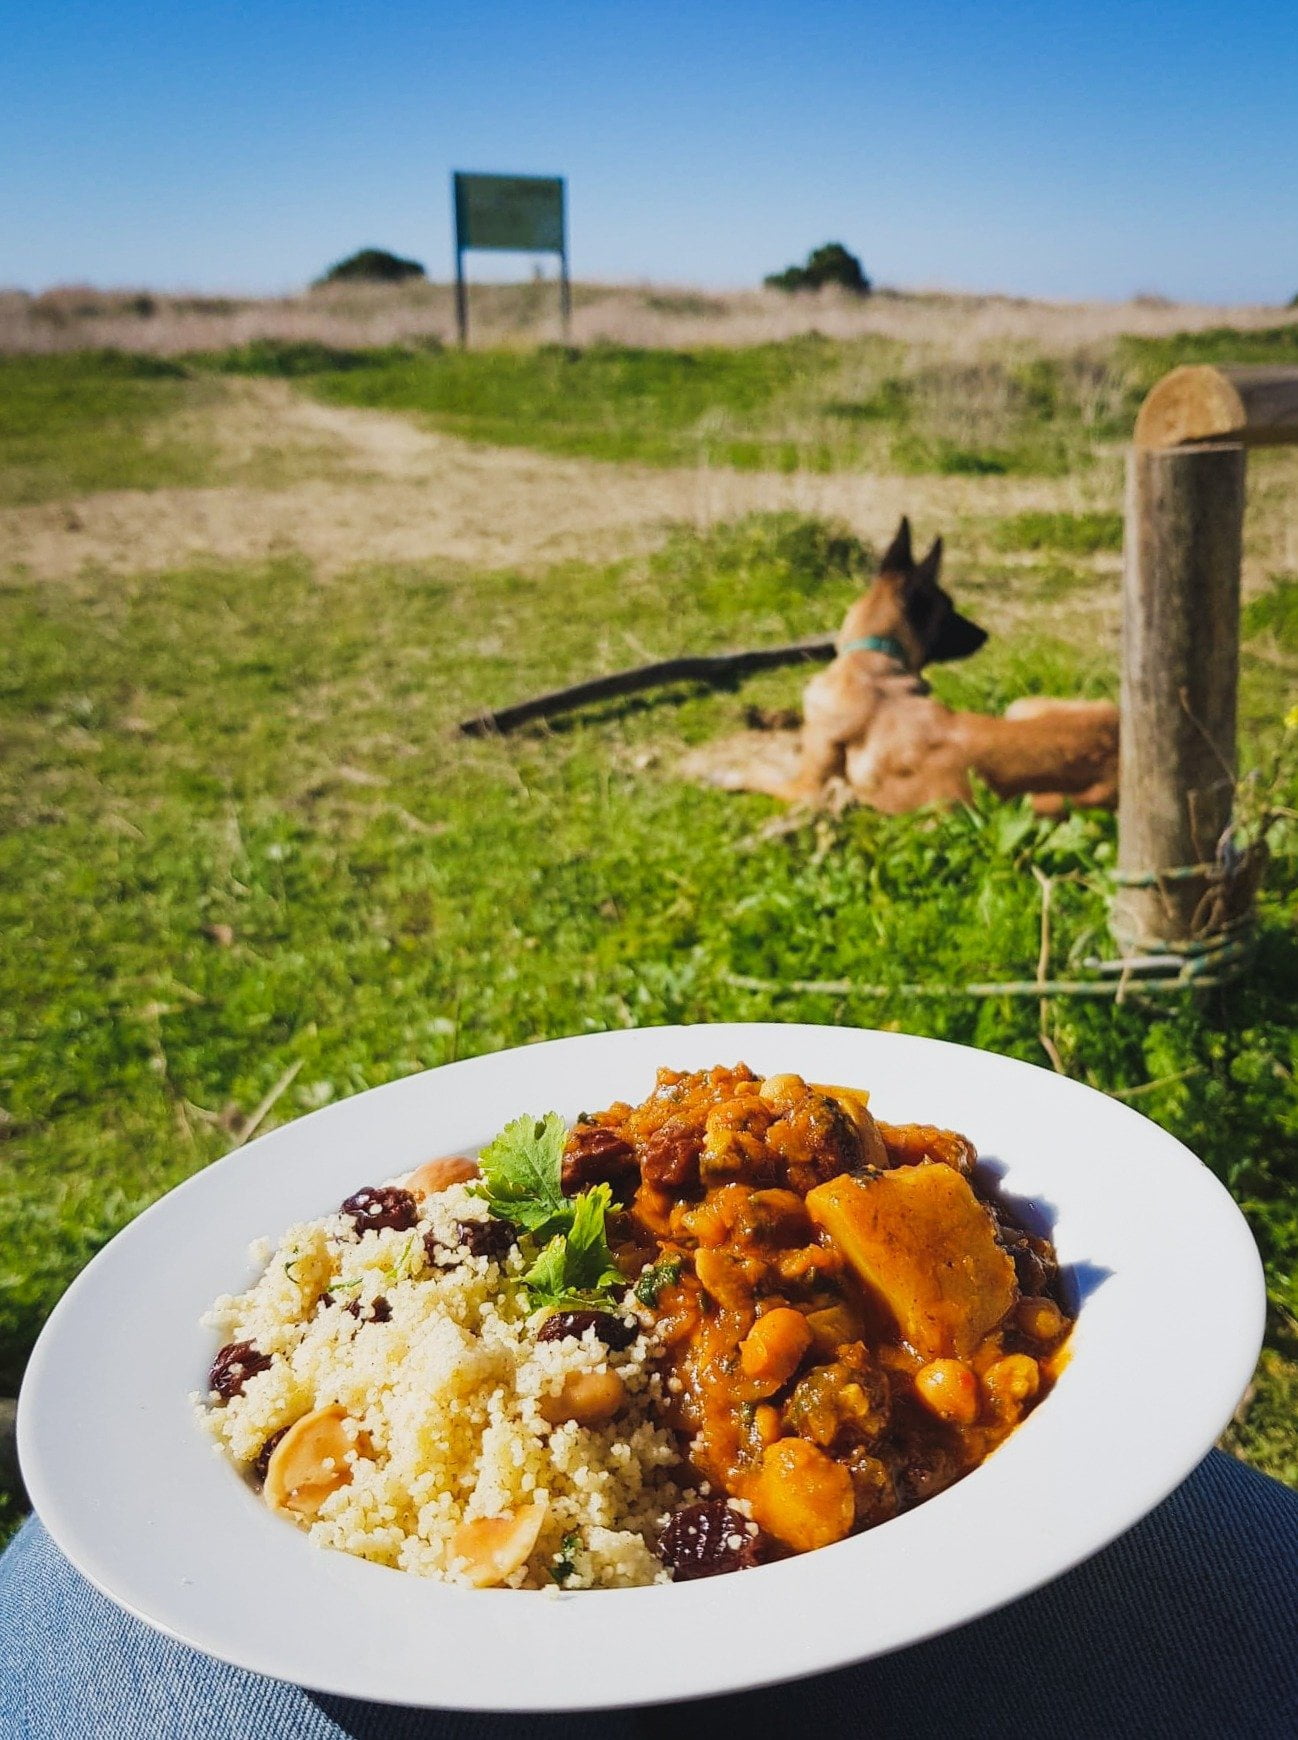
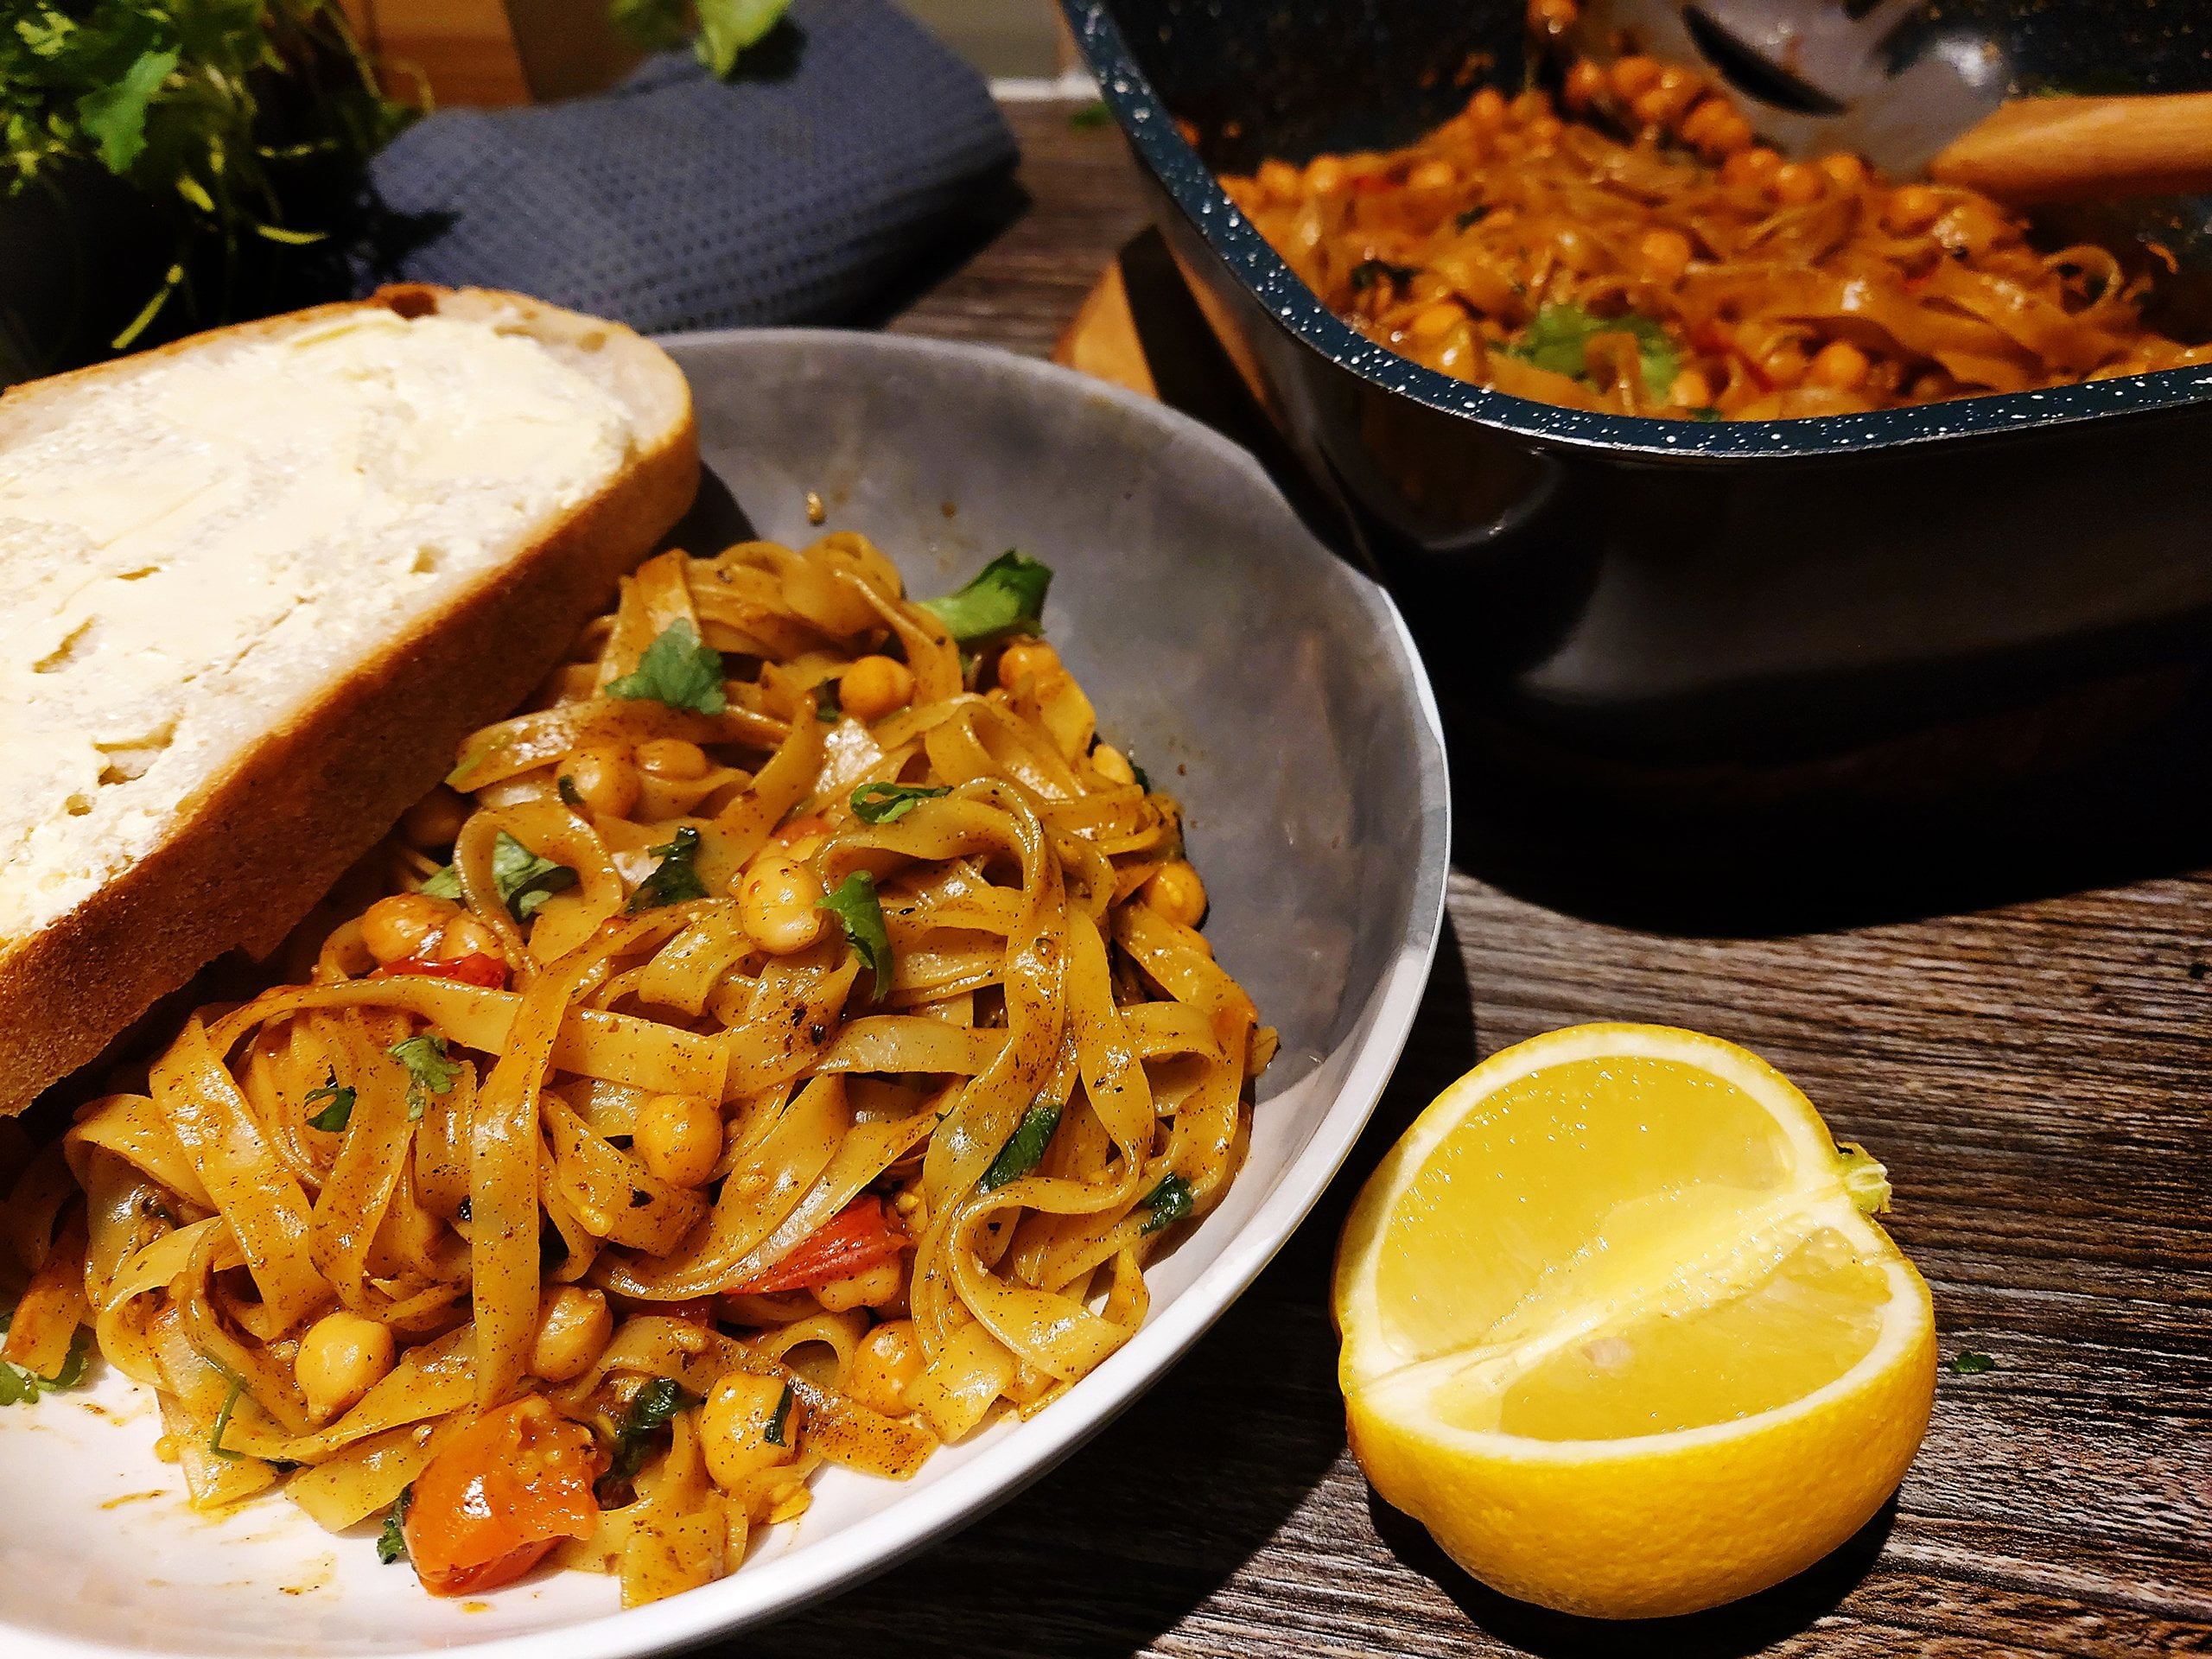
Here is featured Vanlifers Alex & Amy’s recipe for Moroccan Inspired Stew.
This is what they have to say..
Our favourite meal to make in the van is a butternut and chickpea stew, or as we like to call it – our No Tagine, Tagine. Inspired by all the flavours of the Moroccan dish and served with almond and coriander couscous. It takes a while to cook, and uses lot’s of different ingredients, but the end result is SO worth it. We usually batch cook and eat it for a couple of days afterwards; it’s even better the next day!

As true Genoese here is the true recipe for an authentic pesto!!
Attention!!! Add one ingredient at a time. It is very important not to put all the ingredients together.
Simple and healthy, yummy and super quick to make!
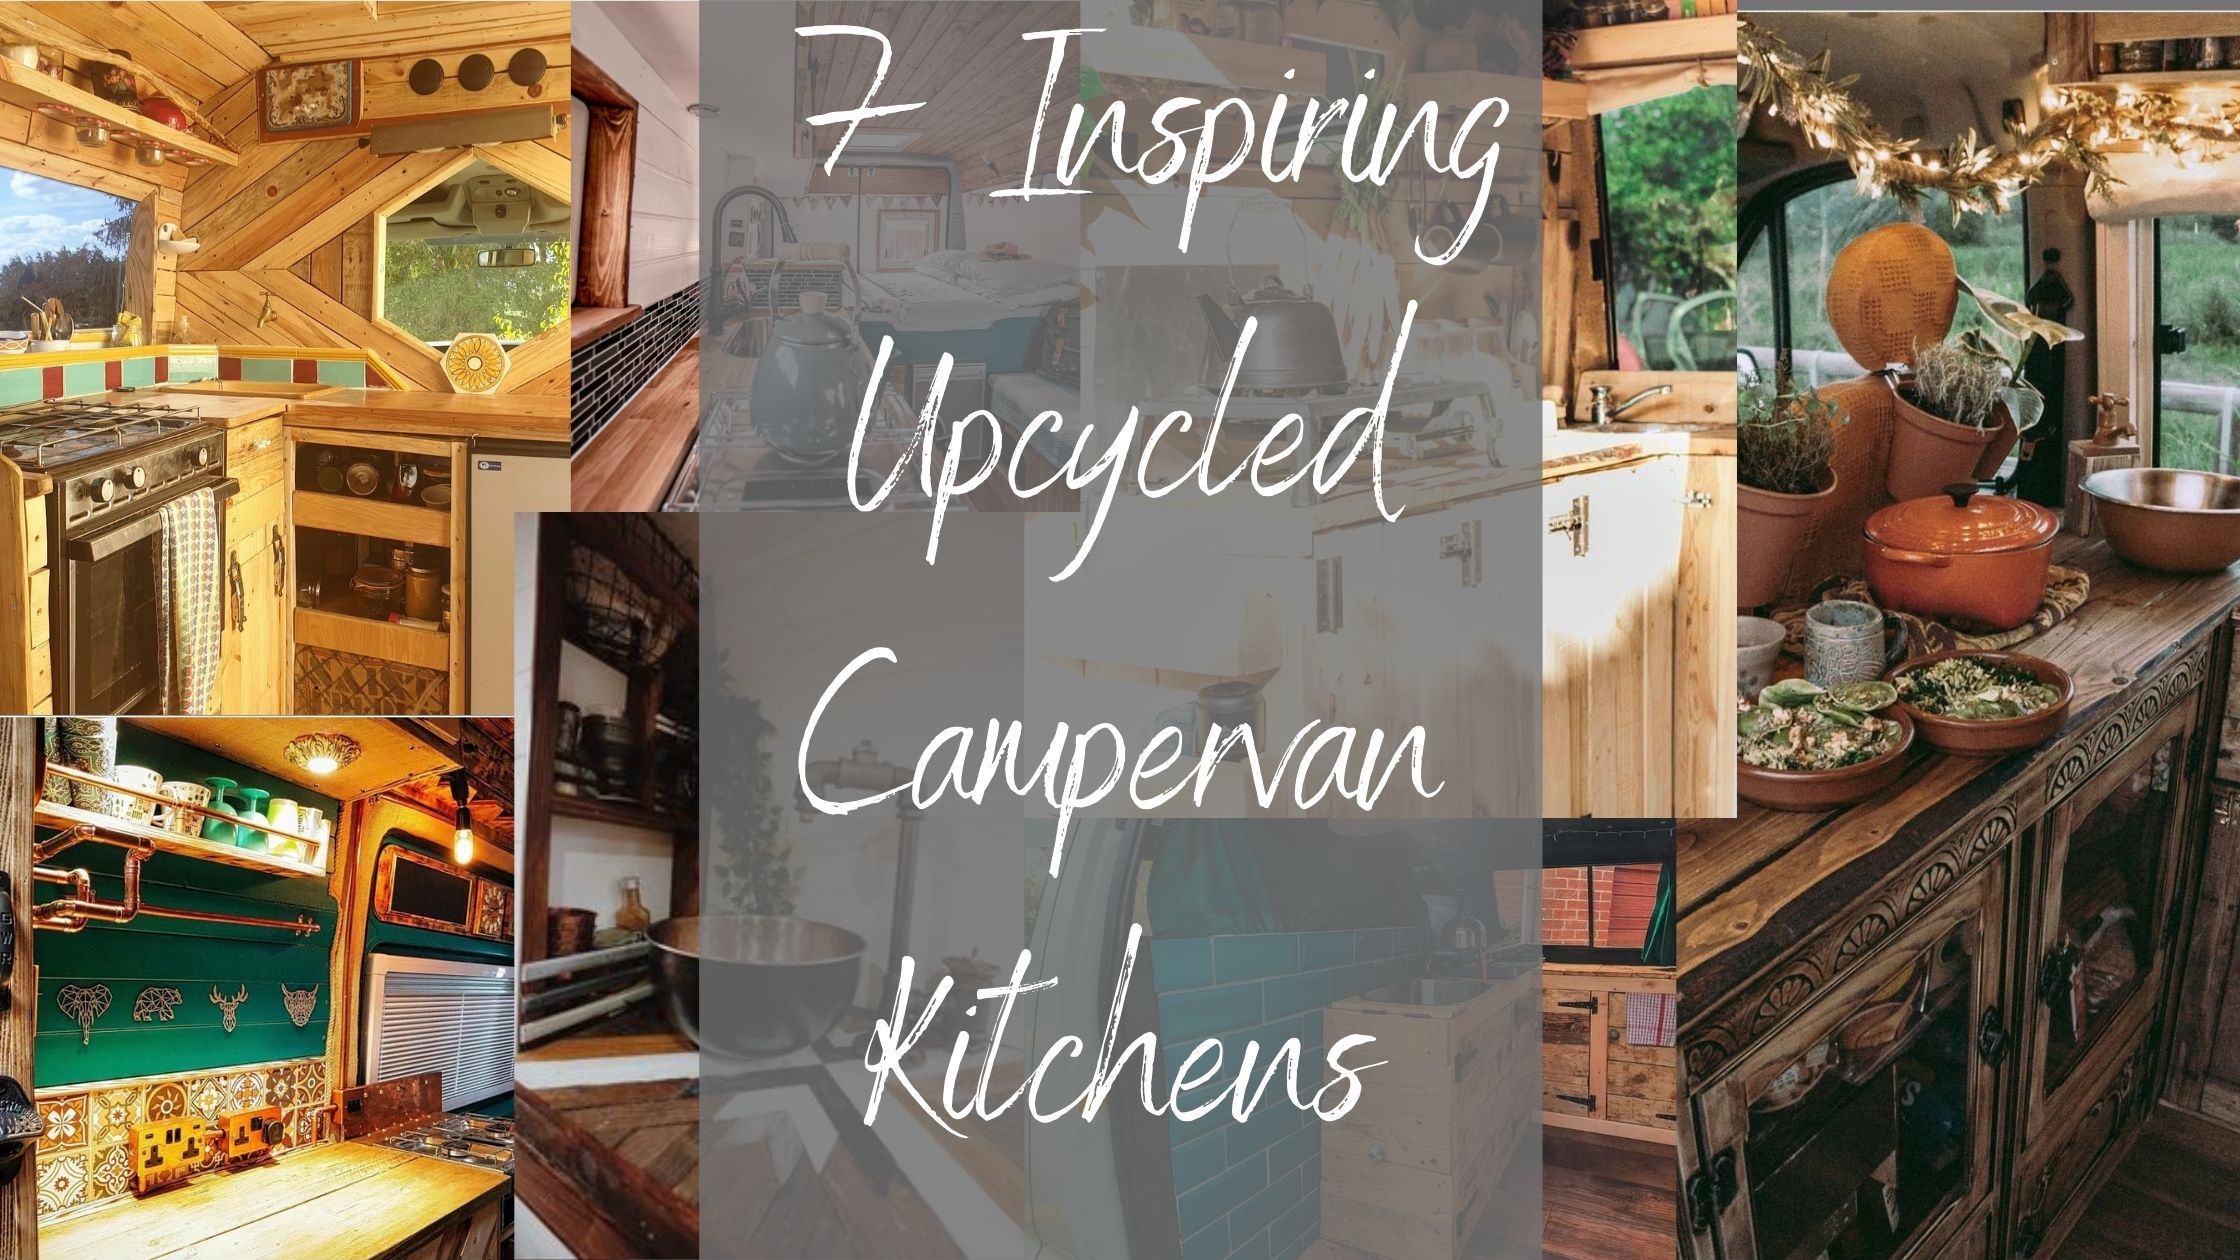
We see many different campervan conversions on our Insta every day. Our favourite ones by far are the upcycled campervan kitchens, so...
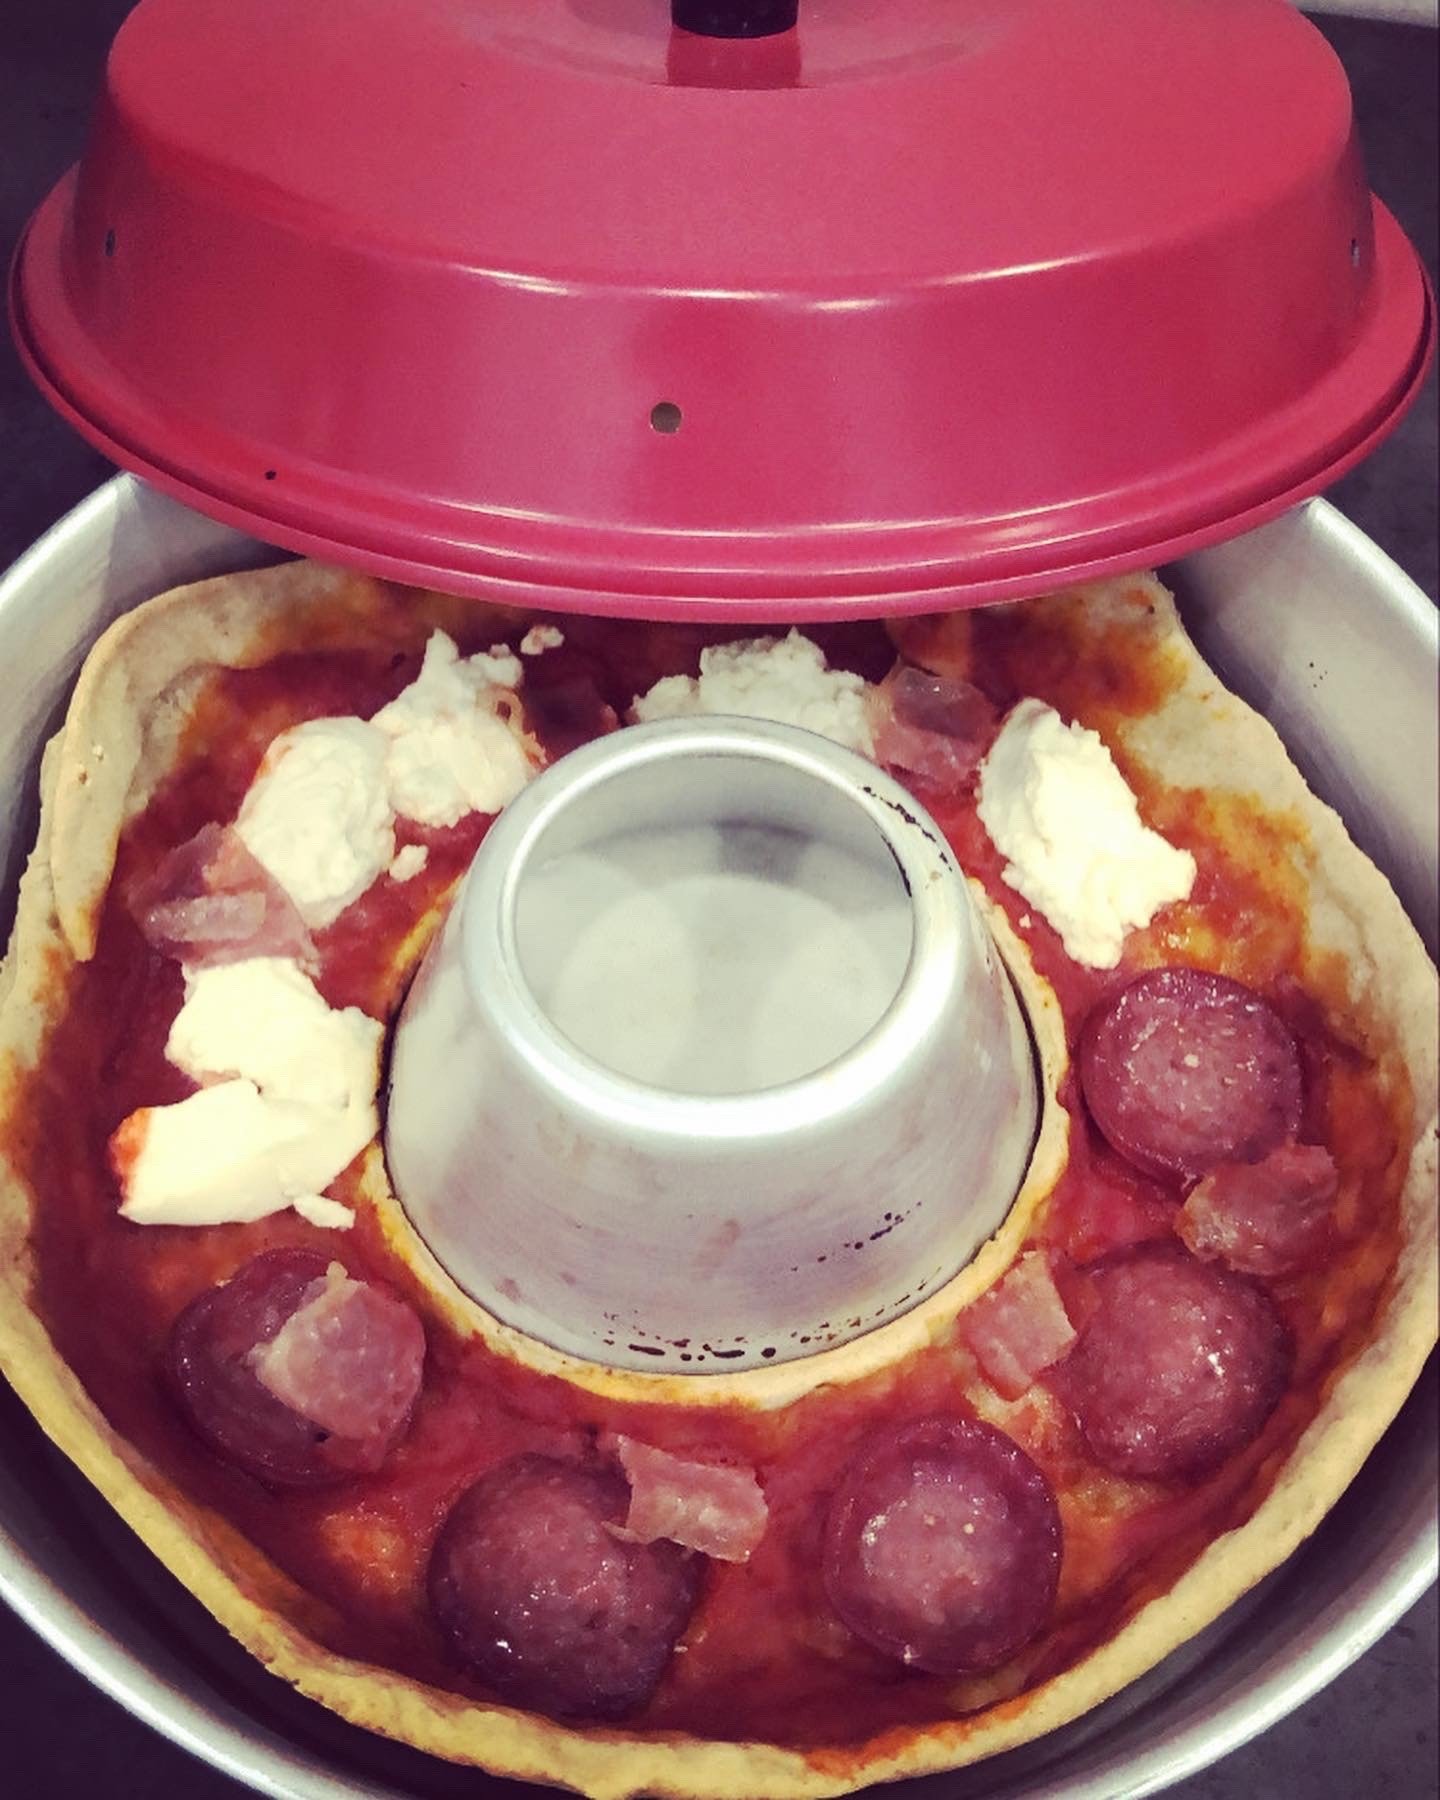
As good Italians we couldn’t help but try to make pizza !! Super easy to do, and super fast!
Only 1 hour of leavening/proving.
The video can be found on our Instagram page! @vwt4_furbone_
Remember to grease the stove well with oil, so it will come off perfectly, at least if you have no silicone element.
Where Italy meets Louisana. This simple, hearty and flavoursome campervan recipe will knock your socks off and leave you comfortably warm on the inside.
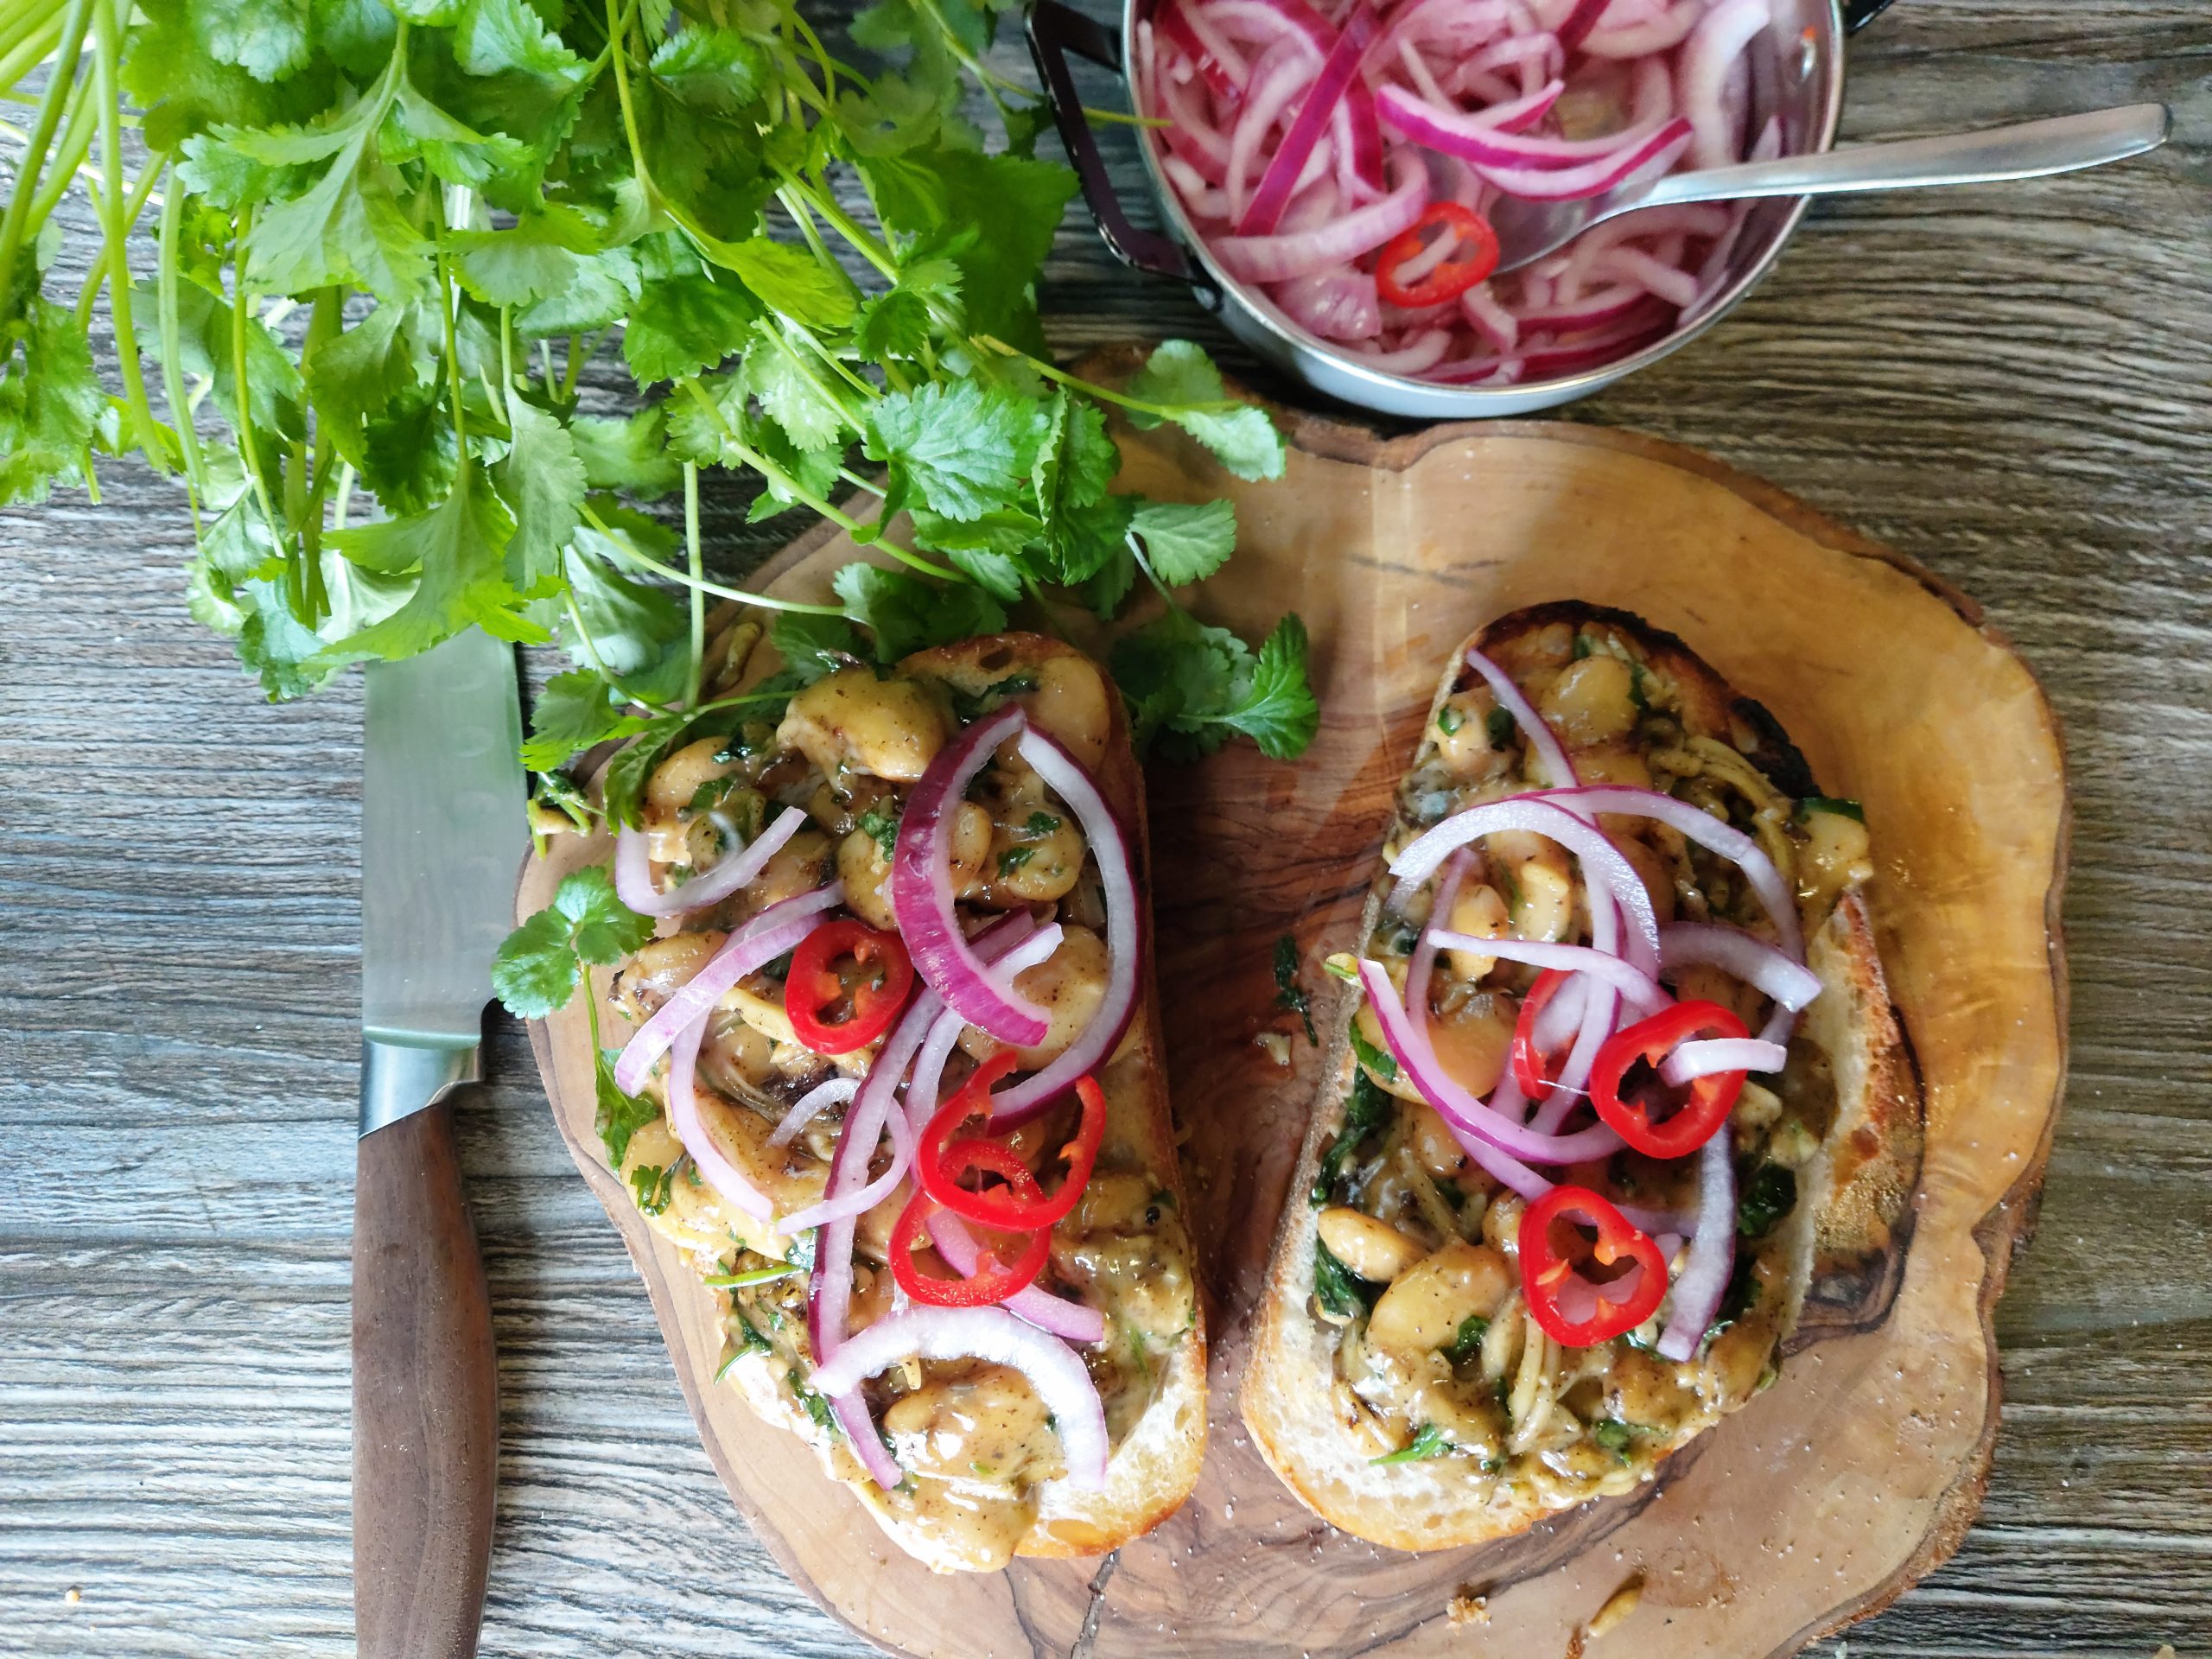
This is an easy and delicious treat for lunch or dinner. The creamy butterbean sauce smothered in cheese is the perfect texture for crispy sourdough toast.
We are very excited to feature our first family of vanlifers! What could be more exciting for children than camping every day in their very own...
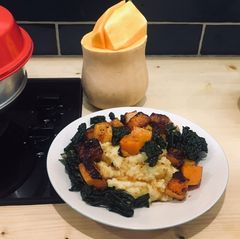
Some really yummy dishes can be created from ingredients that do not need to be refrigerated.
This meal has some simple but really tasty elements.
Roasted butternut squash & Cavolo Nero, served with vegan ‘cheesy’ mash & Mango, lime & chilli dressing
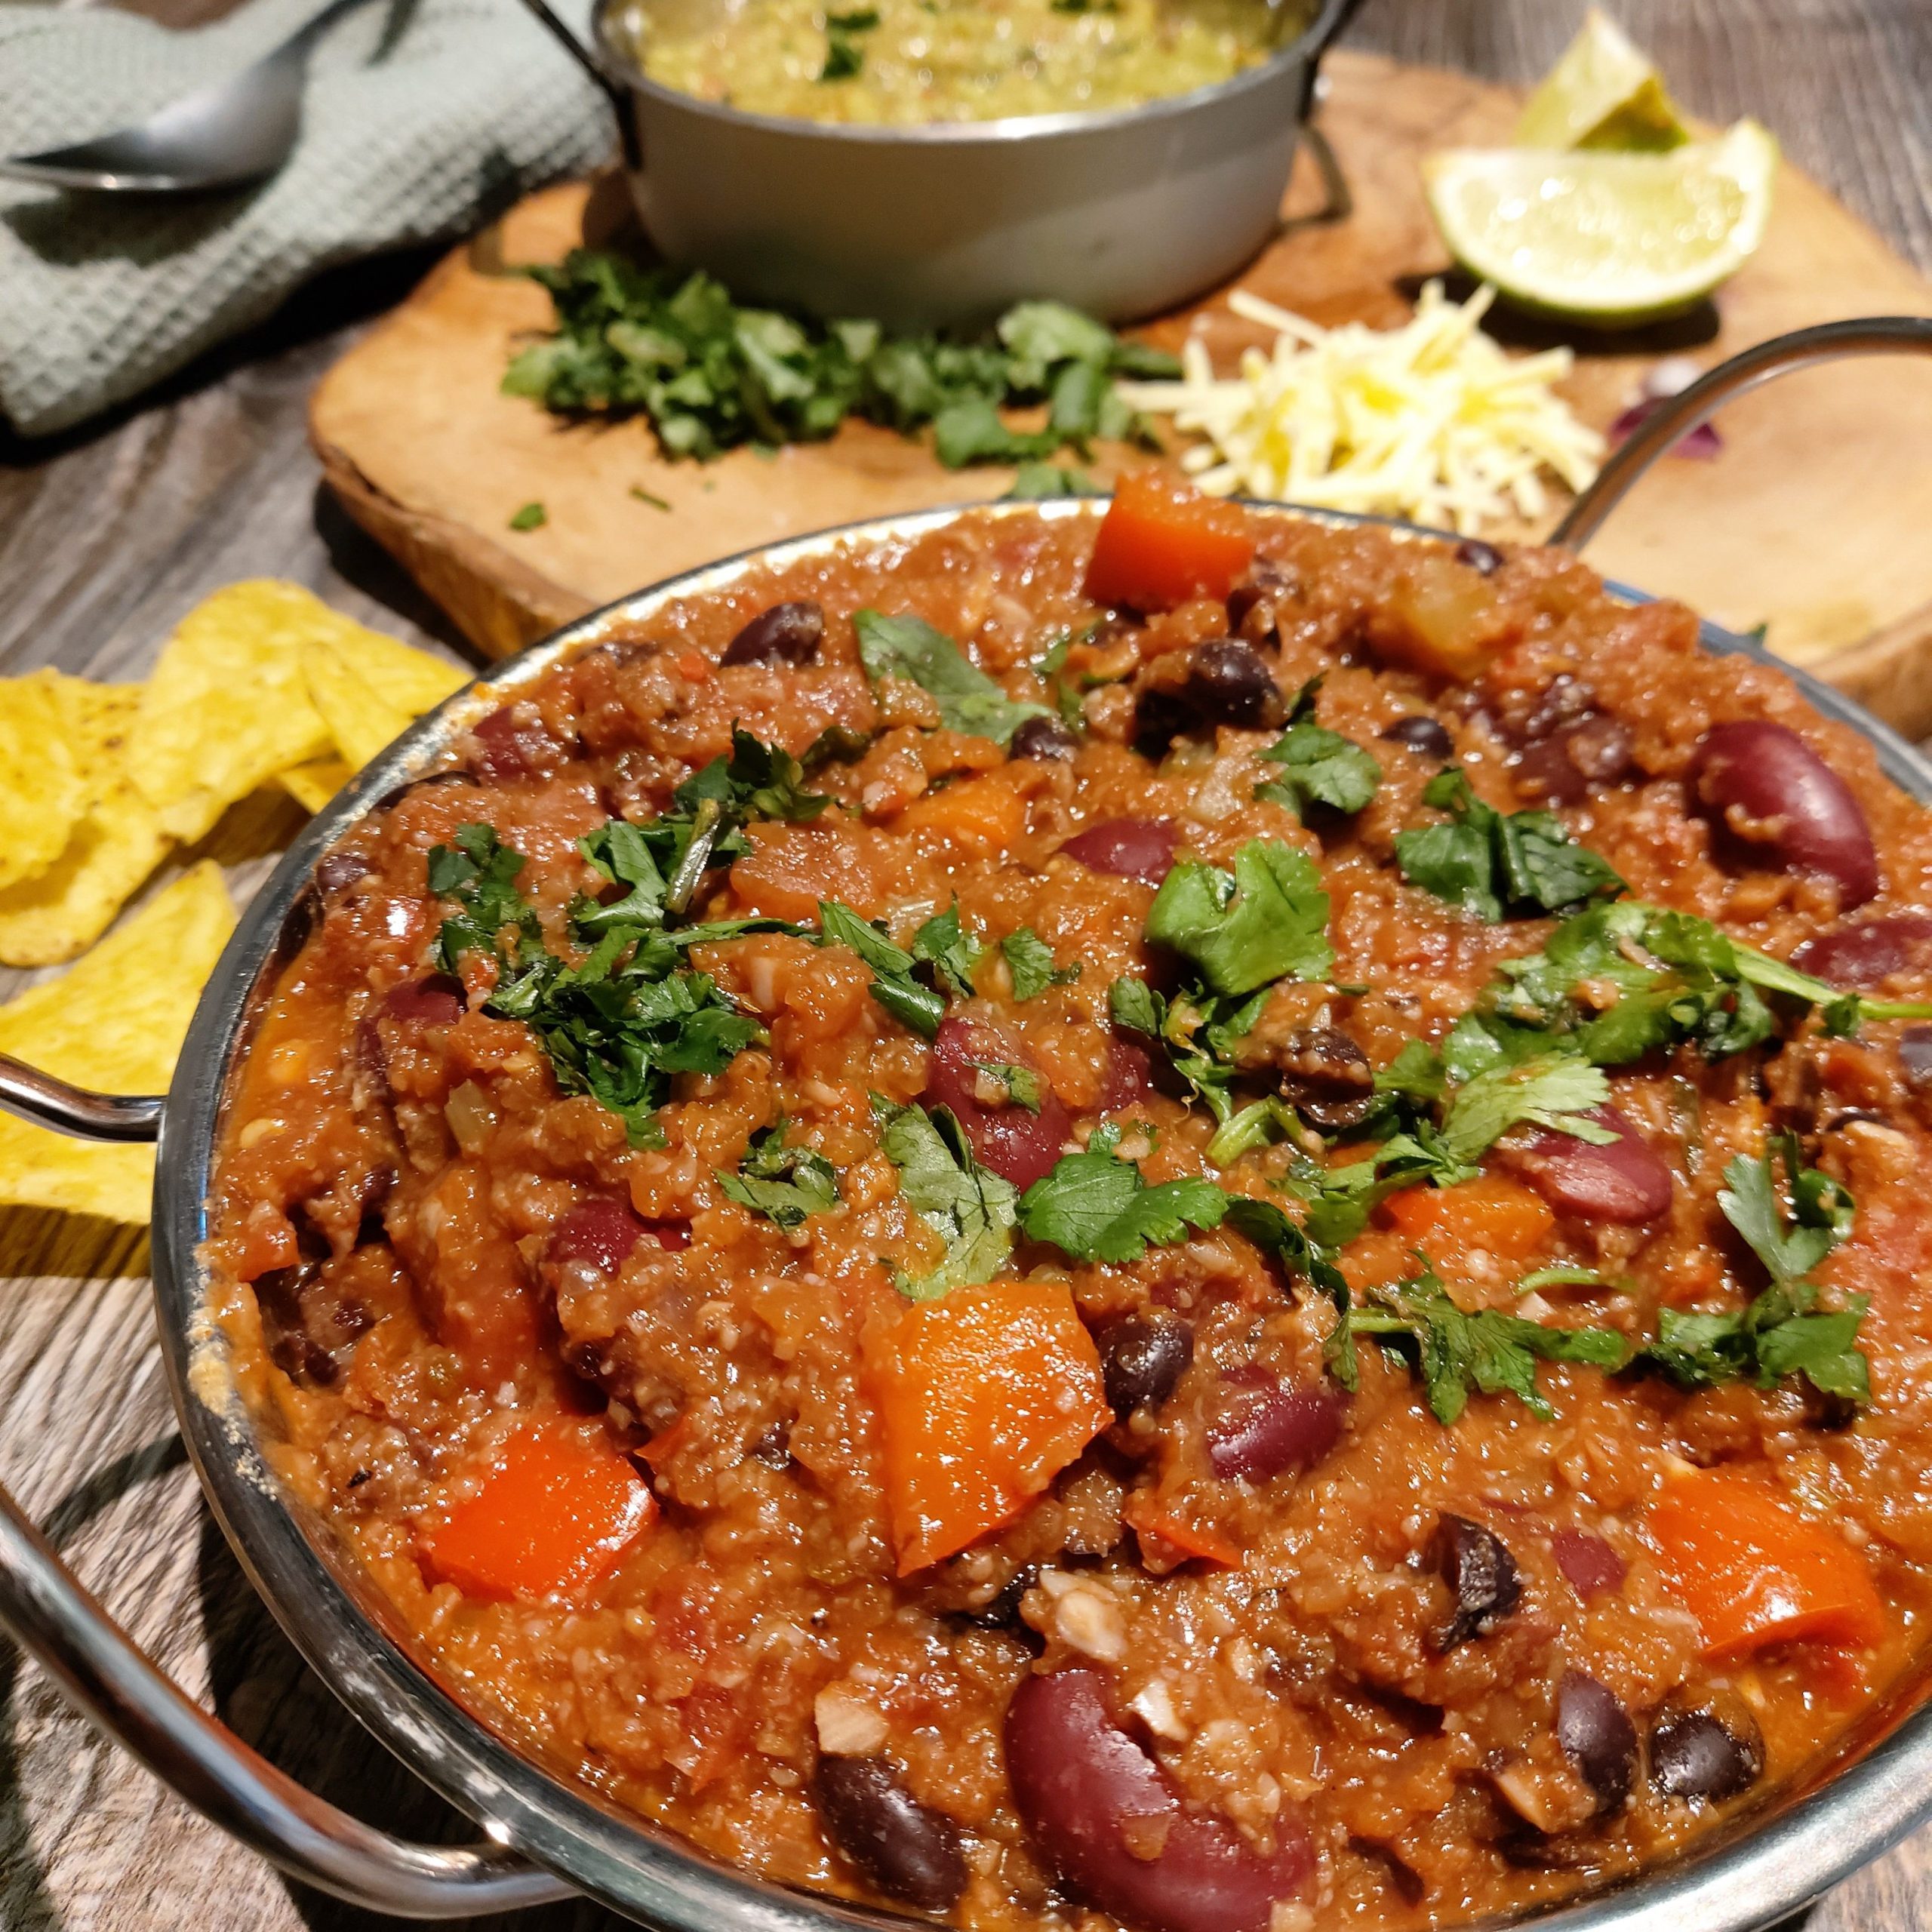
The ultimate comfort food and this recipe is bursting full of rich zingy flavour that will leave you drooling away whilst it bubbles away on your van stove.
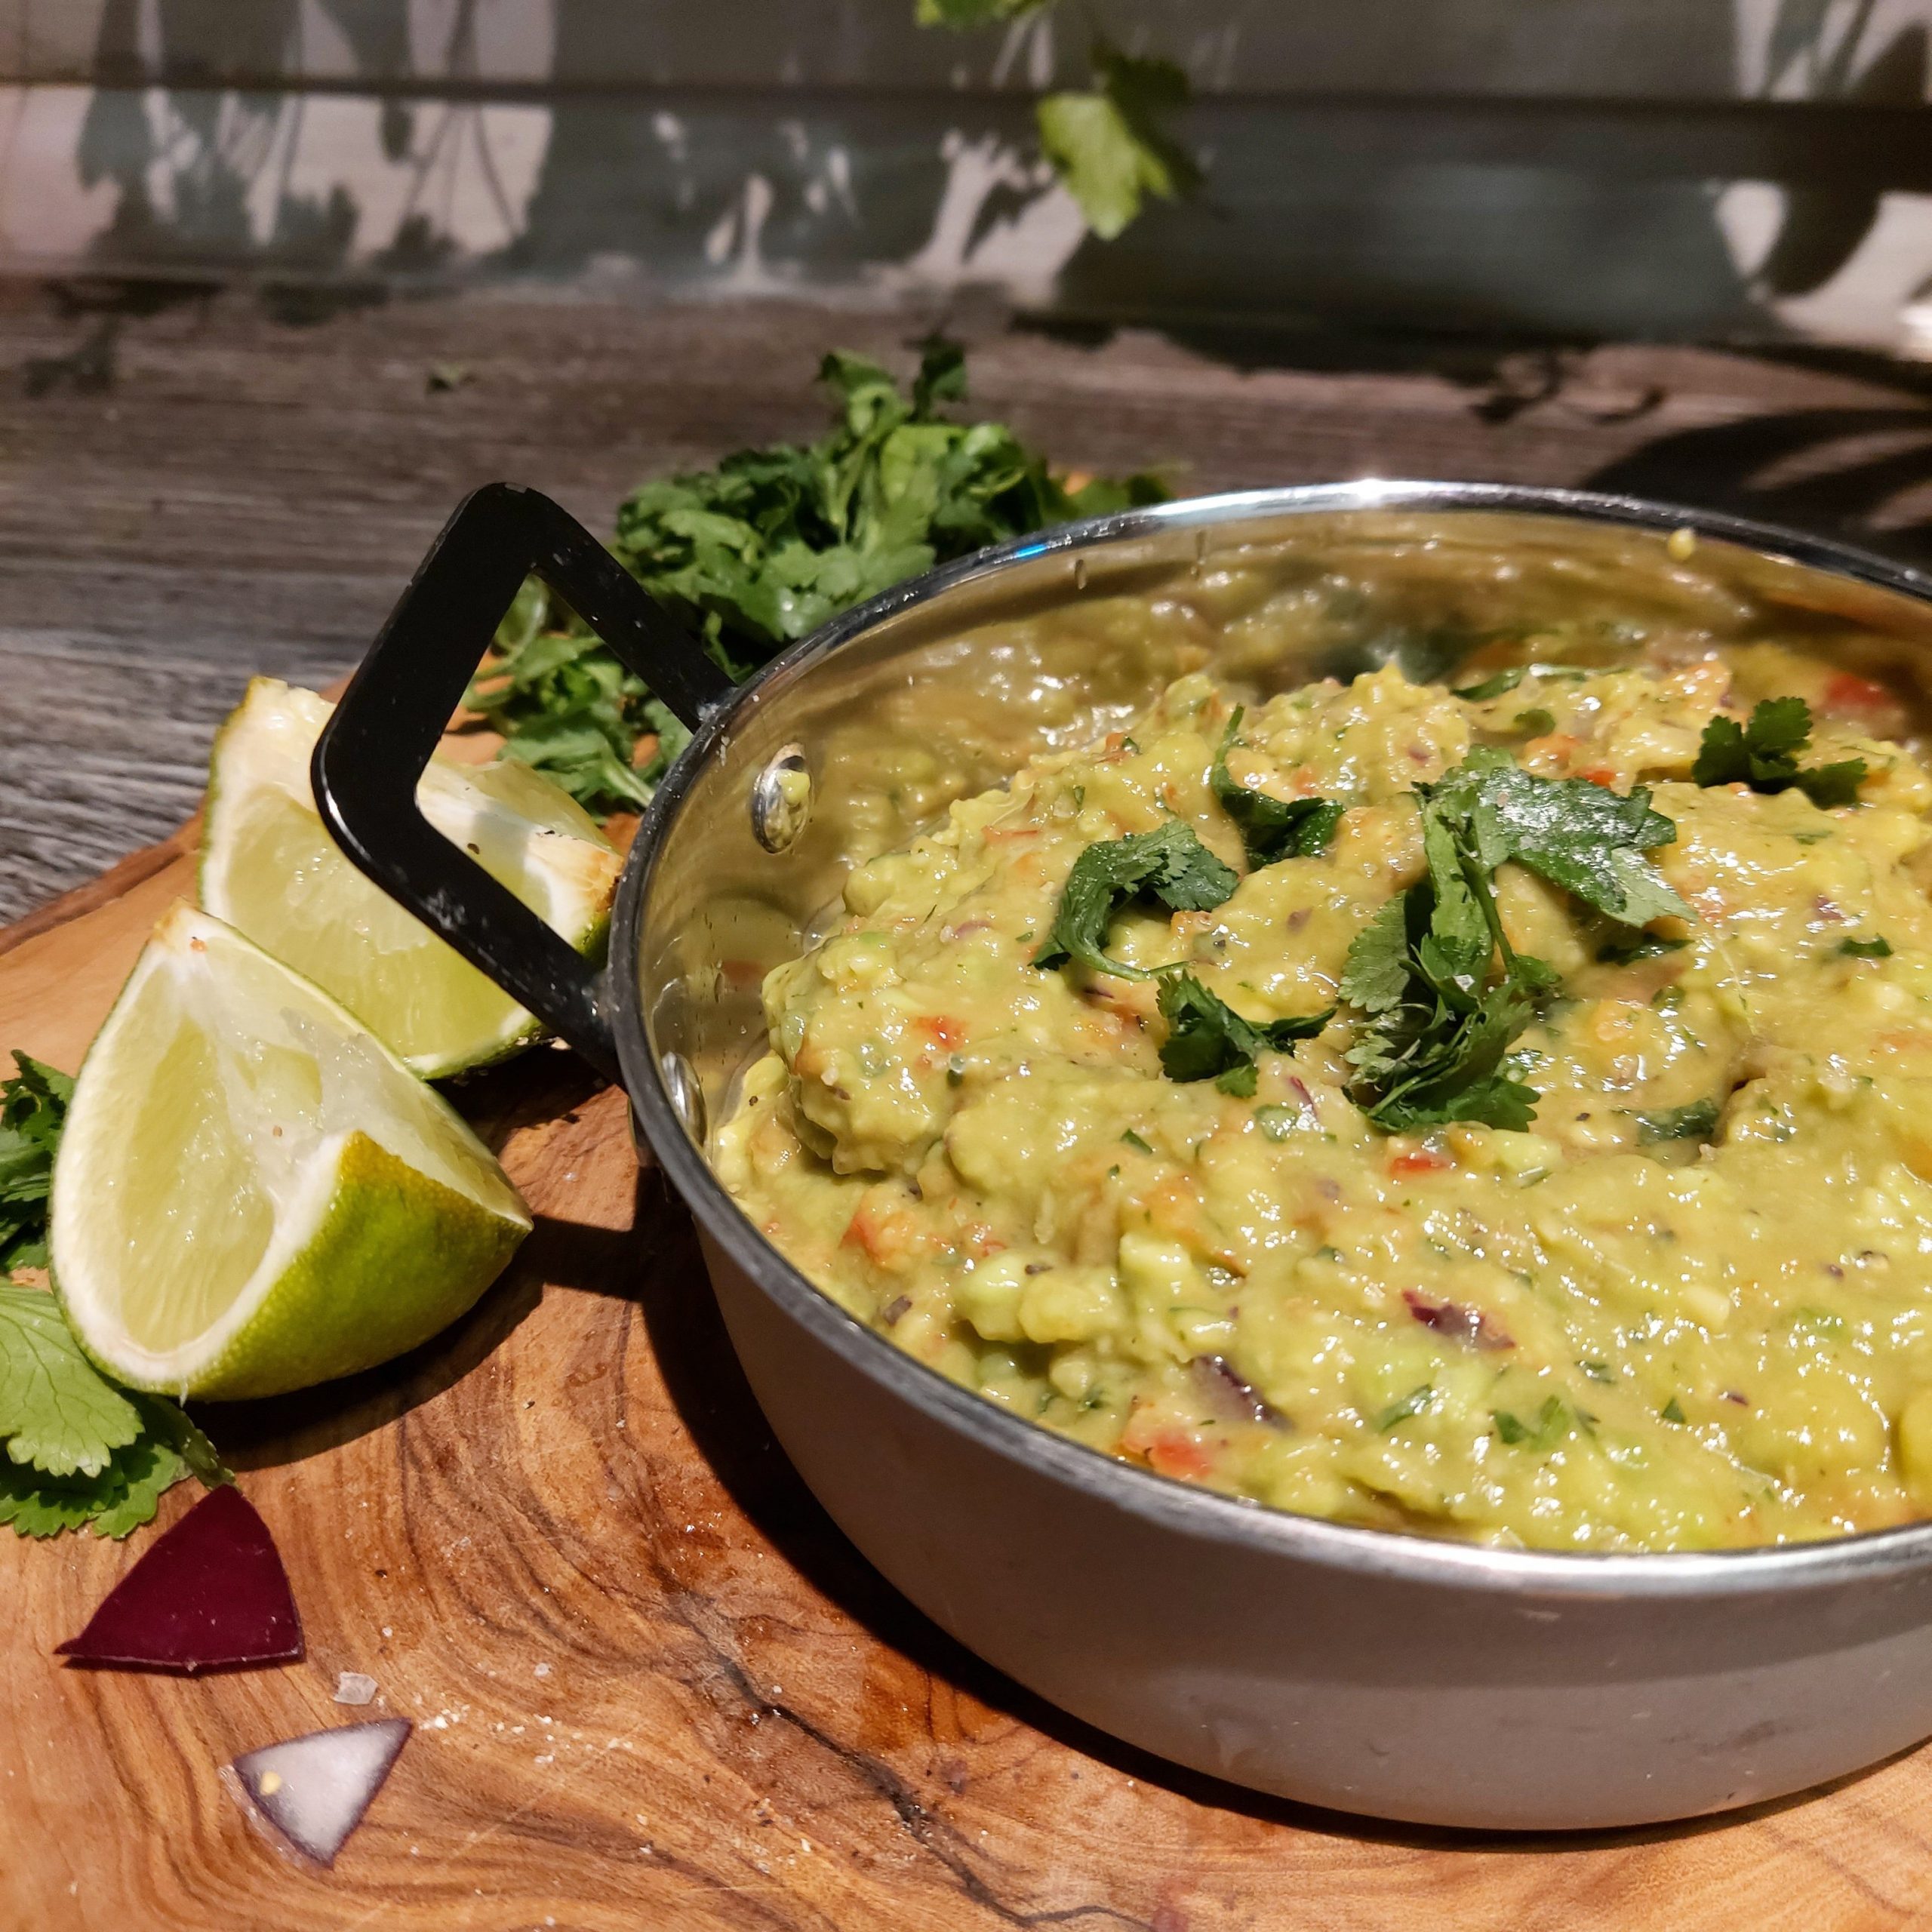
This guacamole recipe is ideal for a campervan kitchen. No cooking required and using the manual blender, means no power required either! It tastes delicious too, win win!
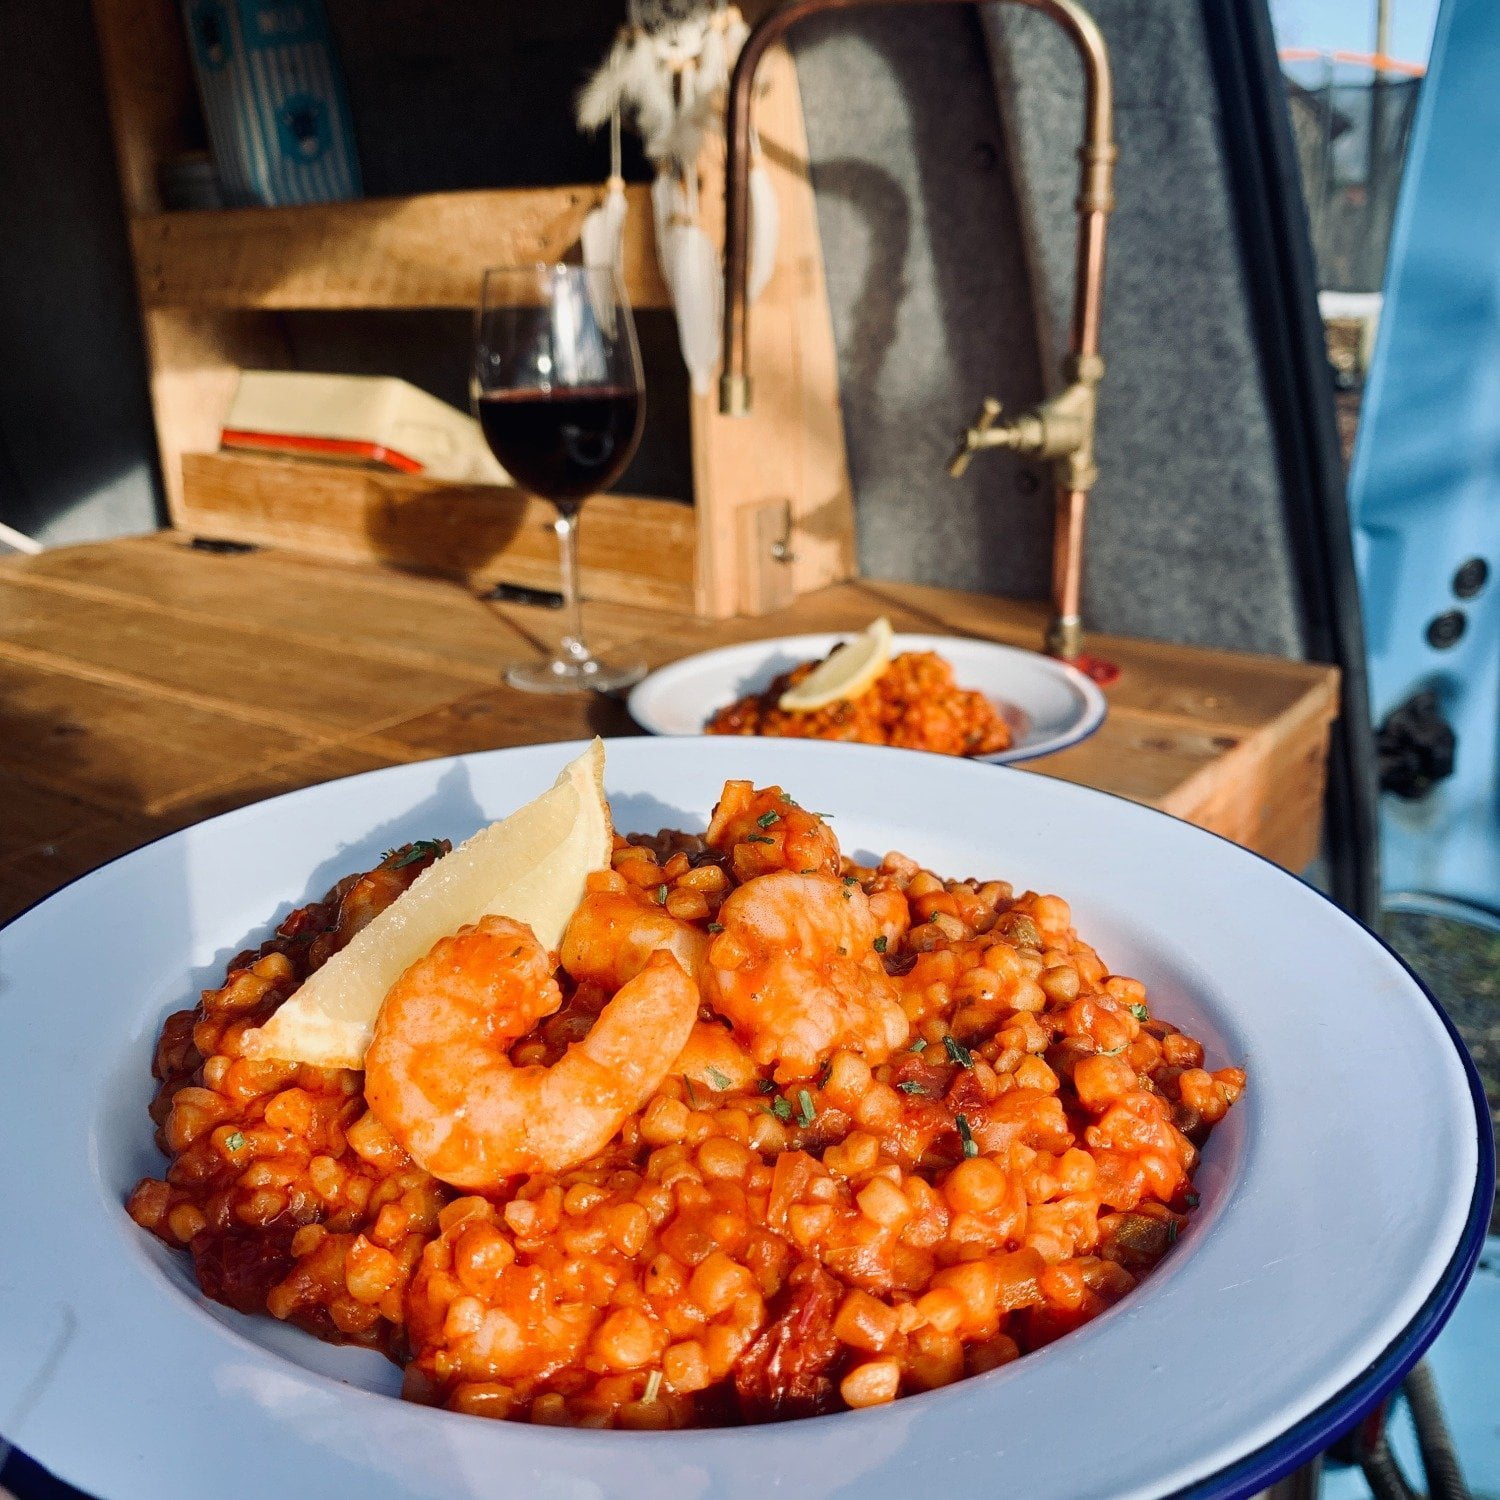
During our vanlife adventure in Sardinia we discovered Fregola, tiny pearls of pasta made by hand which originate from the Italian island. Fregola is a very versatile ingredient and can be used in soups, stews, salads and in this recipe made into a risotto-like pasta dish.
It is one of our favourite campervan kitchen staples. So much so we brought plenty back with us! However, you can find it online (amazon), in posh supermarkets and Italian delis. Although you could substitute it for Orzo or Arborio rice, you may need to add more stock/water.
This recipe can be easily adapted to suit your tastes, camper kitchen supplies and diets – it can be made totally vegetarian and vegan.
Recipe from Meg, from Flora & the Novice Explorers
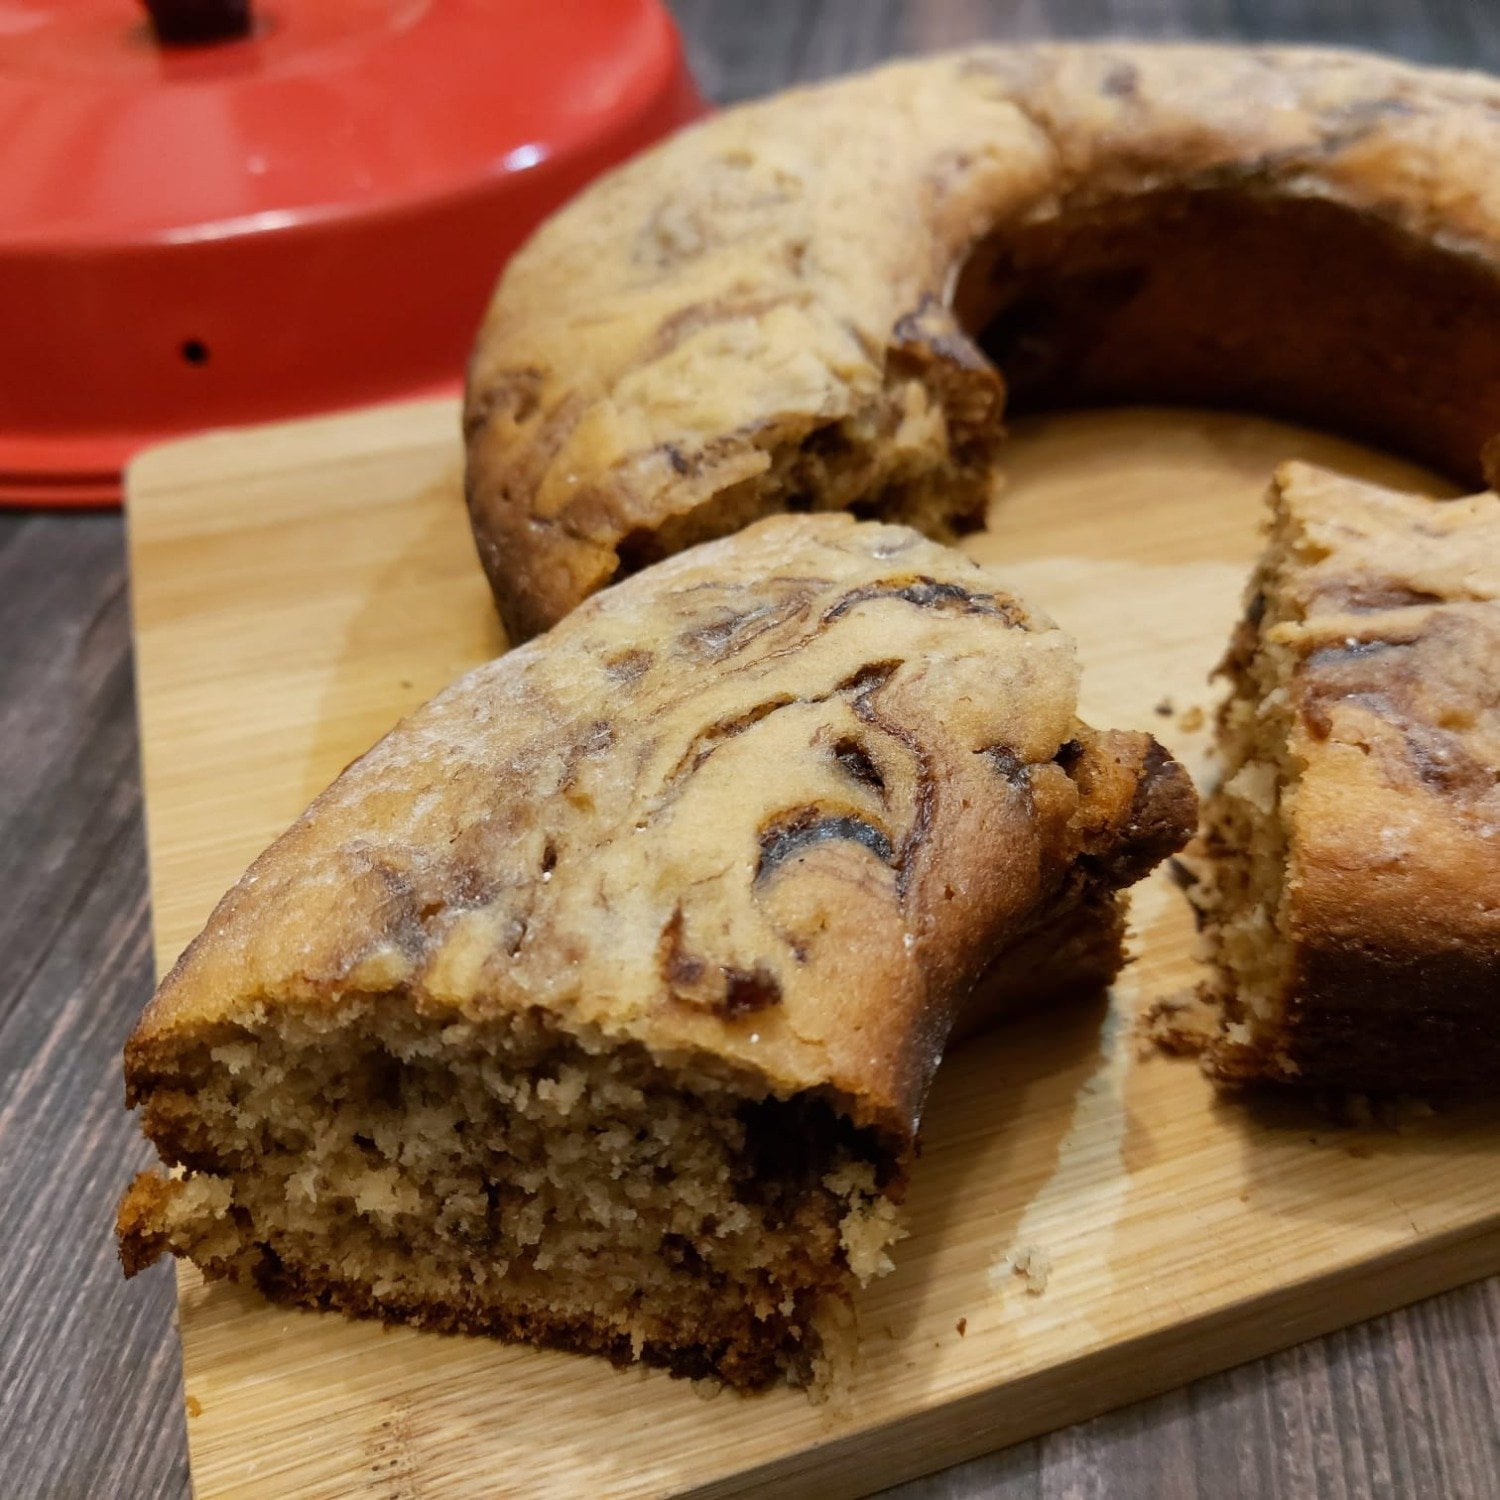
We love using leftover bananas to make cakes. Without an oven in our van, the Omnia oven makes that all possible. In this one I decided to swirl some nutella through it for extra indulgence (not sure our waistlines appreciate it though!)
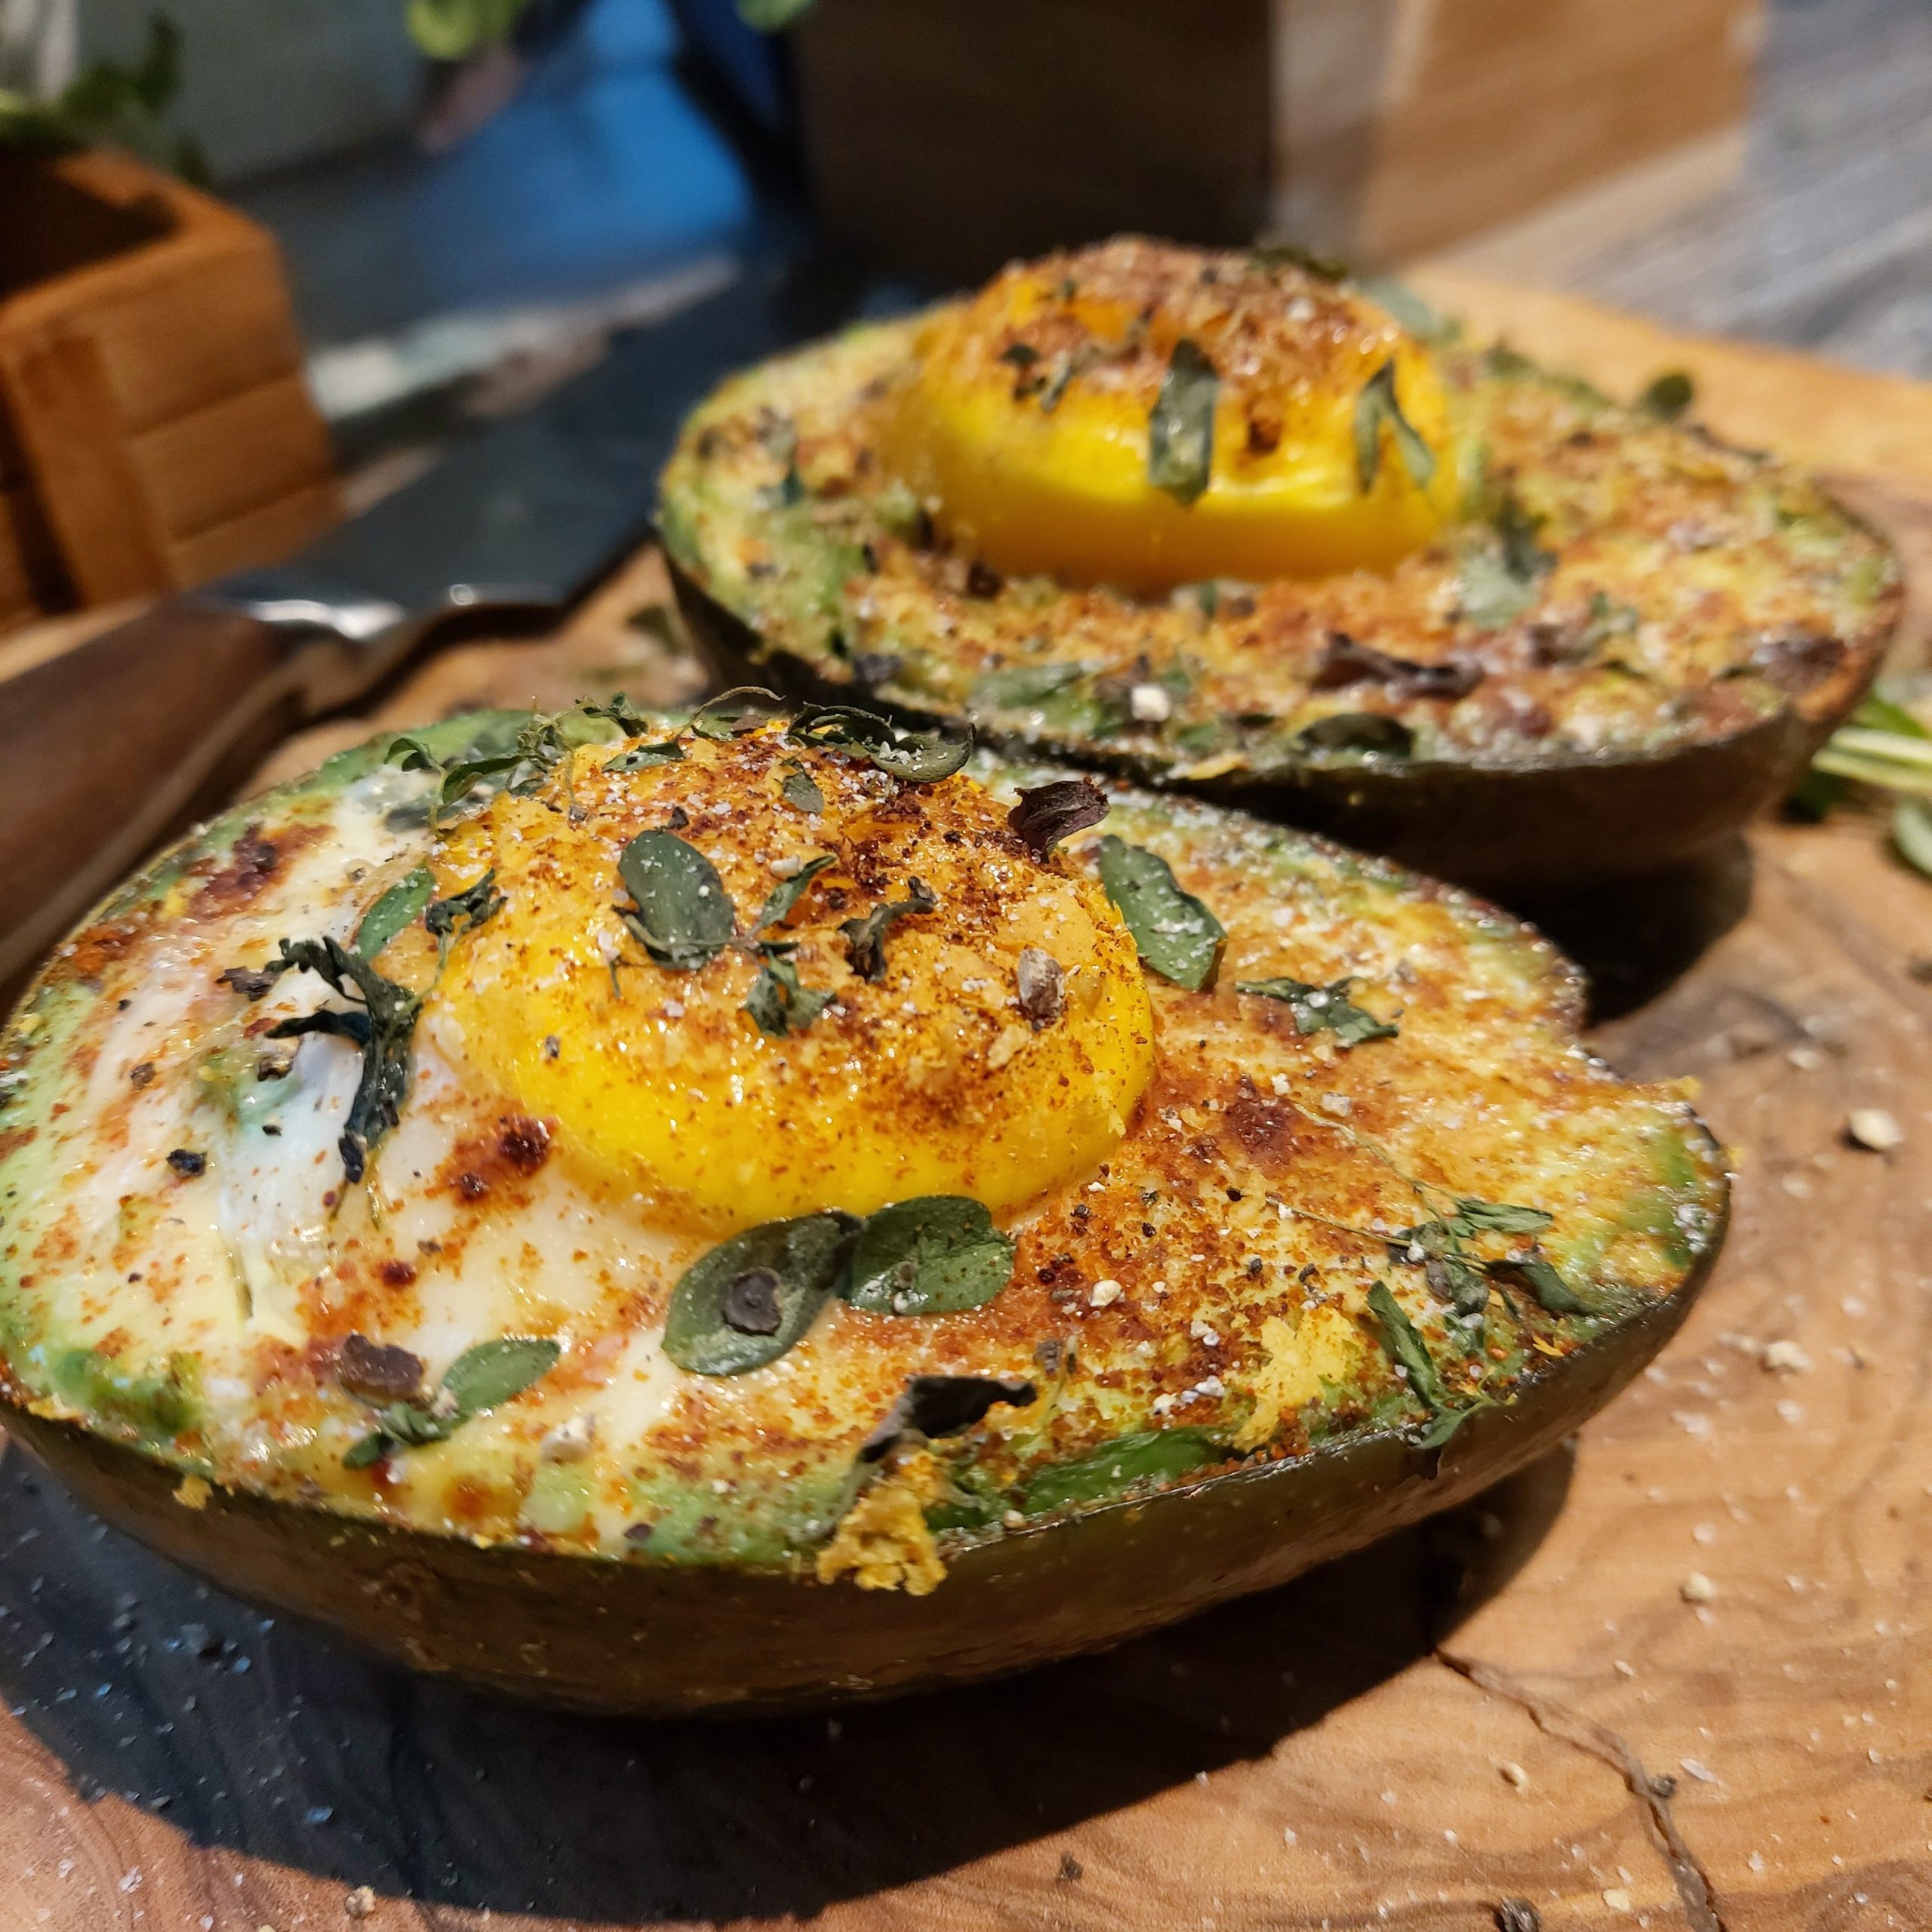
Looking for a low carb breakfast or lunch that’s high in healthy fats? I’m sure that’s why this recipe was invented! Egg and avocado are a match made in heaven and in this simple recipe we fire things up with some cayenne pepper and paprika!
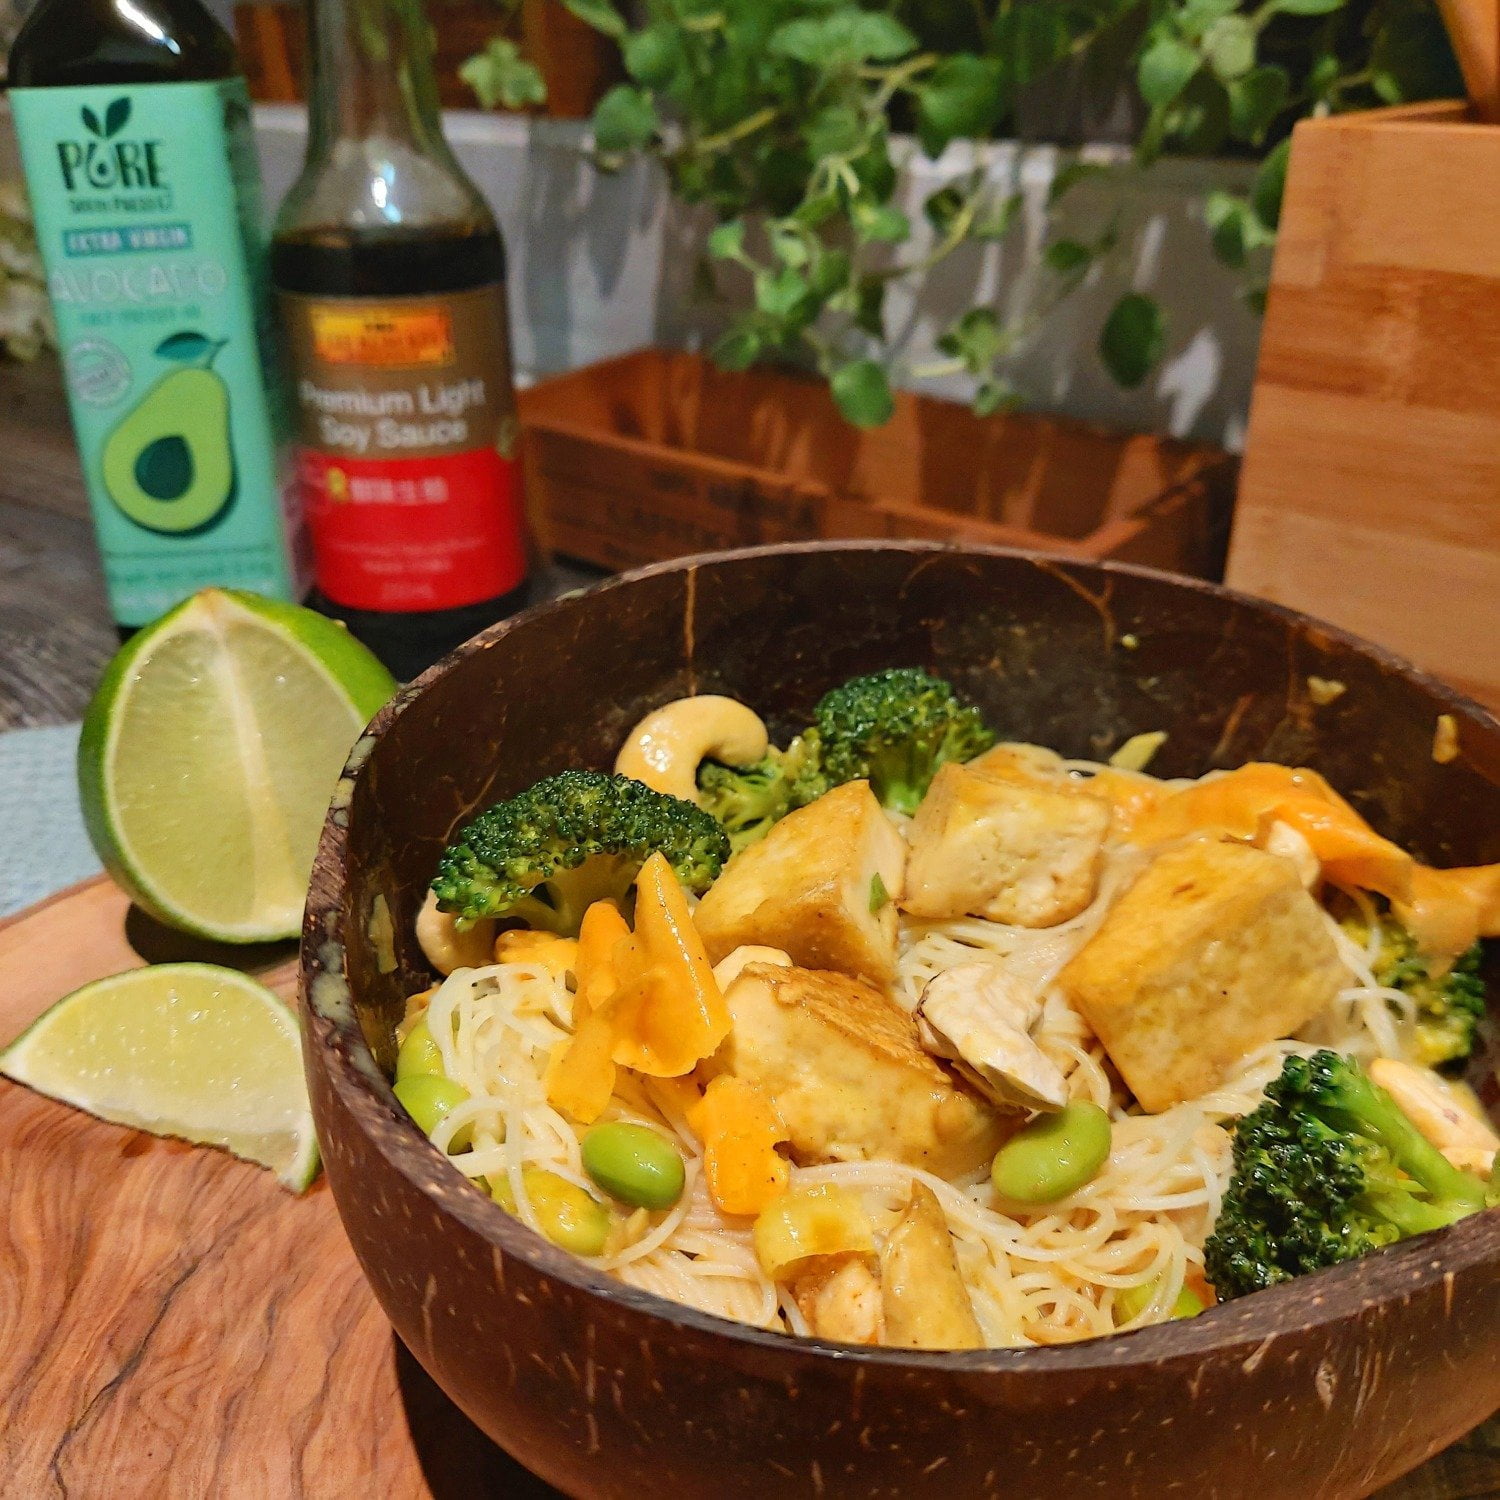
This little bowl just bursts with coconut curry flavours. It’s quick and easy to make and use your favourite stir-fry veggies or whatever veggies you have leftover in the fridge. Our version here is protein packed and makes two medium bowls.
