Vanlife Eats - Campervan Recipes and Cooking Inspiration
sponsored by ridgemonkey cobb omnia silwywonderbag. The best brands for outdoor cooking
Home Blog Page 3

Lemon Mascarpone Mince Pies

0

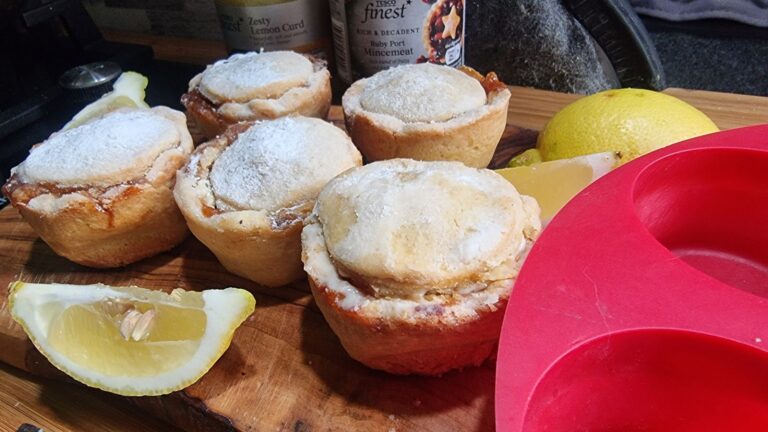
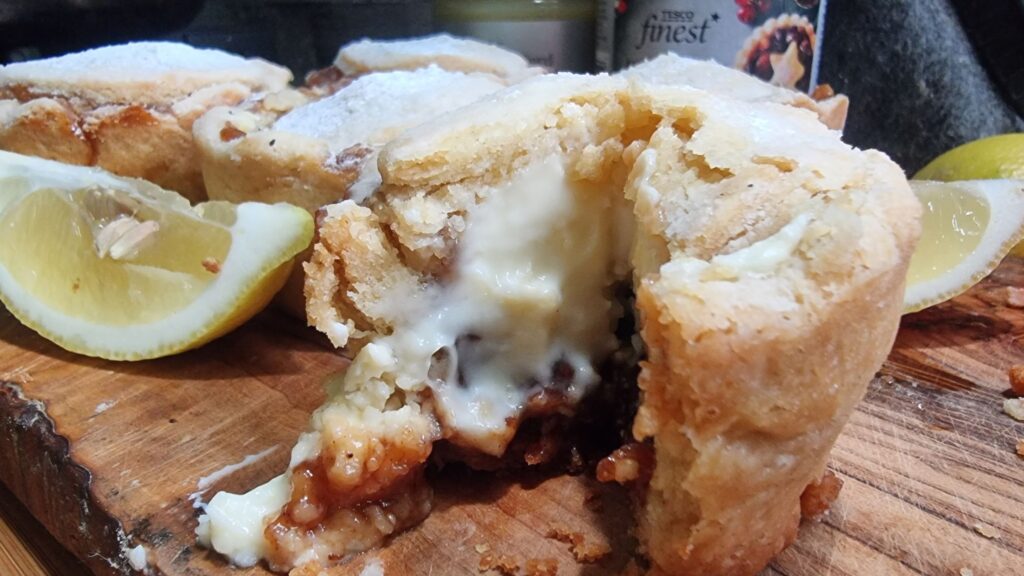
Our unique Lemon Mascarpone Mince Pies offer a delightful twist on the classic holiday treat. These pies add a new layer of zesty lemon infused mascarpone cheese to sit above the fruity mincemeat layer, creating a unique flavor profile that’s both refreshing and indulgent.

Ideal for campervan cooking, this recipe is designed for simplicity and convenience with a mass of decadance. The mincemeat, paired with a lemon infused mascarpone topping, sits inside a buttery, flaky crust, making each bite a perfect balance of tart, sweet, and creamy textures.

Perfect for festive gatherings or cozy nights in your campervan, these pies will be a memorable addition to your holiday spread.

mince pies with cheese
mince pies with masarpone cheese

Lemon Mascarpone Mince Pies

Vegetarian
Enjoy the unique blend of zesty lemon and creamy mascarpone in these easy-to-make Lemon Mascarpone Mince Pies, perfect for campervan cooking at Christmas.
5 from 1 vote
Family friendly – One-pan – Stove top meal
Prep Time 20 minutes
Cook Time 40 minutes
Total Time 1 hour
Course Baking, Dessert
Servings 6 Mince Pies
Diet Vegetarian

Equipment

  • 1 Omnia Oven https://brownbirdandcompany.co.uk/?ref=vanlifeeats
  • 1 Omnia Muffin Ring https://brownbirdandcompany.co.uk/?ref=vanlifeeats

Ingredients
  

Pastry

  • 3 Cups Flour
  • 1/2 Cup Caster Sugar
  • 225 g Unsalted Butter
  • 1 pinch Salt
  • 1 Egg Small
  • 1 tbsp Icing Sugar For dusting

Filling

  • 6 tbsp Mince meat Jarred and go as fancy as you like
  • 1/2 cup Marscapone Cheese
  • 2 tbsp Lemon Curd
  • 1 Lemon rind

Instructions
 

Pastry

  • Begin by preparing the pastry. Rub the butter into the flour, then stir in the golden caster sugar and a pinch of salt until well combined.
  • Form the mixture into a ball. There's no need to add any liquid. The dough should be quite solid, resembling the texture of shortbread. It's ready to use immediately, but you can also refrigerate it for later use.
  • Instead of heating an oven, set up your Omnia stove top oven ring on the hob. Shape the dough into small, walnut-sized balls and press them into the holes of your Omnia muffin mould to form the base of the pies. They are quite deep pies these! Oh and dont forget to save some dough for the lids!
  • Create smaller balls of dough, flatten them between your palms to form lids that are just large enough to cover the pies.

Filling

  • In a small bowl mix together the Mascarpone, the Lemon Curd and grate in the rind of 1 Lemon.
  • Fill each pastry base with a layer of mincemeat and a layer of cheese.
  • Place the lids on the pies, gently pressing the edges together to seal, they will naturally adhere.
  • Break and beat an egg into a bowl or cup and brush each pie. This will add a golden finish to the pie.

Omnia Cooking

  • They Omnia should be preheated for 5 minutes prior to cooking but briefly turn off the gas so that the flame doesnt burn you through the centre hole!
  • Add the fully loaded muffin ring to the Omnia, place the lid on top and turn the flame back on to a low heat. The flame should be contained in the centre of the Omnia and not burning over the outer ring.
  • Cook for 40 minutes until the tops look golden.
    Serve warm or cold!

Video

@vanlifeeats

Ever added Lemon Mascaponi as a different layer to your Mince Pies?? You haven’t lived!!! Recipe at vanlifeeats.com #christmas #mincepie #christmasrecipe #feativeseason #festivefood #festiverecipes #food #recipe #trendingrecipe #vanlife #vanlifeeats #vanconversion @Omniasweden @Tesco

♬ Le Monde – From Talk to Me – Richard Carter

Nutrition

Calories: 743kcalCarbohydrates: 85gProtein: 10gFat: 41gSaturated Fat: 25gPolyunsaturated Fat: 2gMonounsaturated Fat: 8gTrans Fat: 1gCholesterol: 127mgSodium: 163mgPotassium: 88mgFiber: 2gSugar: 35gVitamin A: 1240IUVitamin C: 1mgCalcium: 50mgIron: 3mg
Keyword Baking, christmas, festive, pastry
Tried this recipe?Let us know how it was!

How to Fry in a Campervan: A Vanlife Eats Guide

Introduction

Have you ever been put off frying in a campervan? When you see all those trending recipes on TikTok and Insta they often involve frying and naturally you wouldnt want it to stink out your van. There is nothing worse that the smell of fried food on your clothes and worse of all in your bed sheets!

Lucky for you we’ve learnt the hard way and we’ve done some experiments for you. We’ve even found an awesome vanlife hack! I am going to talk about our go-to pan, managing those pesky frying smells, and ensuring a safe and enjoyable cooking experience.

The Flavorstone: The perfect Vanlife Pan

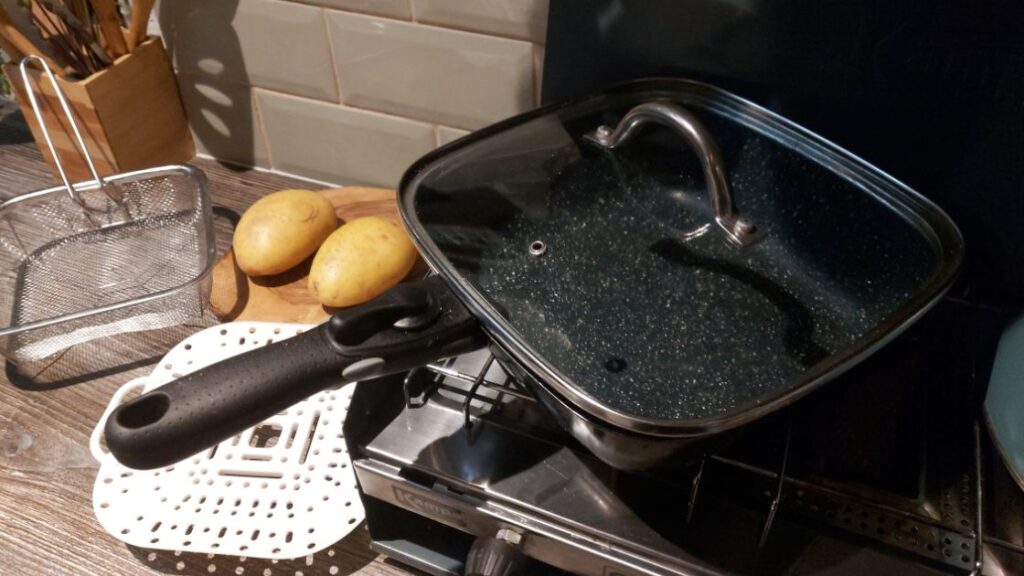
First things first, let’s talk about the equipment we use. During our vanlife journey, we’ve tried various pans, but one has become our favourite – the Flavorstone Pan. This pan replaced at least 3 pans in our limited space van cupboards; our frying pan, a saucepan, our deep pan and our wok. It’s also incredibly light in weight. Its deep sides make it ideal for both shallow and deep frying, and the included frying basket is awesome for frying! I dont mean to make this a sales pitch but this pan really is one we rave about and everyone we have recomended it to has thanked us.

Tackling Frying Smells in a Confined Space

Now, let’s address the elephant in the room – frying smells. We all love the aroma of frying bacon or onions, but in a confined campervan space, it can quickly become overwhelming. Our solution? Proper ventilation.

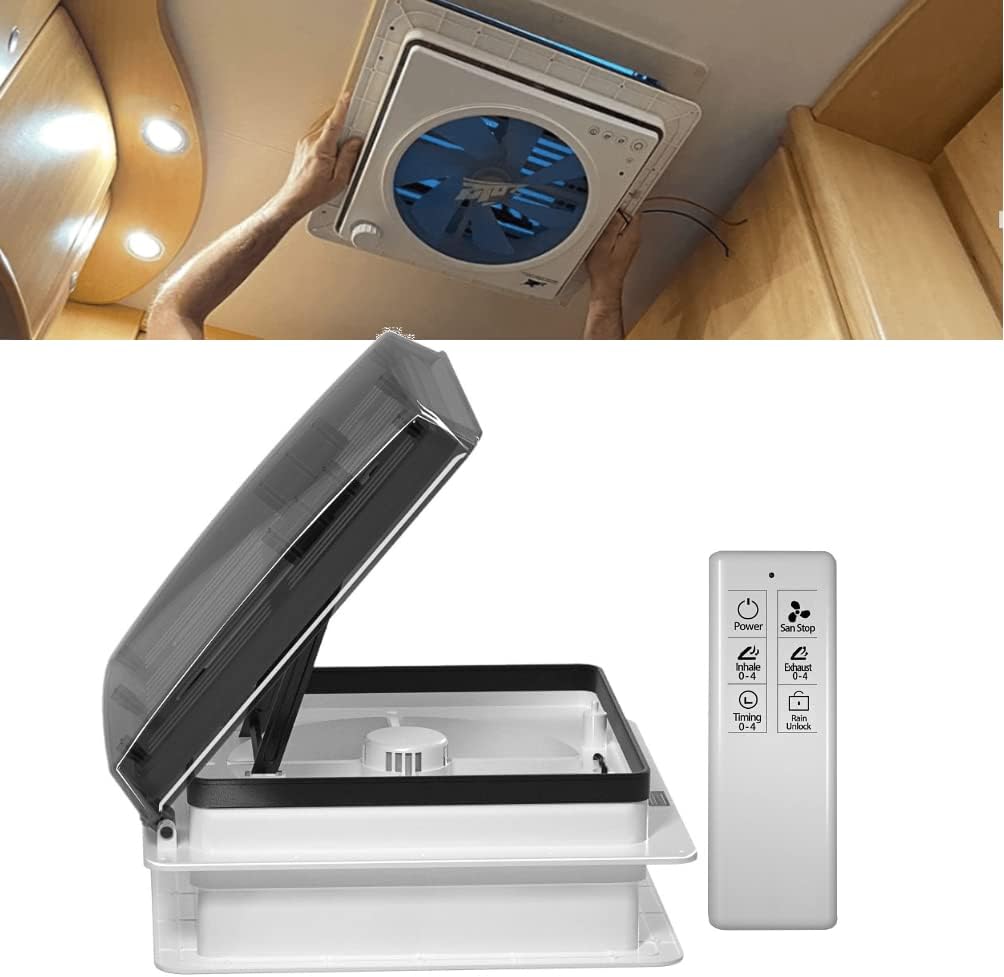
We highly recommend installing a ventilation fan that pulls clean air in and extracts the stale air out. This ensures perfect air circulation, keeping your van smelling fresh.

It is also beneficial for your health as well as for climate control to keep a clean circulation of air. An essential consideration when planning your van build.

Choosing the Right Ventilation Fan

When selecting a ventilation fan, consider one with variable speed settings. This way, you can control the airflow based on your cooking needs and they can be quite noisy on full power. The known brand is Maxxair who make AMAZING fans but they can be quite expensive. For our van build we have installed a generic one from Amazon and its perfect for us. The only downside is that you can not have it running when it is raining – unlinke the Maxxair.

Vanlife Hack

This is a know kitchen hack and and perfect for a campervan. Its that magic dust Baking Soda! This stuff seems to have a multitude of uses and soaking up odars is one!

Baking soda works well for removing bad smells because it’s a basic substance that reacts with the acids in the odors. This reaction changes the smelly stuff, making it less stinky. It’s a handy and simple way to keep your van smelling nice, thanks to a bit of science!

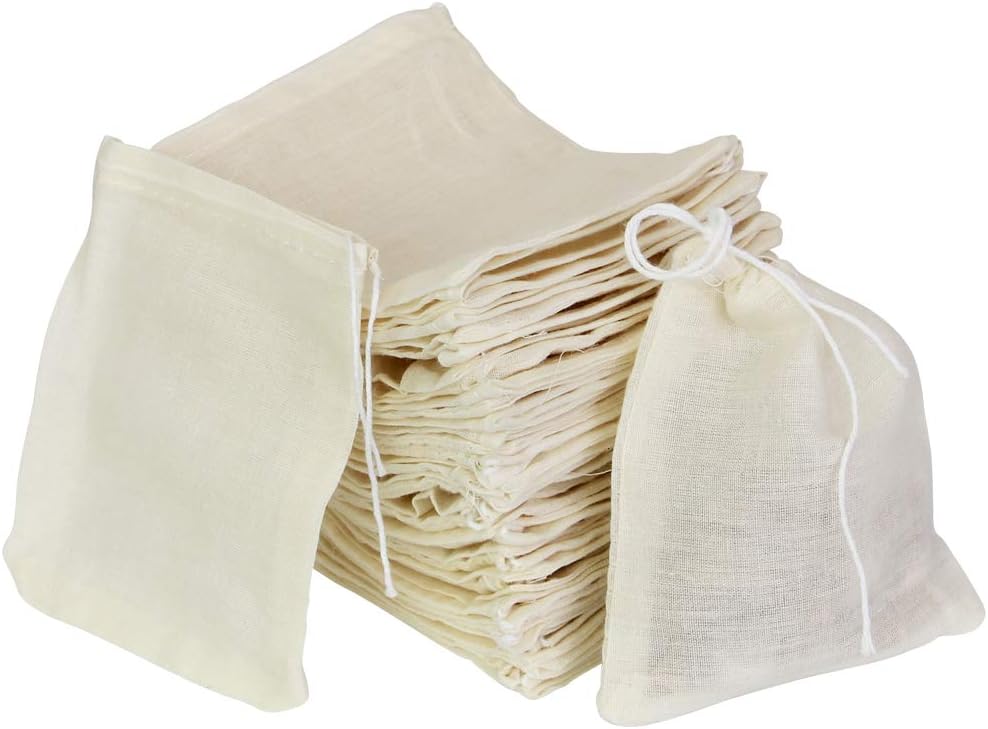
We use these small muslin bags and fill them with baking soda and scatter them around the van. They are small and descreet and they help in nuturalising the odors in the van.

Frying Techniques and Tips

Heat Management

In a campervan, managing your energy resources is crucial. When frying, start with a medium heat to warm up your Flavorstone pan. This gradual heating helps in energy conservation. Plus, it gives you better control over the cooking process.

Oil Choices

Selecting the right oil is another key aspect. We prefer oils with a high smoke point, like canola, sunflower or peanut oil. These oils can handle the heat without burning, ensuring a tasty and non-toxic meal. Olive oil is ok for shallow frying but it can be expensive to use in a deeper fry! Personally I like to use avocado oil but again it can be expensive so sunflower is an ideal oil.

rosties-vanlife-frying

Safety First

Frying in a small space requires caution. Safety should always be your top priority!

Water is often a reason that oil starts to spit and can cause an accident such as burns or even the pan catching on fire. Make sure your utensils are all clean and dry and ensure there is adiquate space around your cooking area should an accident happen. Having a damp towel to hand is useful so that you can cover the pan and cut off the oxygen should the pan catch fire.

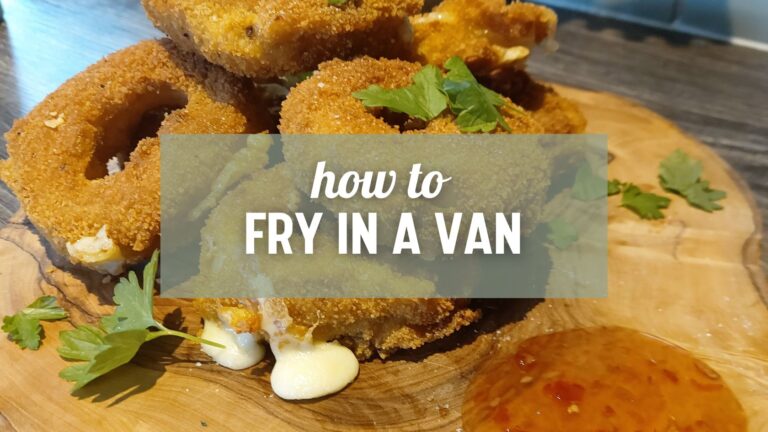
Try our recipe for super crispy onion rings!

onion ring recipe for camping

Cleaning and Maintenance

Make sure you do not pour that hot oil down the sink! The best way to deal with the pan of oil is to let it cool completely. Place the lid on the pan and remove the handle or twist it out of the way so it can not be knocked. When the oil is cool, pour it into a sturdy, sealable container, like an old jar or a milk jug. It’s a smart and safe way to store used oil, especially on the move. If you can, recycle the oil at a designated disposal site, or use it for another round of cooking if it’s still clean. Remember, disposing of oil correctly is not only eco-friendly but also keeps your van’s plumbing from clogging up.

Wrap-Up

Frying in a campervan doesn’t have to be a concern and certainly shouldnt be avoided. There are so many quick, easy and delicious fried food recipes to cook in your campervan. With the right equipment, techniques, and a bit of practice, you can whip up delicious fried meals wherever your travels take you.

Stay safe, stay hungry!

Mark and Sophie x

Easy Crsipy Onion Rings

0

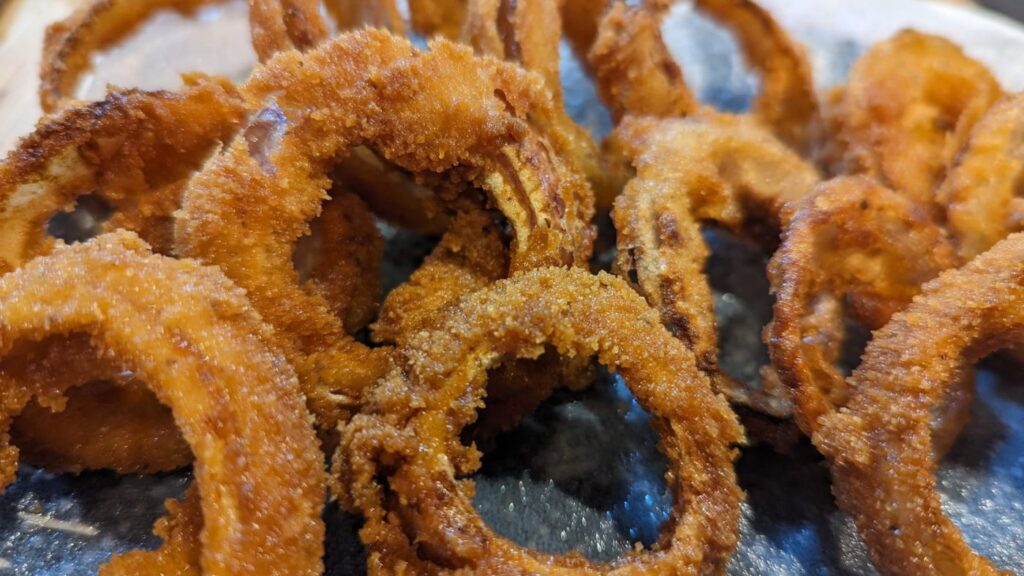
Like we do often, are you craving a quick and tasty snack during your vanlife adventures? This Easy Onion Ring recipe is just perfect! Made with minimal ingredients and requiring just a simple campervan kitchen setup, they’re surprisingly simple to whip up. All you need are onions, a simple batter, and oil for frying.

These Easy Onion Rings come out crispy and delicious, ideal for an evening snack by the campfire or a fun side dish with your meals. This recipe is a surefire way to add some extra crunch and flavor to your vanlife cooking repertoire.

onion ring recipe for camping

Easy Onion Rings

Vegetarian
These onion rings are a fantastic way to indulge in some classic comfort food while on the road. Enjoy them as a standalone snack or as an accompaniment to your main dishes. Happy cooking!
5 from 1 vote
10 Ingredients or less – Leftovers – No water – One-pan – Quick cook – Solo travel
Prep Time 3 minutes
Cook Time 3 minutes
Total Time 6 minutes
Course Snacks
Servings 2 Vanlifers
Diet Vegetarian

Equipment

Ingredients
  

  • 1 Onion Large White Onion
  • 1 Cup Sunflower Oil or any alternive oil of your choice
  • 1 1/4 Cup Plain Flour
  • 1 tsp Baking Powder
  • 1 tsp Salt
  • 1 Cup Milk
  • 1 Egg Large
  • 3/4 Cup Breadcrumbs

Instructions
 

  • Begin by slicing your onion into 1/4-inch-thick rings. This size is perfect for getting that ideal balance of onion and crispy coating.
  • Heat your oil in a deep-fryer until it looks seriously hot!
  • Set up your breading station with three shallow dishes. In the first, whisk together flour, baking powder, and salt. In the second, blend the milk and egg. Place the bread crumbs in the third.
  • Coat each onion ring in the flour mixture, ensuring it's fully covered. Then, dip it into the egg mixture, letting the excess drip off. Finally, coat it well in the bread crumbs.
  • Fry the onion rings in batches of 3-4 at a time until they're golden brown, which should take about 2-3 minutes. Drain them on paper towels.Finish by sprinkling with seasoned salt to taste.

Nutrition

Serving: 3gCalories: 1536kcalCarbohydrates: 100gProtein: 21gFat: 118gSaturated Fat: 14gPolyunsaturated Fat: 6gMonounsaturated Fat: 93gTrans Fat: 0.01gCholesterol: 96mgSodium: 1753mgPotassium: 457mgFiber: 5gSugar: 11gVitamin A: 318IUVitamin C: 4mgCalcium: 379mgIron: 6mg
Keyword Onion
Tried this recipe?Let us know how it was!

The Ultimate Campervan Curry Base

This campervan curry lesson is a must know recipe for any vanlife curry lover. This is the magic key to unlocking over 100 Indian recipes – a robust, aromatic curry base.

Are you making the mistake of overpowering your curries with spice? The balance of spice is crucial to making your curry taste nice. Dont mask the flavour of onion, garlic, tomato and ginger with too much spice, you need to learn the balance to let every ingredient burst in layers of flavour.

This is a perfect recipe for campervan cooking and dont miss the vanlife hack!

The balance of spice – Cumin, Coriander, Turmeric, and Chilli

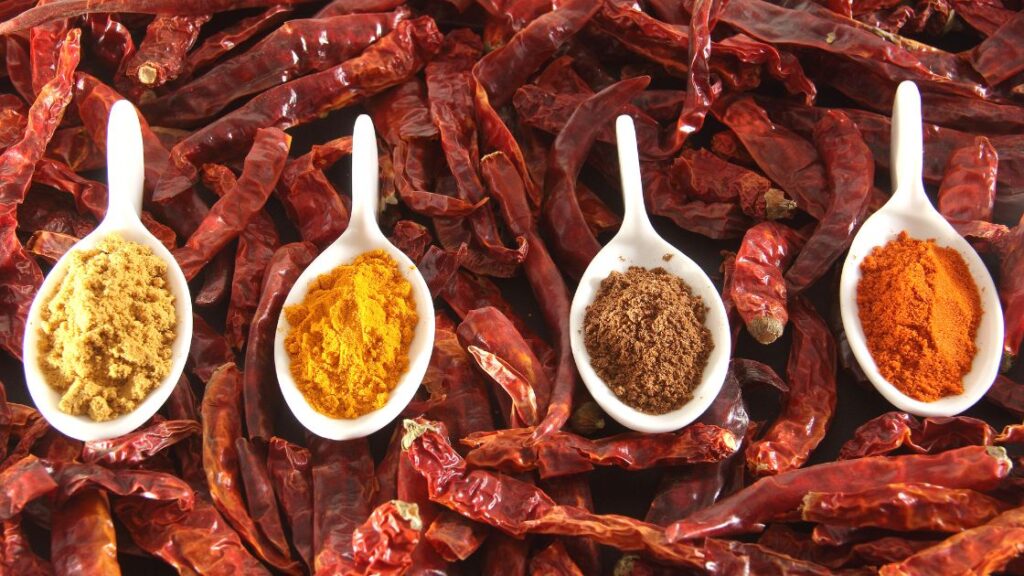
Let’s start with the backbone of this campervan curry base – the four essential spices: cumin, coriander, turmeric, and chilli. These aren’t just spices; they’re the layers of flavor that define many North Indian dishes.

Cumin

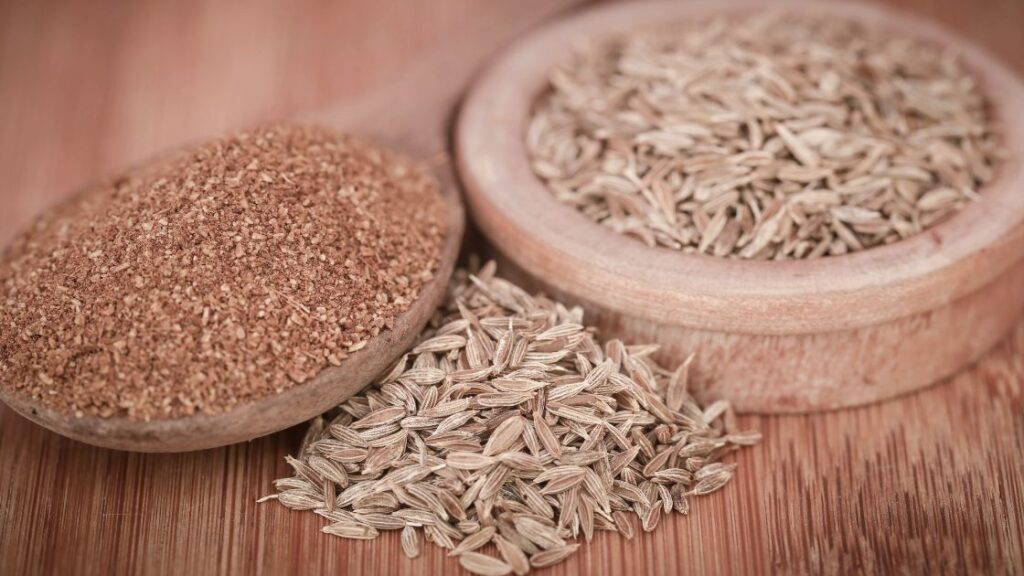
Cumin brings a warm, earthy tone that’s unmistakable. It’s like the bass in your favorite track – you know when it’s there, and you miss it when it’s not.

Coriander

Coriander, often used in its ground form, offers a sweet, citrusy zing. It’s like adding a fresh perspective to a familiar scene.

Turmeric

Turmeric is the unsung hero, providing a mild, bitter flavor and a vibrant yellow color. It’s like sunshine in a bottle, brightening up any dish.

Chilli

Lastly, chilli. It’s all about personal preference here. Want a mild base? Go easy. If you’re like me and love a bit of adventure, turn up the heat!

North Indian Food vs South Indian Food

Before we share the recipe, let’s understand its roots. Northern Indian cooking, where this curry base is most at home, often features thick, moderately spicy curries and a lot of breads like naans and rotis. In contrast, Southern Indian cuisine is known for its hotter, rice-based dishes with an abundance of seafood.

Naan Bread

It doesnt always have to be rice and in Northenr India you would eat a curry with a bread instead. Here is a link to our flat bread recipe that we made at the AMAZING festival Camp Quirky.

Question For You..

What is your favoute curry? We will make it! Let us know in the comments :)

campervan curry

Best Indian Curry Paste – 1 paste for 100 curry recipes

Vanlife Eats
Vegan, Vegetarian
This simple curry paste recipe is perfect for campervan cooking. It is made with a few basic ingredients that can be easily stored and transported. The paste can be used to make a variety of Indian dishes, such as curries, stir-fries, and soups.
This recipe makes 4 batches of curry paste to be frozen and stored. Each batch is a per person measurement. ie. If you are making a curry for 2 people use 2 batches.
5 from 1 vote
10 Ingredients or less – Leftovers – One-pan – Prep ahead – Quick cook
Prep Time 5 minutes
Cook Time 10 minutes
Course Dips / Sauces
Servings 4 Batches (per person)
Diet Vegan, Vegetarian

Equipment

  • 1 Blender Optional. We use our Zyliss Easy Pull
  • 1 Large Ice Cube Container Or small containers to batch freeze

Ingredients
  

  • 2 Red Onion Medium
  • 4 tbsp Passata Medium
  • 2 Garlic Clove
  • 1 tsp Fresh Ginger
  • 1 tsp Turmeric
  • 2 tsp Red Chilli Powder
  • 1 tbsp Cumin Powder
  • 2 tbsp Oil Any of your choice
  • 2 tbsp Corriander Powder

Instructions
 

Prep

  • Finely chop your red onion. The finer you can chop the better. Alternatively this can be pureed or blitzed in a blender. We use our Zyliss easy pull.
  • Finely chop your tomatoes. As above, the finer the better and use the blender if preffered.
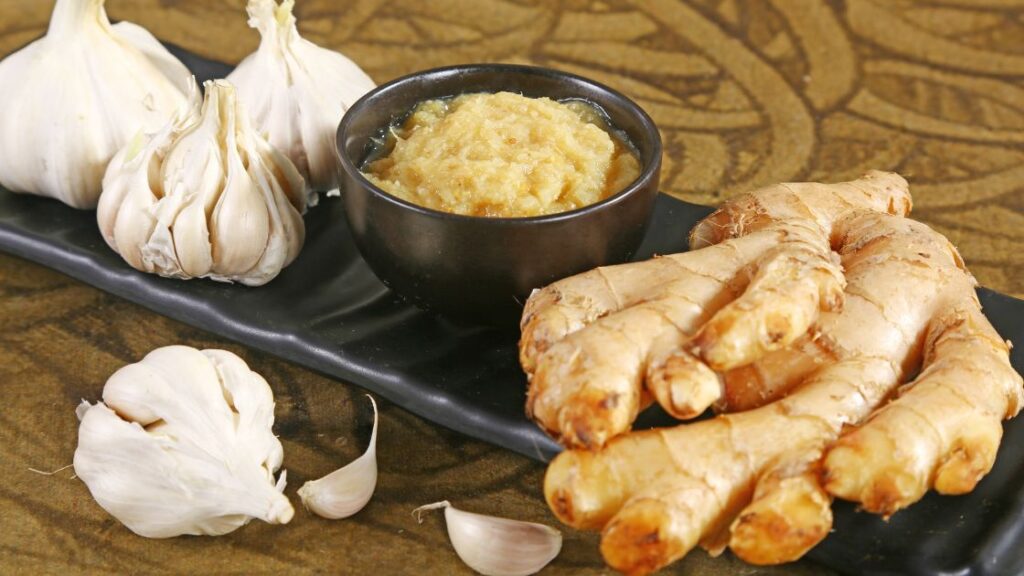
  • Combine and finely chop the garlic and ginger. Use a splash of water to blend/chop/mash into a paste.

Method

  • Add a splash of oil of your choice to a good quality pan. (not a cheap thin based pan!) We like to use Ghee. Heat to a medium heat.
  • Add the onion paste along with the ginger and garlic paste. Mix well for about 3-4 minutes until it starts to lightly brown.
  • Add 1 tbsp of corriander powder, 1/2 tbsp cumin powder, 1/2 tsp tummeric powder and 1 tsp of red chilli powder. Mix well and cook for about 1 minute and add a splash of water to loosen it up.
  • Add the 2 tbsp of passata and give everything a good mix and cook for 5 minutes until the mixture thickens.
  • Take off the pan and make sure the paste cools thoroughly before decanting into large ice cube containers and then frozen.
  • Use a base for just about any type of curry you choose.

Video

Nutrition

Calories: 110kcalCarbohydrates: 10gProtein: 2gFat: 8gSaturated Fat: 1gPolyunsaturated Fat: 2gMonounsaturated Fat: 5gTrans Fat: 0.03gSodium: 27mgPotassium: 249mgFiber: 3gSugar: 3gVitamin A: 398IUVitamin C: 7mgCalcium: 54mgIron: 2mg
Keyword Curry, Paste
Tried this recipe?Let us know how it was!

Pasta la Vista, Baby: Whipping Up Vanlife’s Best Pesto

Why Pesto Pasta is a Vanlife Staple

Pesto pasta is a staple for us vanlifers. Why? Because it’s the trifecta of perfection: affordable, simple, and ready in a snap (15 minutes, to be exact). However, there’s a vast difference between a mundane jar of store-bought pesto and a vibrant, homemade version bursting with fresh basil, garlic, and those precious toasted pine nuts. Plus, let’s not forget a generous helping of parmesan and a good glug of peppery olive oil.

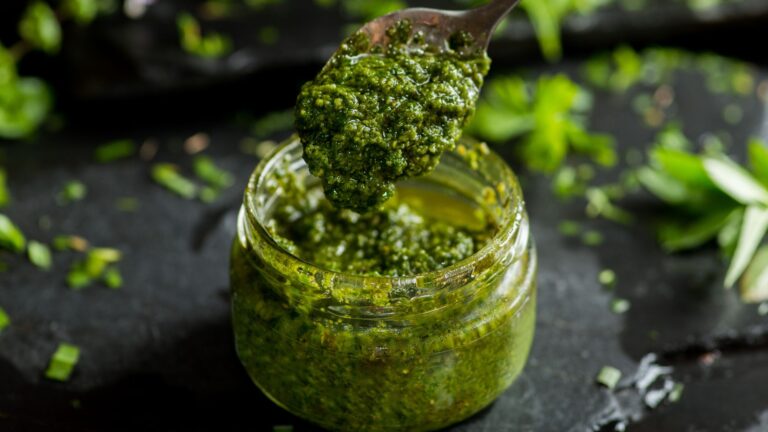
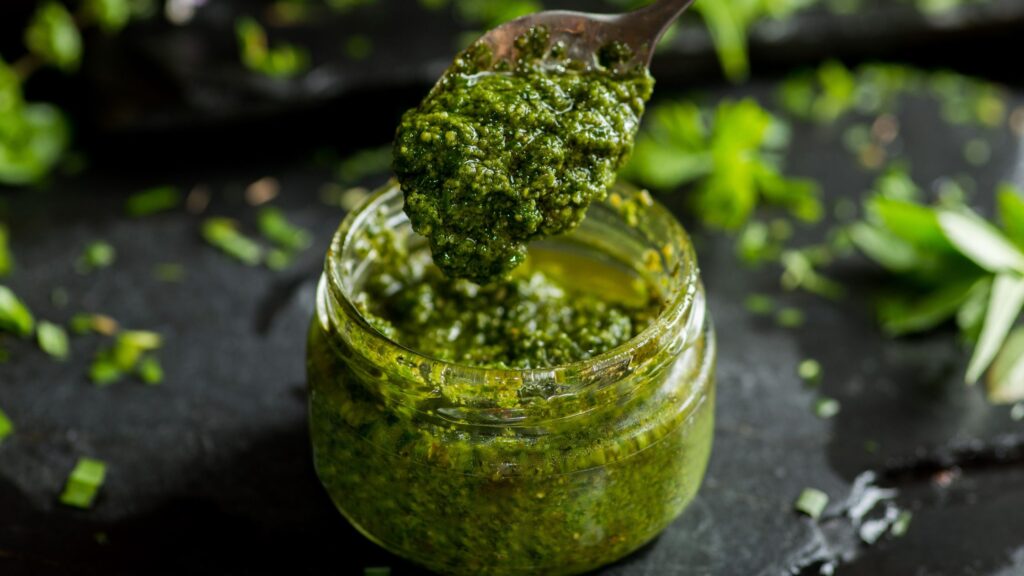
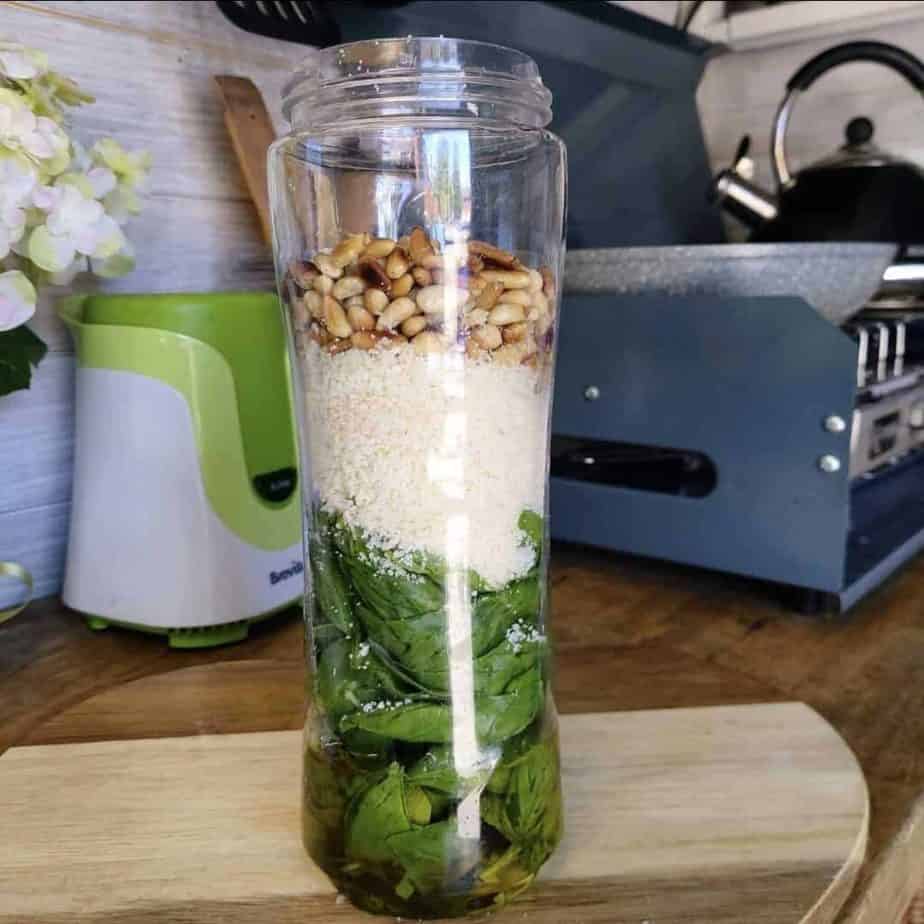
Pesto in a jar

The Italian Secret to Perfect Pesto

In Italy, making pesto is almost a sacred art, complete with rules and traditions, including the correct way to use your pestle and mortar. The name ‘pesto’ itself comes from the Italian for ‘pounded’, and in its full glory, it’s known as ‘pesto alla Genovese’, hailing from Genoa. The traditional recipe features a medley of local ingredients: basil (preferably Genovese, kissed by the sea air), Vessalico garlic, top-notch extra-virgin olive oil, parmesan, and Sardinian pecorino.

In the UK, while you might not get your hands on all these specific ingredients without breaking the bank, the key lies in quality. Choose a fine bottle of extra-virgin olive oil, toast your pine nuts to avoid the stale pre-toasted variety, and use only the freshest basil. As for the cheese, go for a blend of two-thirds parmigiano reggiano and one-third pecorino romano – a perfect mix of sweet complexity and sharp saltiness.

To Pound or to Whizz?

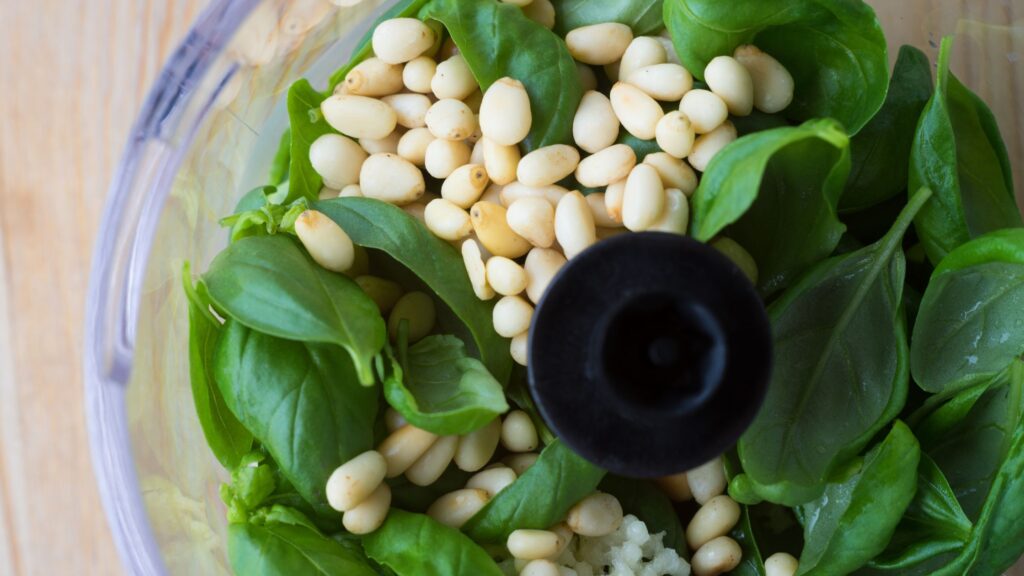
When it comes to making pesto, you’ve got two choices: the traditional pestle and mortar or the modern food processor. If you’re not in a rush, try the old-school way. It’s not just about authenticity; there’s something almost meditative about crushing and grinding the ingredients by hand. But, let’s be real, we all love the convenience of a food processor and especially our favourite vanlife gadget the Zyliss manual food processor. Just remember to add your basil later in the process and drizzle in the oil gradually.

pesto in a manual blender
pesto in a blender

Cooking Pesto? No Way!

Here’s a golden rule: never cook your pesto. The magic of pesto lies in its raw, vibrant flavors. Once your pasta is cooked, let it cool for a bit before mixing in the pesto. This keeps the flavors intact without turning your dish into a flavorless mush.

The Perfect Pasta Shape

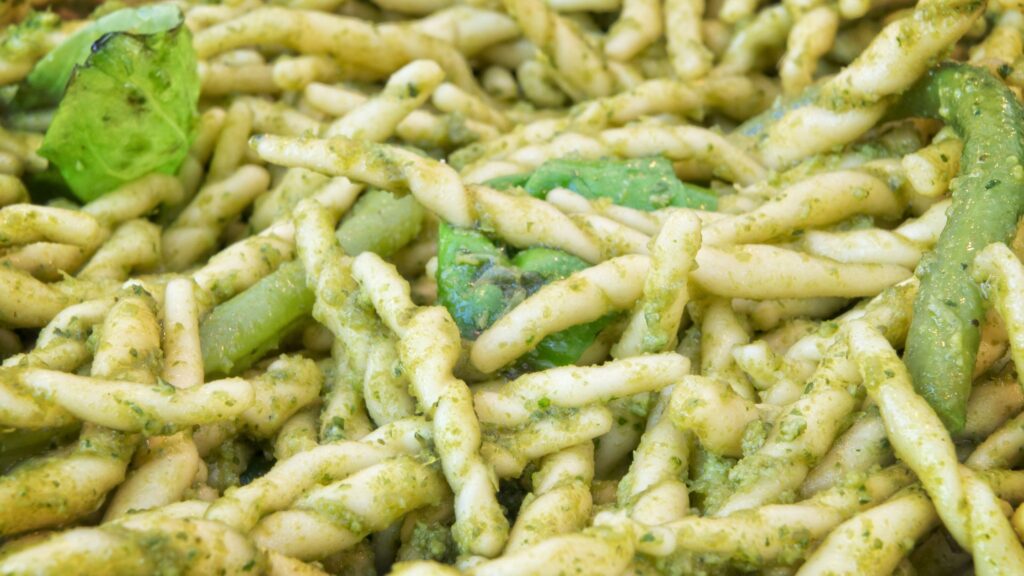
Now, about pasta shapes. Forget about penne; it’s just too mundane for a sublime sauce like pesto. Instead, look for Ligurian trofie – short, thin, and twisted, perfect for holding onto every bit of that pesto goodness. Can’t find trofie? No worries, try casarecce, strozzapreti, or fusilli – they all do a fine job.

Ligurian trofie pasta

Elevating Pesto Pasta

Pesto and pasta alone are fantastic, but why not jazz it up a bit? A traditional addition is green beans and potatoes, creating a dish known as pasta alla Liguria. This not only adds texture but also a satisfying starchiness. No potatoes? Try white beans like cannellini or butter beans. And if you’re deviating from tradition, frozen peas can be a great substitute for green beans.

The Bottom Line

We have a few pesto pasta recipes and every one is a winner for any vanlife foodie. It’s all about balancing simplicity with quality ingredients. Whether you’re a stickler for tradition or a fan of the food processor, the end goal is a delicious, easy-to-make dish that brings a touch of Italian flair to your vanlife kitchen adventures.

Checkout some of our pesto recipes here

MeShell’s Diner Tamalè Pie

0

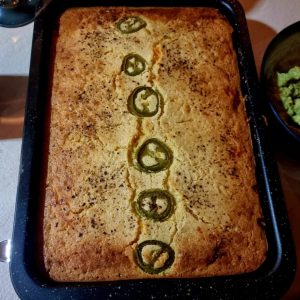
Tamalè Pie combines the heartiness of traditional tamales with the ease of a pie. Ideal for vanlife cooking, this recipe layers cornbread with a savoury filling of spiced meat and cheese, baked together until bubbly and golden. Prepare the cornbread from scratch or use ready-made for convenience. The filling, customisable with your choice of meat or vegetarian options, simmers to perfection on a portable stove. Topped with melted cheese, this Tamalè Pie is a comforting, one-dish meal perfect after a day of adventures, easily cooked and enjoyed in the cosy confines of your campervan.

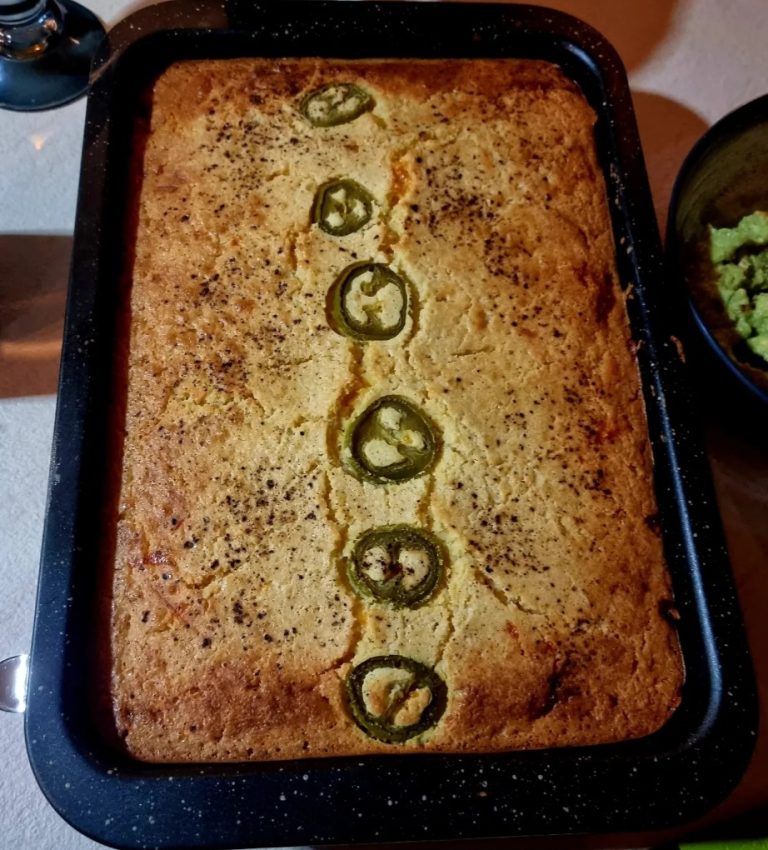
Serve with your choice of my guacamole dip or sour cream, re-fried beans or even a green salad if your feeling healthy. Quick instructions are:Make a batch of your favourite chilli, pour into a baking dish or Omnia, top with grated cheddar cheese and my cornbread recipe. Bake at about 180c until cornbread is brown & done. (When a knife comes out clean after poking)That’s it! Hope you like and enjoy. Please leave a comment if you try this recipe.

Click here for MeShells Chilli recipe
Click here for MeShells Cornbread recipe
Click here for Amerimanx_travels on Instagram

MeShell’s Diner Tamalè Pie

amerimanx_travels
Meat Based
This recipe is quick, easy and oh so tasty.
5 from 1 vote
Leftovers
Prep Time 25 minutes
Cook Time 1 hour
Total Time 1 hour 25 minutes
Course Baking, Brunch, Dinner, Lunch, Main Course
Servings 4 people
Diet Meat Based

Equipment

Ingredients
  

  • Chilli enough to fill baking dish ½ full
  • Grated Cheddar Cheese use your discretion
  • Cornbread recipe top chilli and cheese with enough mix to leave room for cornbread to rise and bake
  • Jalapeño to top if desired

Instructions
 

  • Make a batch of your favourite chili, pour into a baking dish or Omnia, top with grated cheddar cheese and my cornbread recipe. Bake at about 180c until cornbread is done…that’s it.
Keyword chilli, leftovers, pie
Tried this recipe?Let us know how it was!

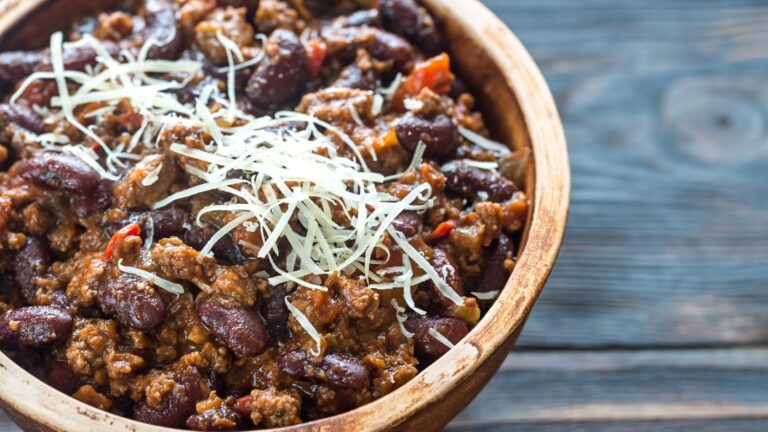
MeShell’s Diner Tex-Mex Chilli con Carne

0

“MeShell’s Diner Tex-Mex Chilli con Carne” is a hearty and flavorful dish perfect for campervan cooking. This recipe is perfect for those craving a hearty, flavorful dish while on the road. Packed with rich spices, tender meat, and a variety of beans, it’s a one-pot wonder that’s easy to whip up in a campervan kitchen. The blend of Tex-Mex flavors ensures each bite is bursting with taste, making it an ideal meal for chilly evenings or a comforting lunch. Serve this chili with a side of cornbread or over rice, and you’ve got a satisfying meal that brings a touch of home wherever your travels take you.

Be sure to check out: Amerimanx_travels

MeShell's Diner Tex-Mex Chilli con Carne

MeShell’s Diner Tex-Mex Chilli con Carne

amerimanx_travels
Meat Based
Chilli con Carne means chilli with meat. You can use stewing steak, ground beef mince, ground turkey, ground pork, or ground chicken.
5 from 1 vote
Stove top meal
Prep Time 5 minutes
Cook Time 2 hours
Total Time 2 hours 5 minutes
Course Dinner
Servings 4 Vanlifers
Diet Meat Based

Equipment

  • 1 Dutch oven/soup pot
  • 1 Stove top/gas ring
  • 1 Measuring spoons
  • 1 Measuring cup
  • 1 Stirring spoon
  • 1 Ladle

Ingredients
  

  • 2 tbsp Vegetable Oil
  • 1 tsp Salt To taste
  • 1 tsp Pepper
  • 500 g Beef Mince
  • 1 Yellow Onion Medium in size
  • 1 Bell Pepper
  • 2 Garlic Cloves Minced
  • 2 tsp Ground Cumin
  • 2 tsp Smoked Paprika
  • 1 tsp Marjoram
  • 1/4 tsp Cayenne Pepper
  • 1 tbsp Cocoa Powder Unsweetened
  • 3 cups Beef Broth
  • 2 Bay Leaves
  • 400 g Tomatoes Crushed
  • 400 g Red Kidney beans Drained and rinsed

Instructions
 

  • Heat the vegetable oil in a large Dutch Oven or pot over medium-high heat.
  • Add the beef to the pot and brown in batches so as not to overcrowd the pot.
  • Once browned, add the onion and bell pepper, stirring and cooking until they are soft.
  • Reduce the heat to low and add the garlic, chili powder, ground cumin, smoked paprika, cocoa powder, marjoram, and cayenne pepper.
  • Cook for 1 minute while stirring constantly.
  • Add the beef broth and bay leaves, cover, and simmer for about one hour.
  • Add the can tomatoes, red kidney/ black beans, Cover and simmer for about 2 more hours or until desired consistency. Make sure to stir often to avoid sticking to bottom of pan.
  • Ladle into bowls and garnish with sour cream, minced jalapeno, and cheddar cheese.

Nutrition

Calories: 507kcalCarbohydrates: 34gProtein: 34gFat: 27gSaturated Fat: 10gPolyunsaturated Fat: 1gMonounsaturated Fat: 11gTrans Fat: 2gCholesterol: 89mgSodium: 1347mgPotassium: 1253mgFiber: 11gSugar: 6gVitamin A: 2330IUVitamin C: 56mgCalcium: 99mgIron: 7mg
Keyword beans, beef, chilli, no oven, Slow cooked
Tried this recipe?Let us know how it was!

Kashmiri banana curry

1

Big Picnic Demo dish

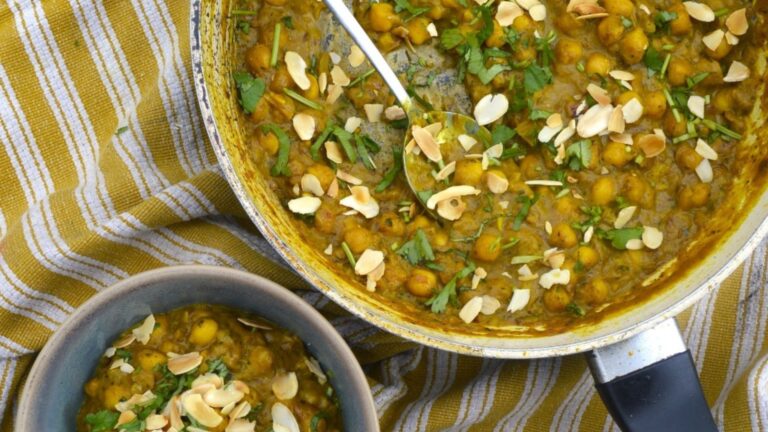
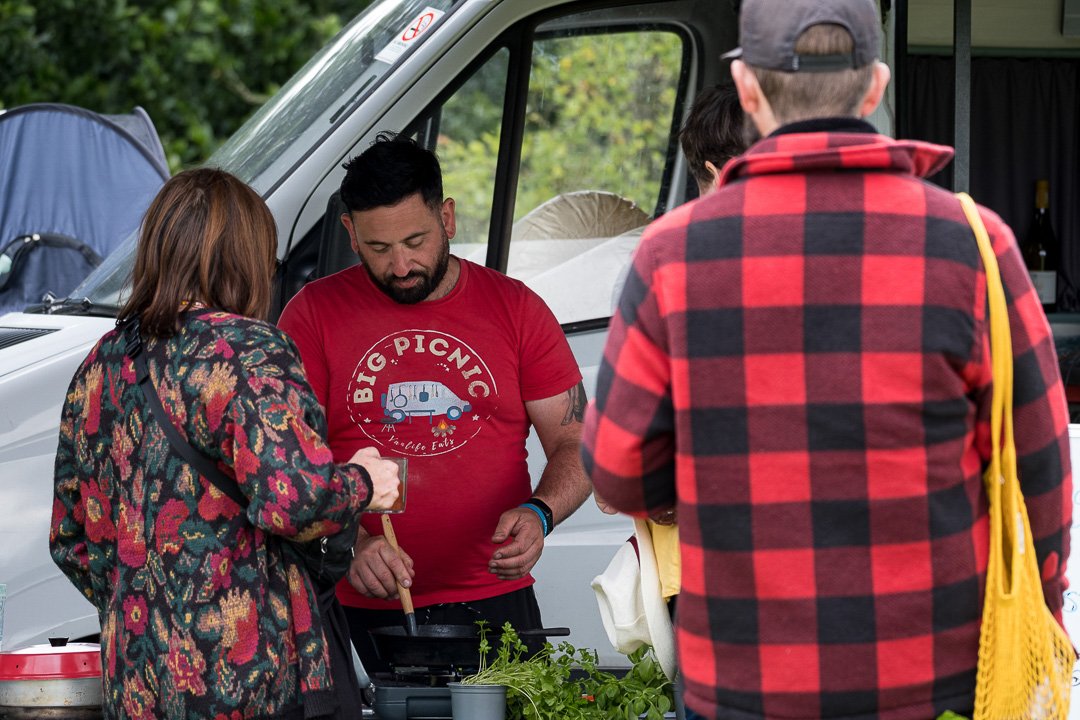
This kashmiri banana curry was demonstrated at the 2023 Vanlife Eats big picnic. The Kashmiri banana curry was demonstrated by Shelley of you.trition. Shelley has worked hard to create an amazing recipe book, In celebration of food. This recipe book has 30 incredible recipes (including this curry!). It has a range of dishes to suit most dietary requirements and tastes. Meals range from a quick 20 minute dish, to a showstopper if you have the time. The main thing is that it celebrates the joy that food can bring. If you would like to buy a copy of Shelley’s recipe book (and let’s face it – who wouldn’t?!) you can buy it from here.

In the meantime, if you have overripe bananas that need using up, give the banana bread a miss and make this beauty instead!

Kashmiri banana curry

Kashmiri style banana and chickpea curry

@you.trition
Vegetarian
This kashmiri style curry uses an ingredient most of us wouldn't consider putting in a curry. Banana! Enjoy with paratha or rice
5 from 3 votes
30 minute meal – One-pan
Prep Time 5 minutes
Cook Time 25 minutes
Total Time 30 minutes
Course Dinner
Servings 2
Diet Vegetarian

Ingredients
  

  • 1 Large white onion
  • 2 cloves Garlic
  • 1/2 Green chilli
  • 1 tbsp Ghee
  • 1 tsp Tumeric
  • 1 tsp Cumin seeds
  • 2 tsp Curry powder
  • 2 Very ripe bananas
  • 200 ml Coconut milk
  • 1 tin Chickpeas
  • 1 tsp Garam masala
  • 1 handful toasted flaked almonds
  • Salt to taste
  • Freshly chopped coriander to serve

Instructions
 

  • Peel and dice the onion. Crush or finely dice the garlic. Finely dice the green chilli. Peel and thinly slice the bananas. Drain the chickpeas.
  • In a frying pan, fry the onions in the ghee over a medium heat for 8-10 minutes, stirring regularly, until soft and slightly browned. Add the garlic and green chilli and fry for a further minute. Add the cumin seeds and fry for 2 minutes. Add the turmeric and curry powder and fry for a further minute, adding a drop of water to loosen if needed.
  • Add the sliced bananas to the spices and stir to coat. Cook for 4-6 minutes until they have broken down into the sauce. Add the coconut milk, ½ tin water and chickpeas and cook for 10-15 minutes, until the chickpeas have softened slightly and the sauce has thickened.
  • Remove from the heat, then stir through the garam masala and salt to taste. To serve, scatter with the toasted flaked almonds, green chilli and freshly chopped coriander.

Notes

Be sure to use super ripe bananas in this dish – the ones that are going brown on the kitchen counter are perfect! These are much sweeter than yellow bananas and give the curry its moreish flavour and silky texture

Nutrition

Calories: 491kcalCarbohydrates: 42gProtein: 8gFat: 37gSaturated Fat: 24gPolyunsaturated Fat: 3gMonounsaturated Fat: 8gTrans Fat: 0.01gCholesterol: 19mgSodium: 20mgPotassium: 911mgFiber: 7gSugar: 18gVitamin A: 110IUVitamin C: 17mgCalcium: 103mgIron: 6mg
Keyword banana, chickpea, Curry, dinner, one pan, vegetarian
Tried this recipe?Let us know how it was!

Ligurian Stockfish stew

0

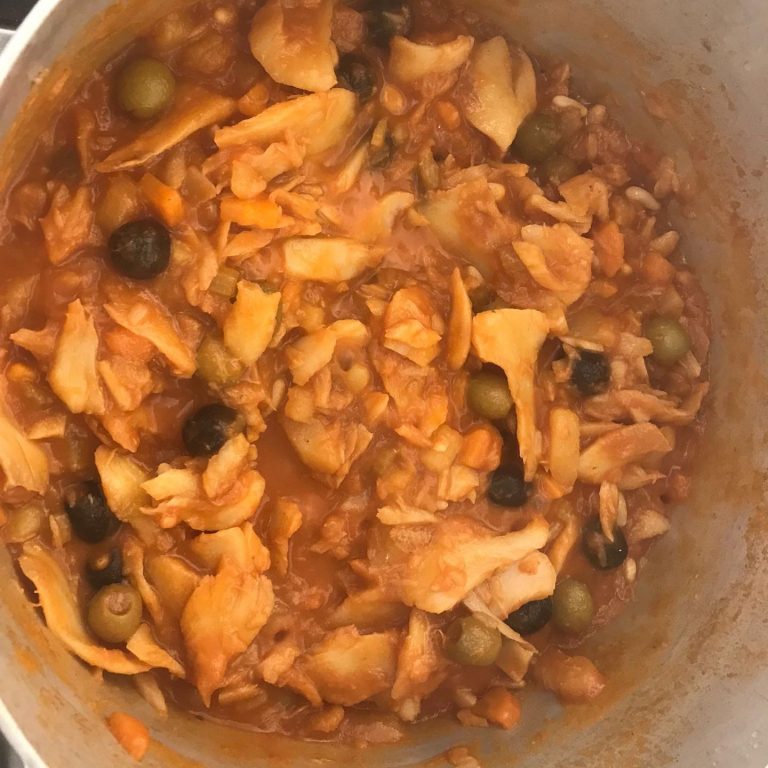
This Ligurian stockfish stew is a simple one pot dish, making it ideal for vanlife. Liguria is a region in North-West Italy. Liguria is the birthplace of pesto. Stockfish is usually made from cod, but can be other kinds of white fish also.

In Liguria this stew is called Stoccafisso Accomodato Alla Ligurie. You can find our other recipes here.

Ligurian fish stew

Liquria stockfish stew

vwt4_furbone
Pescatarian
A Fish-based recipe, which is very simple to prepare
5 from 1 vote
One-pan – Stove top meal
Prep Time 20 minutes
Cook Time 40 minutes
Total Time 1 hour
Course Dinner, Lunch
Servings 4 people
Diet Pescatarian

Equipment

  • Deep Pan

Ingredients
  

  • 600 g Stockfish
  • 50 g Black olives
  • 50 Green Olives
  • 50 g Pine nuts
  • 1 Carrot
  • 1 stick Celery
  • 500 g potatoes
  • 1 clove Garlic
  • 400 ml Passata

Instructions
 

  • Begin by chopping the vegetables into cubes.
  • Add the celery, carrot, garlic, pine nuts, potatoes and olives into a deep pan
  • Remove the bones from the fish and cut the fish into chunks.
  • Keep stirring and after around 10 minutes, add the passata.
  • Put the lid on and cook over a lot heat for around 30 minutes

Nutrition

Calories: 443kcalCarbohydrates: 37gProtein: 34gFat: 20gSaturated Fat: 2gPolyunsaturated Fat: 6gMonounsaturated Fat: 10gCholesterol: 65mgSodium: 1112mgPotassium: 1788mgFiber: 8gSugar: 8gVitamin A: 3443IUVitamin C: 39mgCalcium: 103mgIron: 5mg
Keyword cod, Fish, italian, one pot, Stew
Tried this recipe?Let us know how it was!

Tagliatelle Carbonara

0

Vanlife is all about embracing the simple joys of life on the road, and that includes enjoying delicious homemade meals from the comfort of your campervan.

Simplicity

One of the key appeals of cooking in a campervan is the simplicity it brings to your culinary adventures. Limited space and resources can inspire creativity, and the Tagliatelle Carbonara is a perfect example of how a few quality ingredients can come together to create something truly remarkable.

Minimal Ingredients, Maximum Flavor

With just a handful of key ingredients – pasta, eggs, pancetta, Parmesan cheese, and black pepper – you can create a dish that bursts with flavour. This simplicity not only makes it easy to prepare in the compact kitchen of your campervan but also allows you to fully appreciate the quality of each component.

Time-Efficient Cooking

When you’re on the road, time is often of the essence. The Tagliatelle Carbonara recipe is a blessing for vanlife enthusiasts because it’s quick to prepare. In under 15 minutes, you can have a steaming plate of creamy pasta ready to enjoy by the campfire or under the stars.

The Ultimate Comfort Food

Campervan living can be both adventurous and exhausting, and sometimes all you crave is a comforting, hearty meal. Tagliatelle Carbonara fits the bill perfectly. Its rich and creamy sauce combined with the satisfying chew of fresh pasta makes it the ultimate comfort food, helping you recharge after a day of exploration.

Embracing Authenticity

While campervan cooking often involves making do with what you have, there’s something special about treating yourself to an authentic dish like Tagliatelle Carbonara. It’s a reminder that even in the simplicity of vanlife, you can savor the tastes of distant places and cultures.

Tagliatelle Carbonara is the perfect addition to your vanlife menu. Its simplicity, quick preparation, and comforting appeal make it an ideal choice for campervan cooking. So, as you embark on your next adventure, don’t forget to pack those essential ingredients and savor a taste of Italy while living the vanlife dream.

Tagliatelle Carbonara recipe

Tagliatelle Carbonara

Meat Based
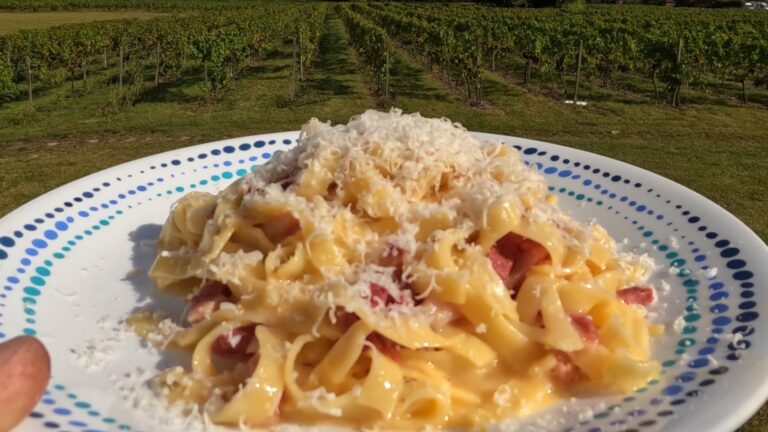
Indulge in the rustic charm of Italian cuisine on the road with our authentic Tagliatelle Carbonara. Cooked to perfection in the cozy confines of a campervan kitchen, this classic dish combines creamy egg, crispy pancetta, and al dente pasta for a taste of Italy wherever your adventure takes you.
5 from 1 vote
10 Ingredients or less – 30 minute meal – 5 ingredients or less – Family friendly – Less washing-up – One-pan – Quick cook – Stove top meal
Prep Time 2 minutes
Cook Time 12 minutes
Course Dinner
Servings 2 Vanlifers
Diet Meat Based

Equipment

Ingredients
  

  • 200 grams Tagliatelle Dried
  • 3 Eggs Medium
  • 125 grams Pancetta
  • 1 cup Parmigiano Reggiano Cheese
  • 1 tsp Black Pepper
  • 1 tbsp Olive Oil

Instructions
 

  • Bring a pan of water to a rolling boil.
  • Add the dried pasta and cook for 6-7 minutes until the pasta is aldente.
  • Pour the pasta including the water into the large bowl.
  • Using the hot pan add a tbsp of Extra Virgin Olive Oil.
  • Add 125g of Pancetta and cook for 3 minutes. Meanwhile…
  • Mix up 2 full eggs and an extra egg yolk into a small bowl along with some salt and pepper.
  • When the fat on the meat starts to brown add the pasta back to the pan. Include a little splash of the pasta water too loosen it all up.
  • Take the pan off the heat and allow to cool a little.
  • Add the egg mix and coat the pasta in the glossy sauce.
  • Serve on two plates with a huge pile of Parmigiano Reggiano Cheese!

Video

Nutrition

Calories: 999kcalCarbohydrates: 75gProtein: 48gFat: 55gSaturated Fat: 21gPolyunsaturated Fat: 8gMonounsaturated Fat: 23gTrans Fat: 0.2gCholesterol: 405mgSodium: 1330mgPotassium: 518mgFiber: 4gSugar: 3gVitamin A: 837IUCalcium: 672mgIron: 4mg
Keyword Easy, italian, pasta, quick
Tried this recipe?Let us know how it was!

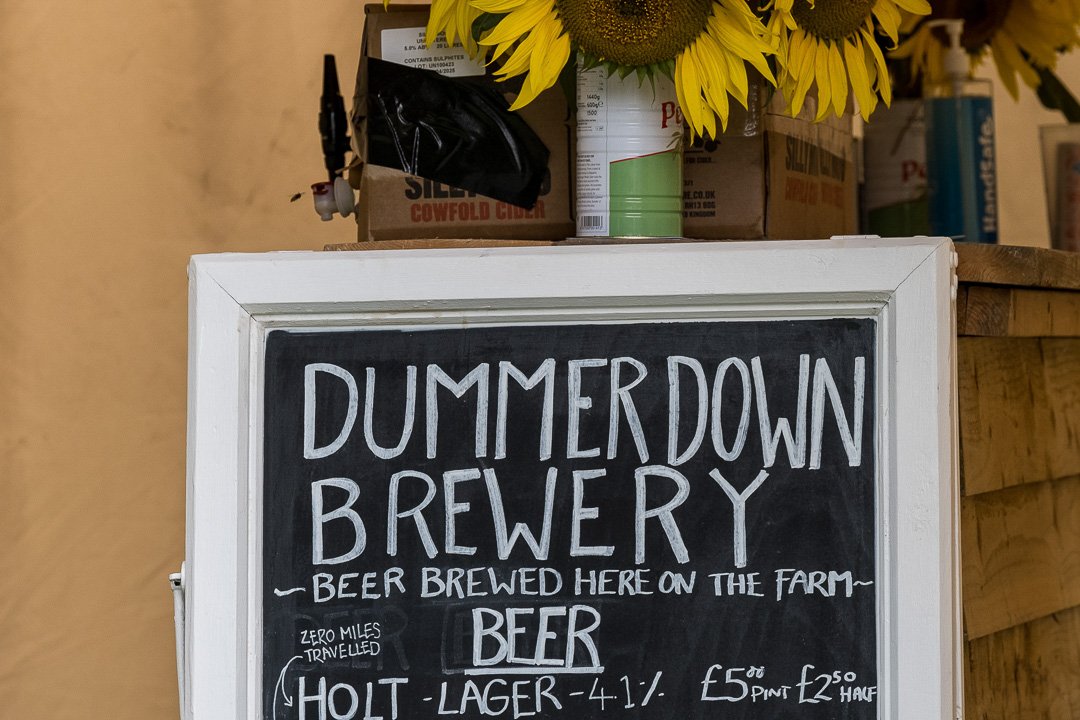
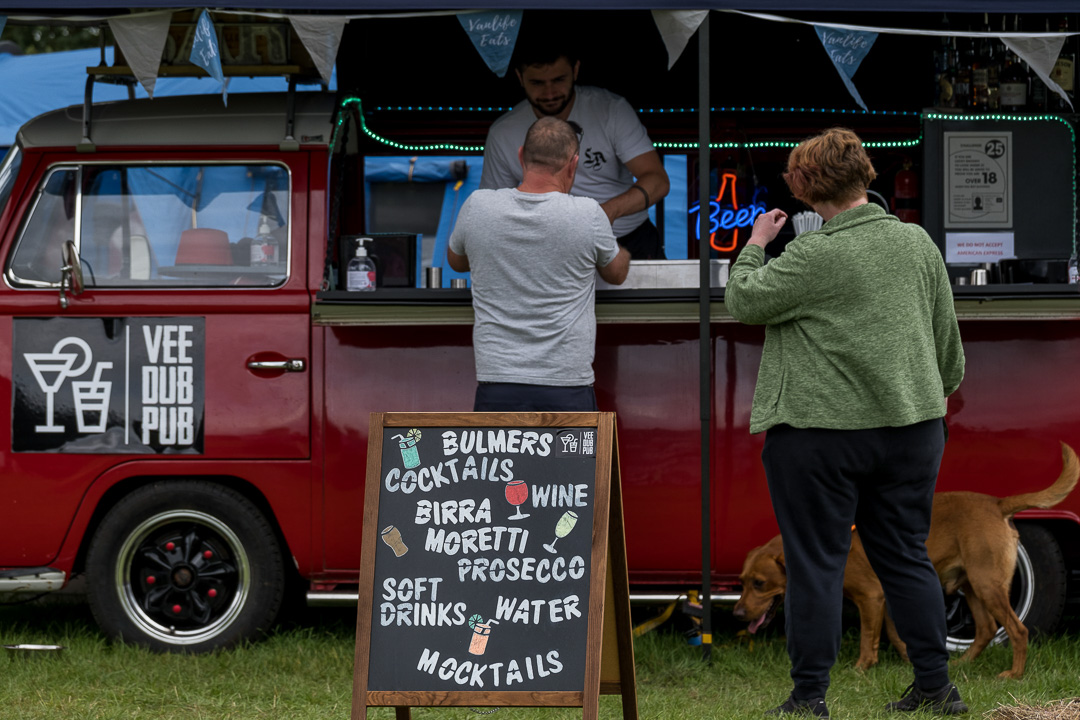
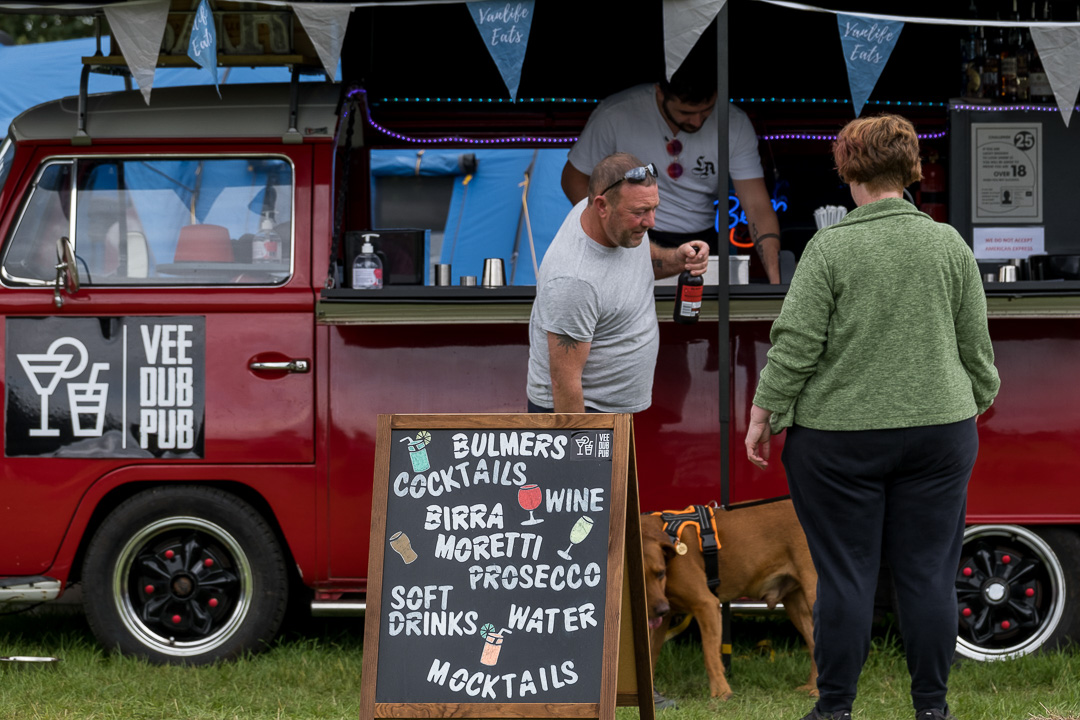
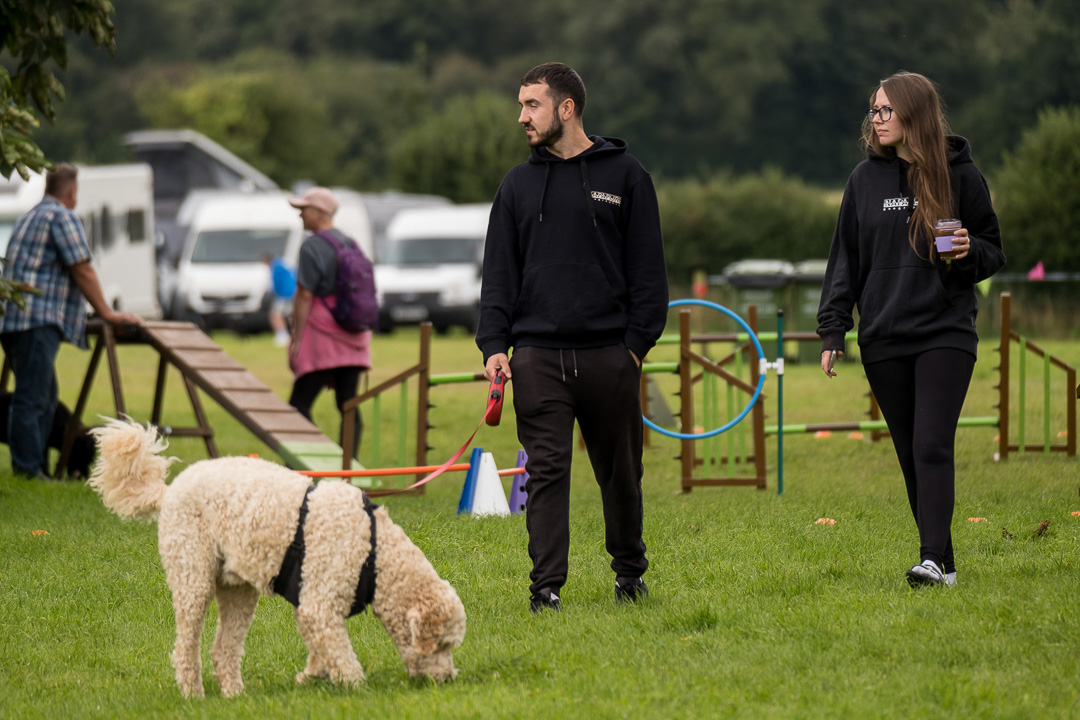
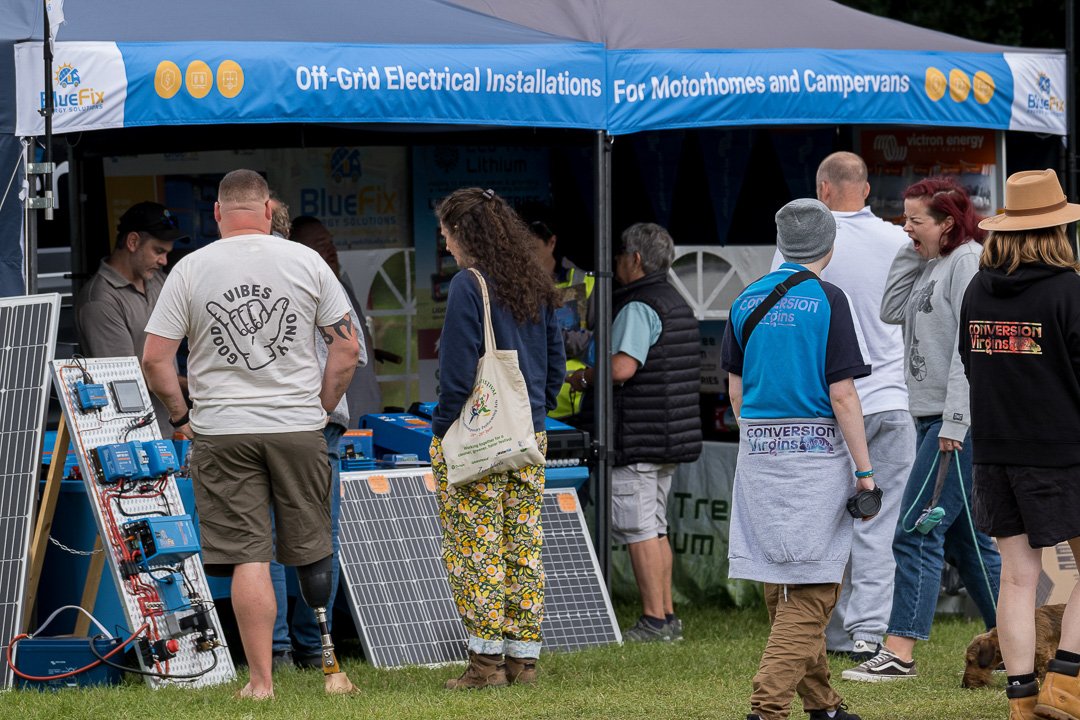
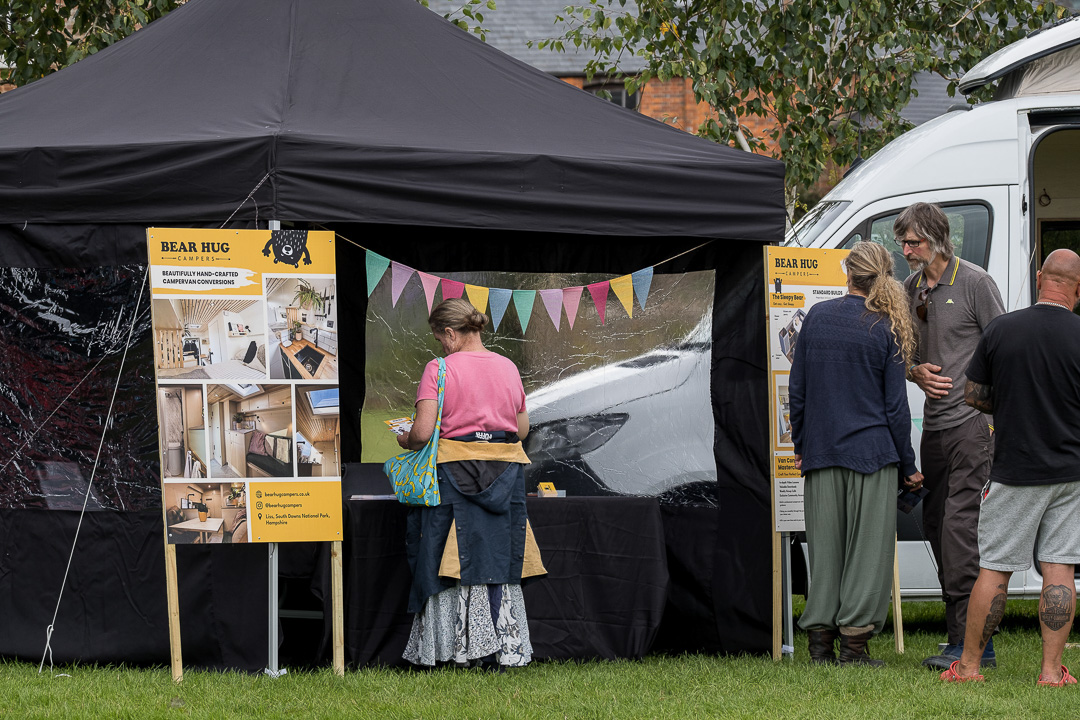
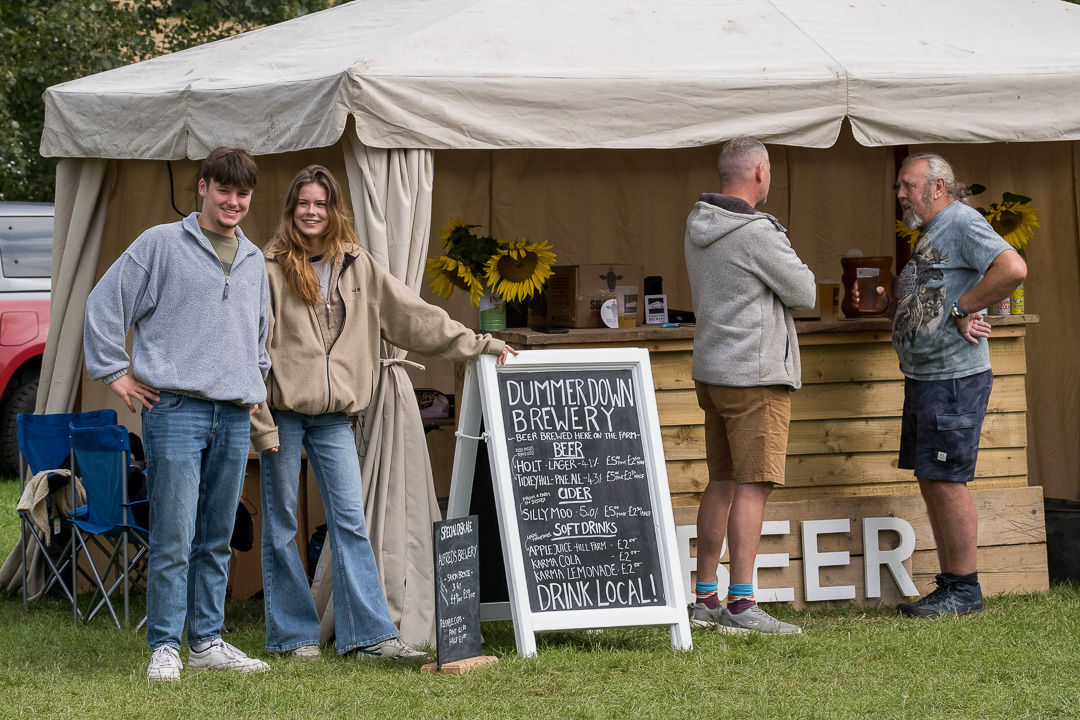
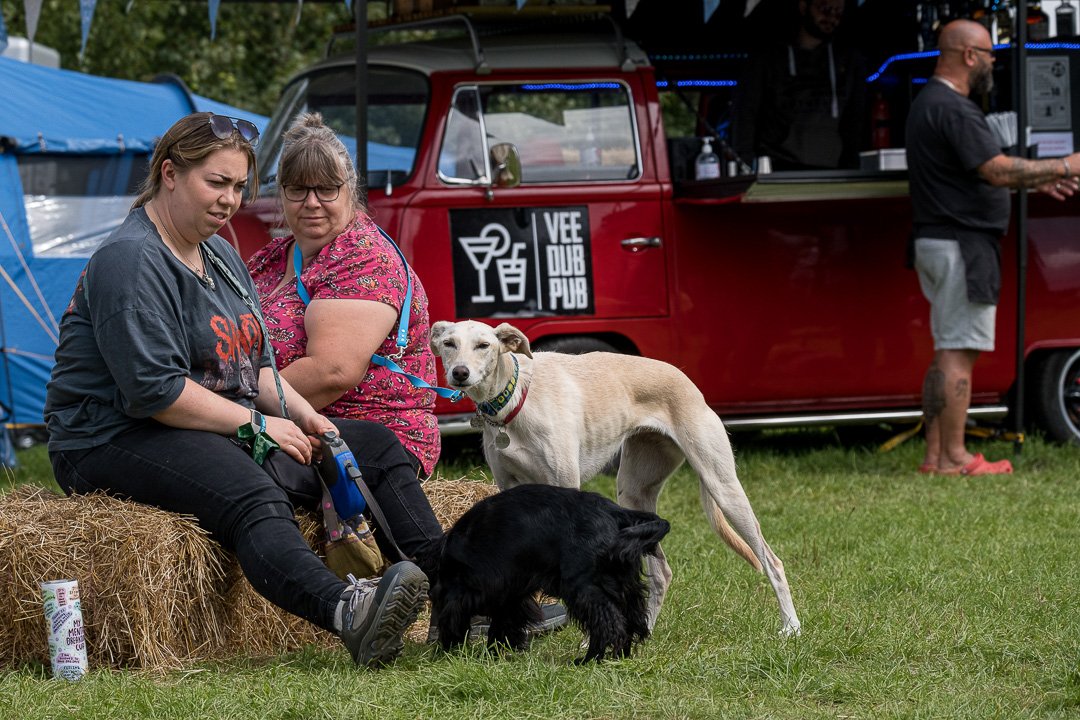
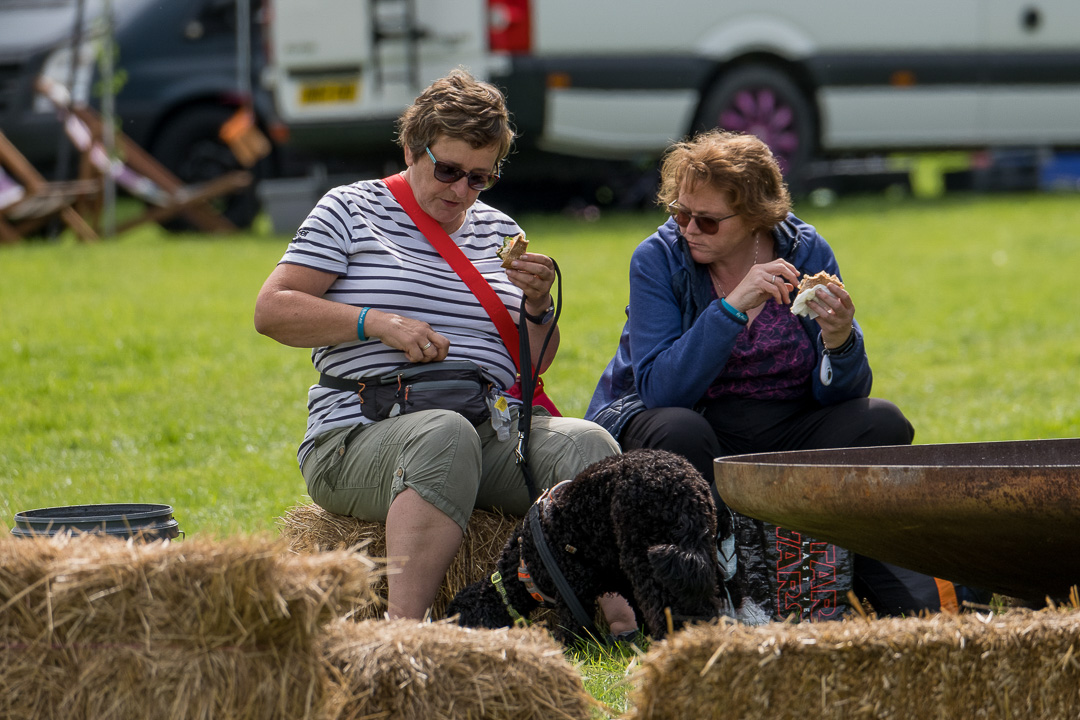
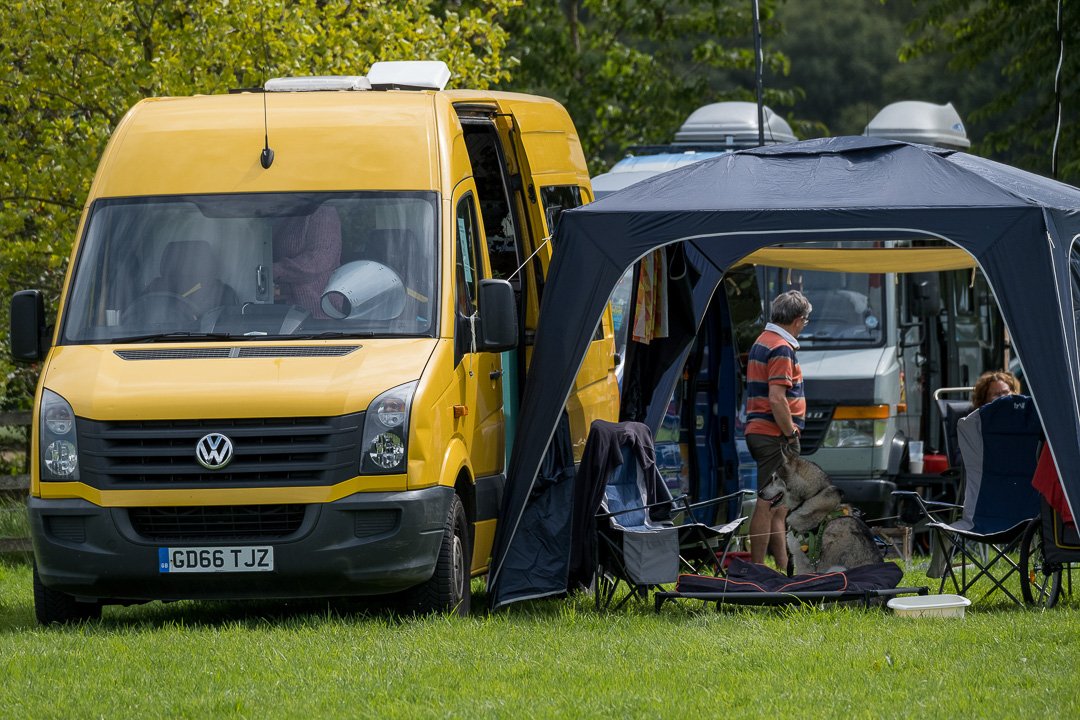
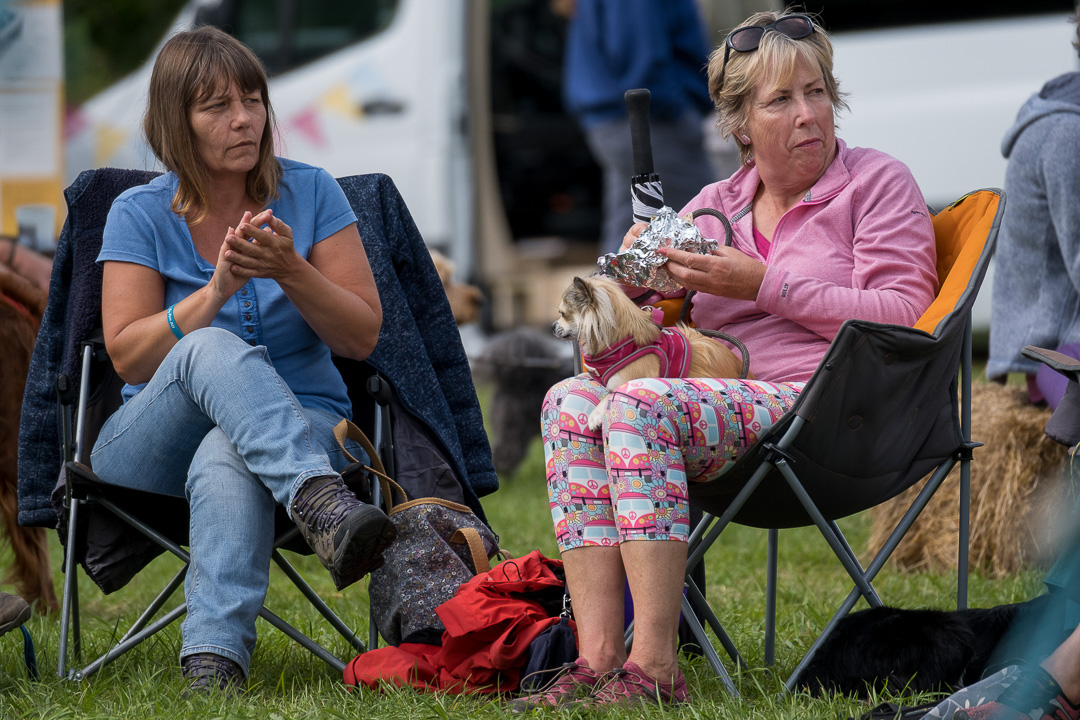
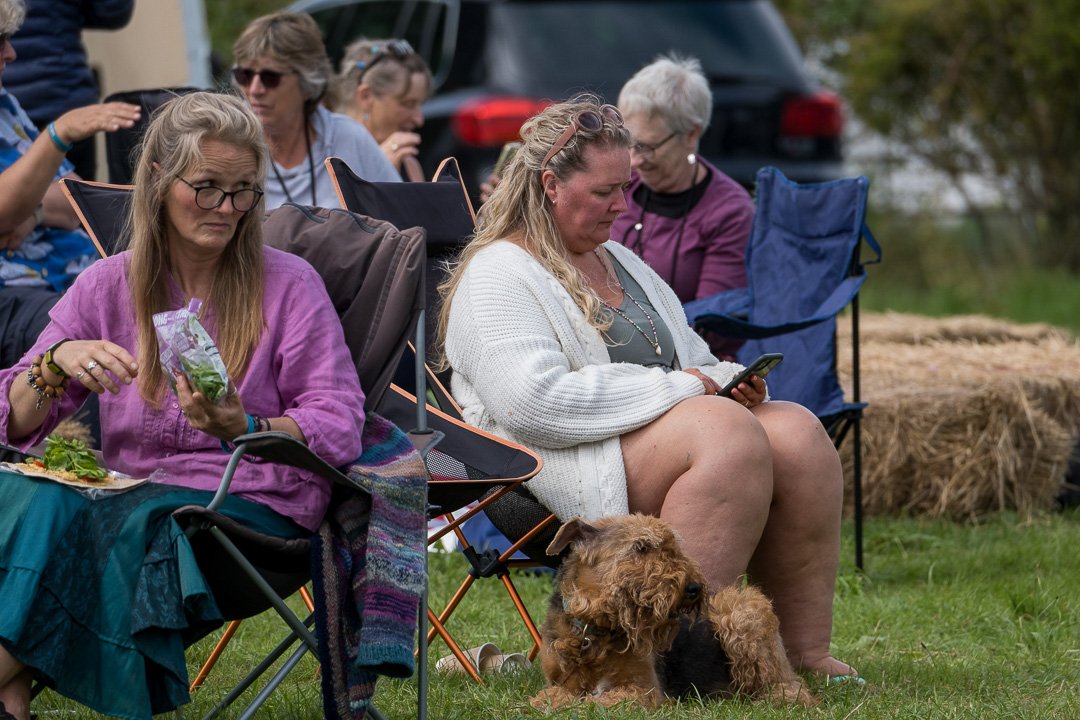
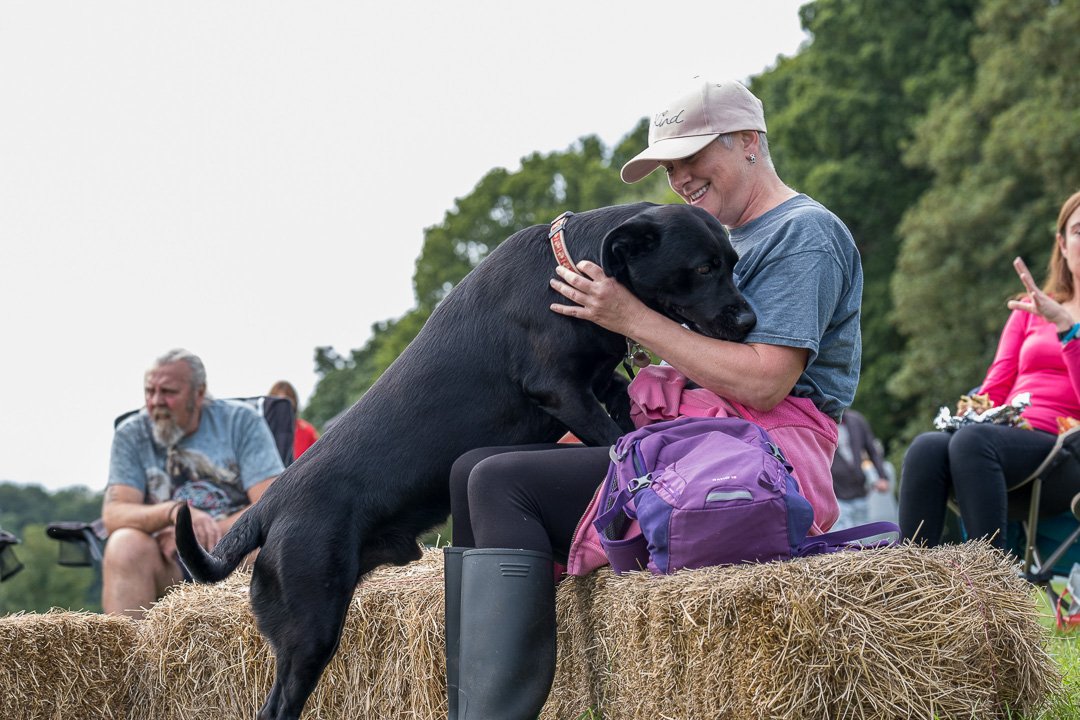
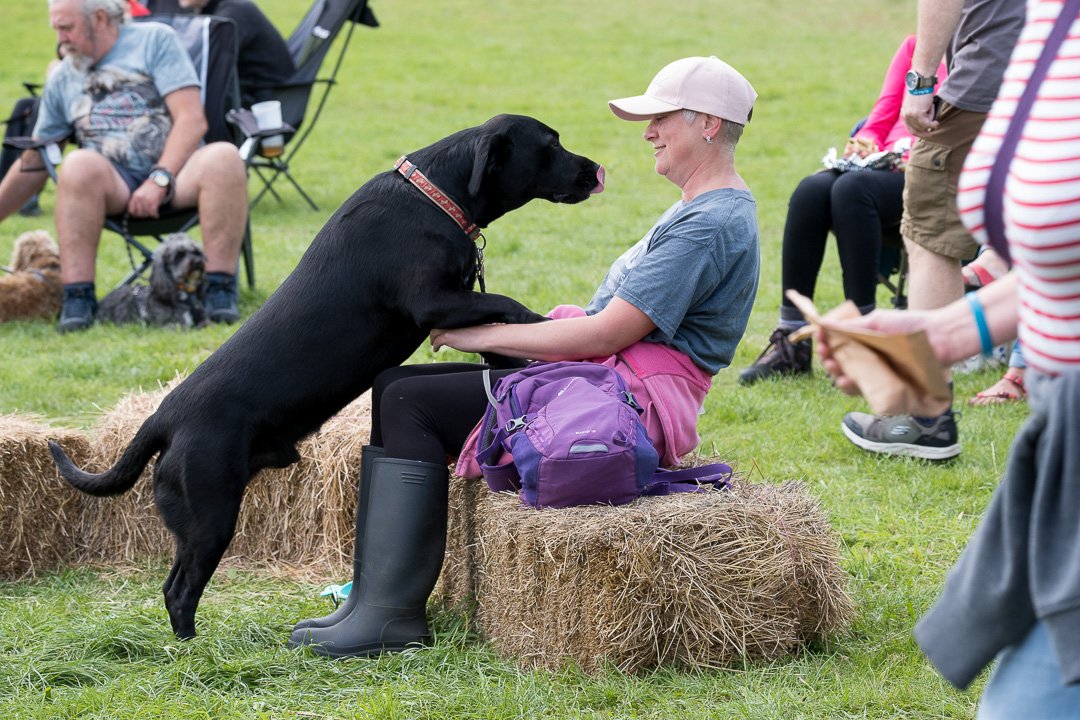
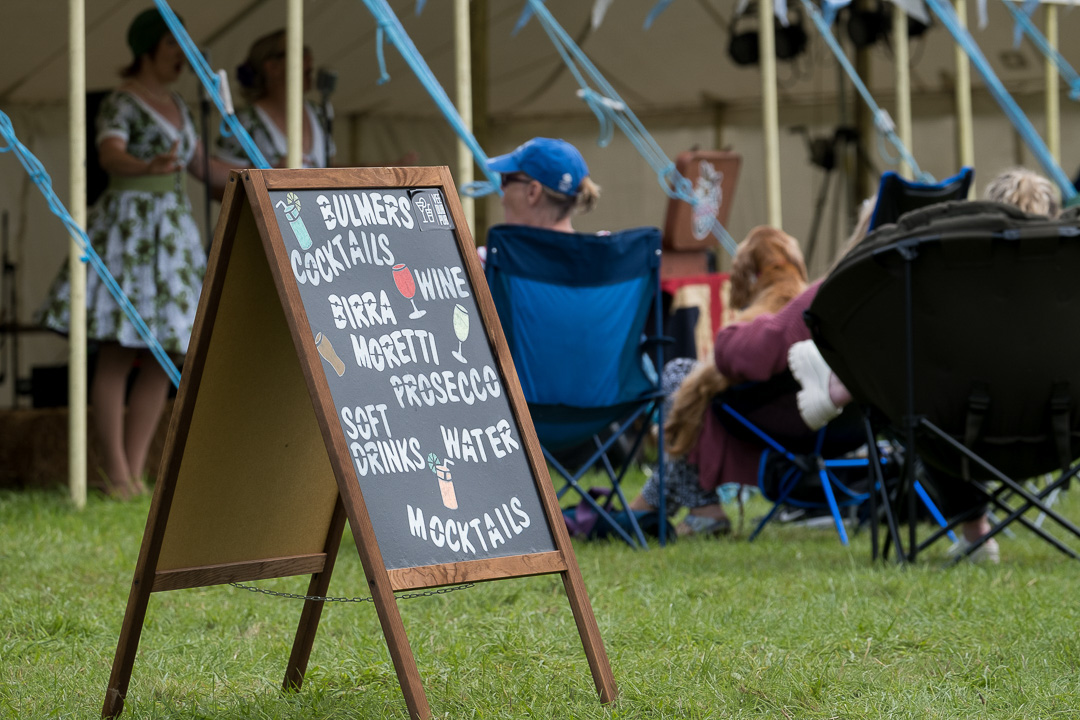
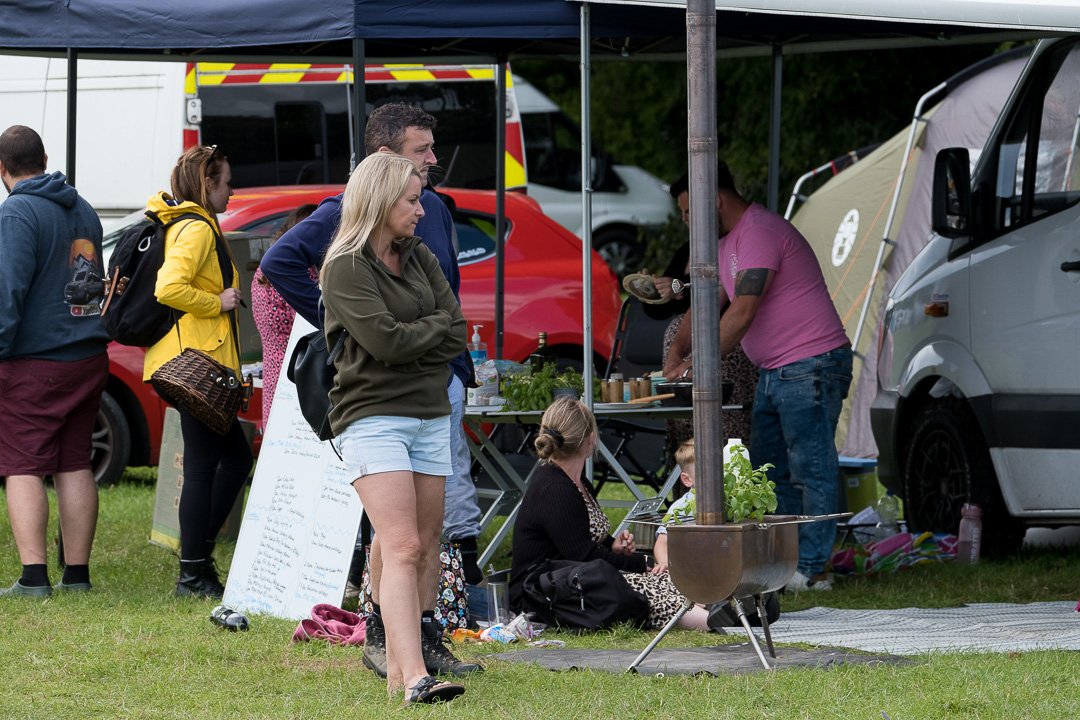
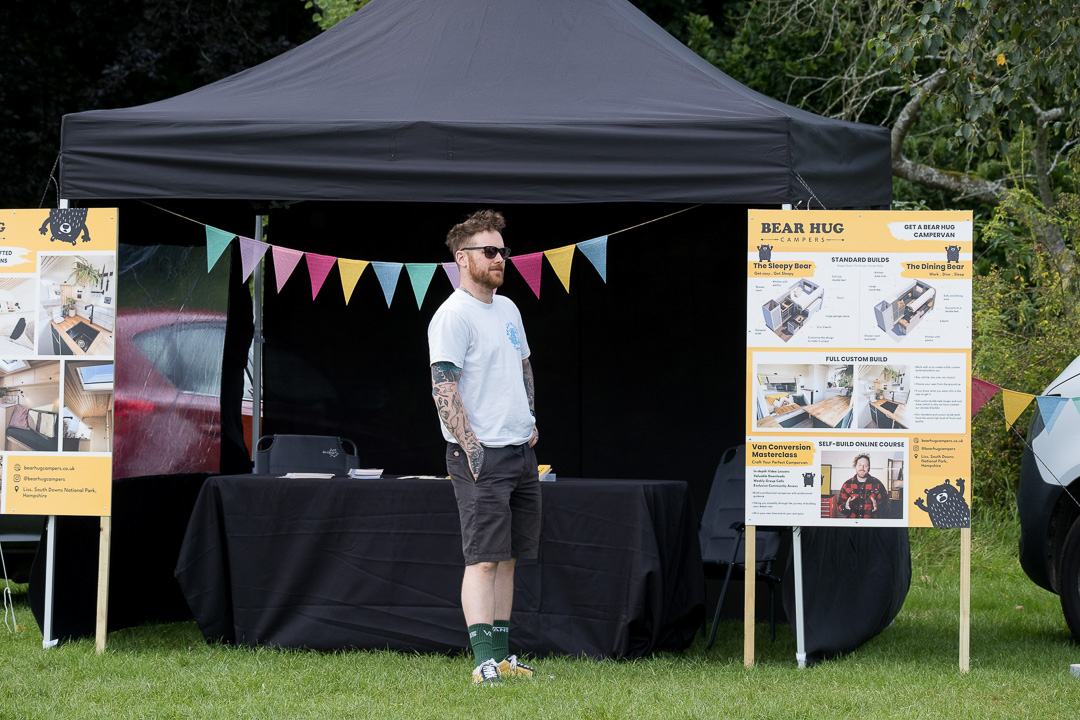
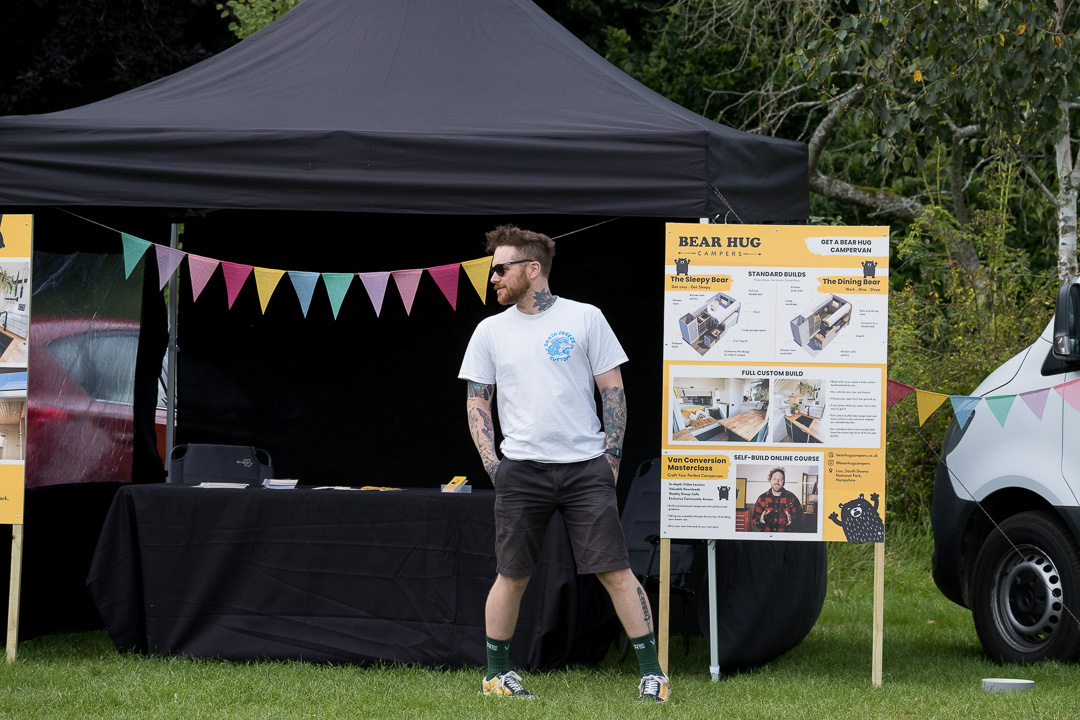
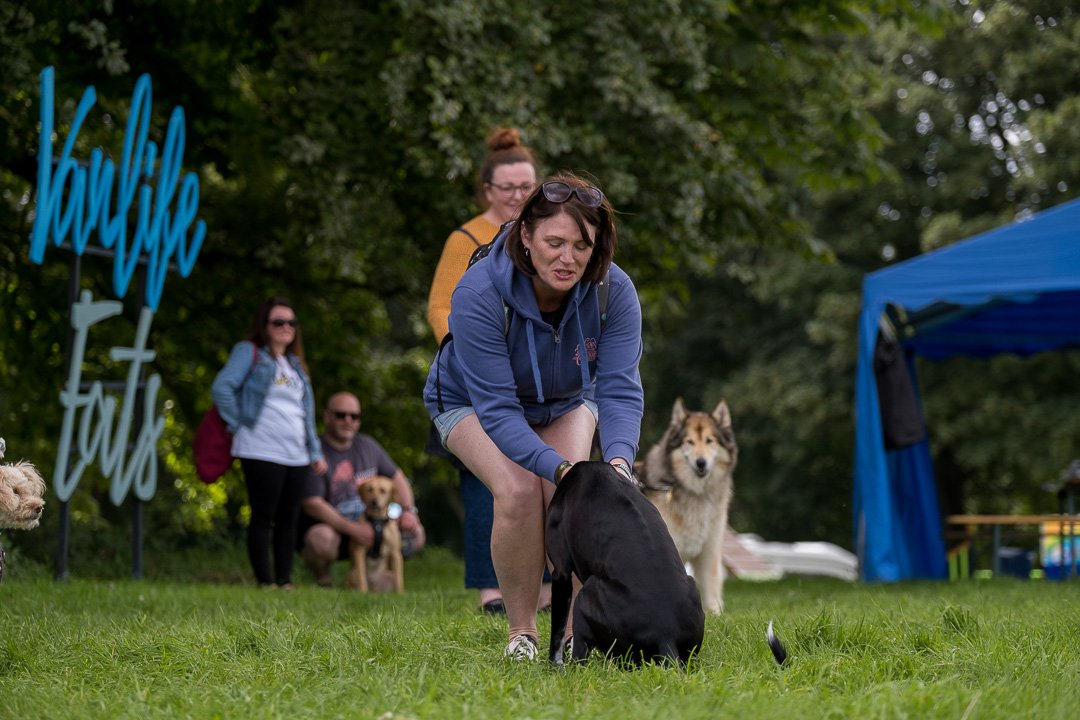
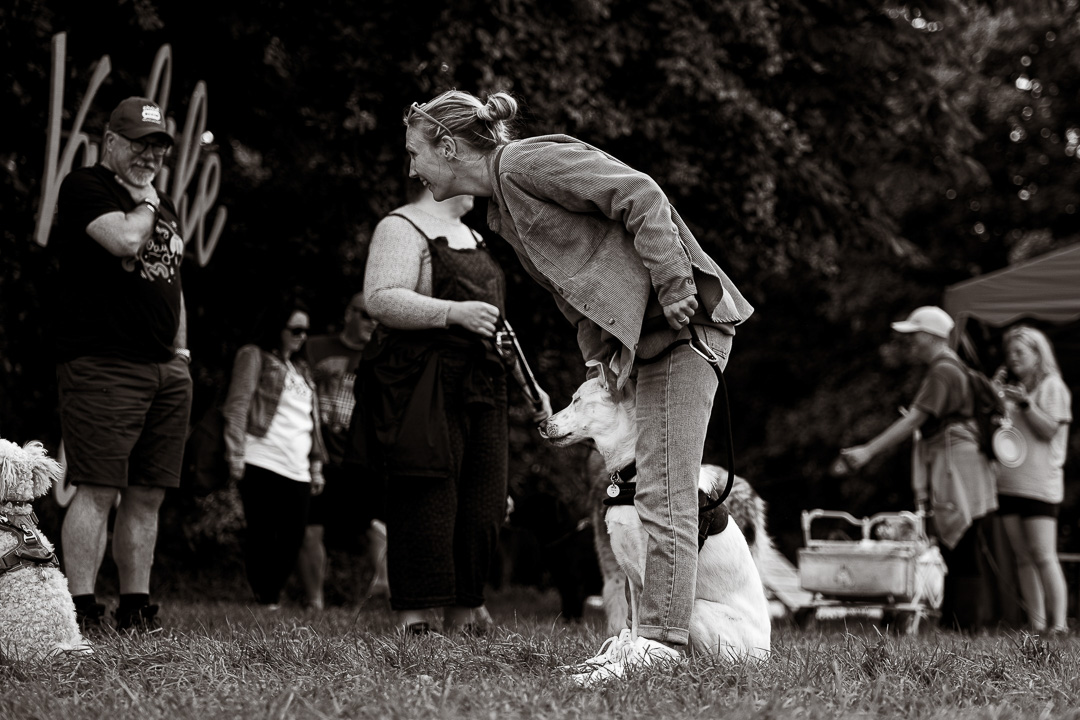
Vanlife Eats Big Picnic 2023

0

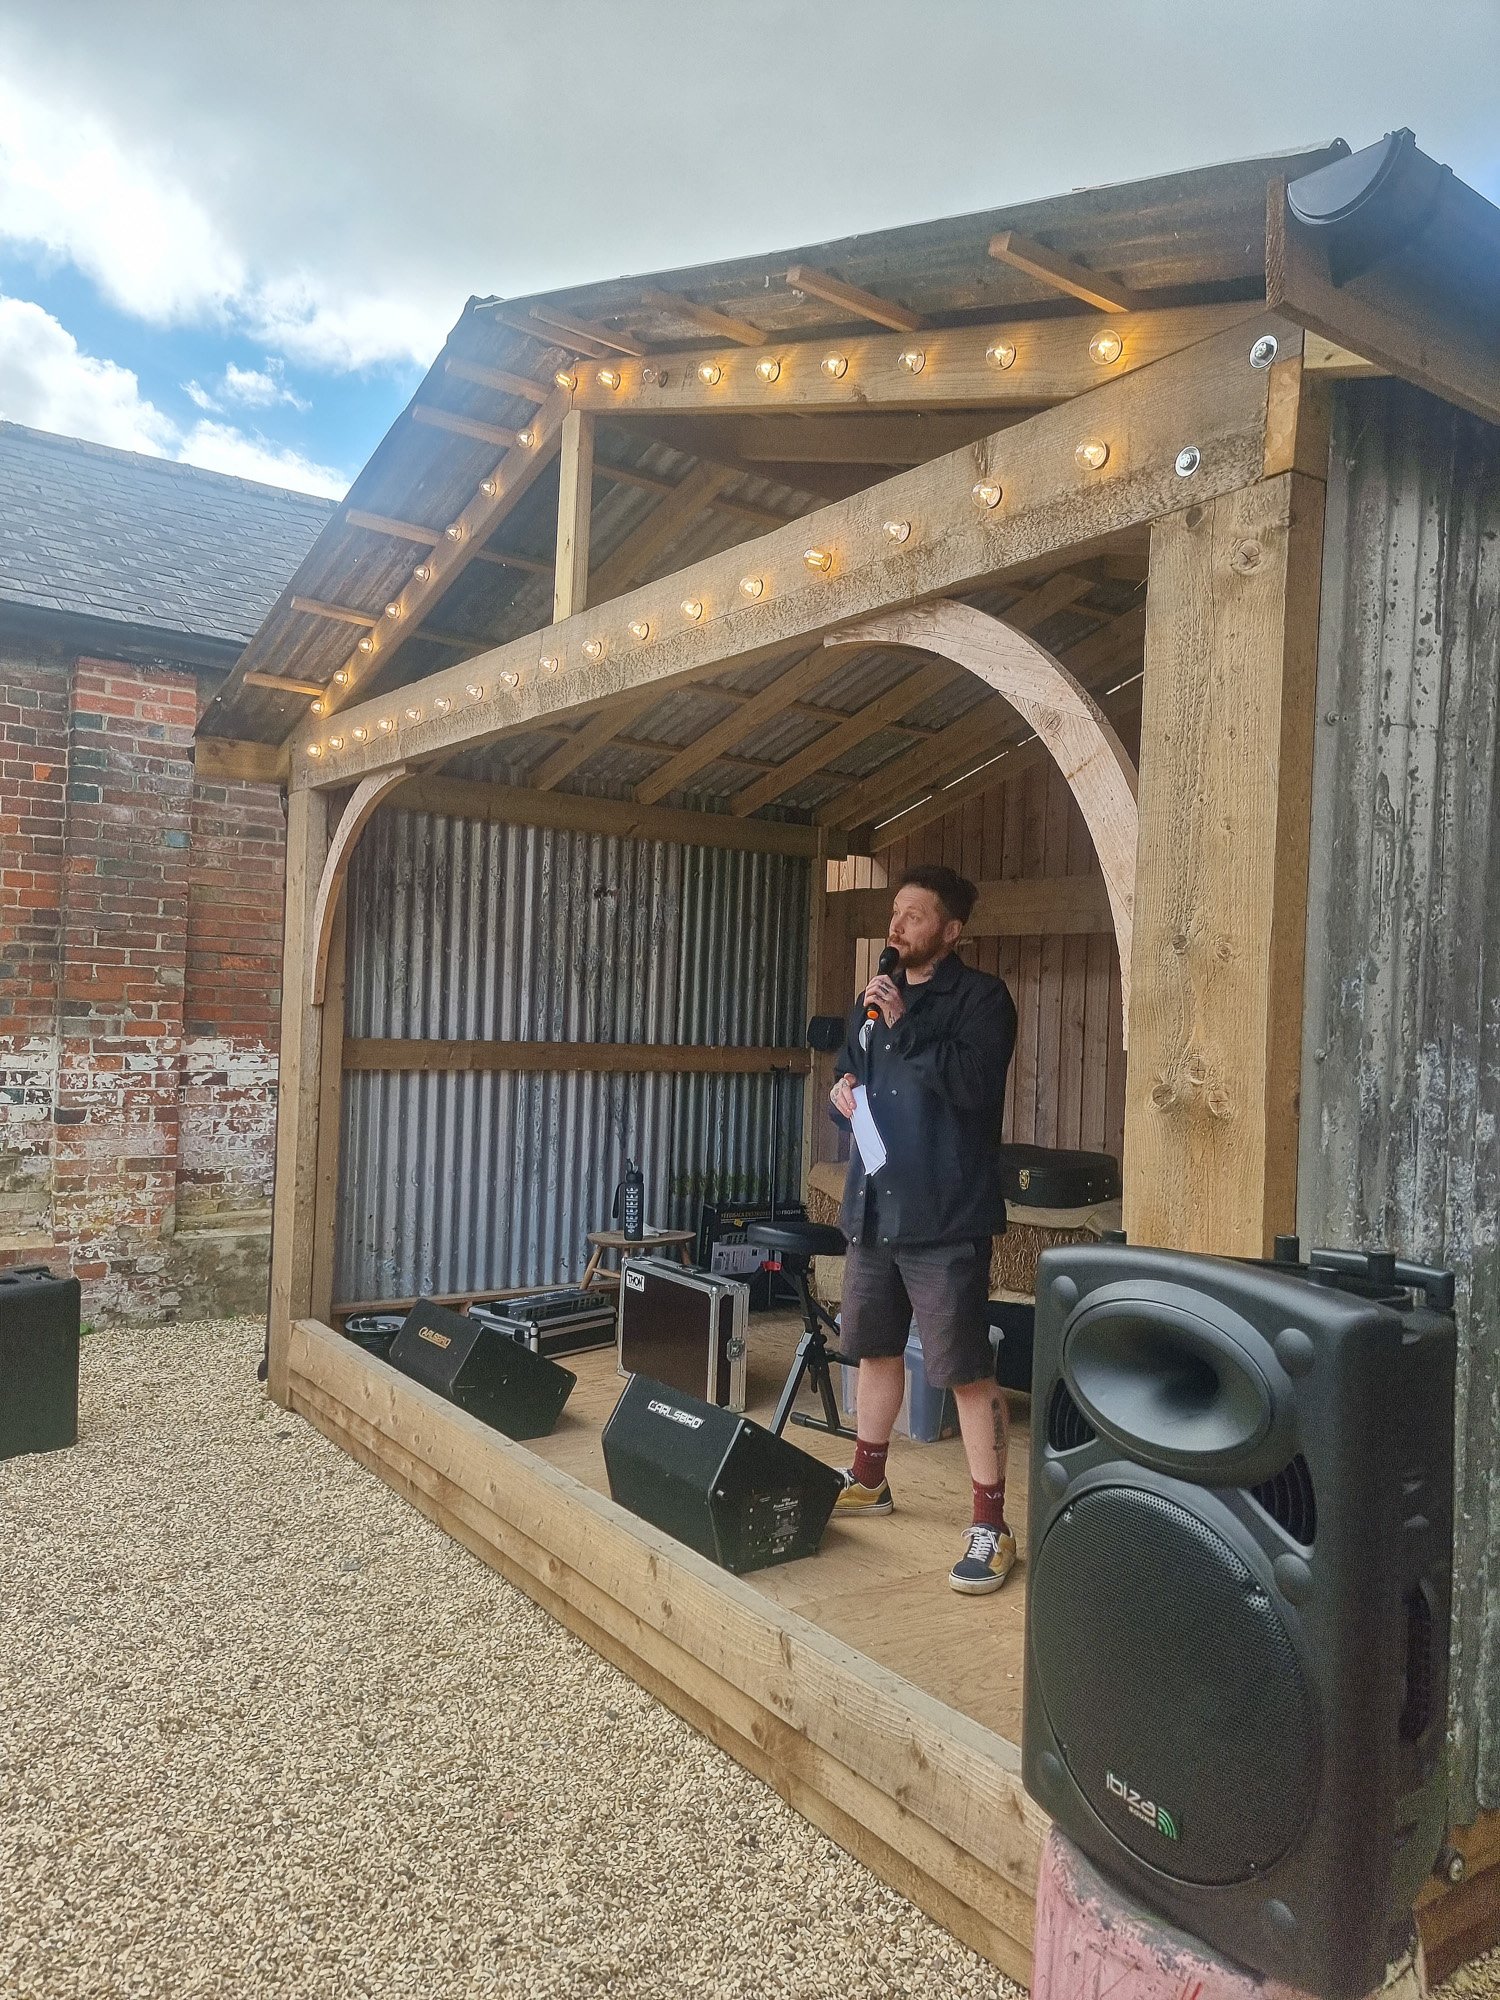
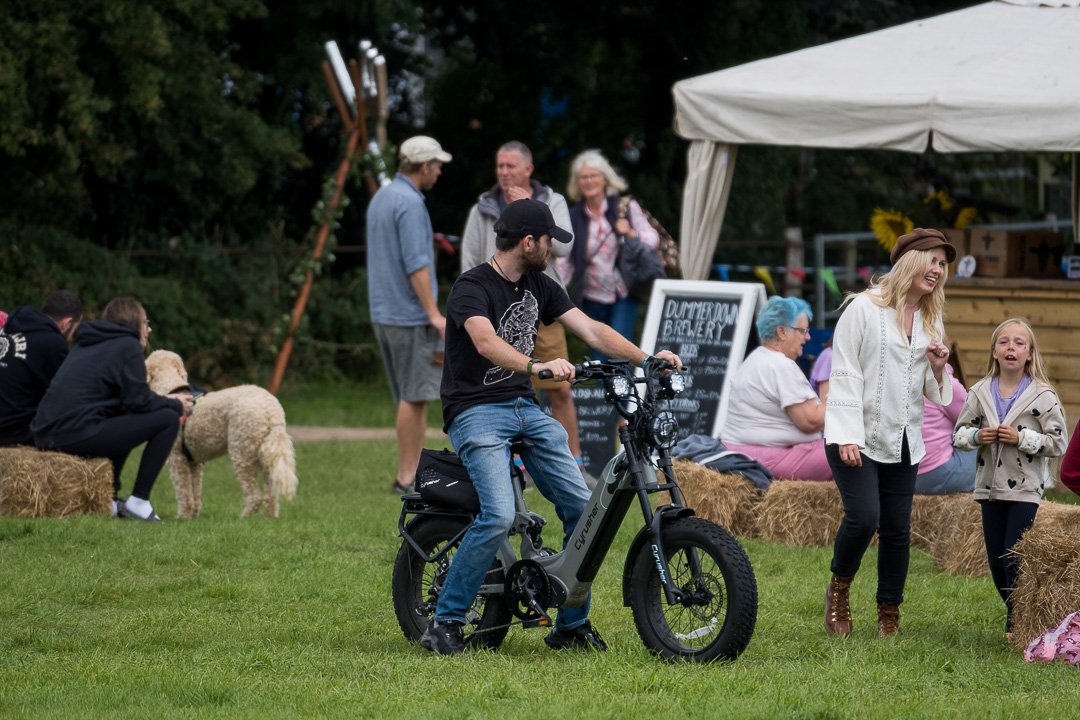
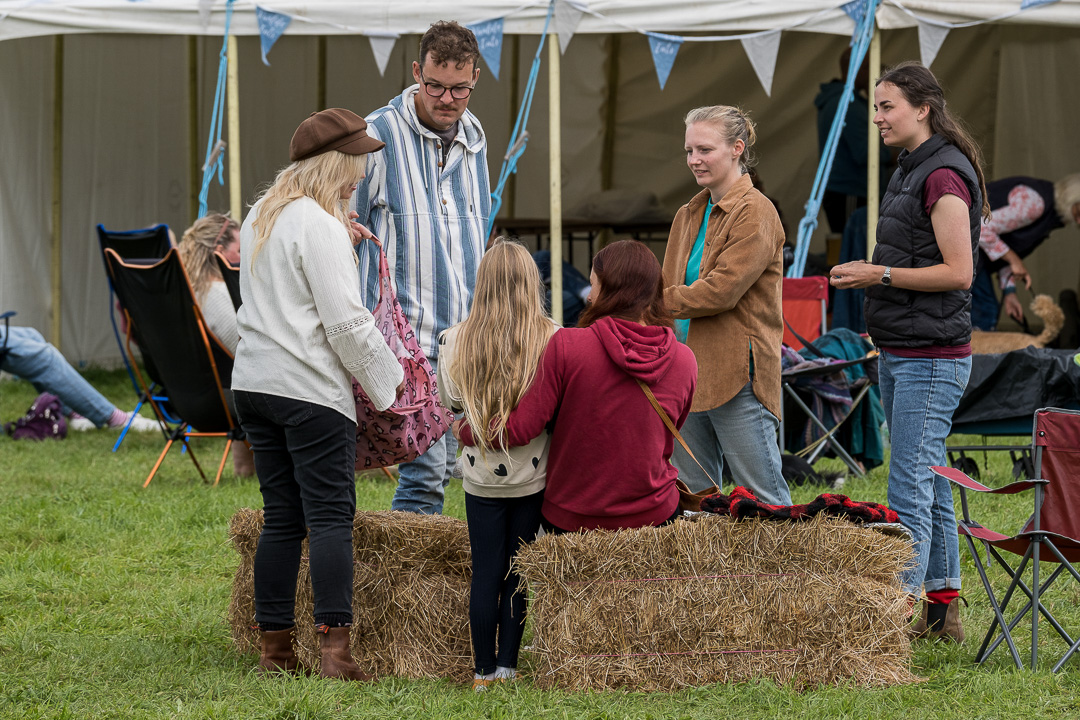
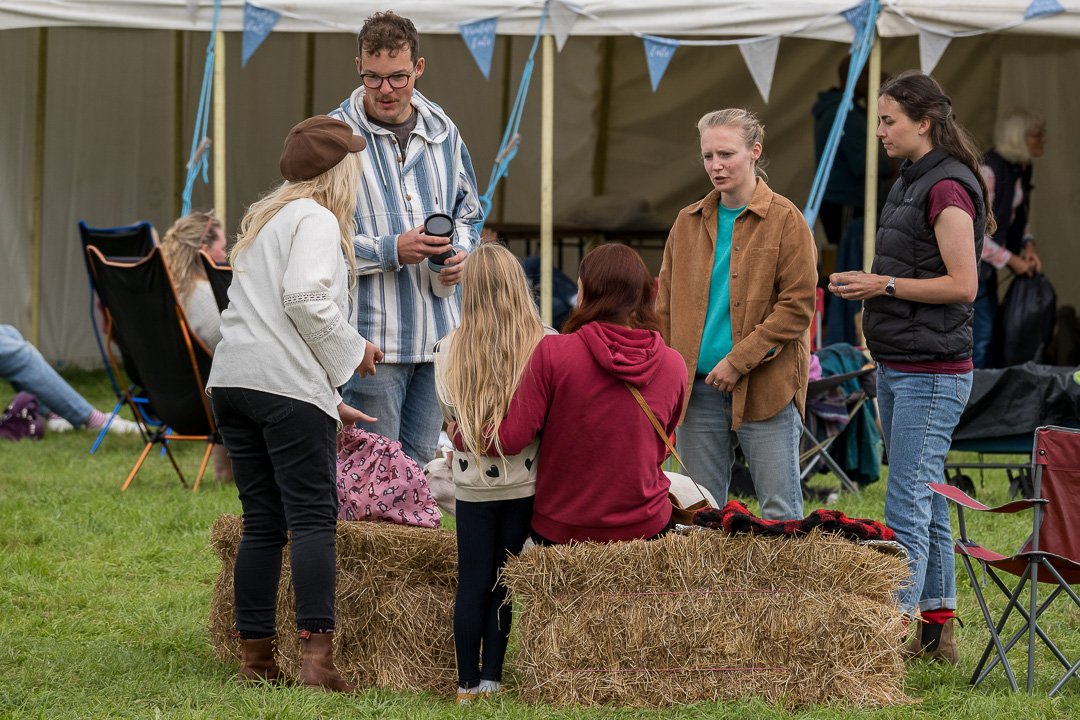
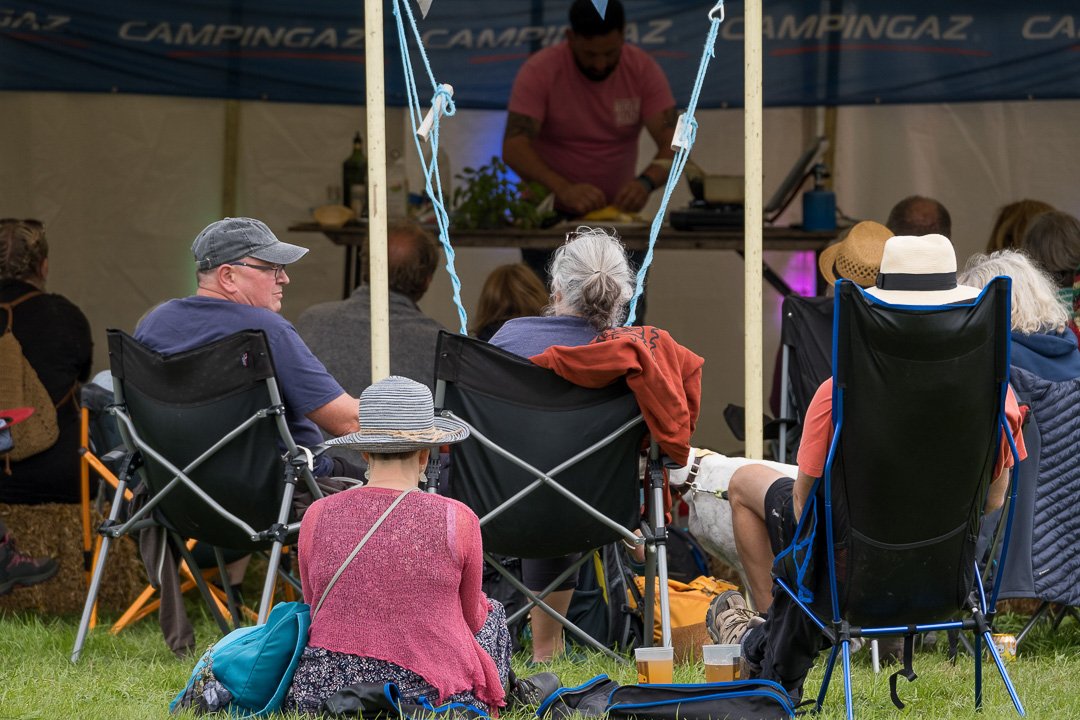
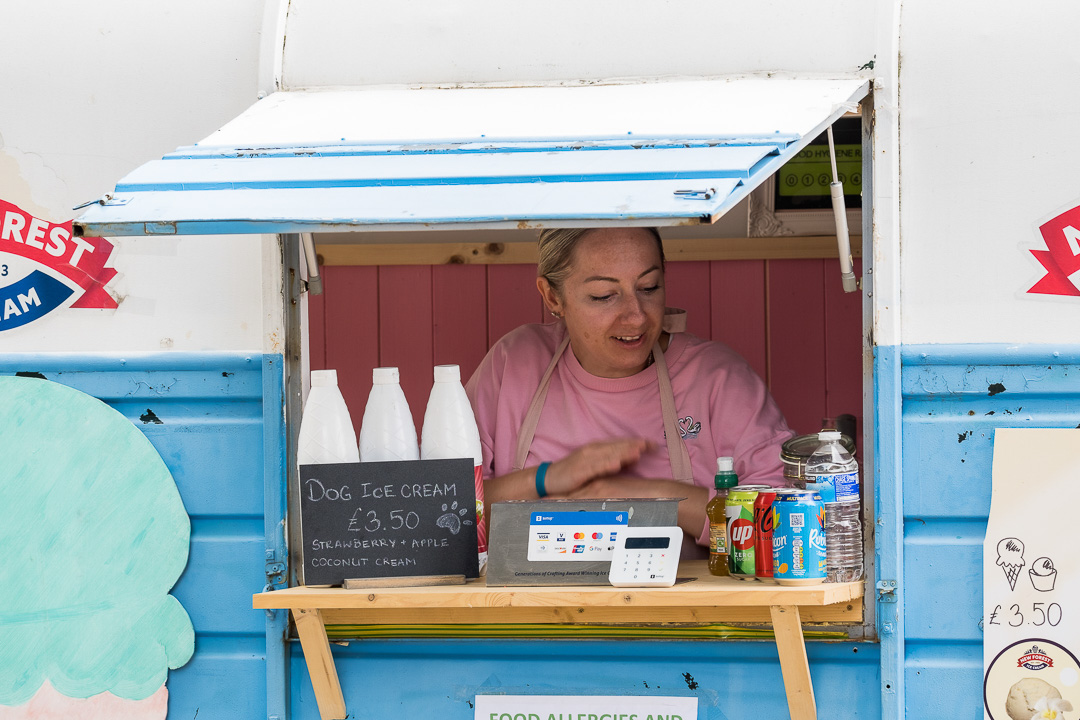
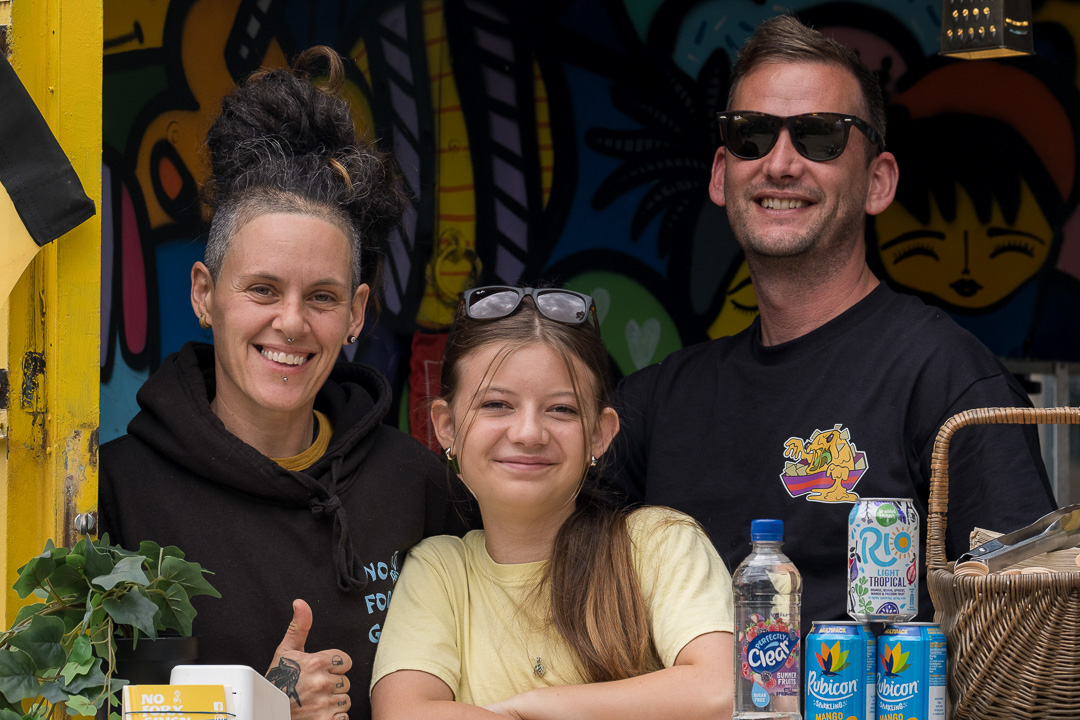
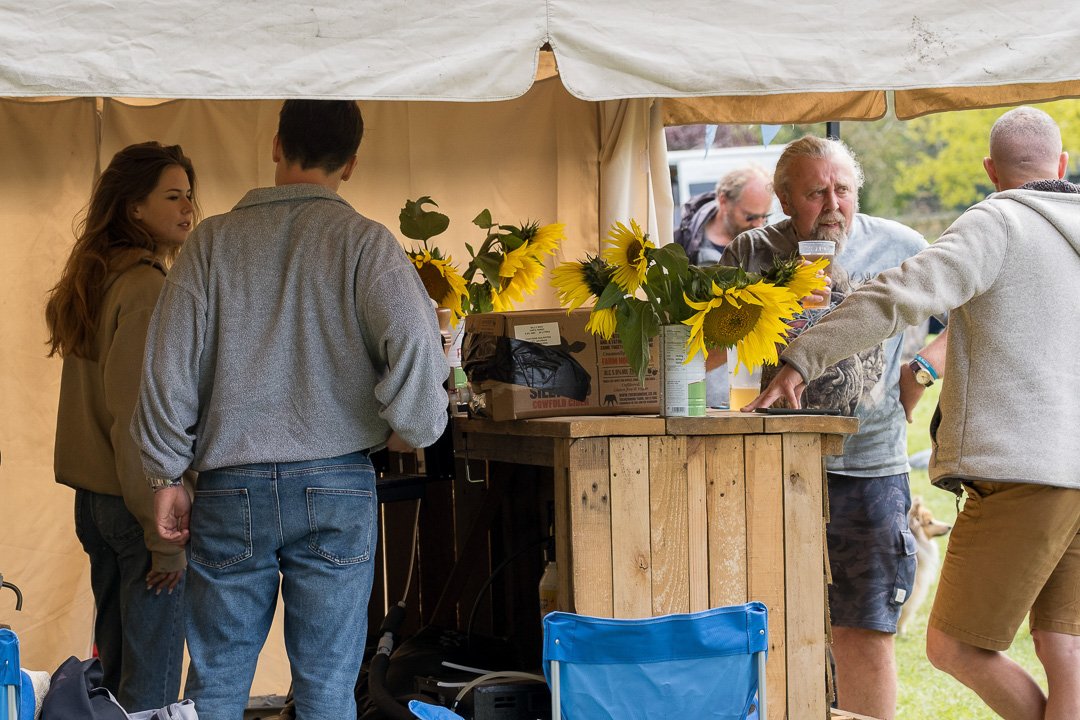
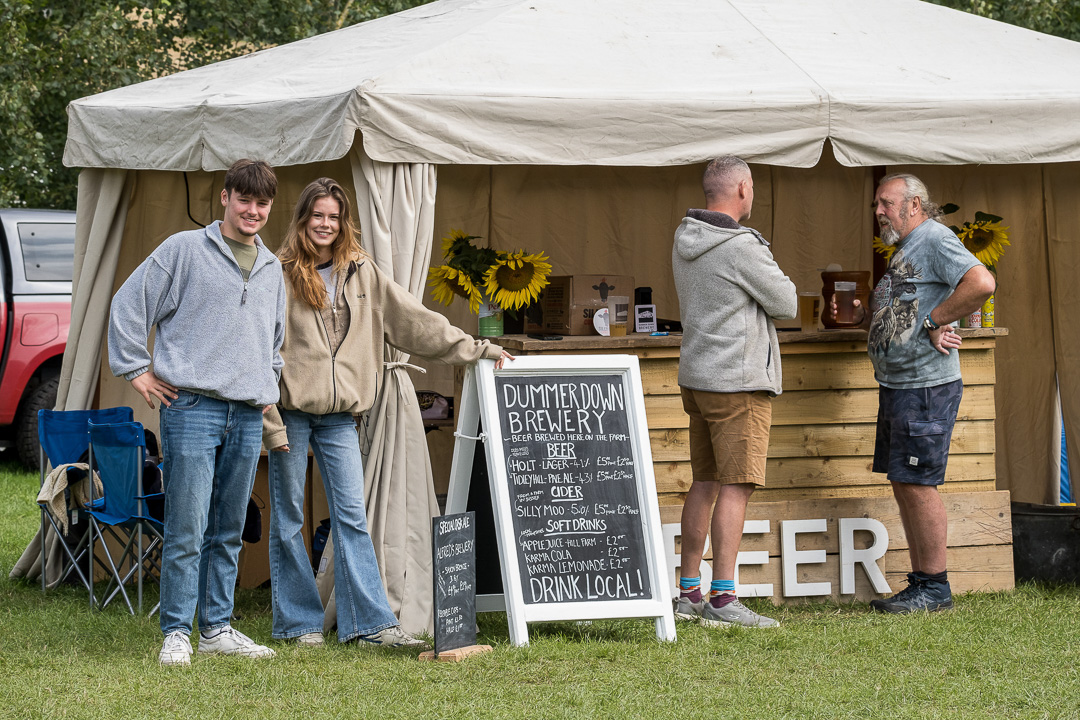
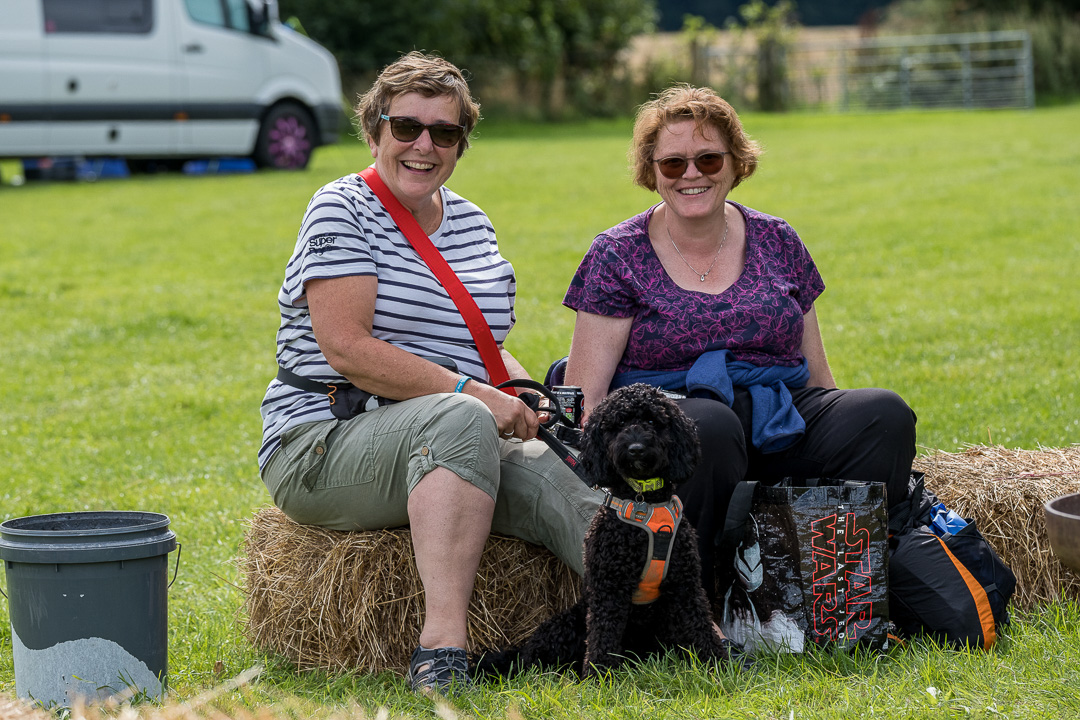
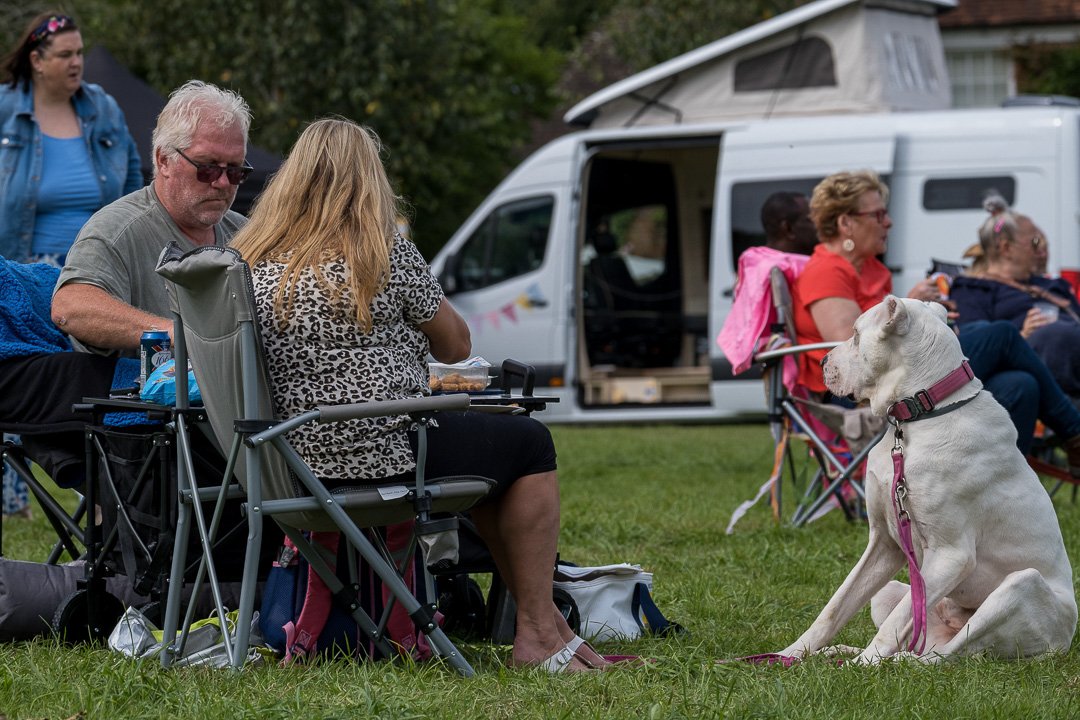
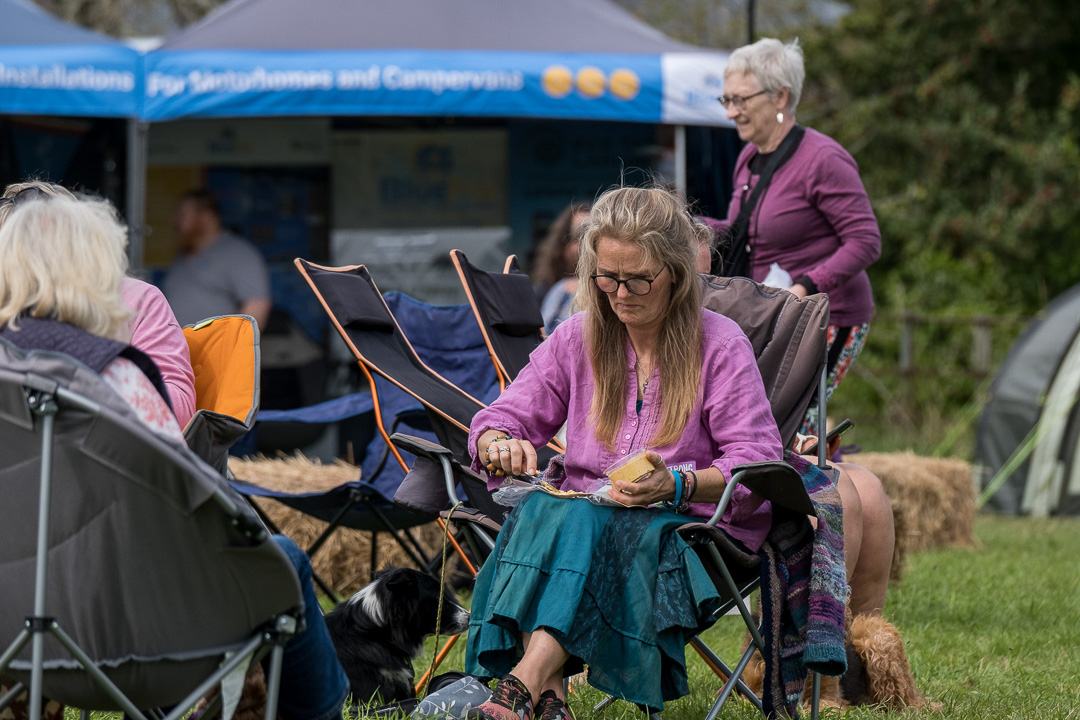
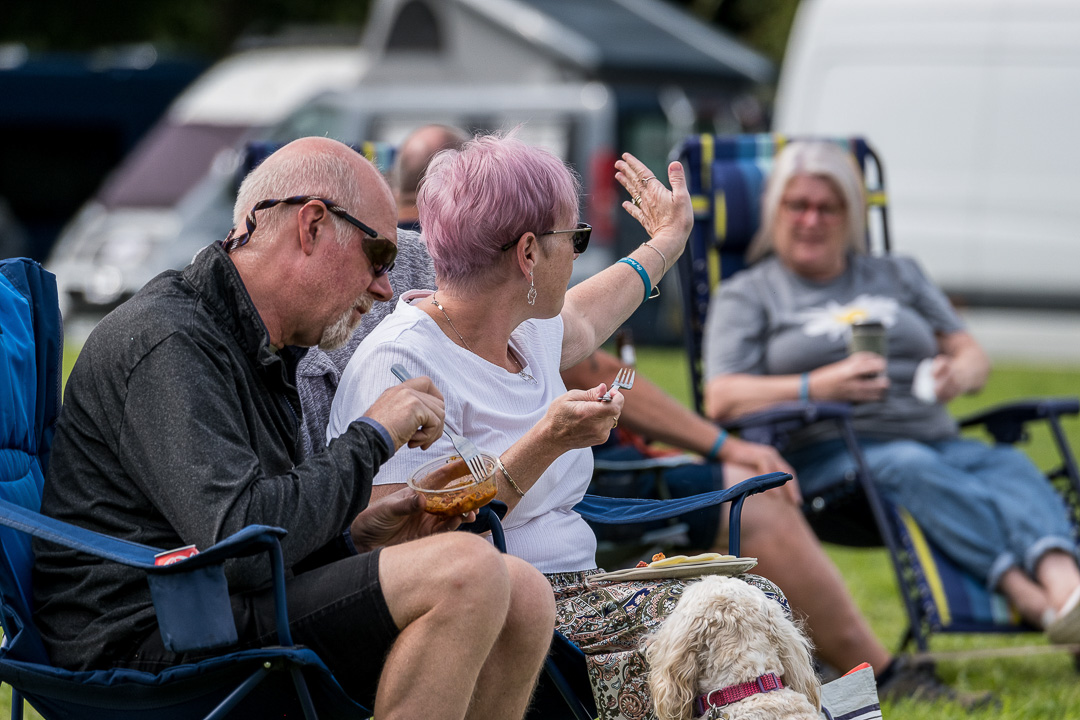
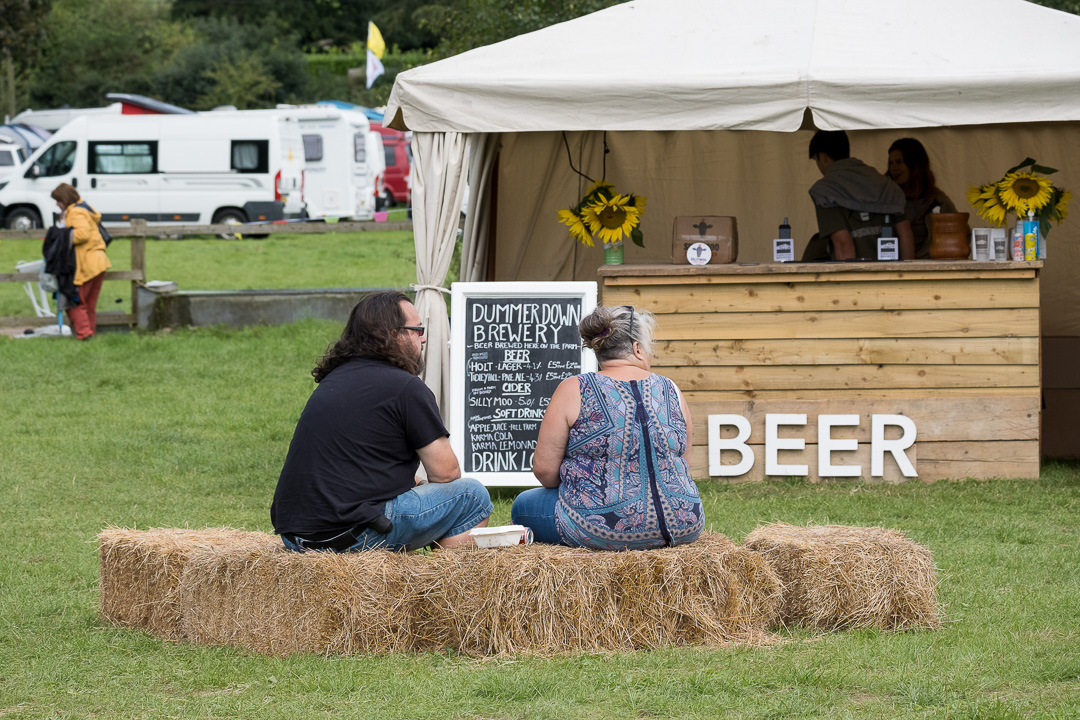
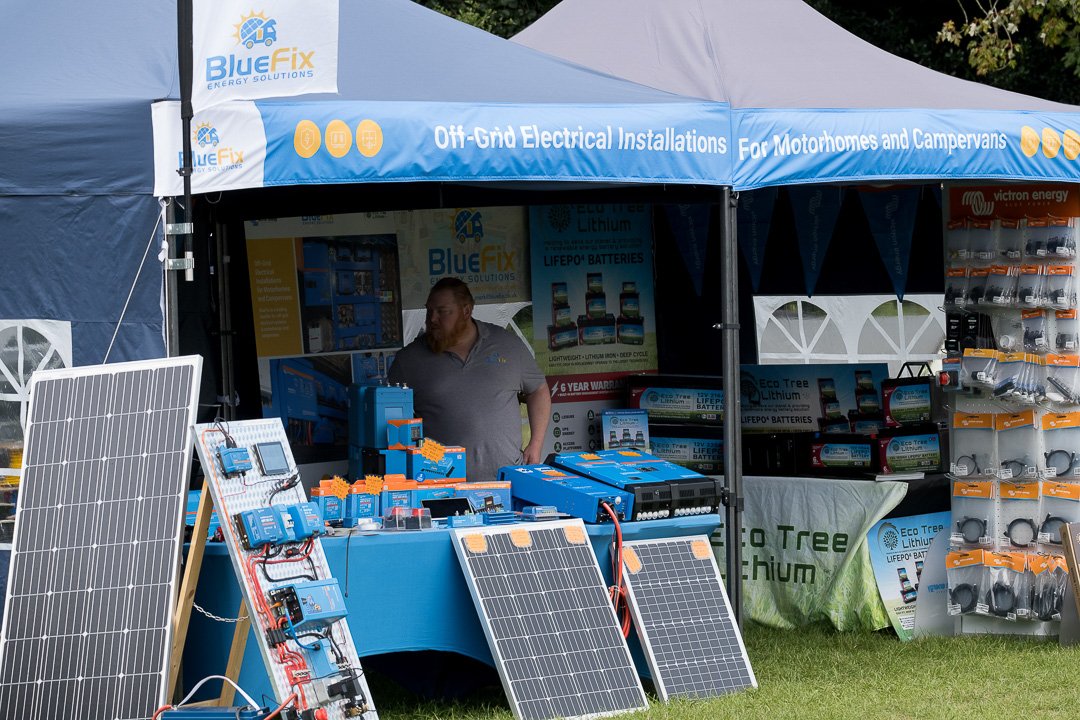
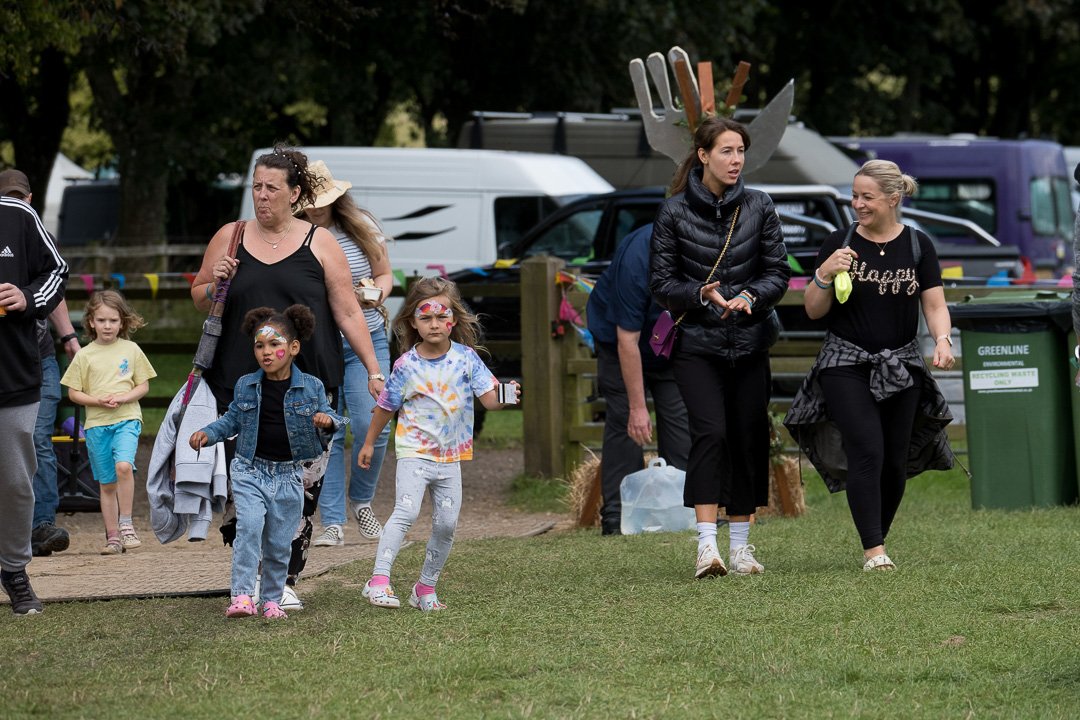
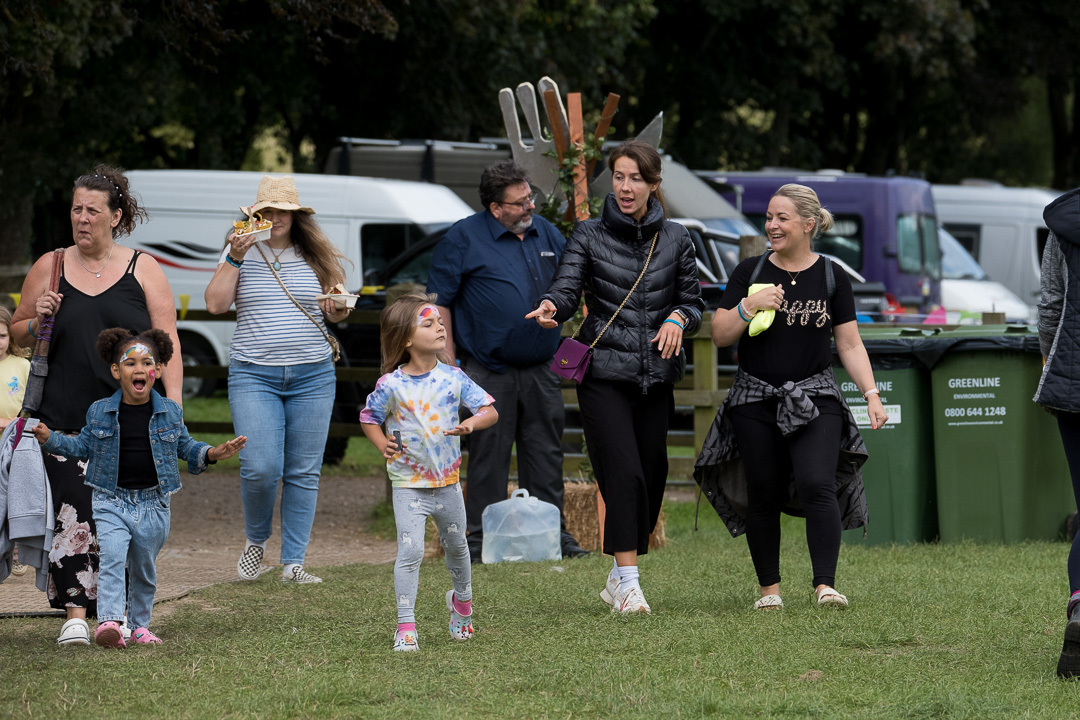
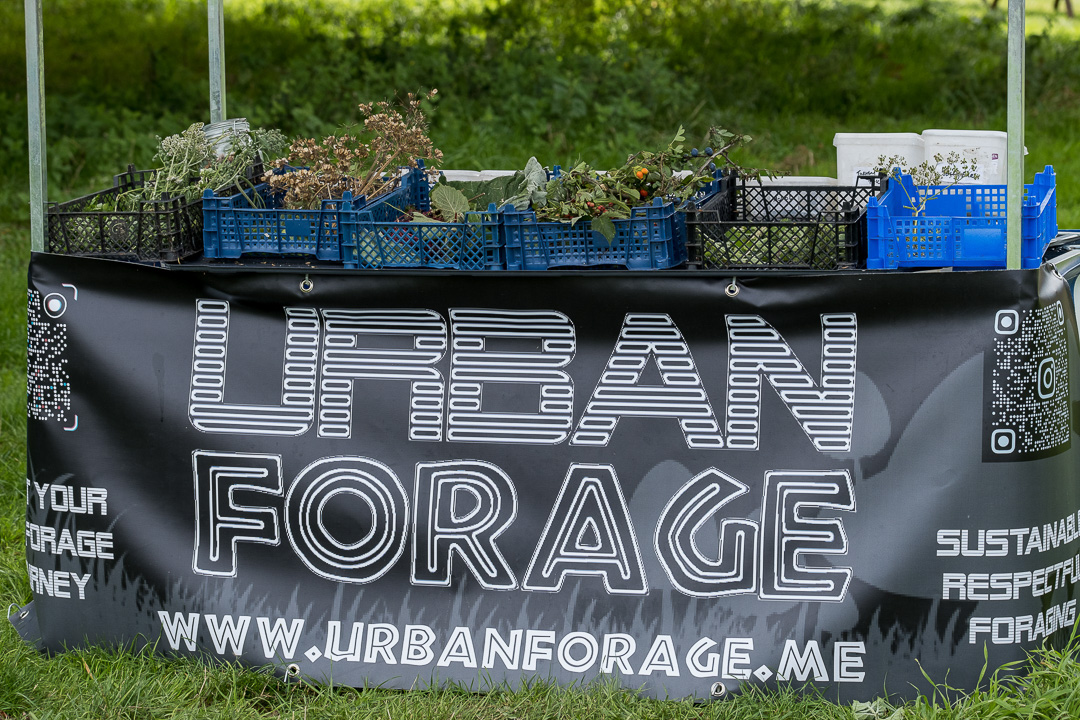
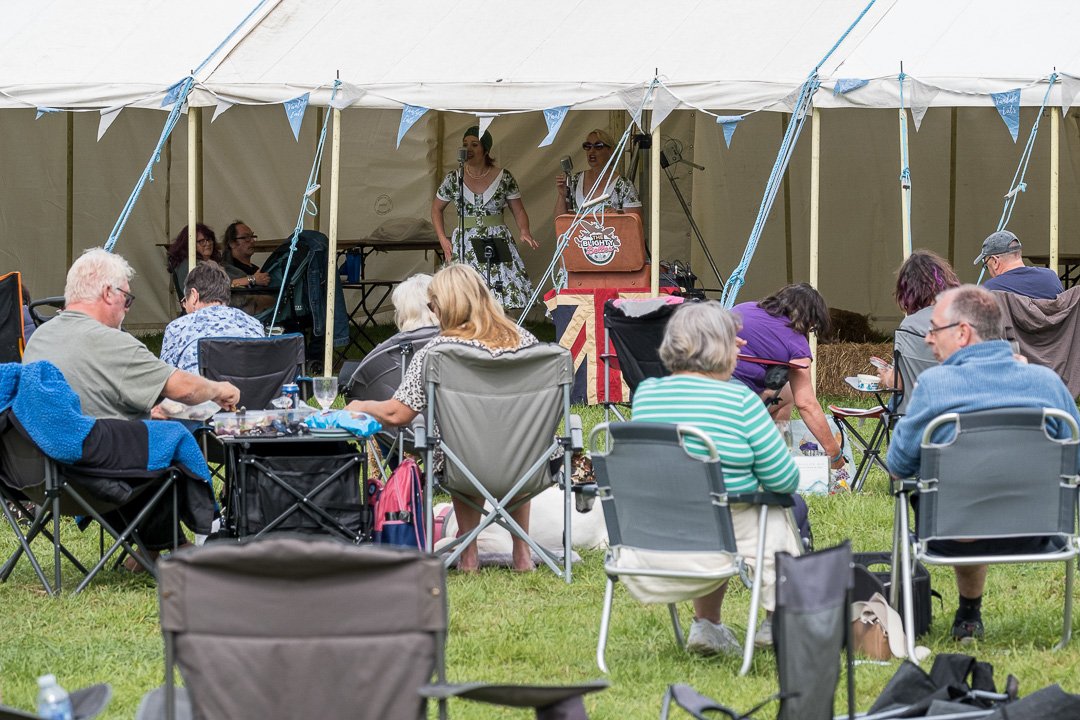
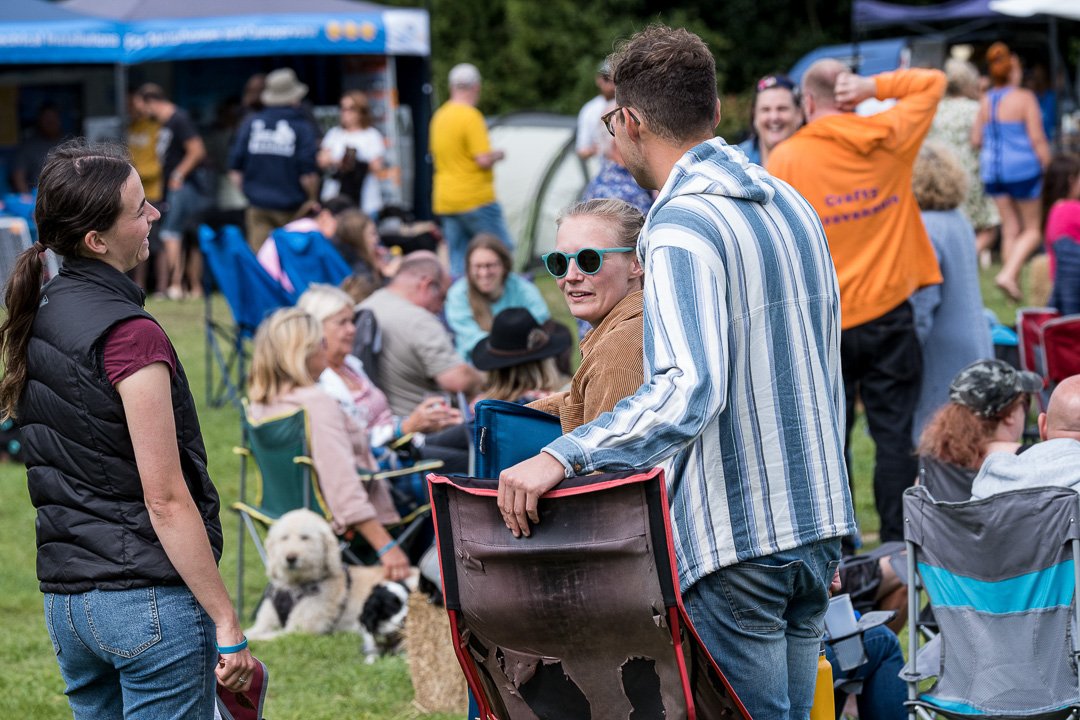
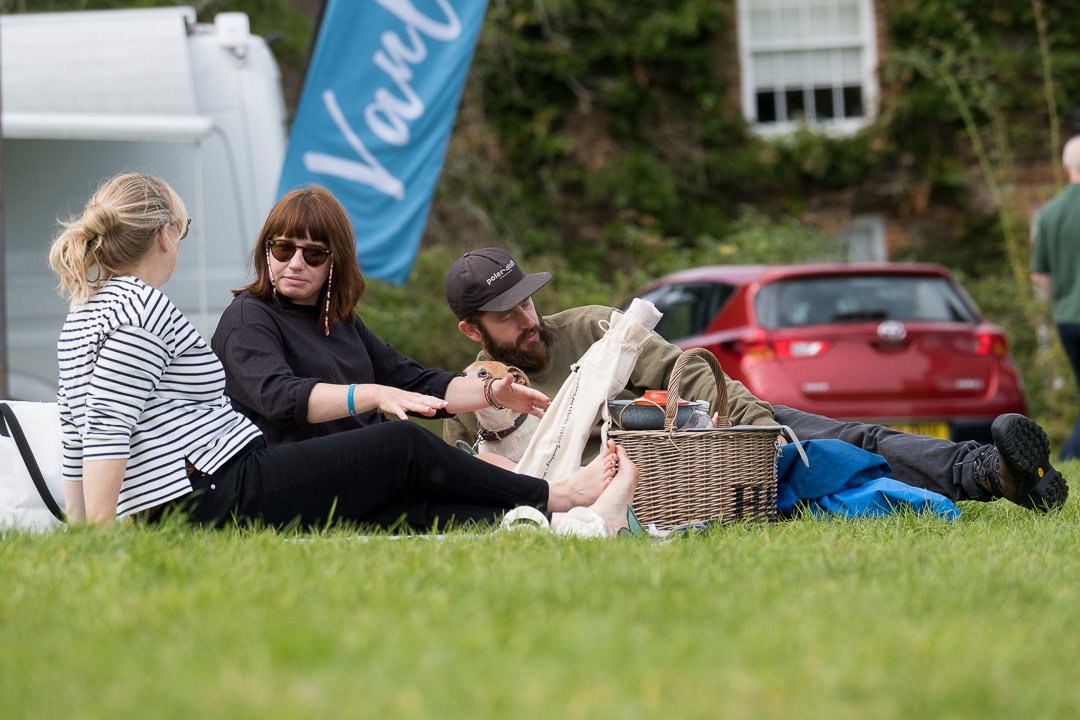
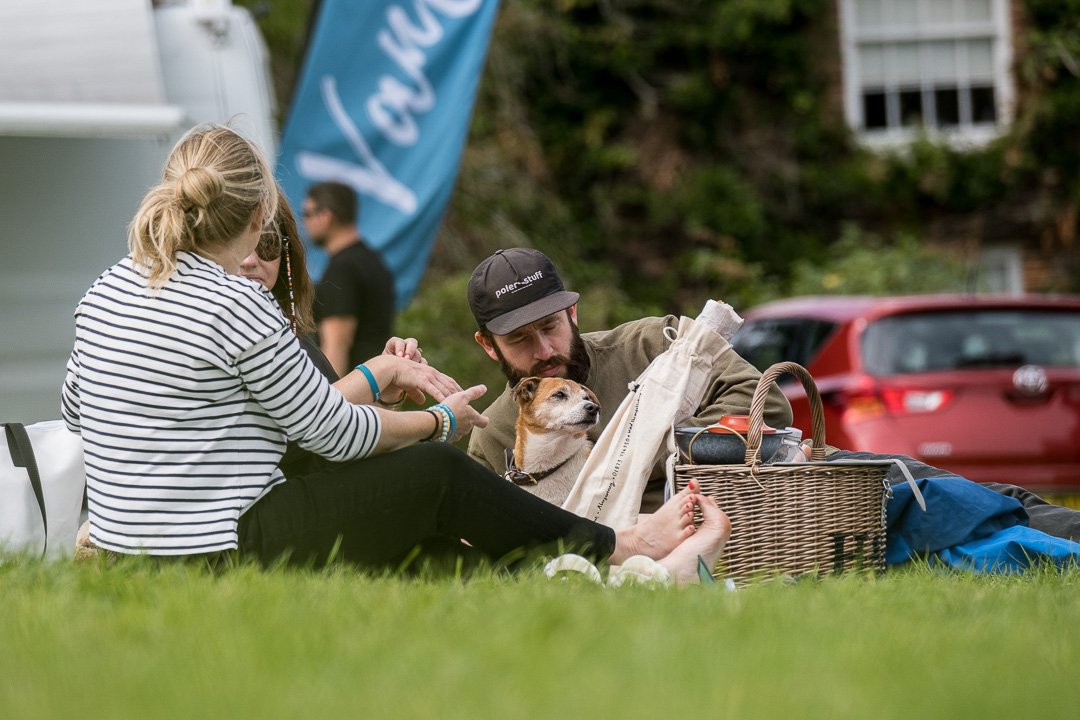
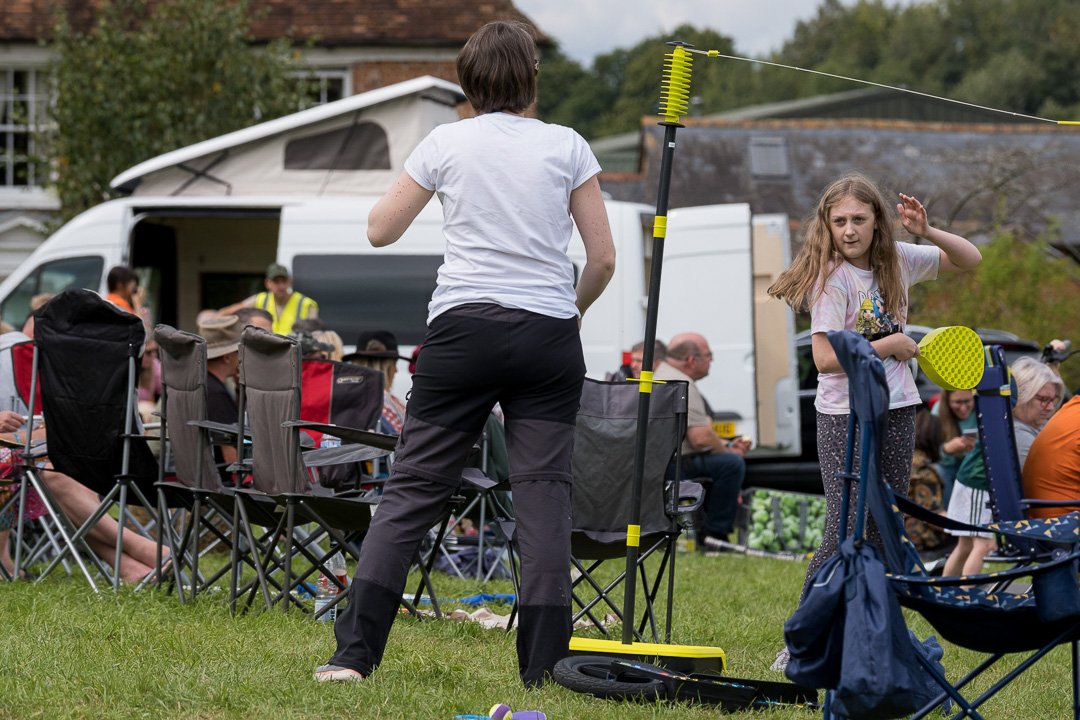
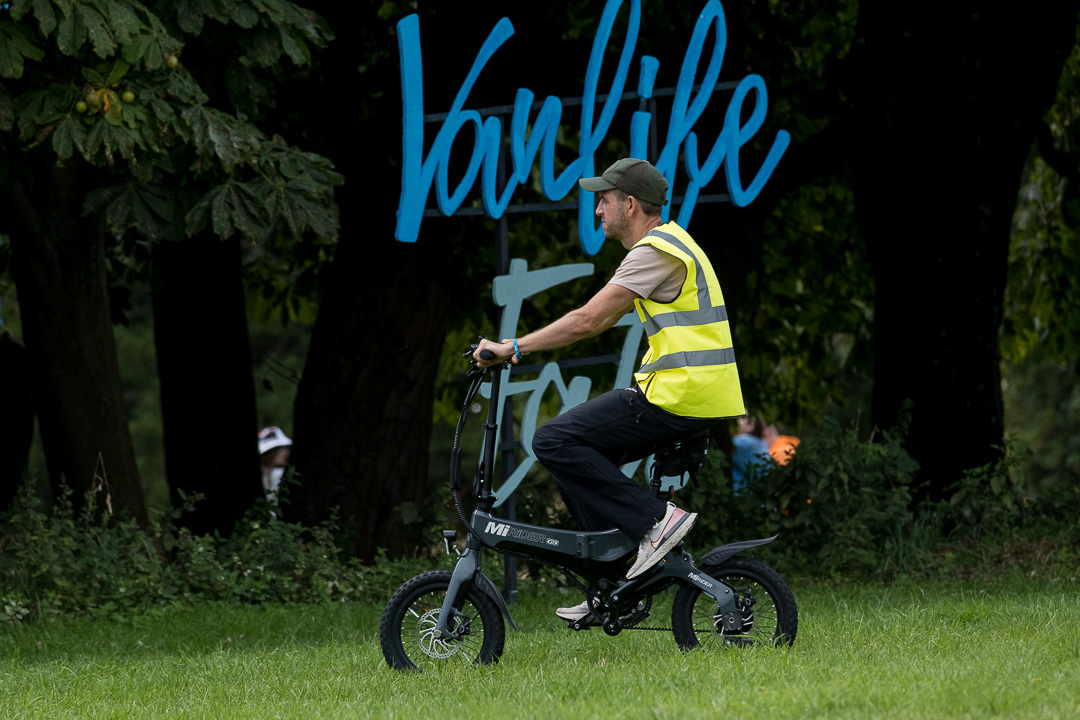
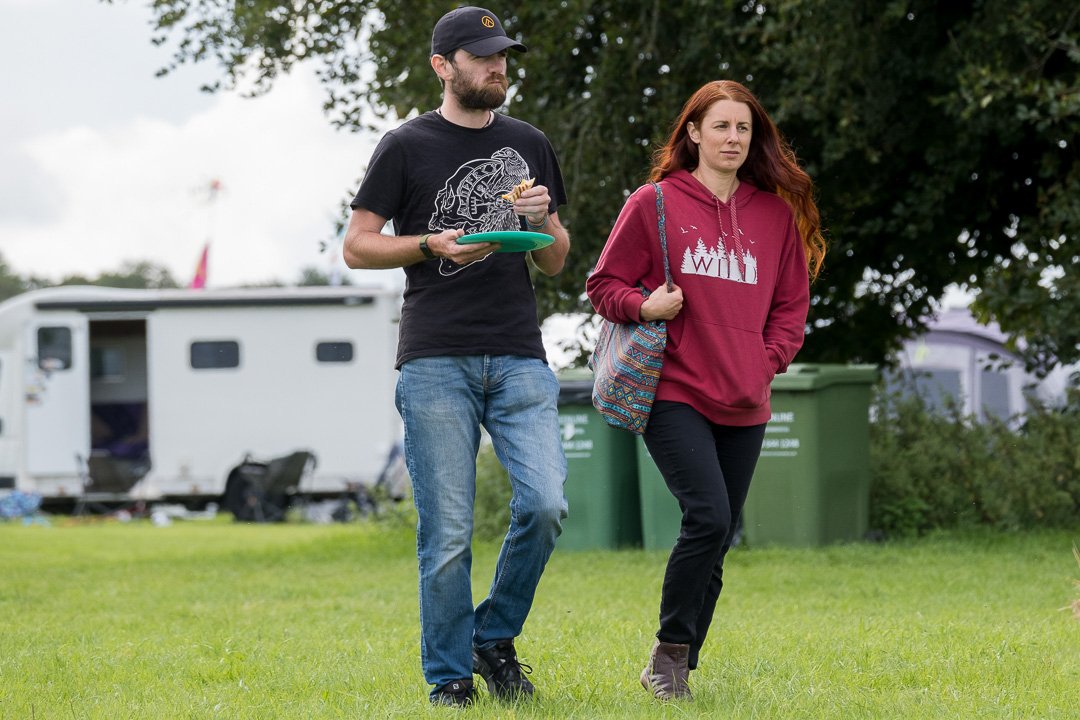
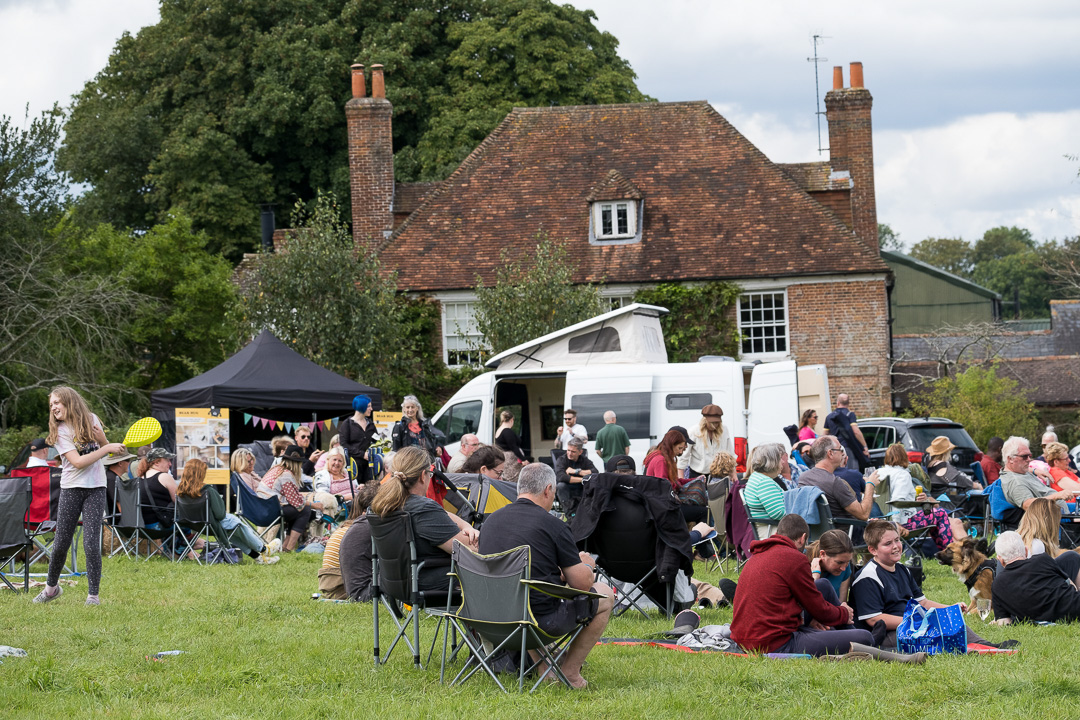
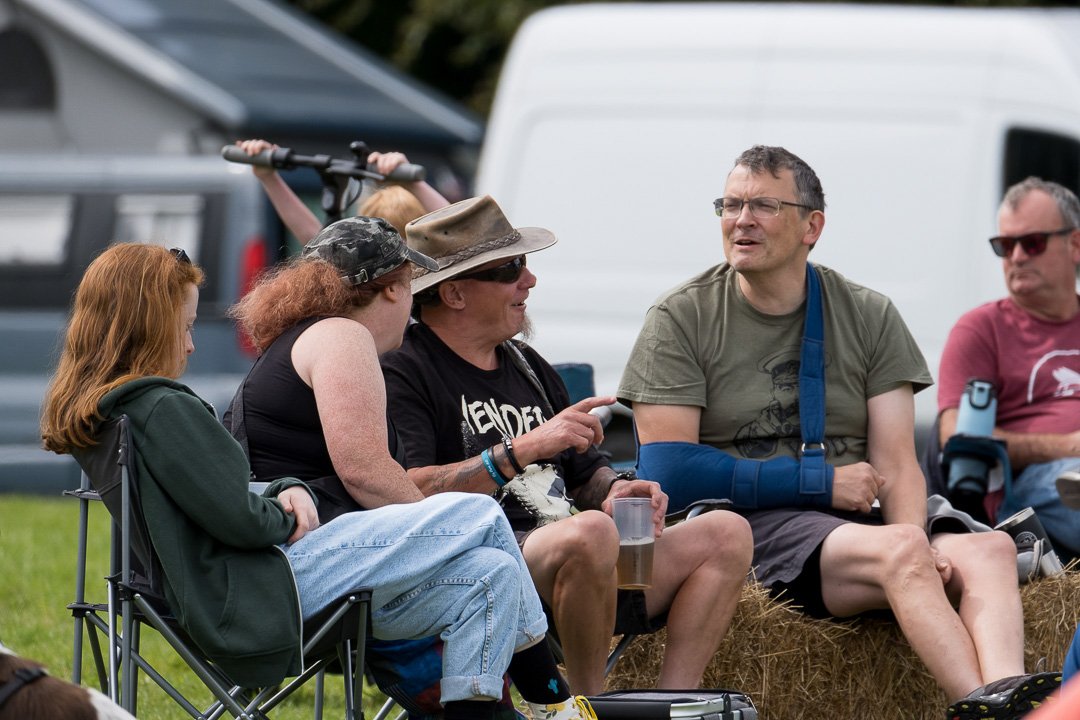
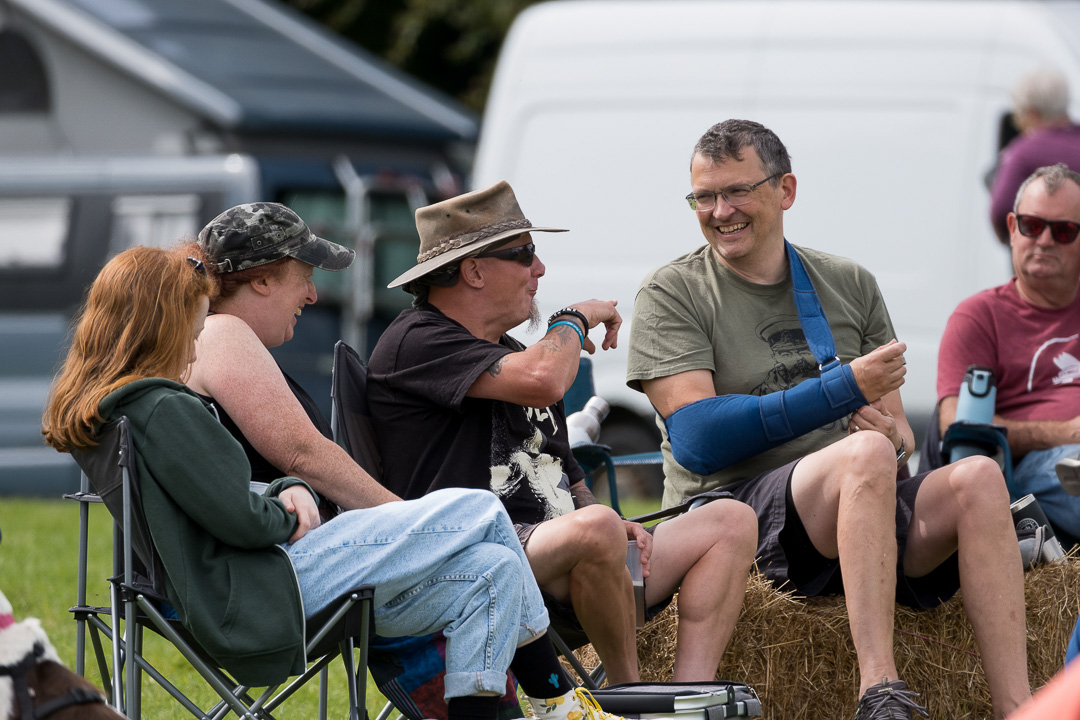
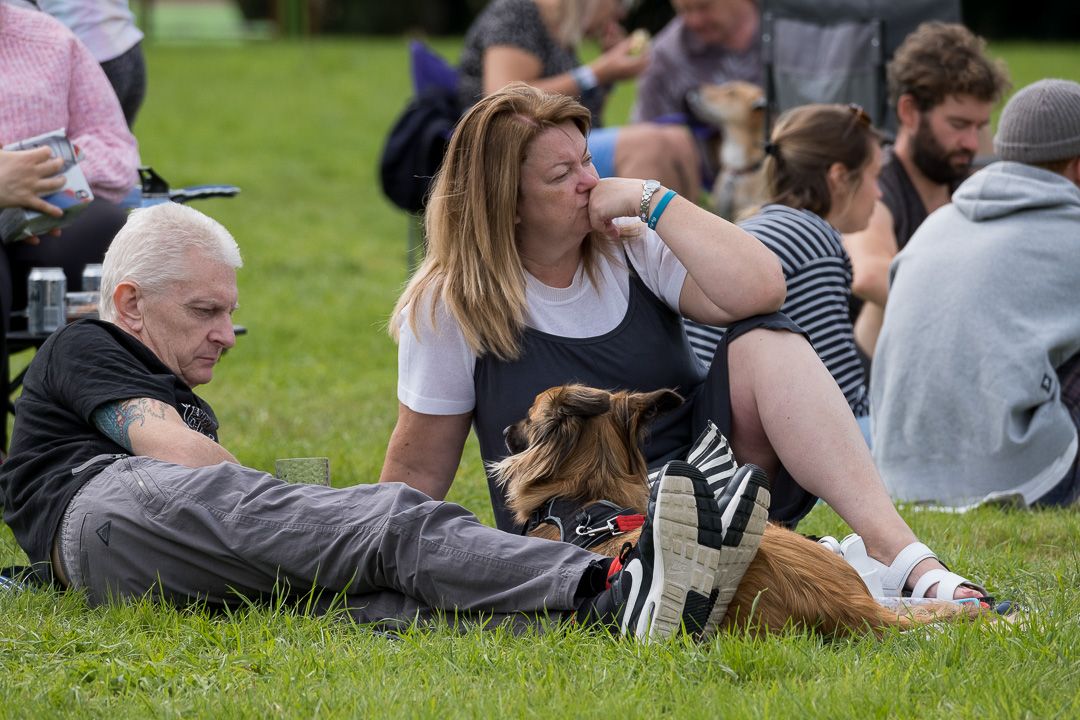
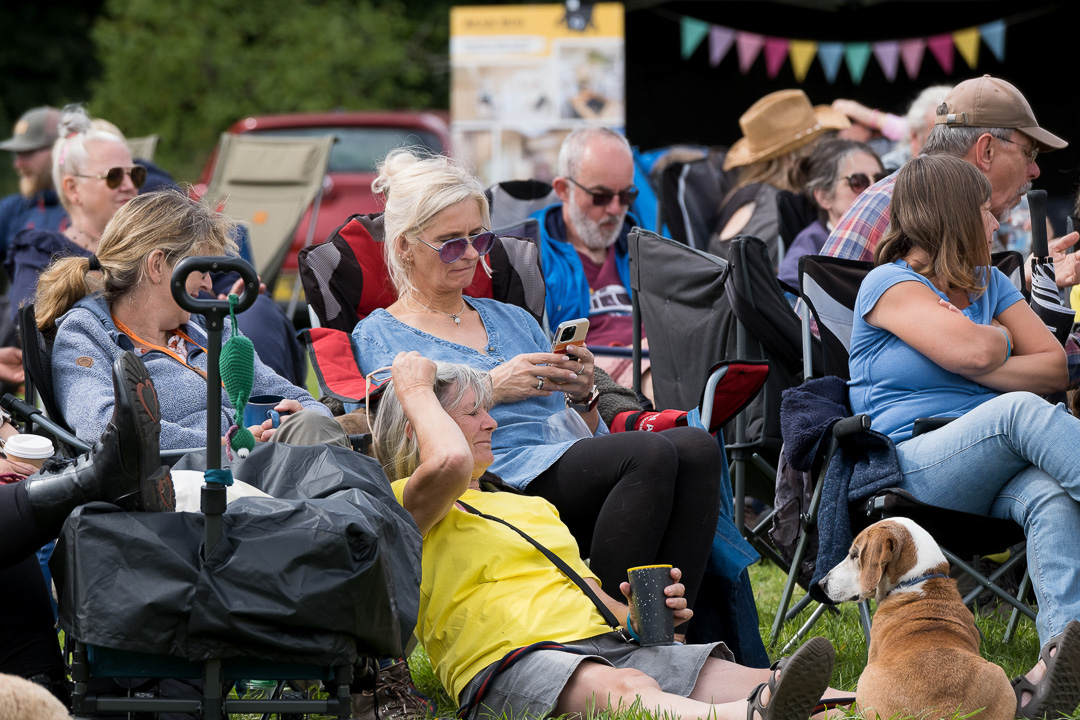
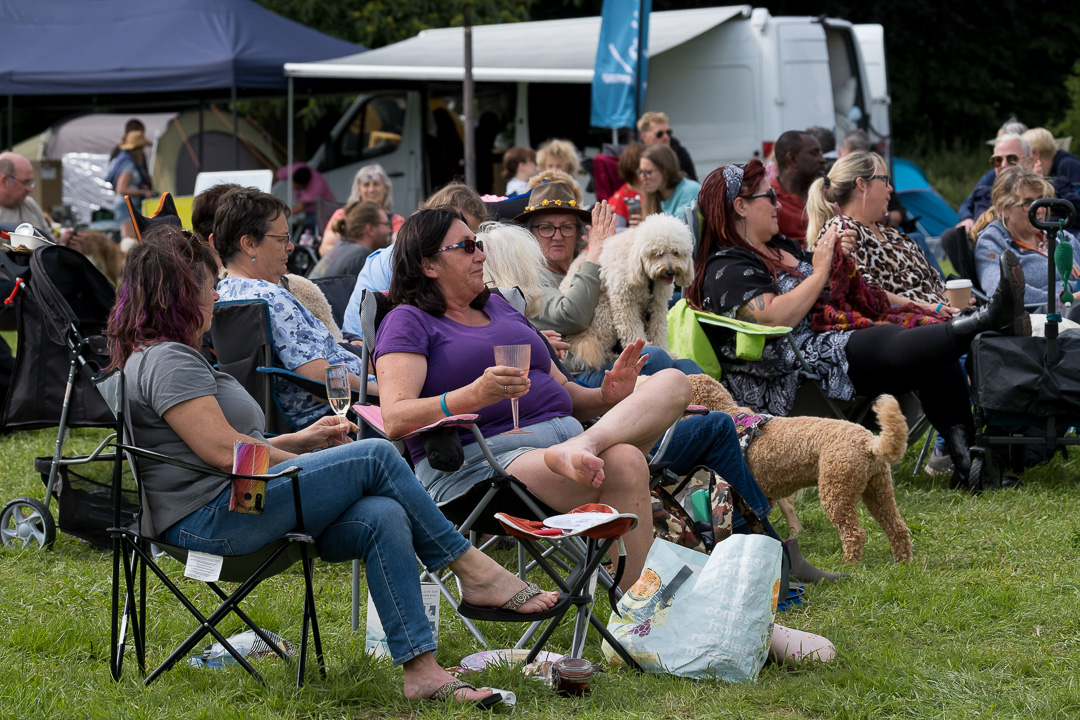
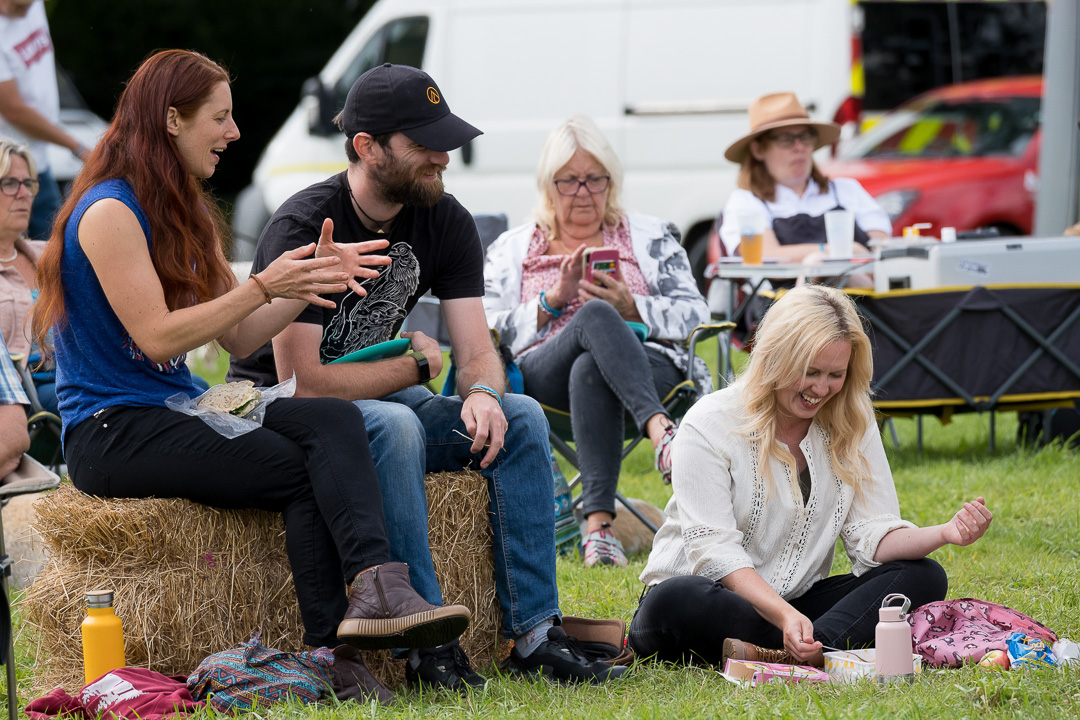
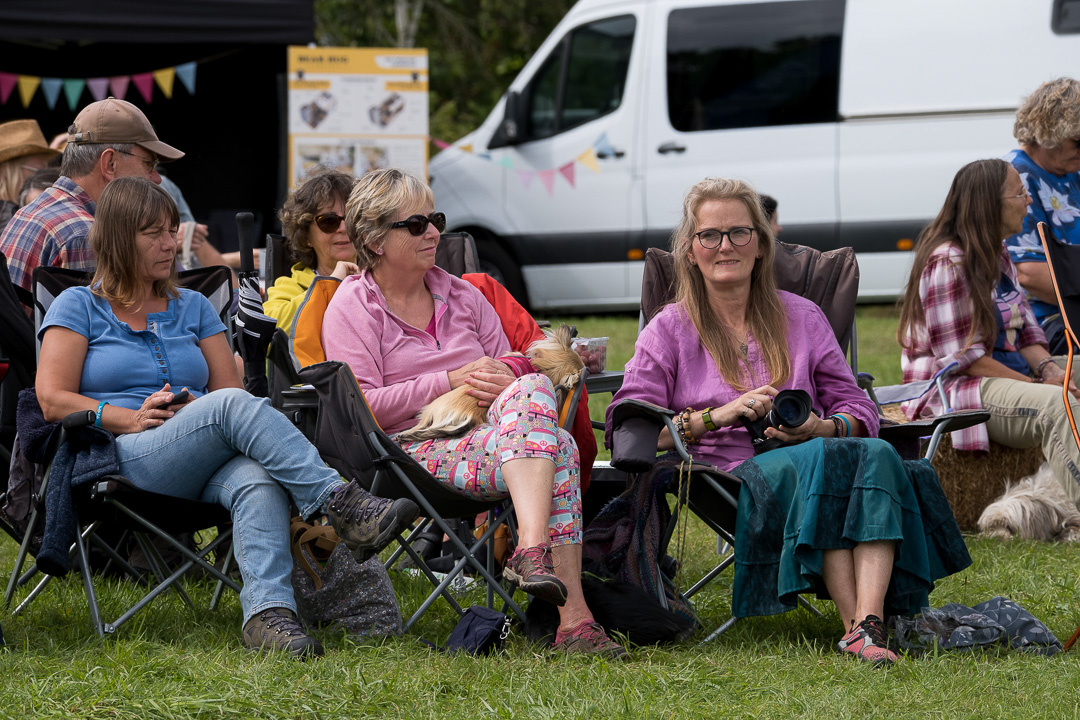
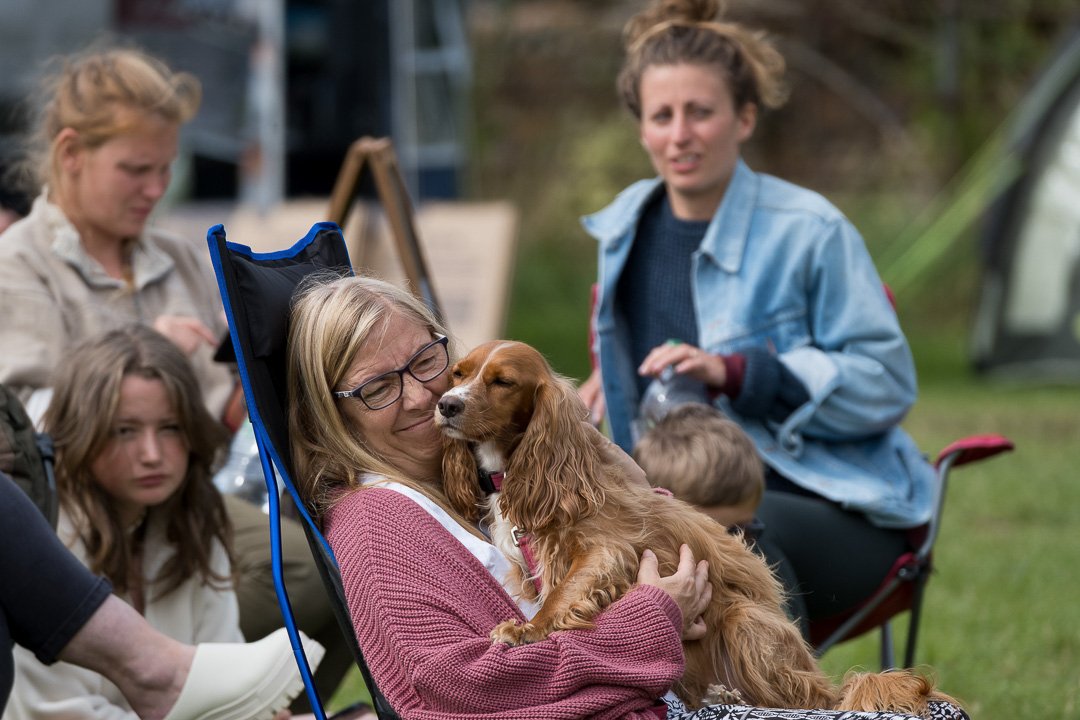
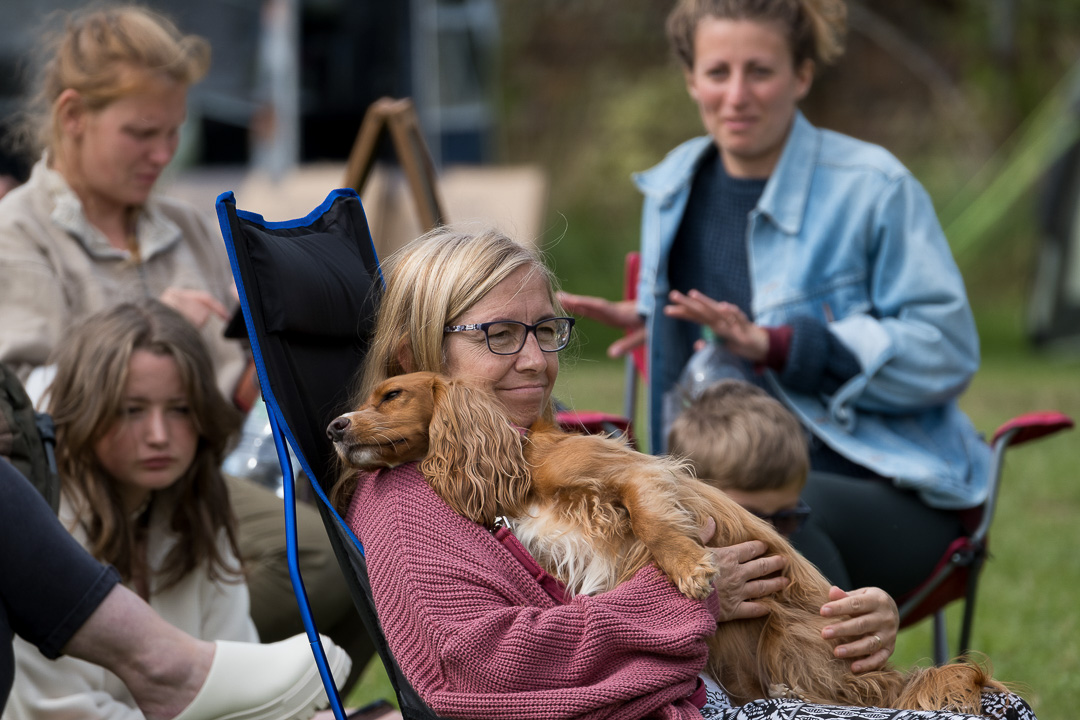
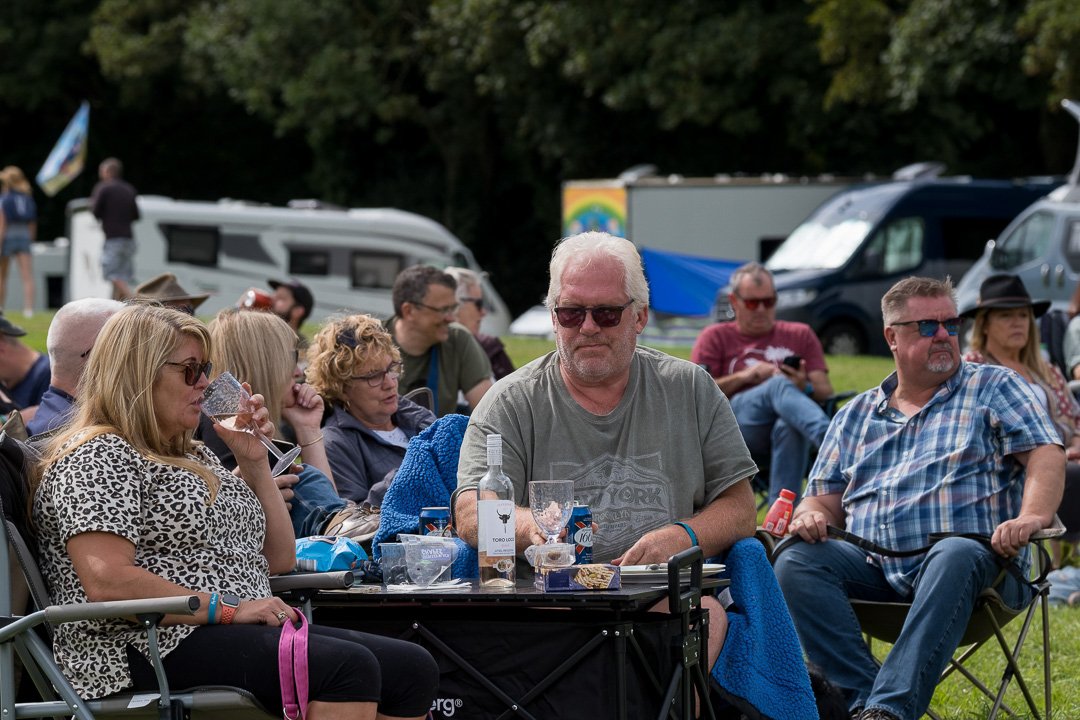
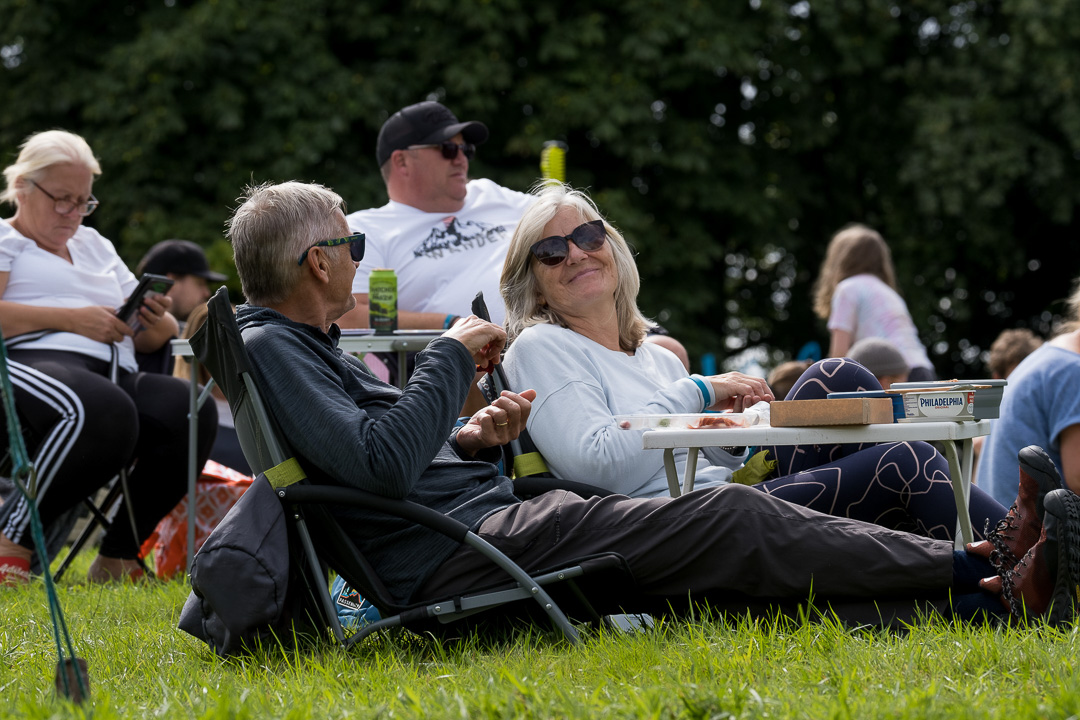
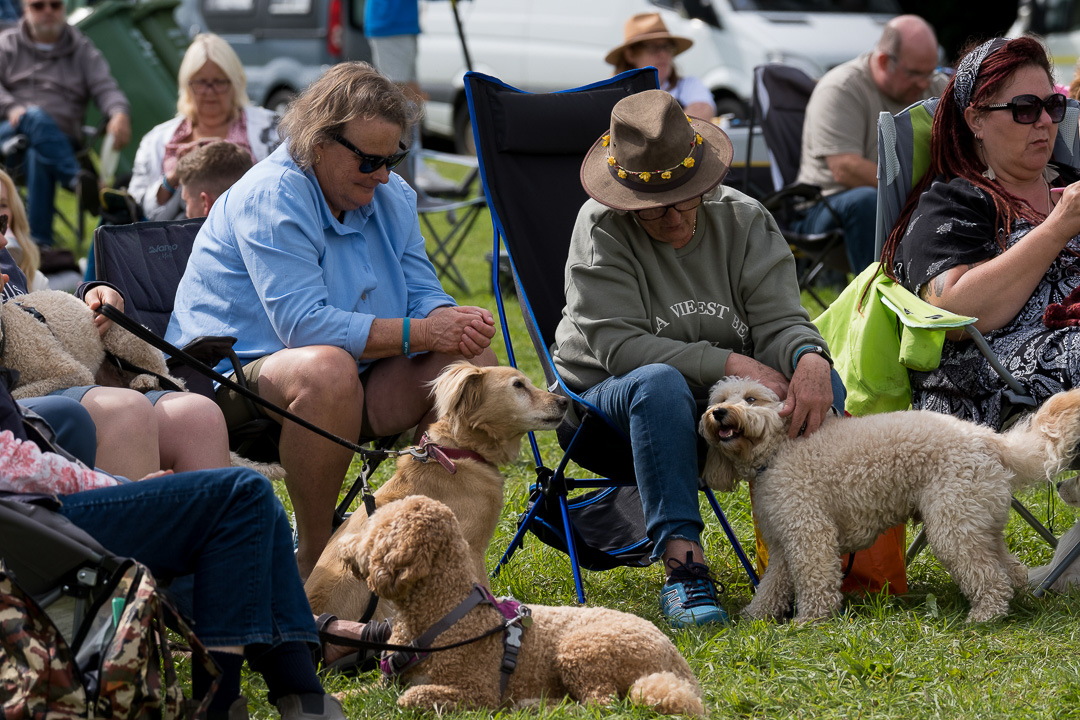
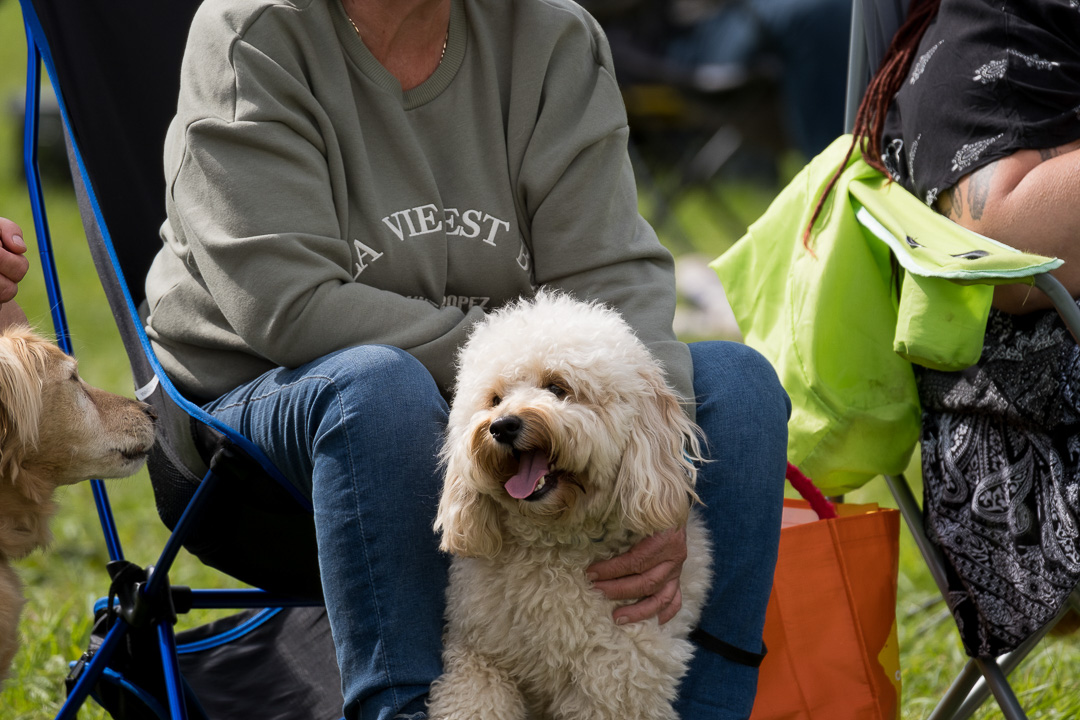
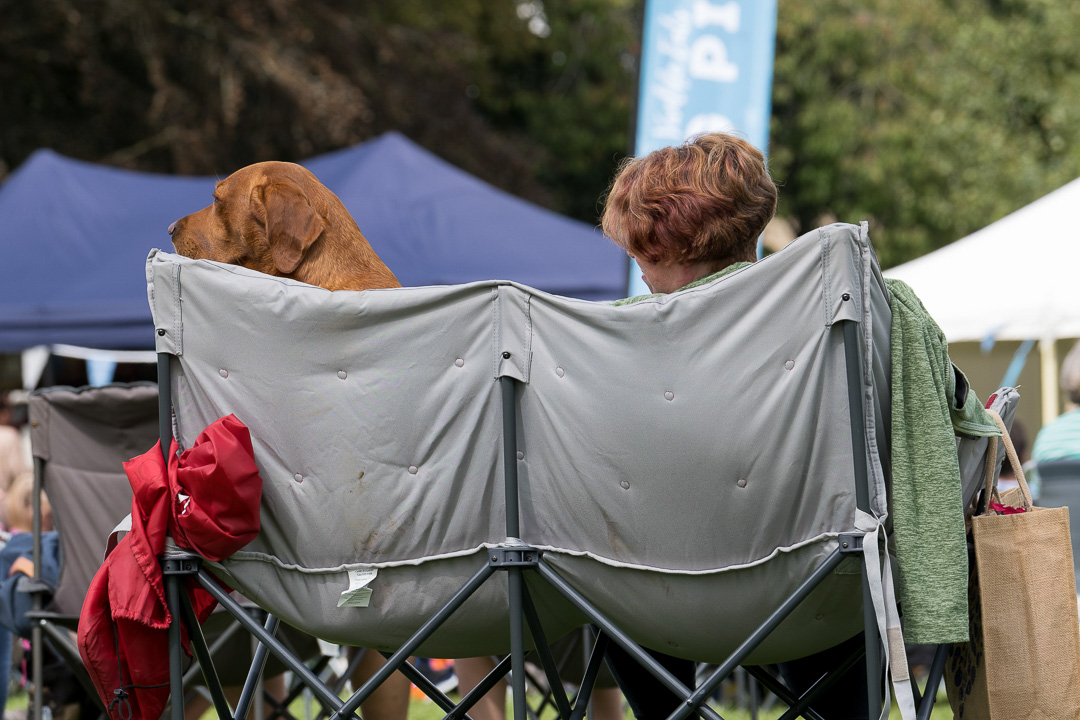
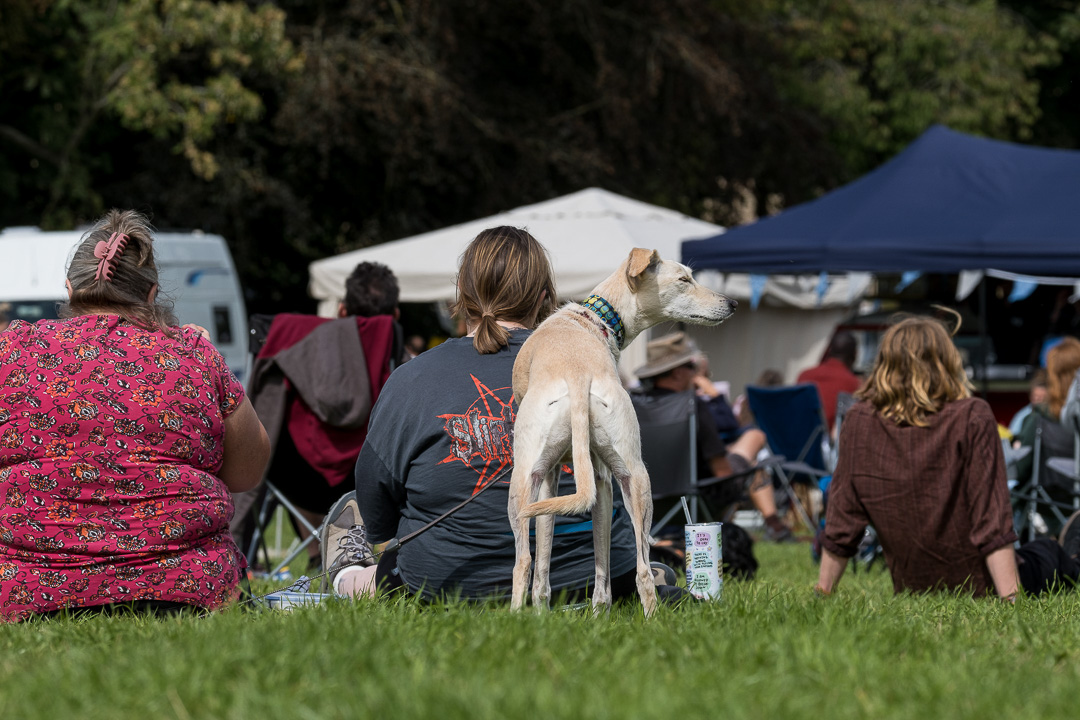
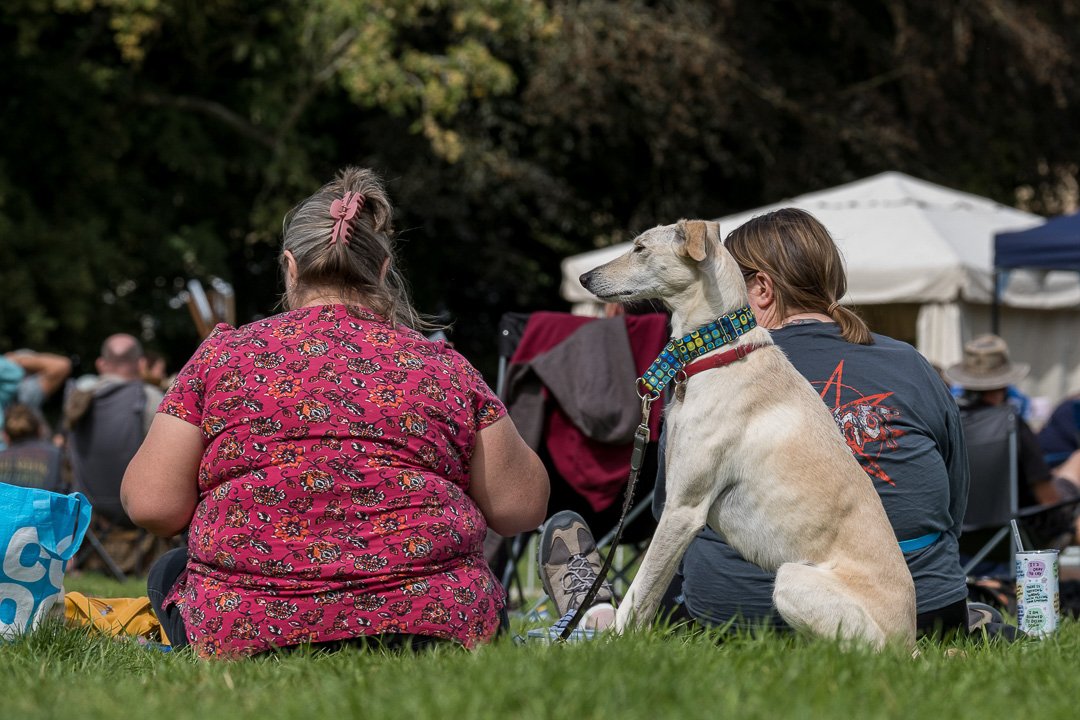
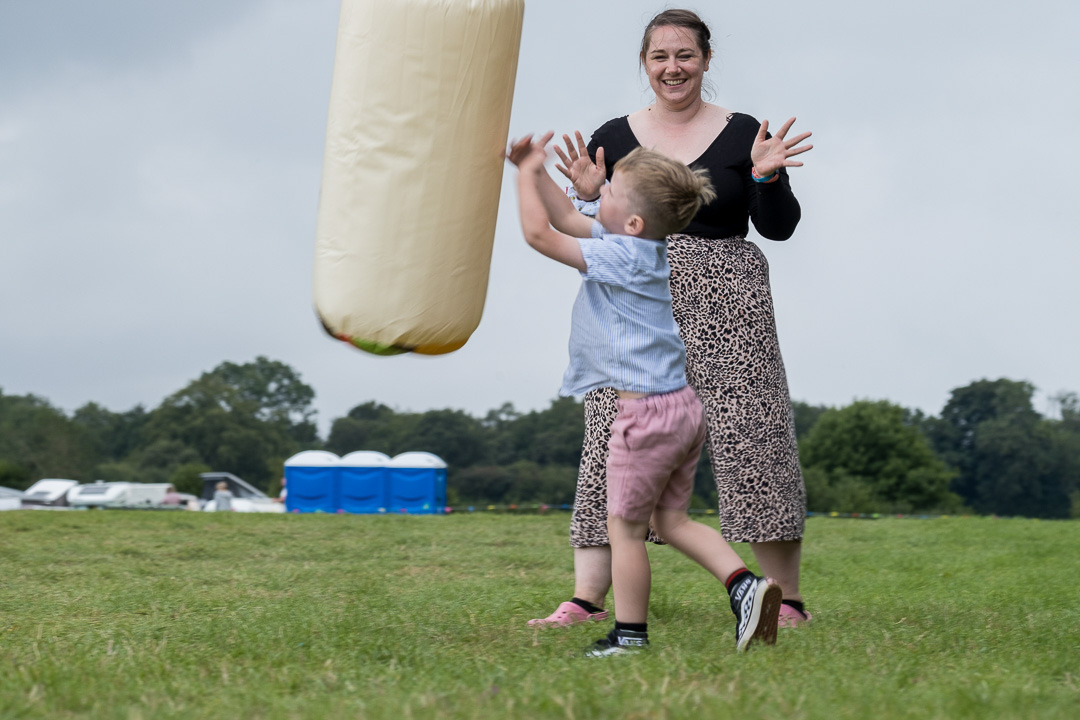
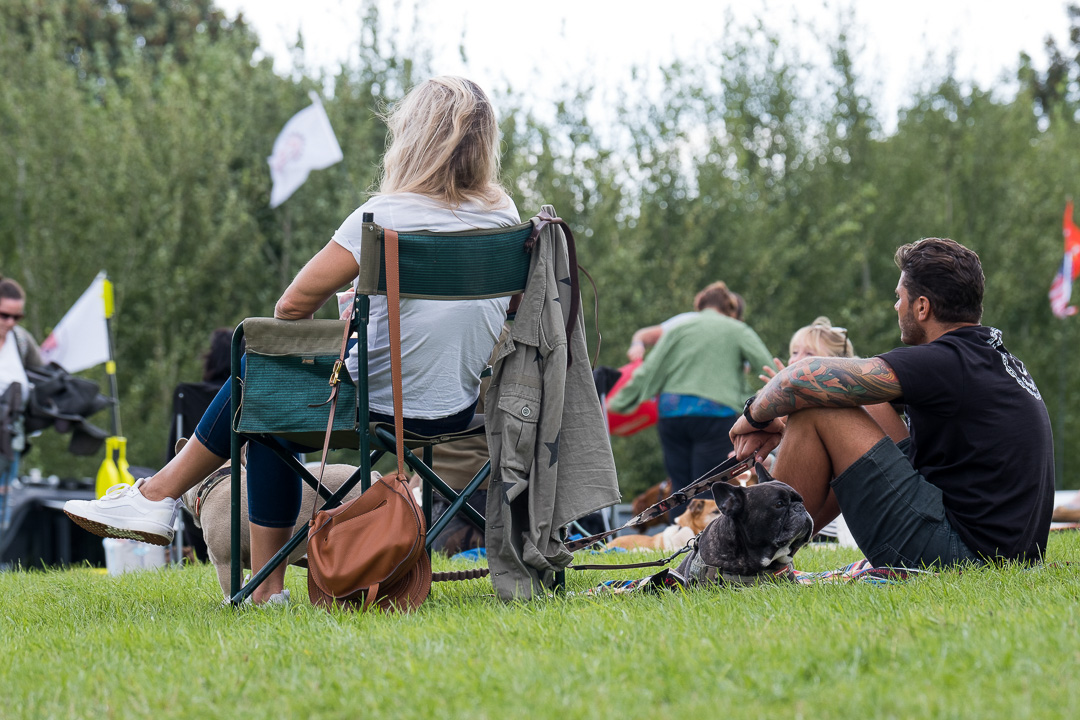
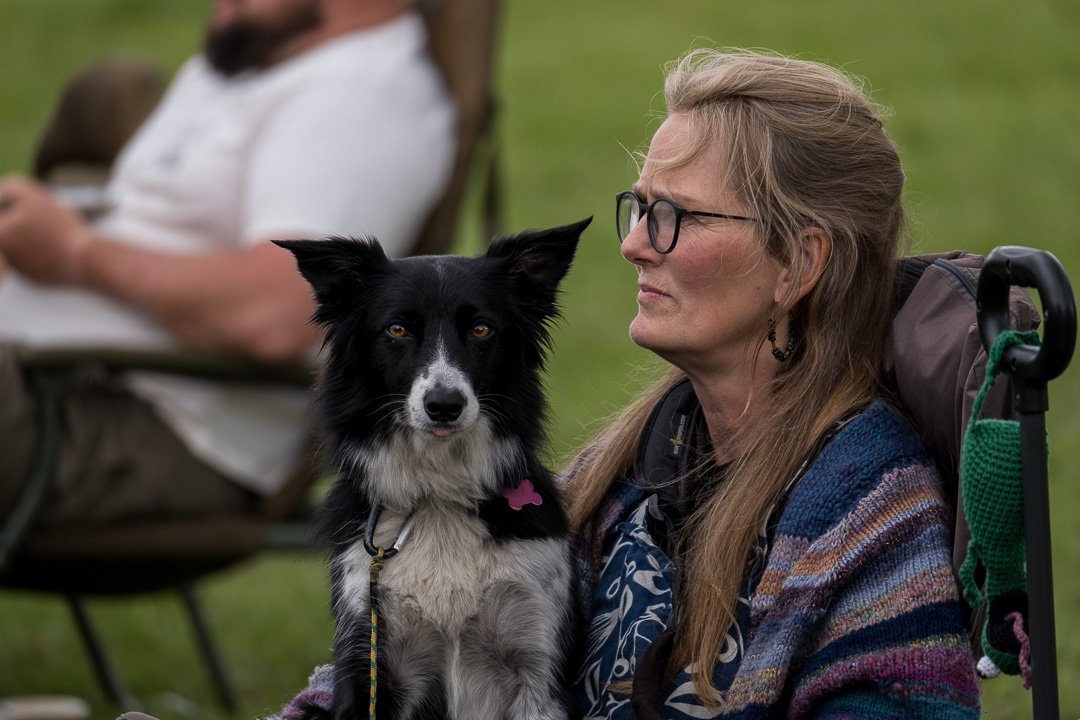
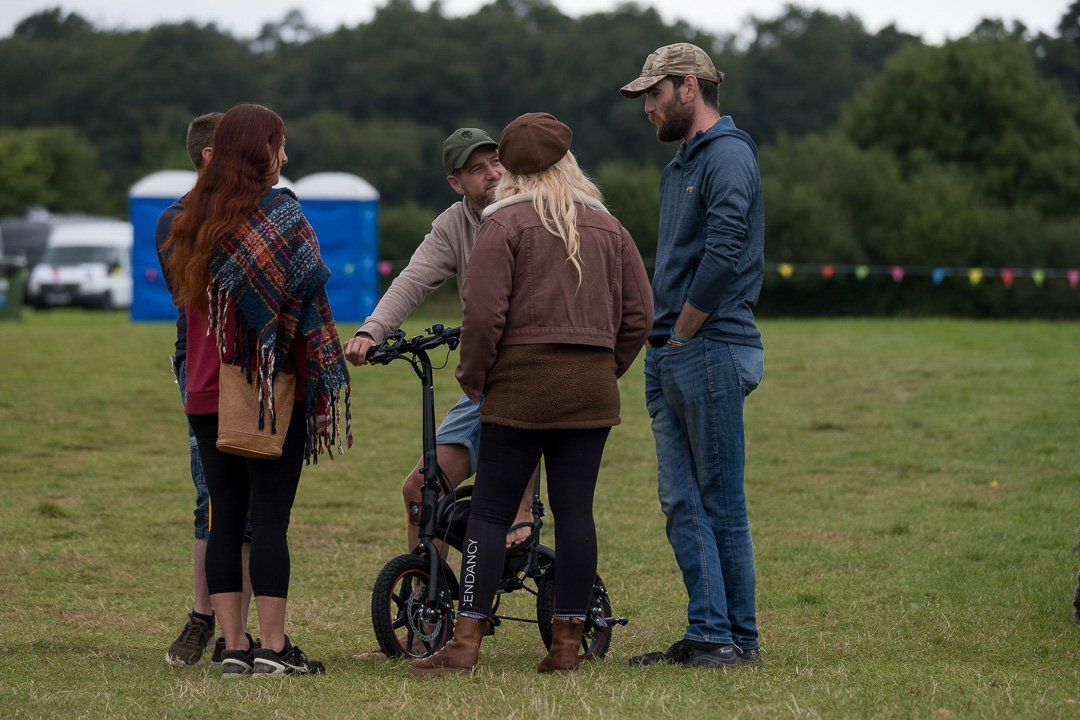
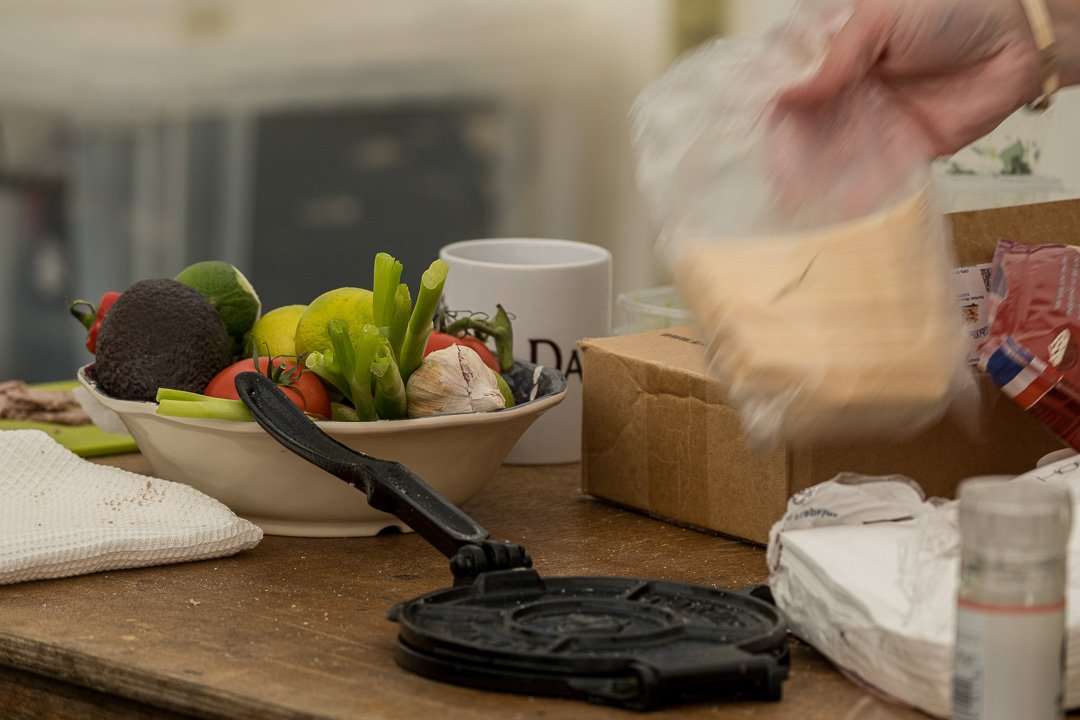
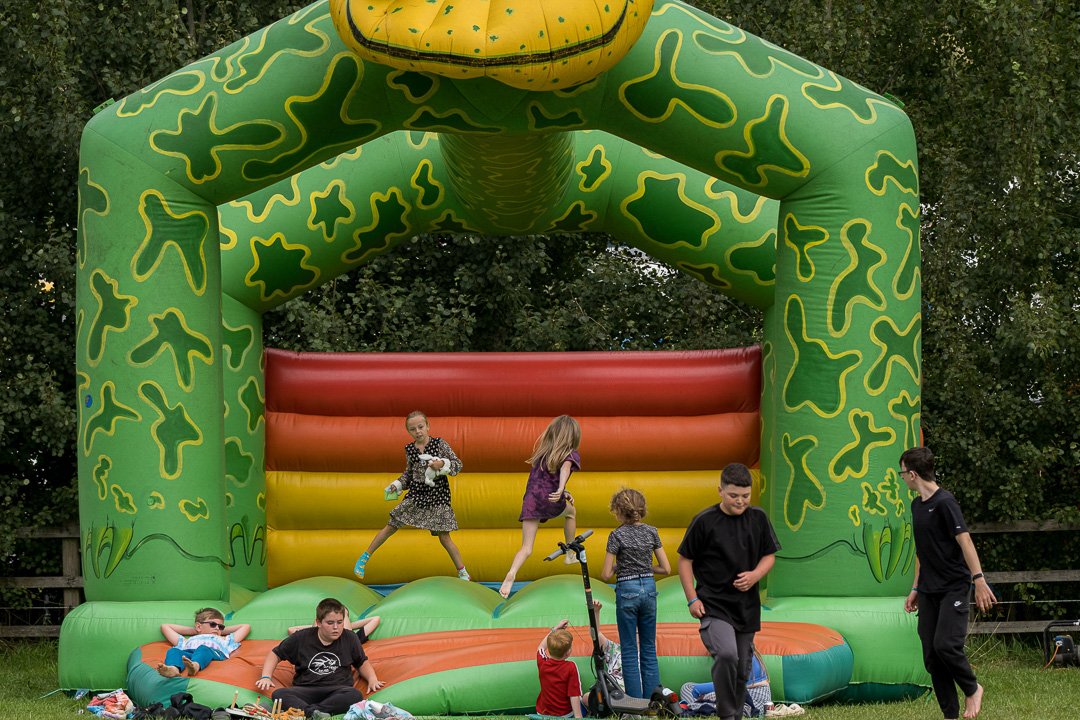
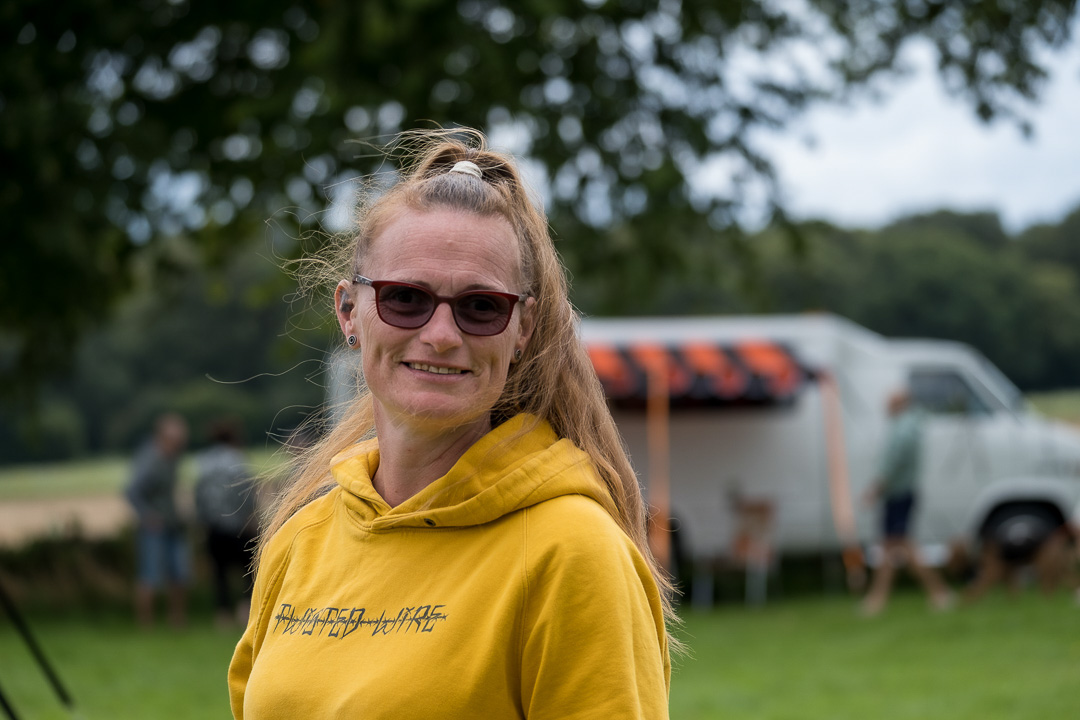
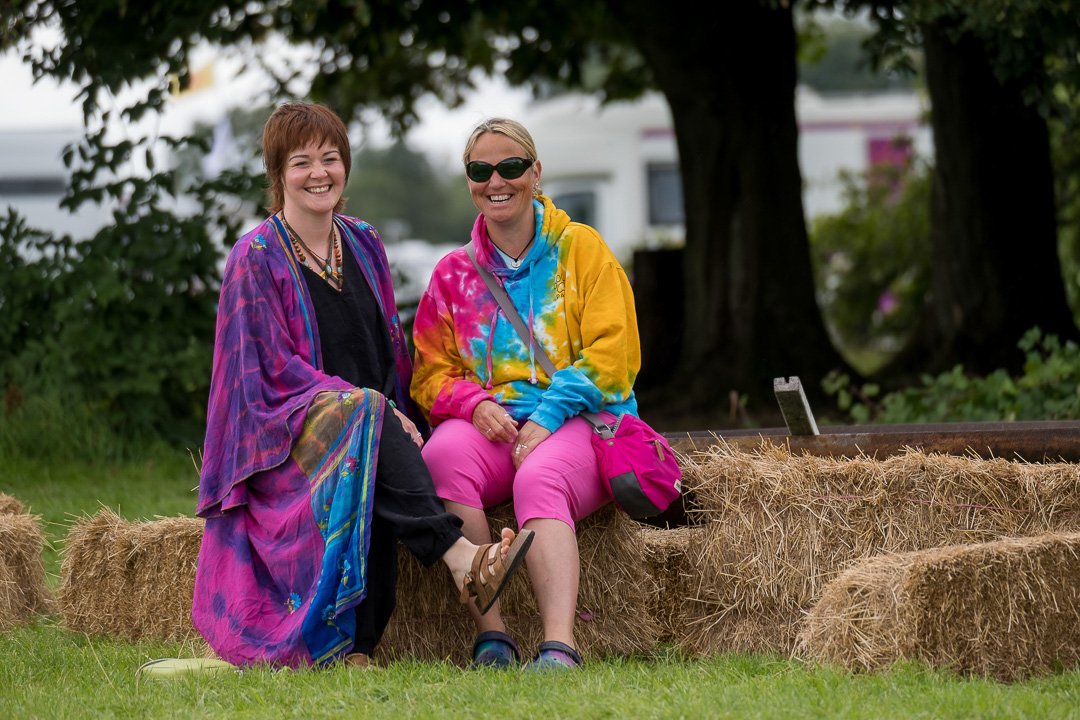
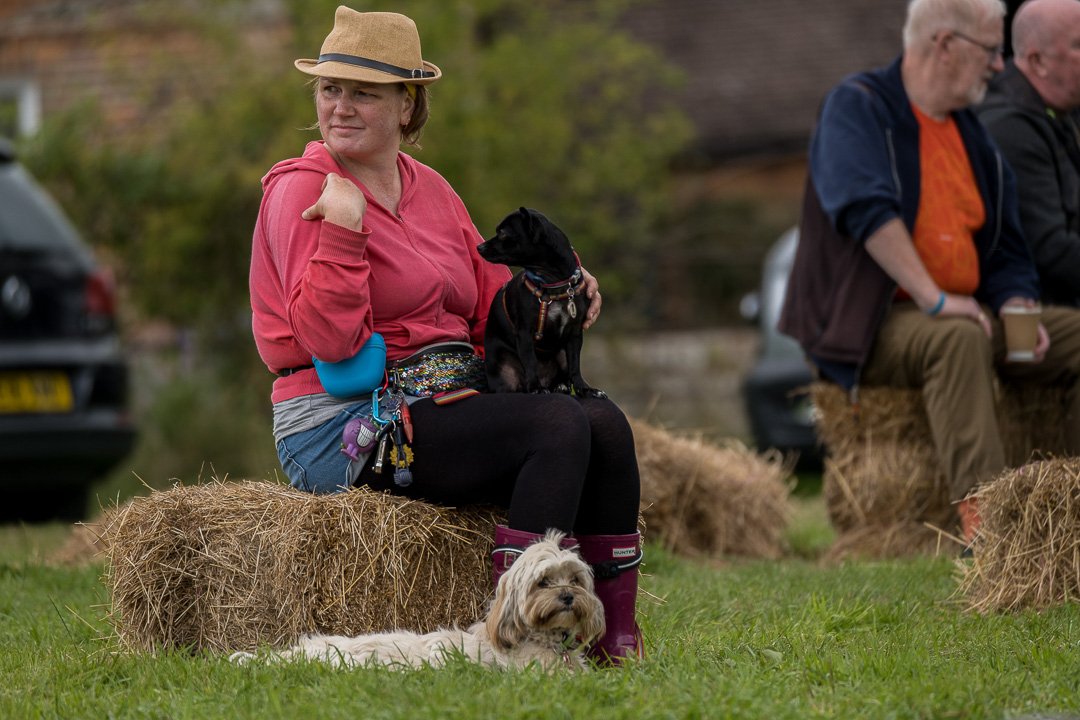
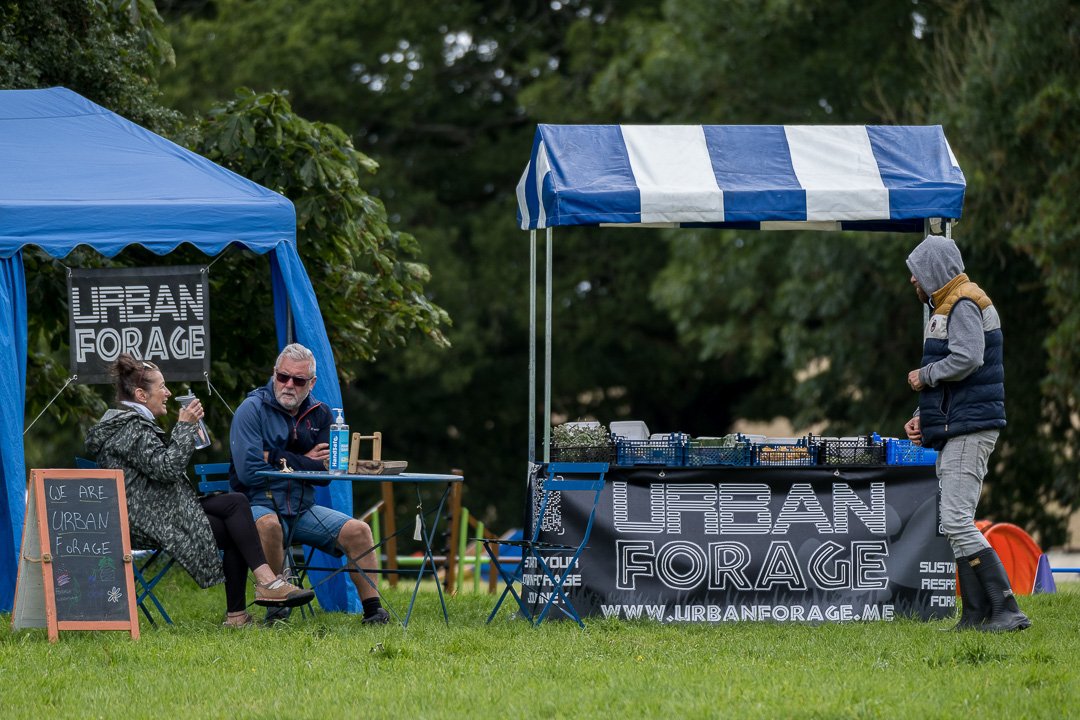
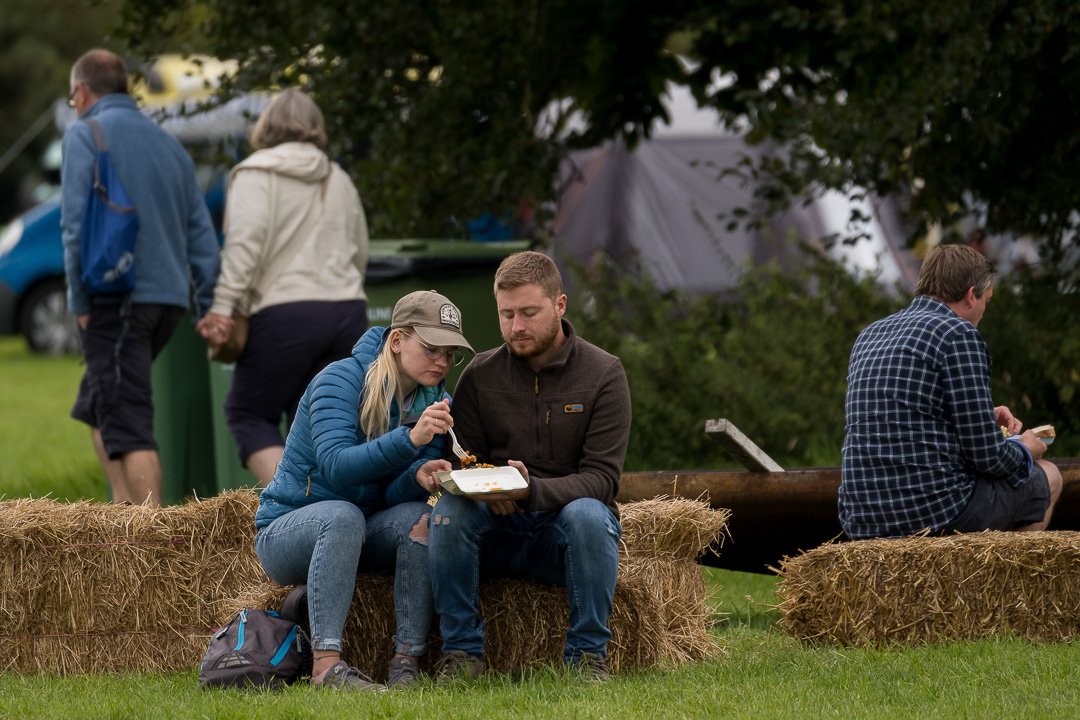
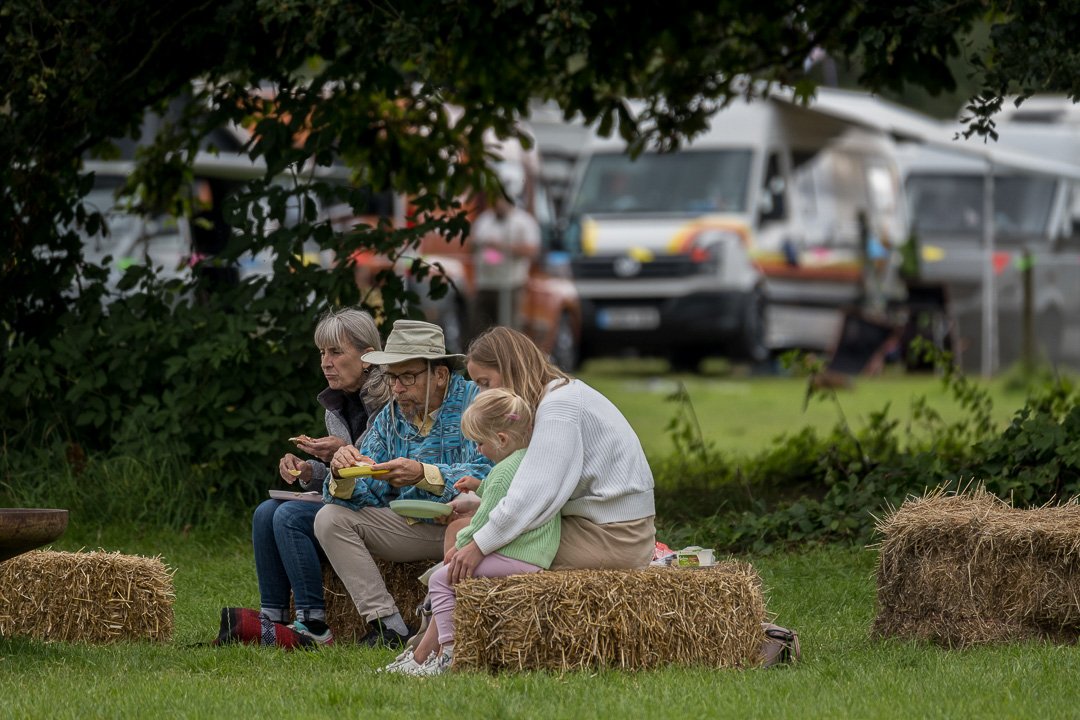
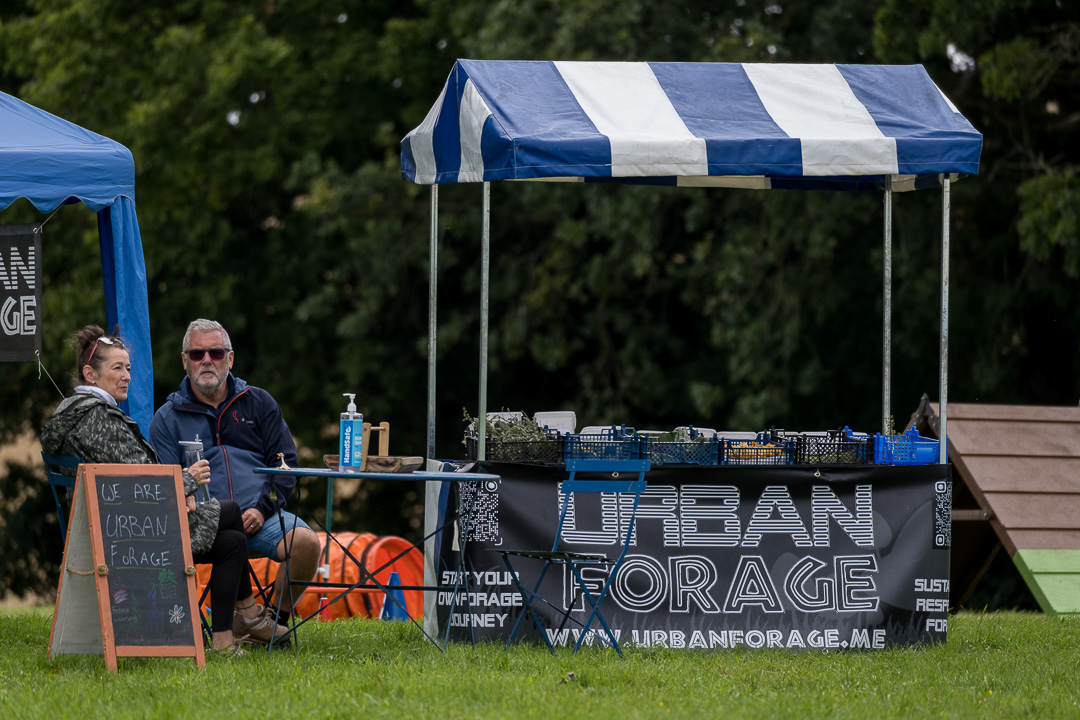
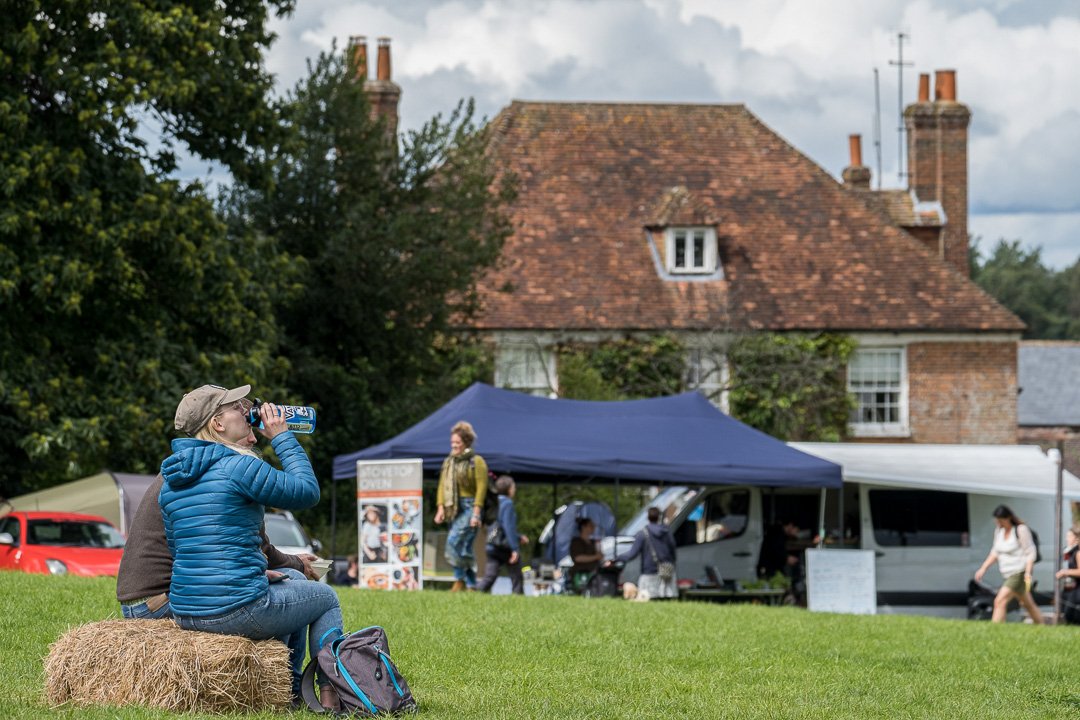
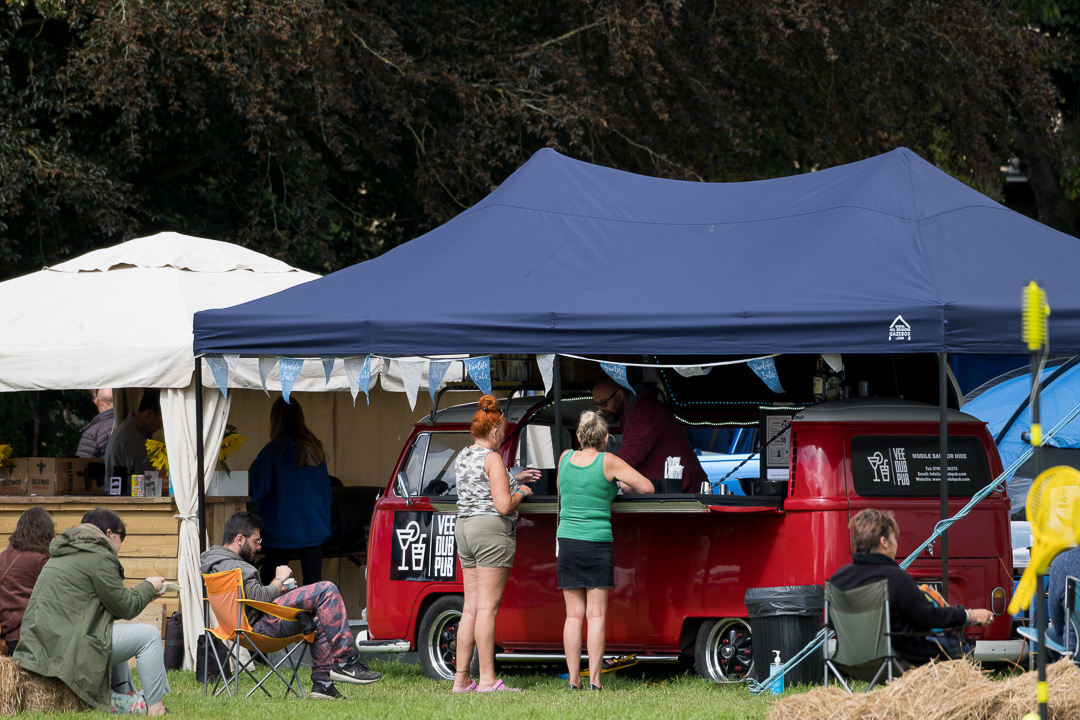
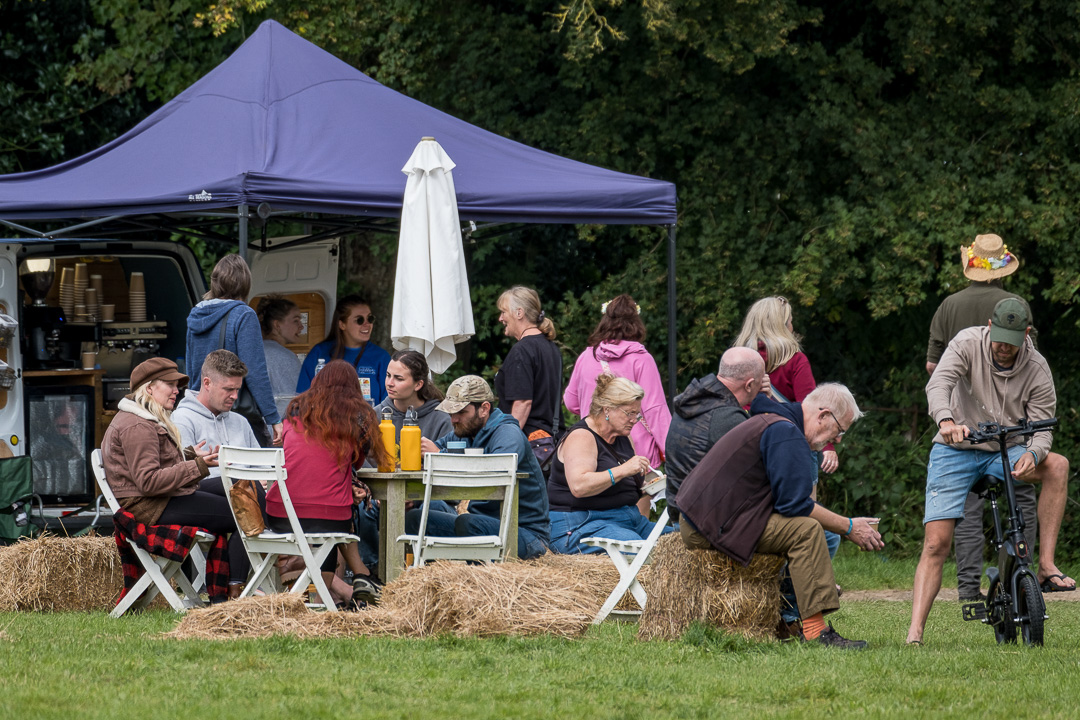
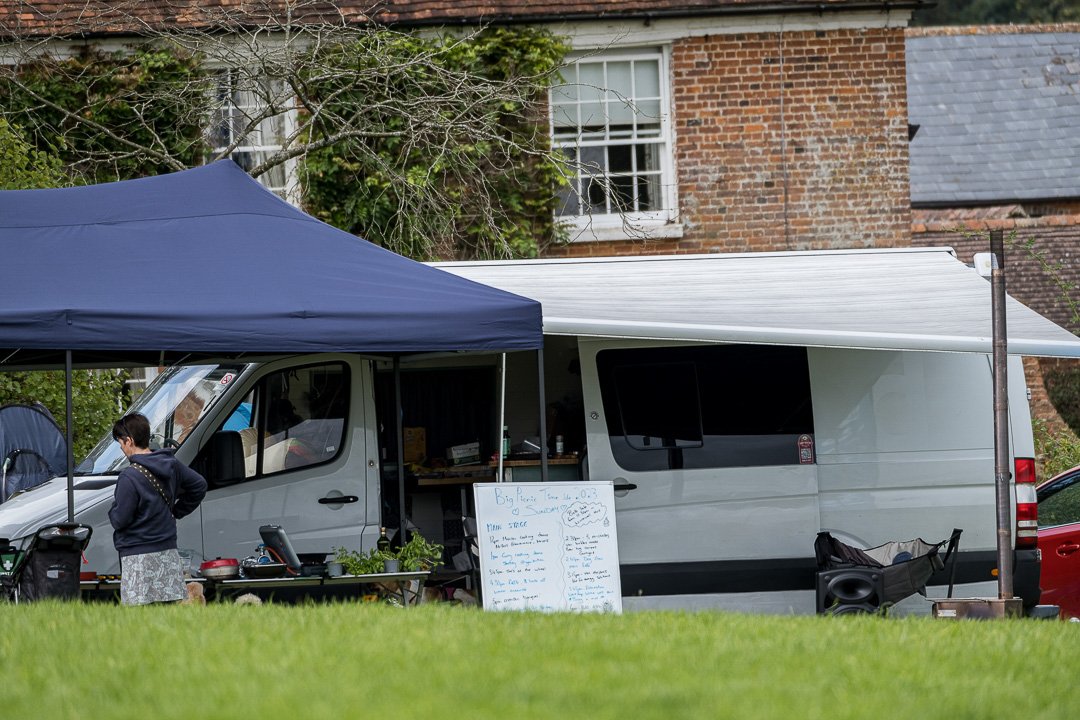
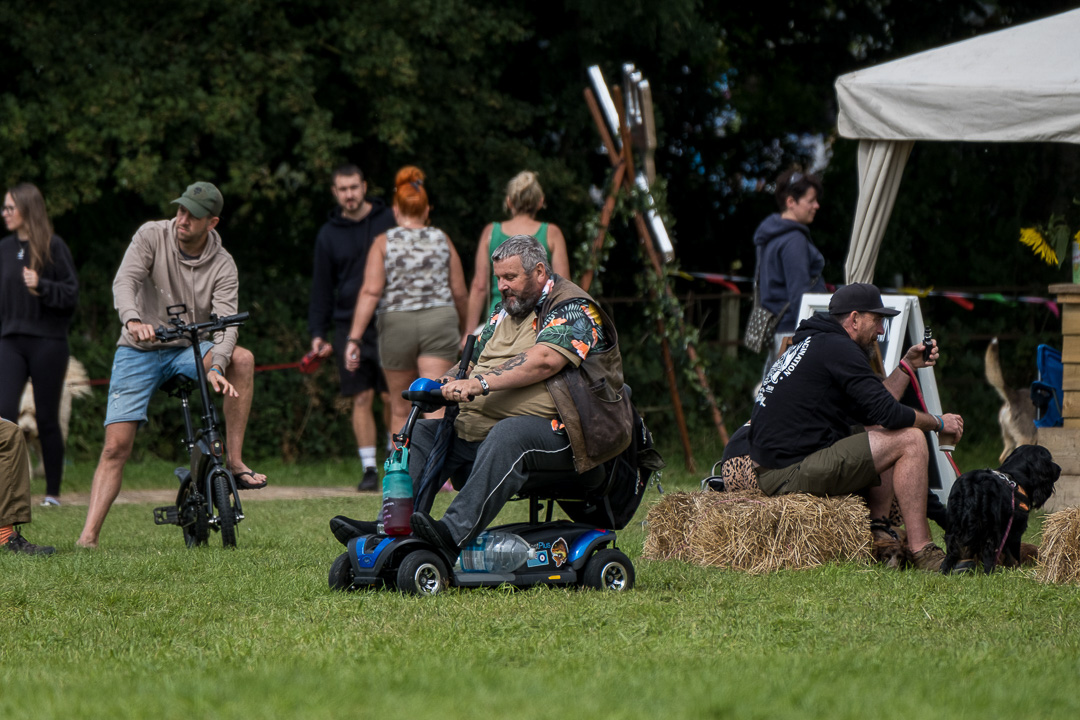
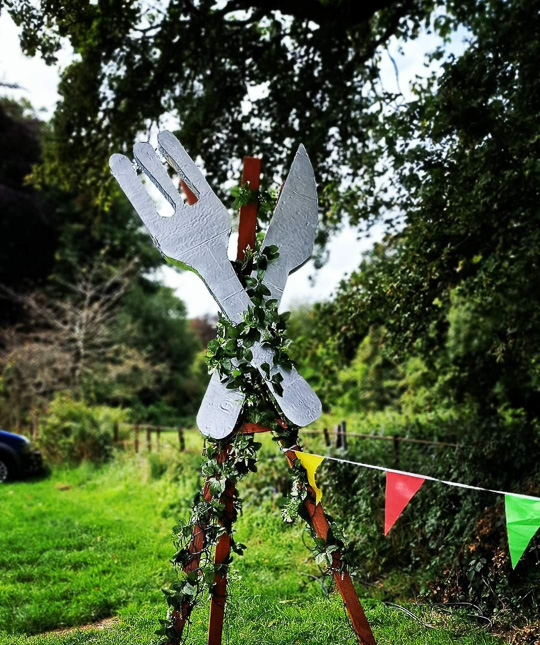
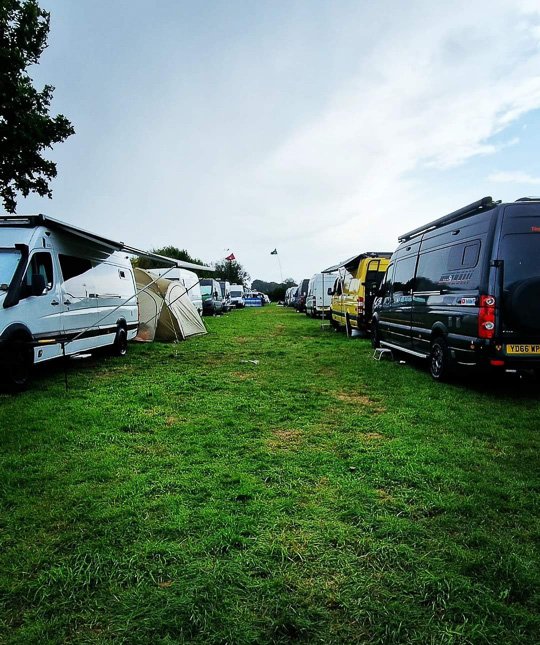
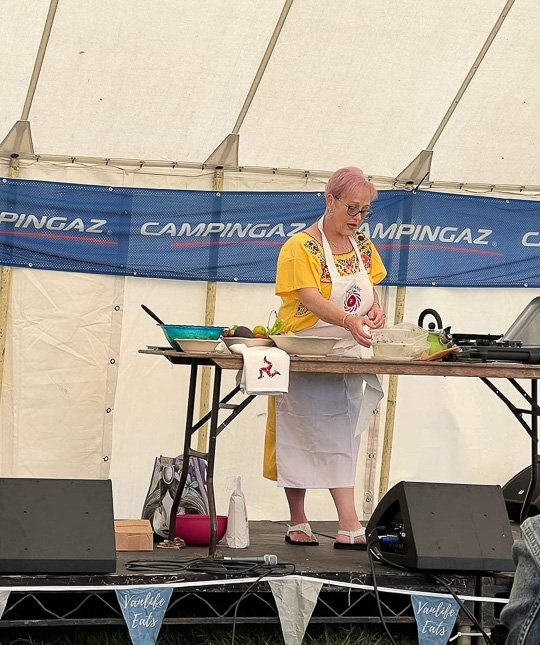
Yet another Vanlife Eats Big Picnic passes and the new ideas are already flooding our minds for our 2024 event!

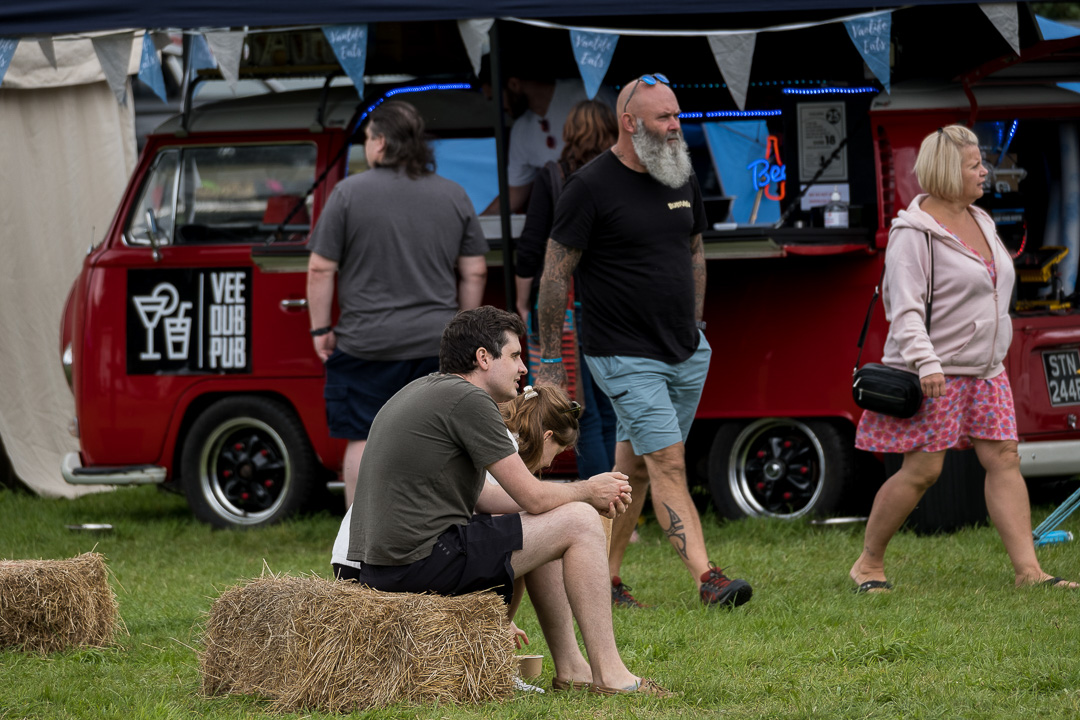
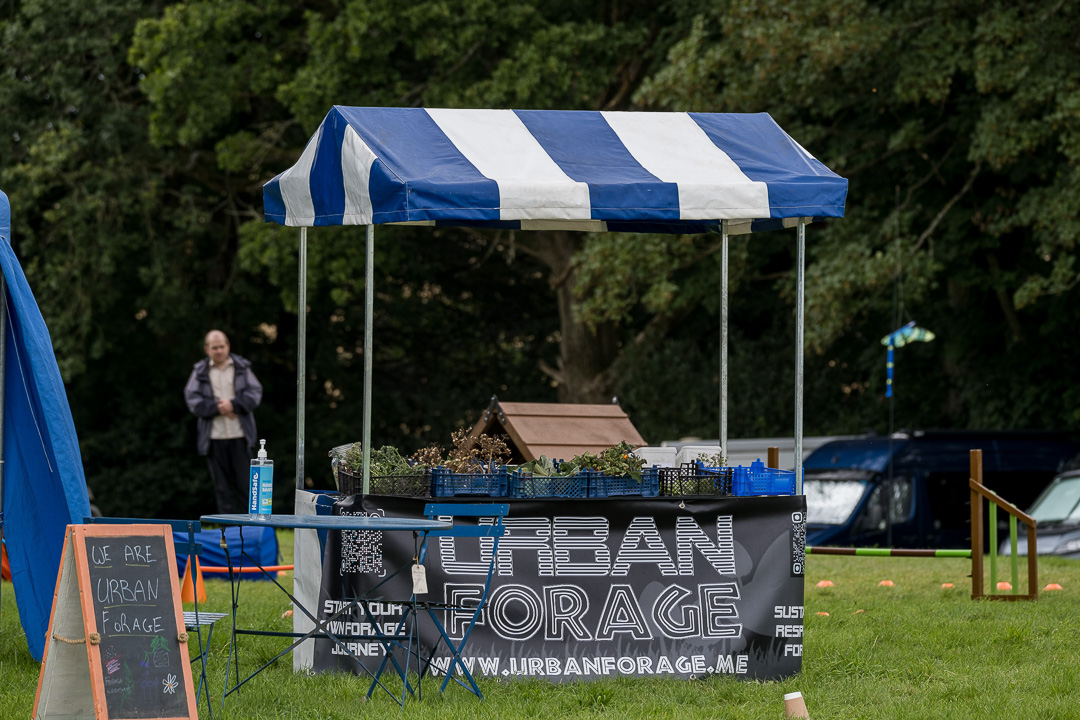
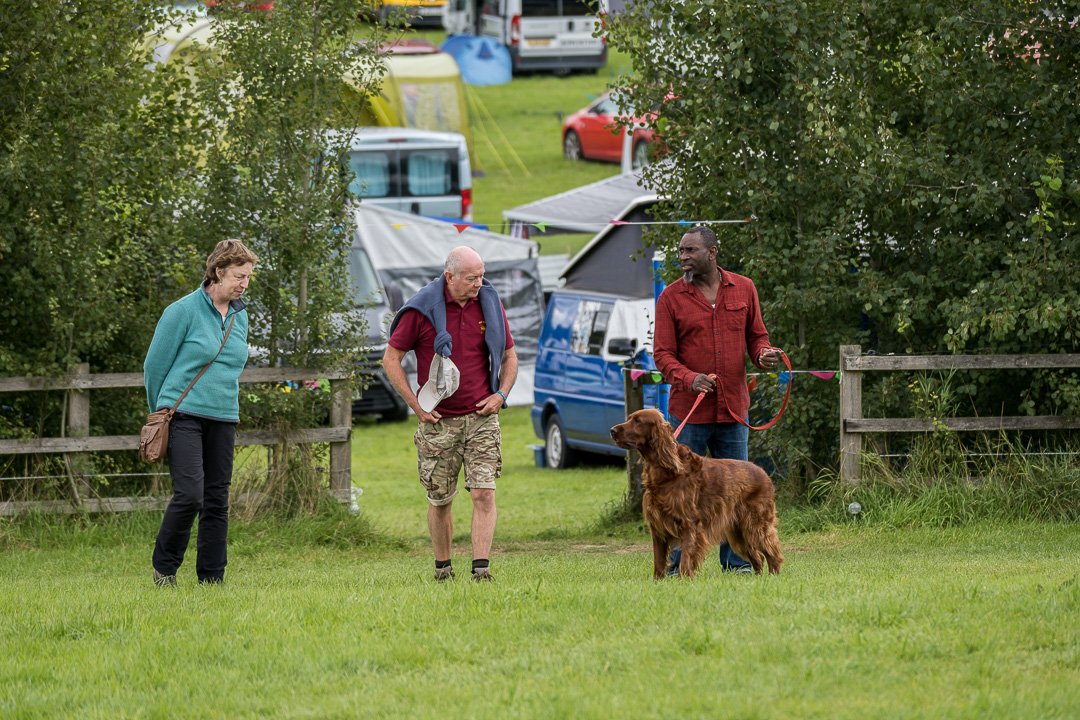
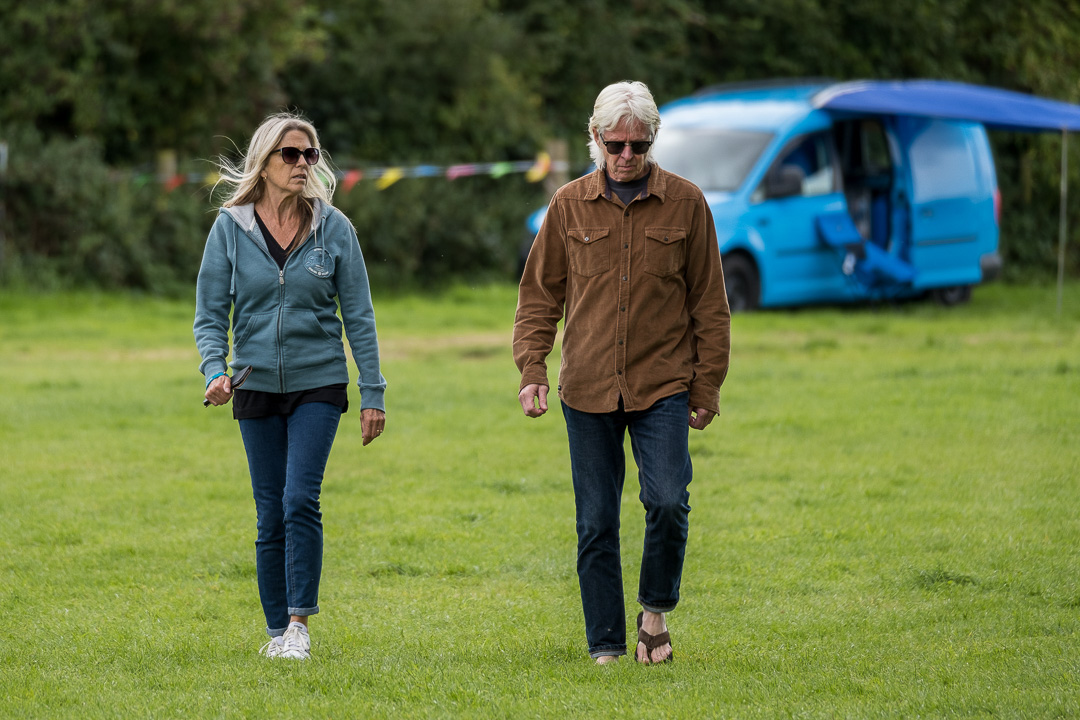
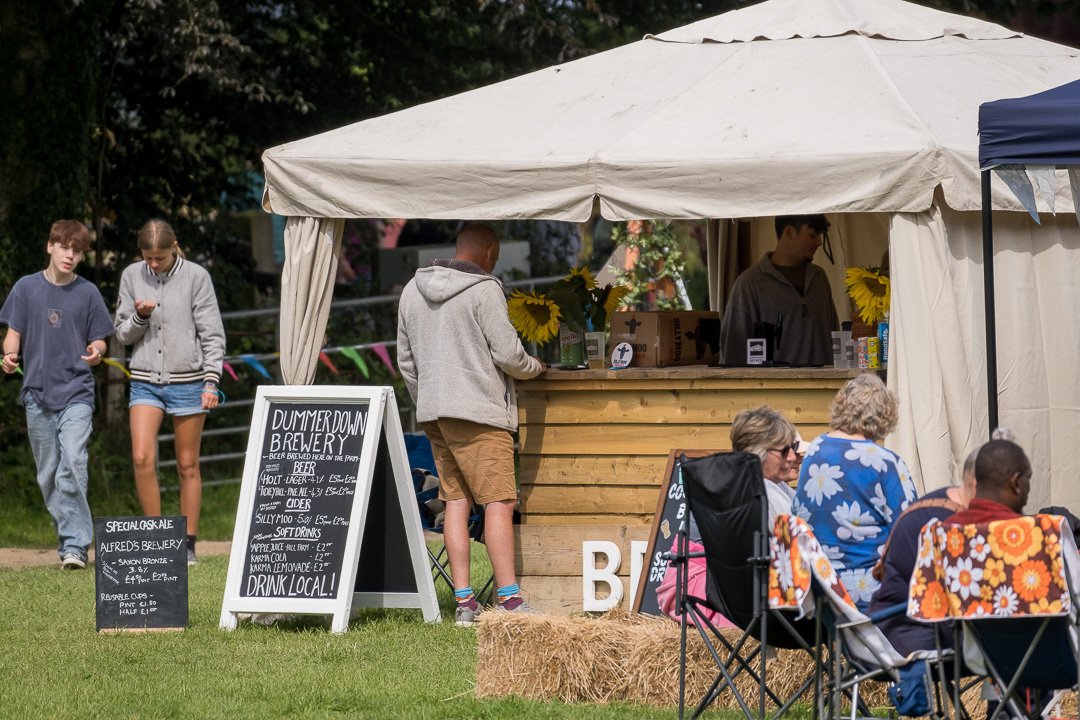
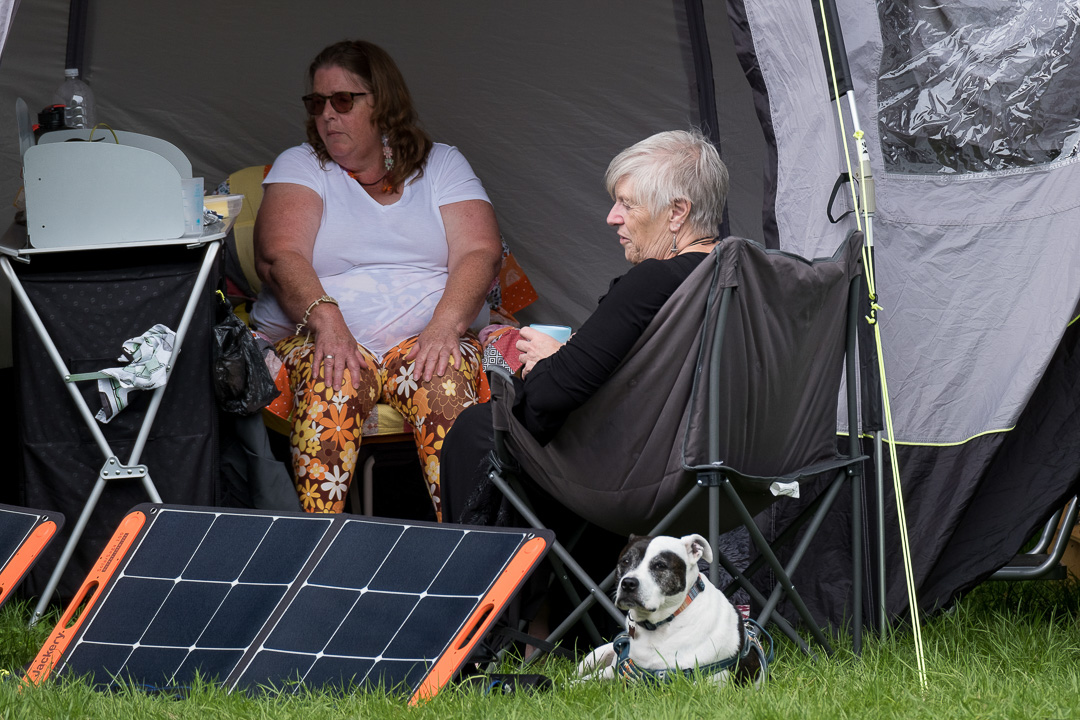
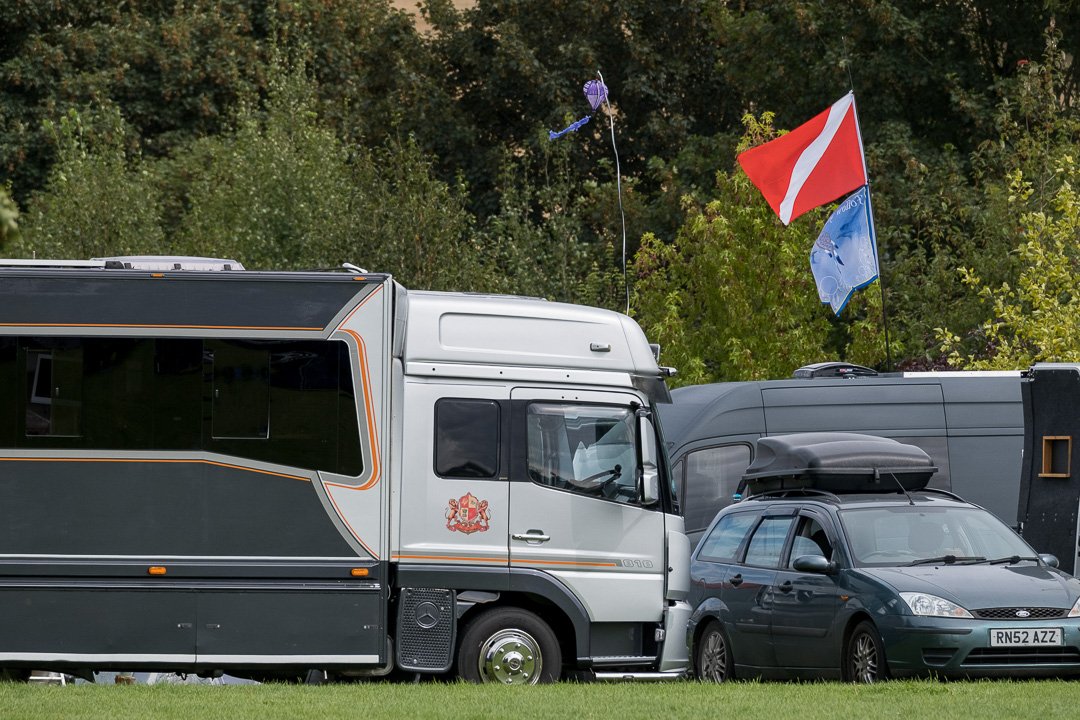
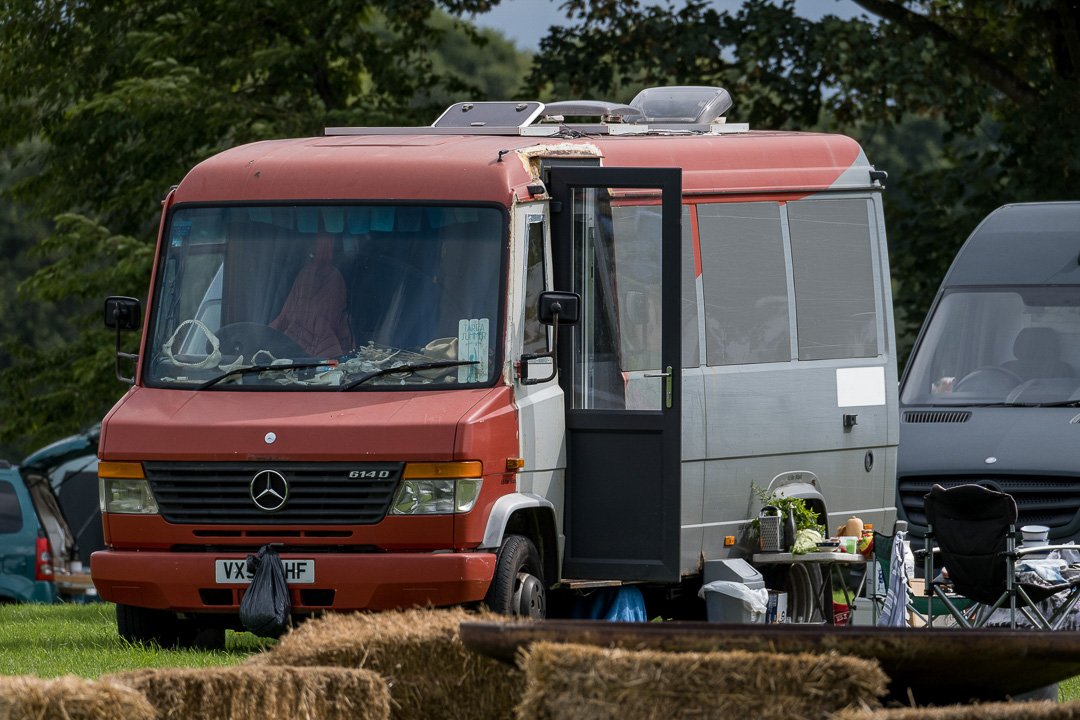
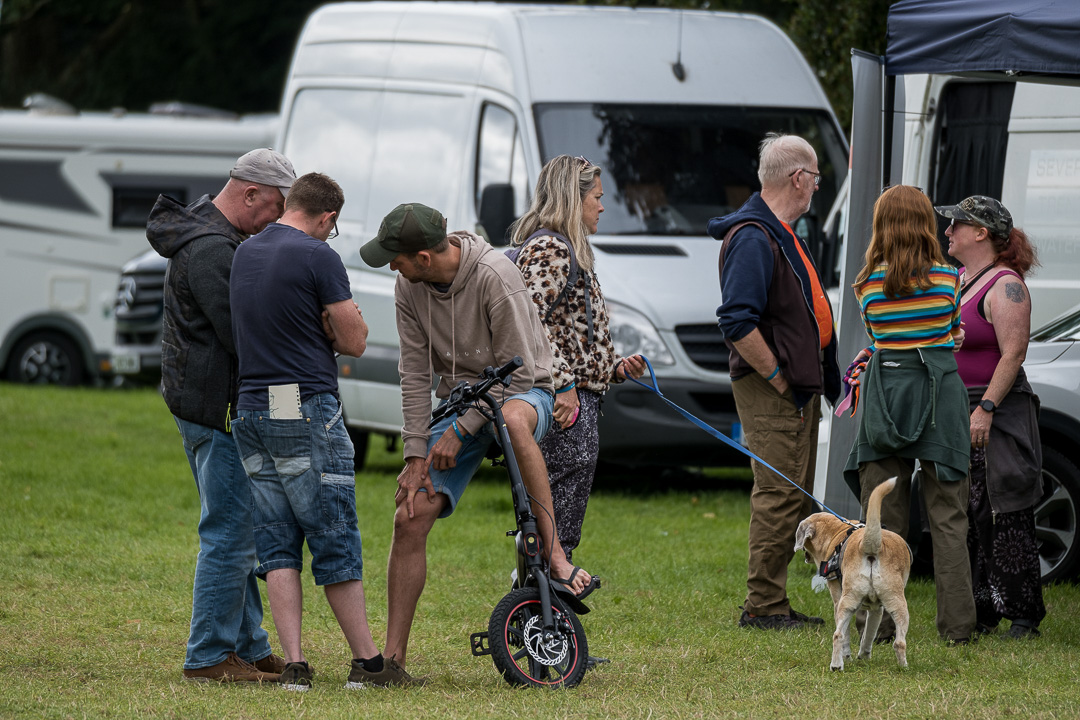
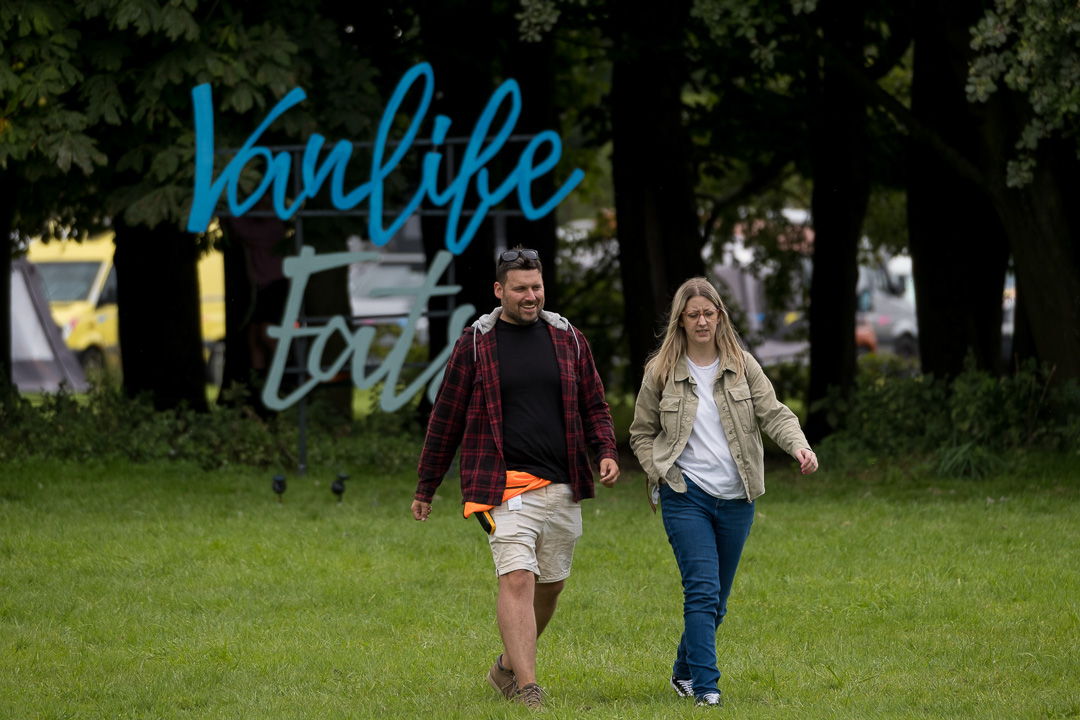
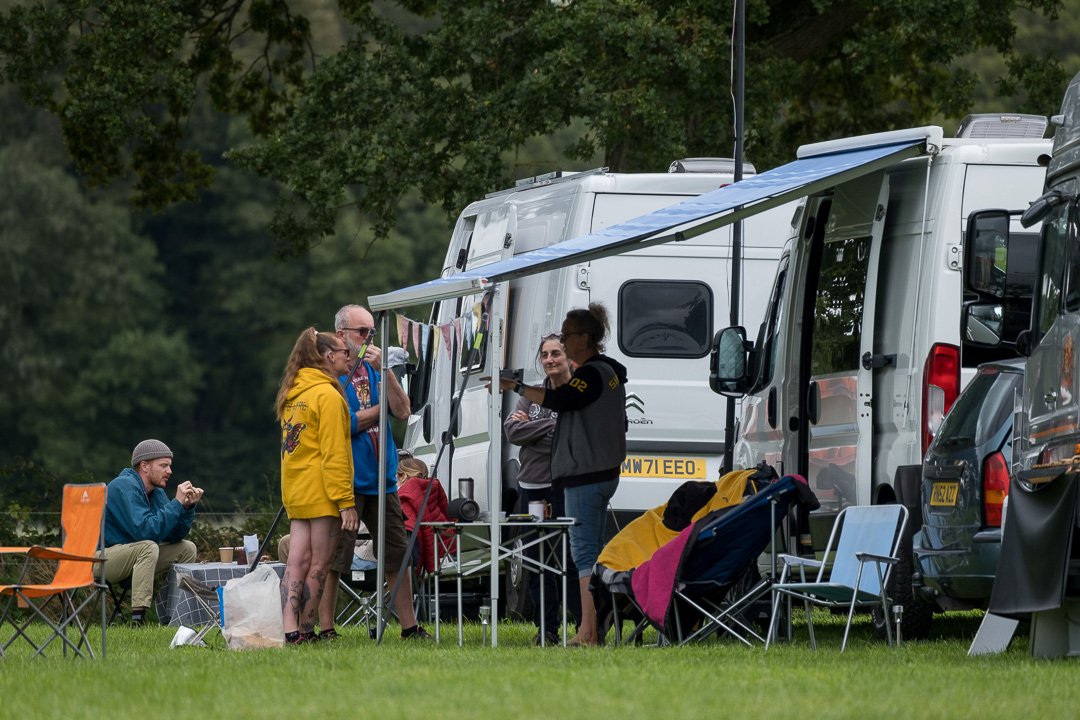
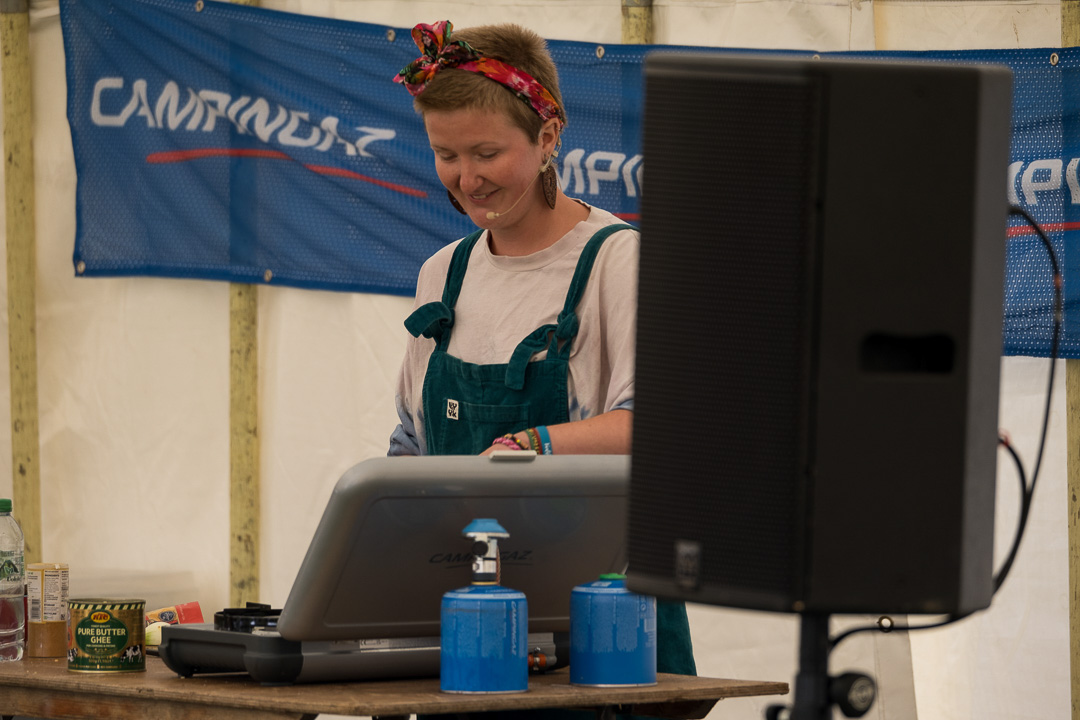
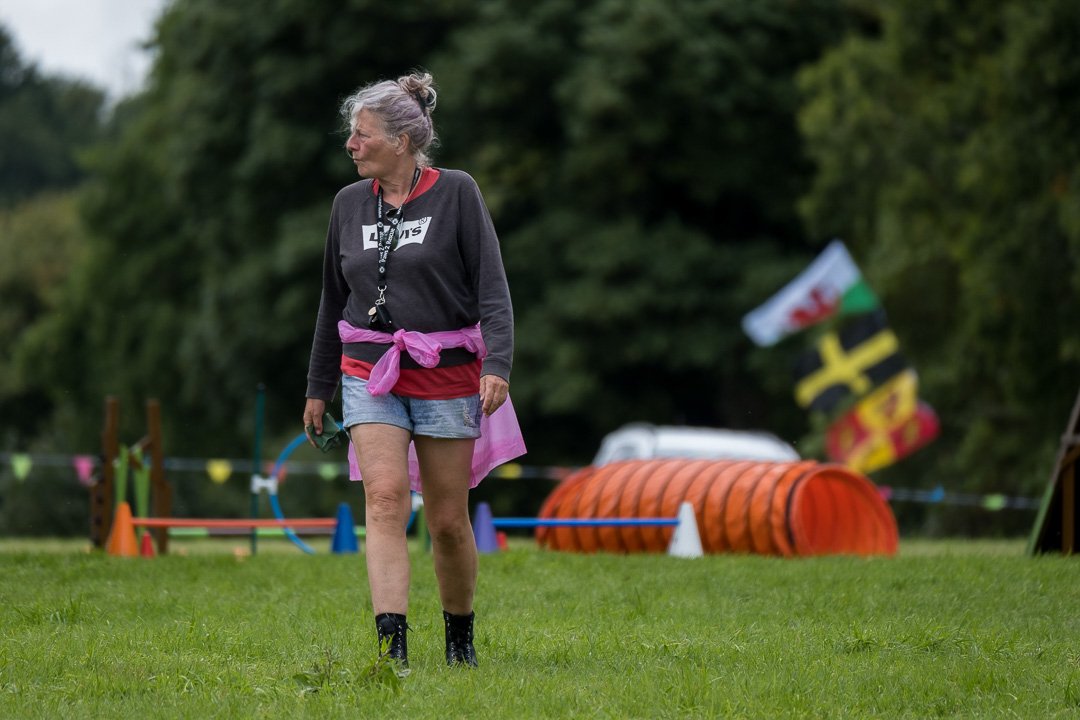
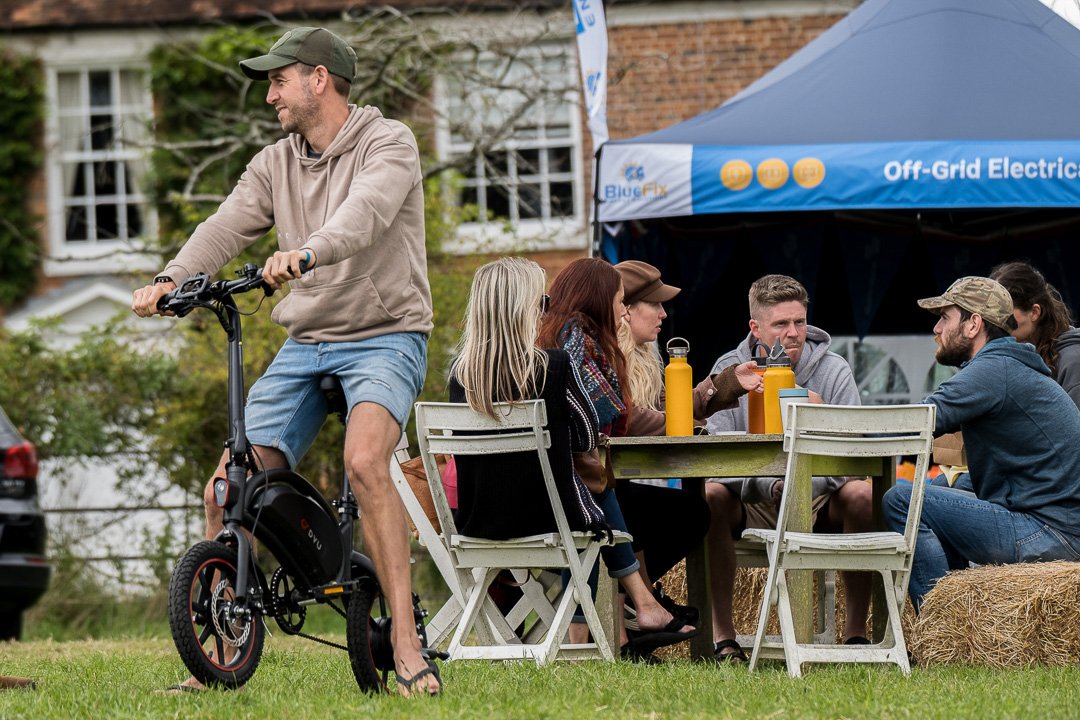
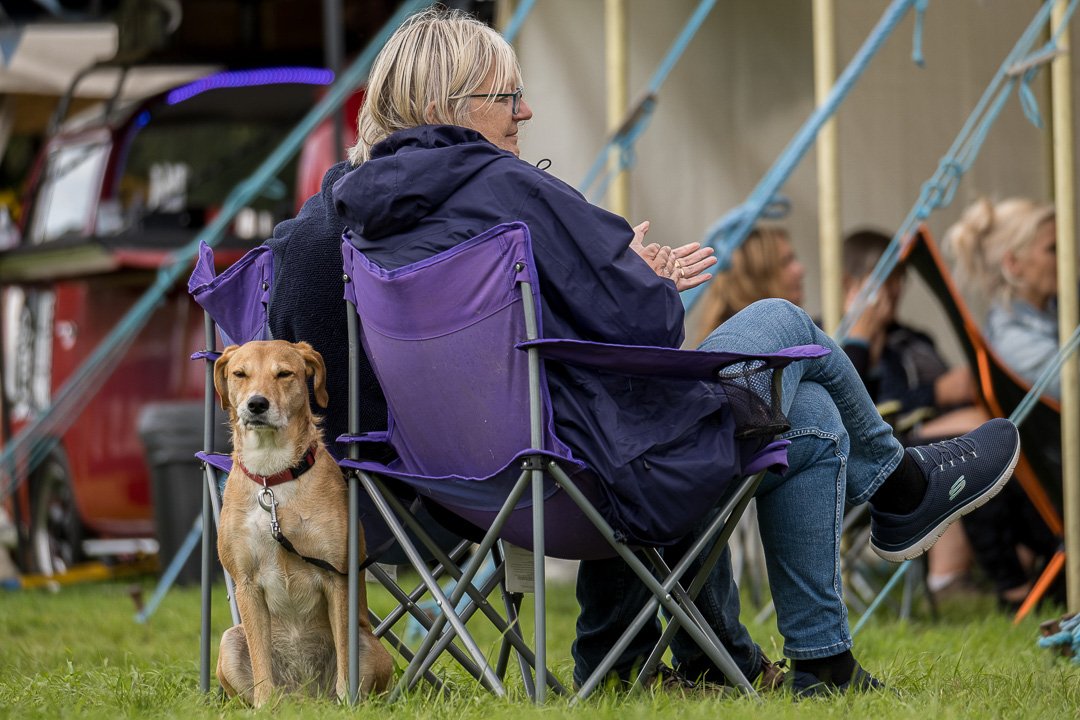
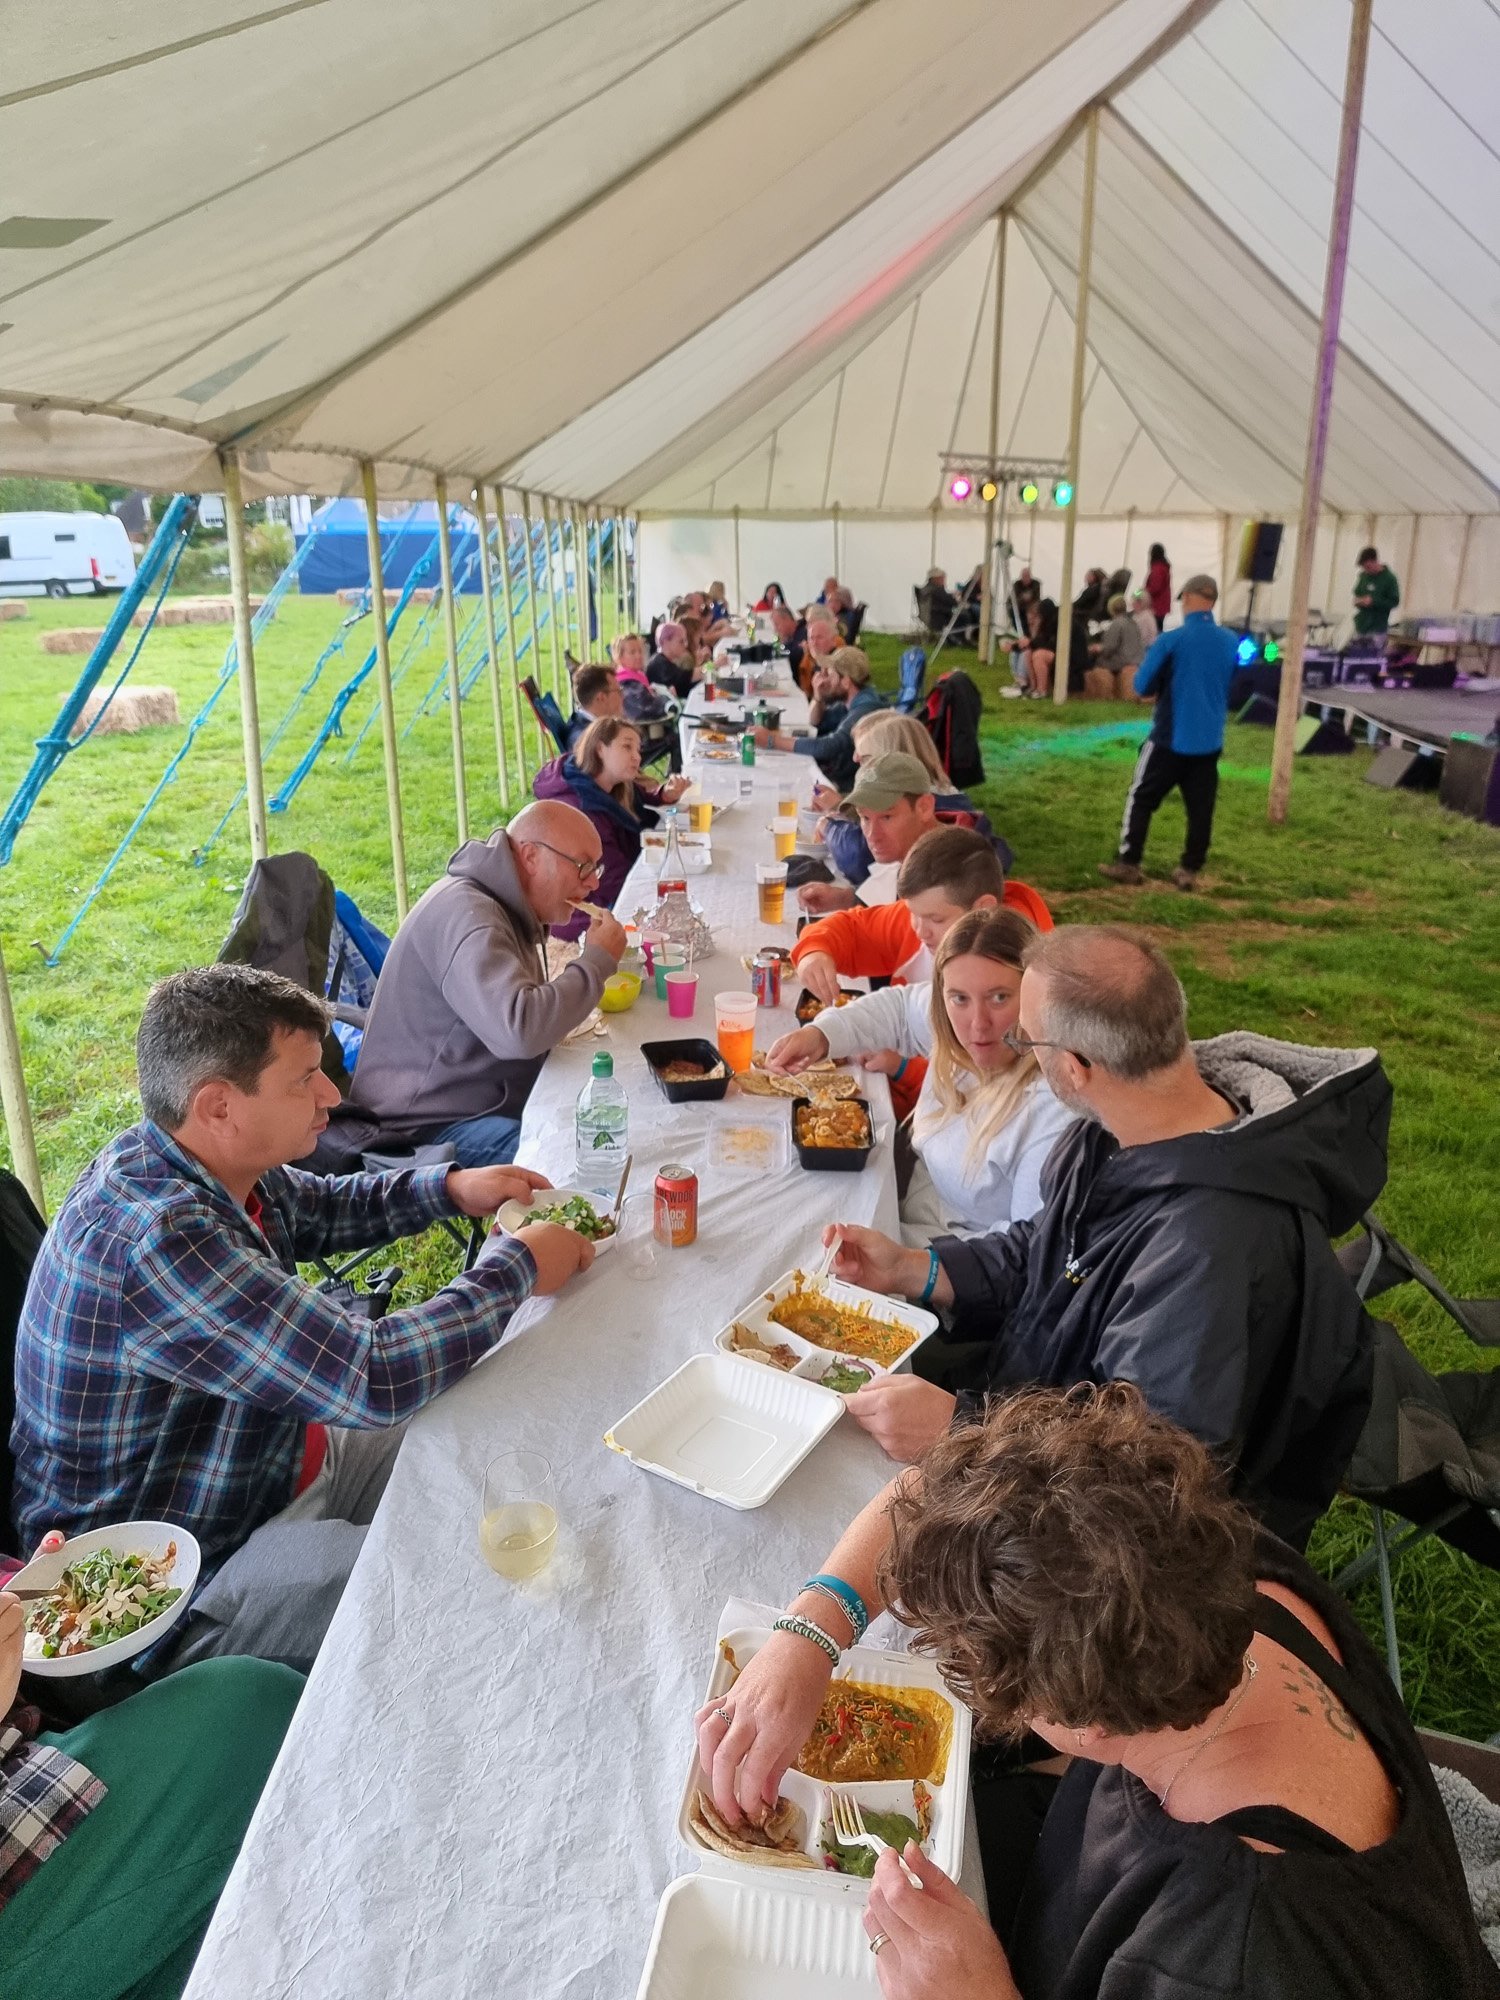
This year we had incredible cooking demos, frustratingly inspiring vanlife adventure tales, priceless social media tips, legendary van build advice as well as pet activities, a hand picked craft market, an awesome variety of caterers, the LARGEST fire pit in Vanlife history, the LARGEST vanlife banquet in history, the LARGEST vanlife picnic in history, dance lessons from around the world, incredibly talented music acts all set on the beautiful farmland in the rolling hills of Hampshire.

We have been flooded with emails stating that it was their favourite vanlife event of the year yet again. 😊 But we wont take all that credit, its the amazing vanlife community that make it. Amazing people, inspirational vans and a deep respect for one another. ❤️

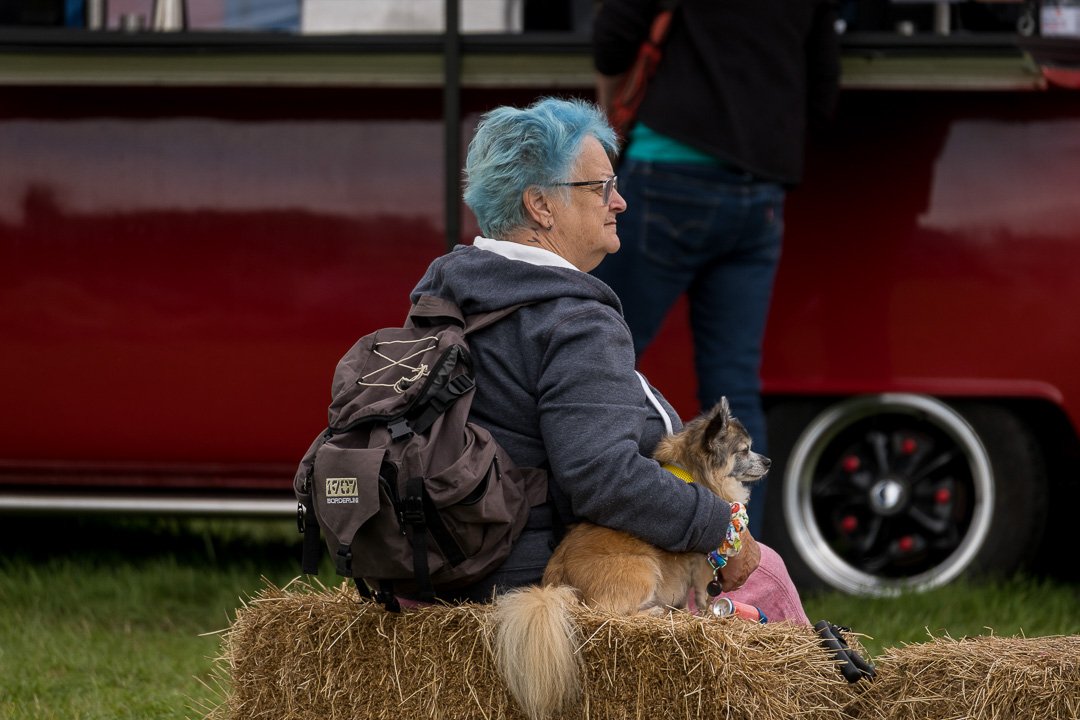
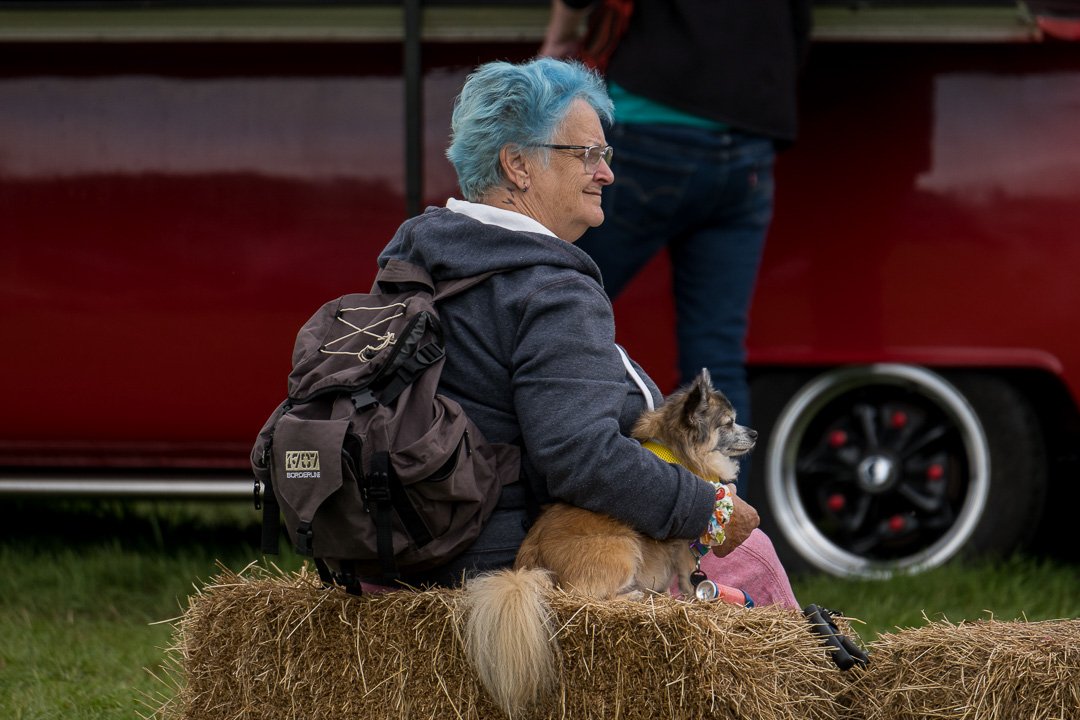
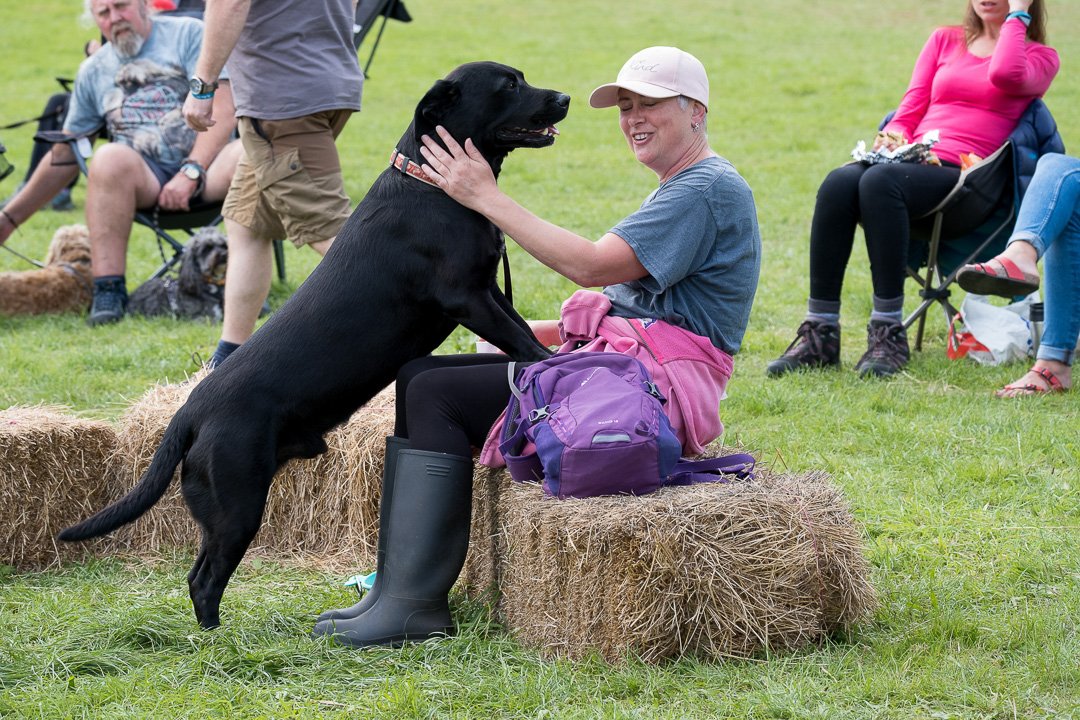
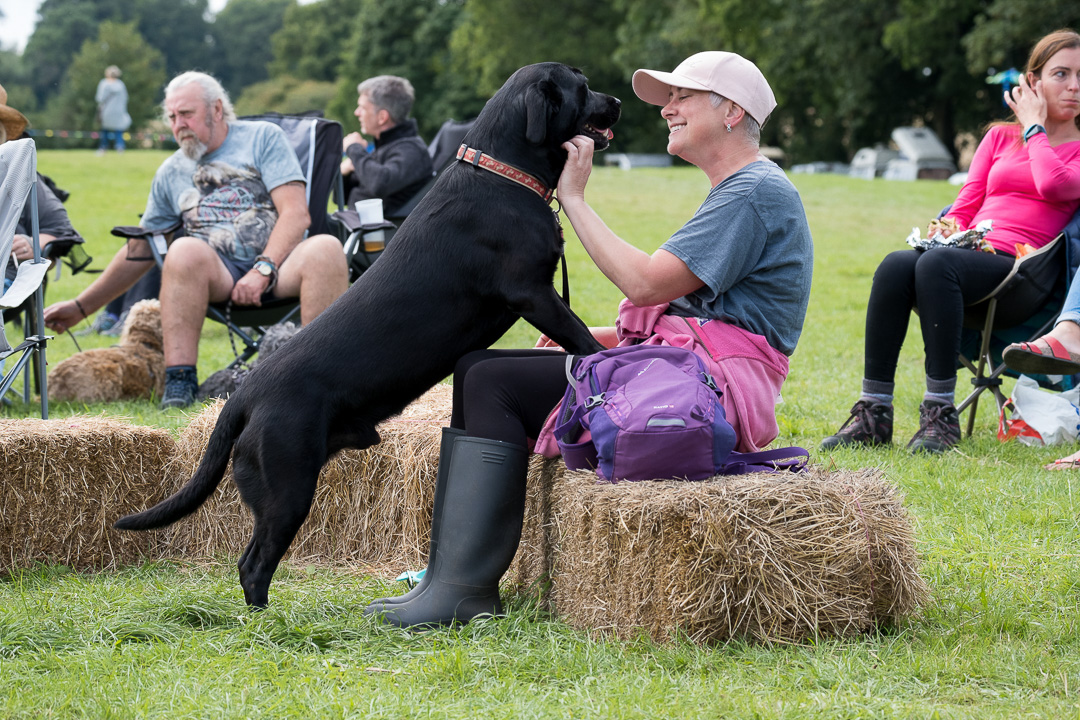
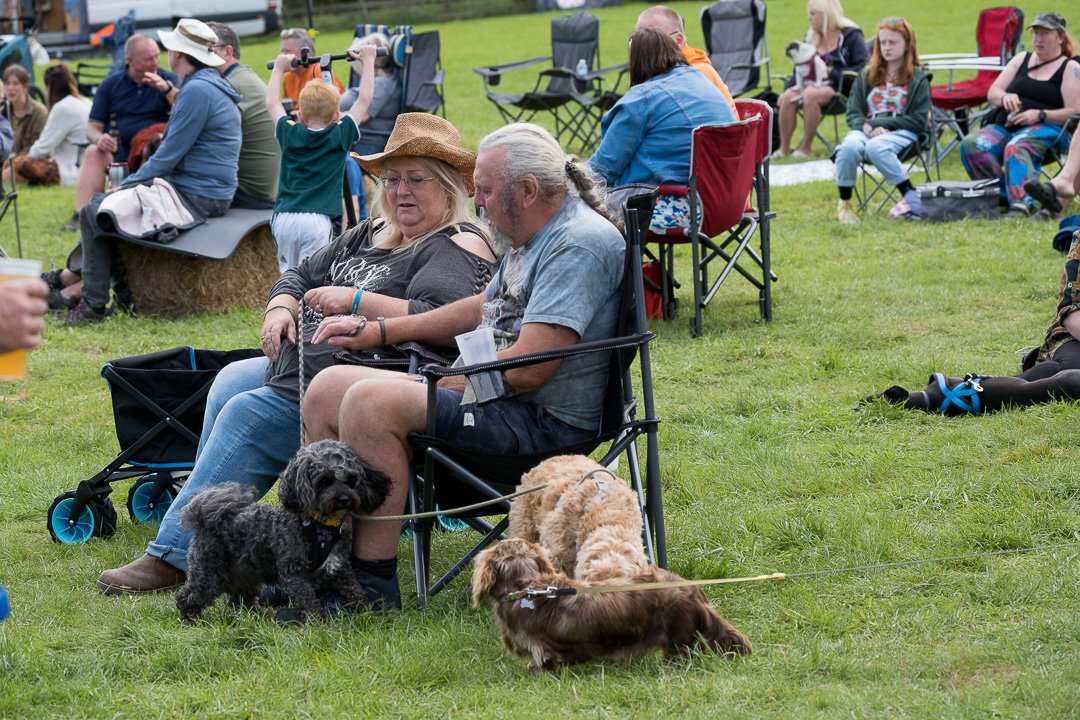
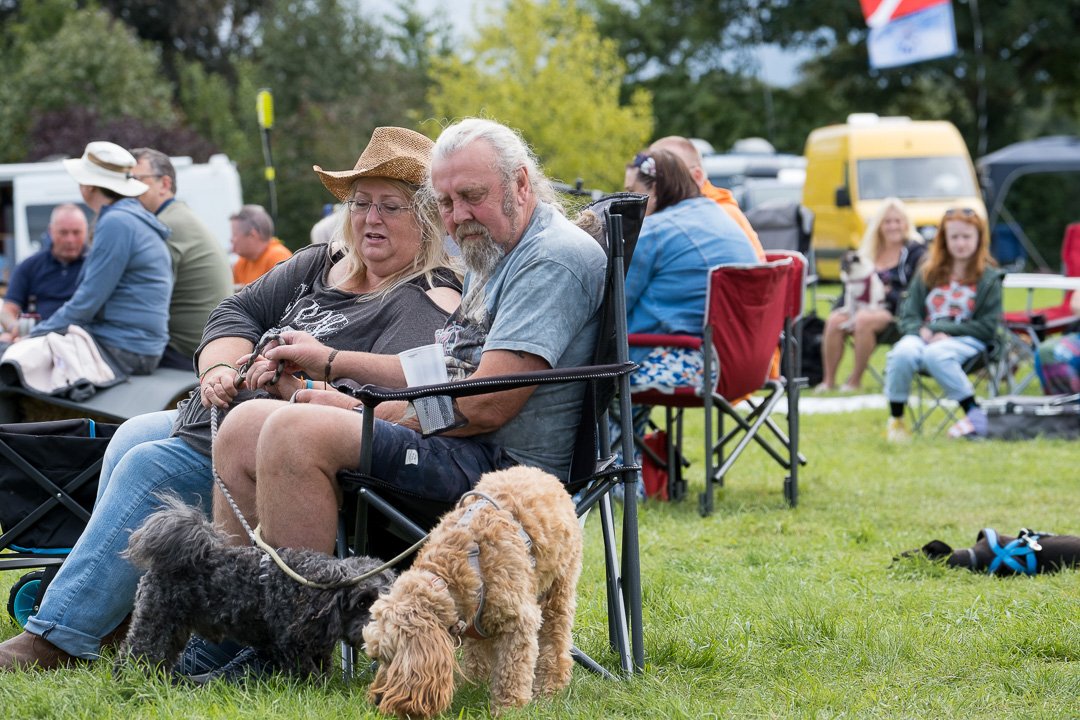
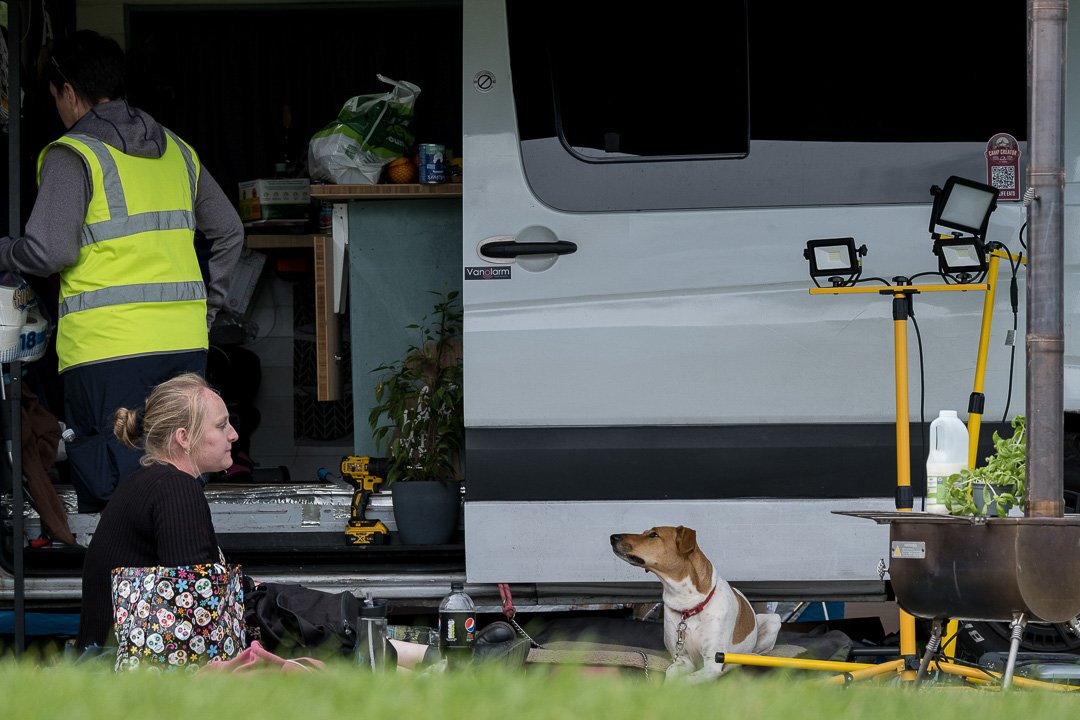
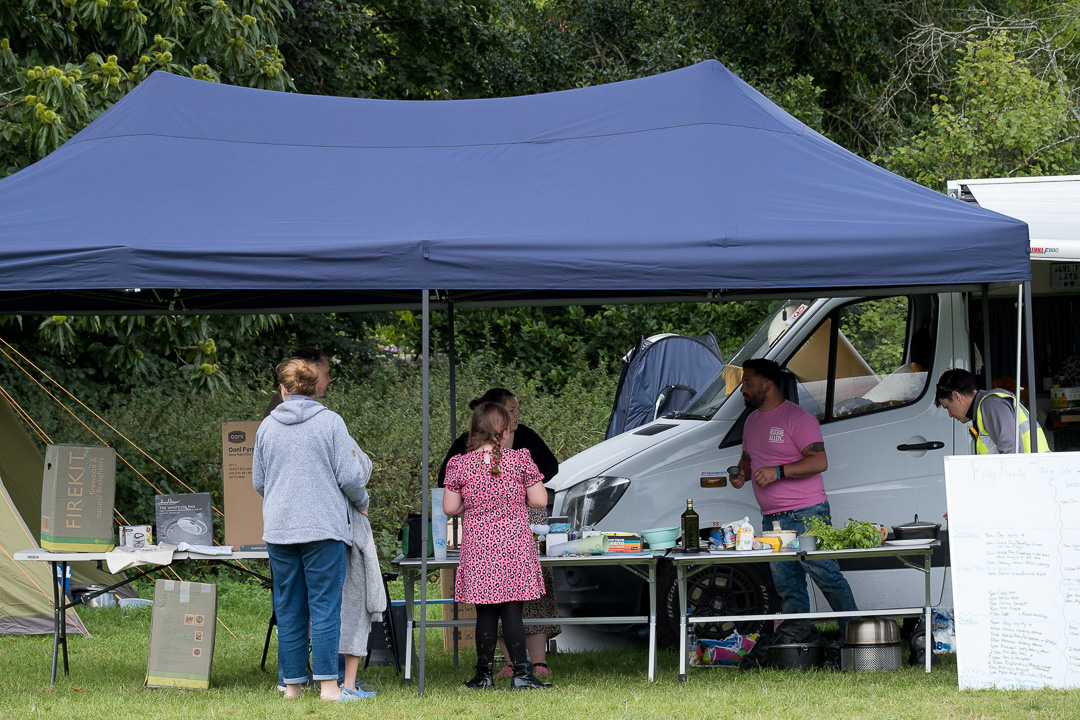
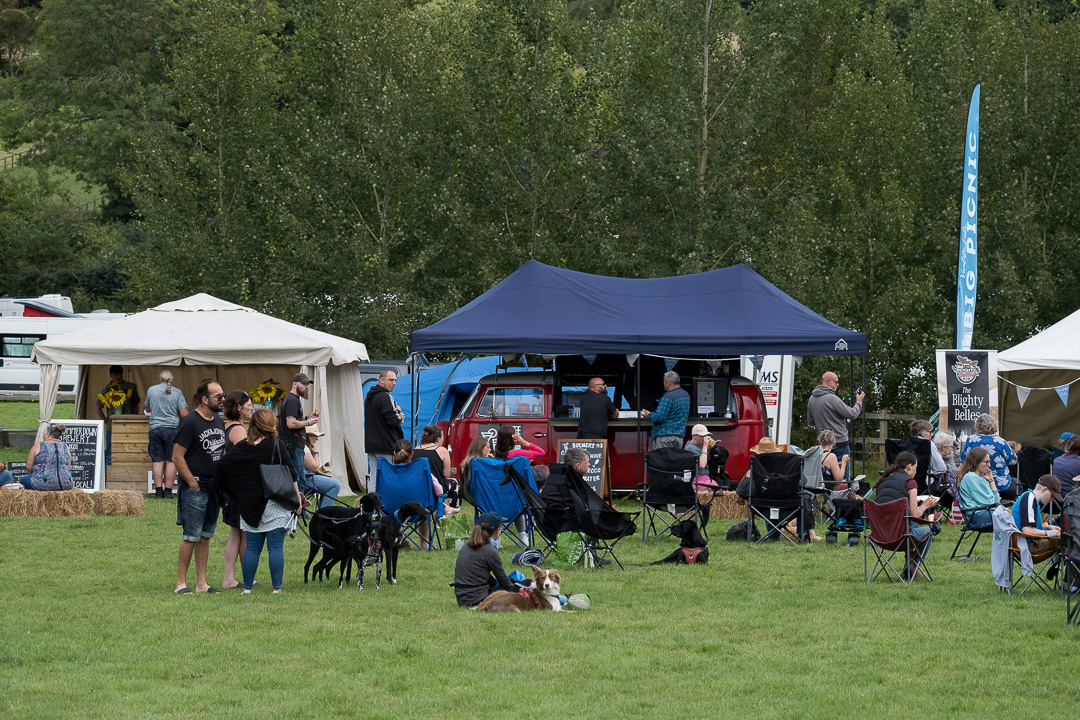
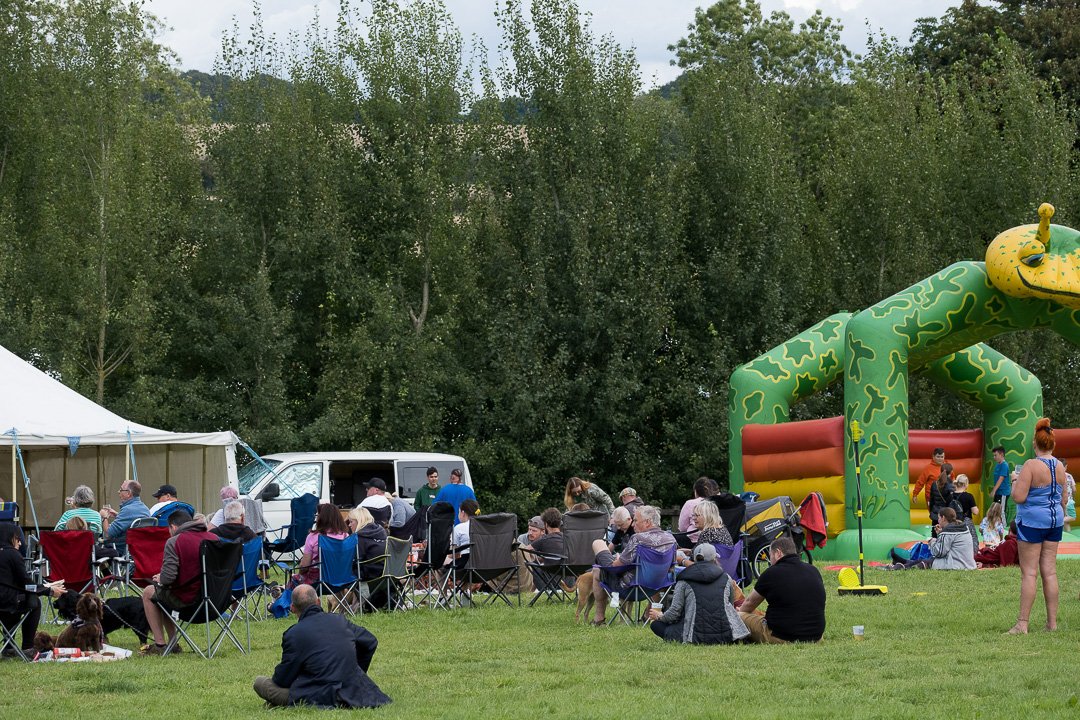
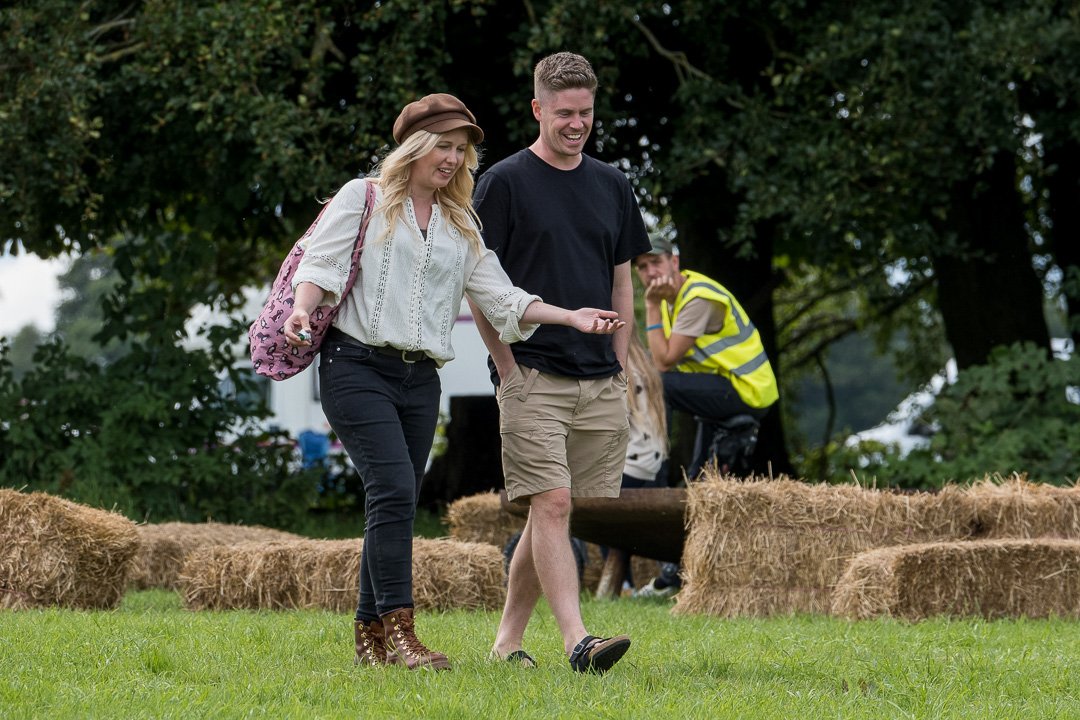
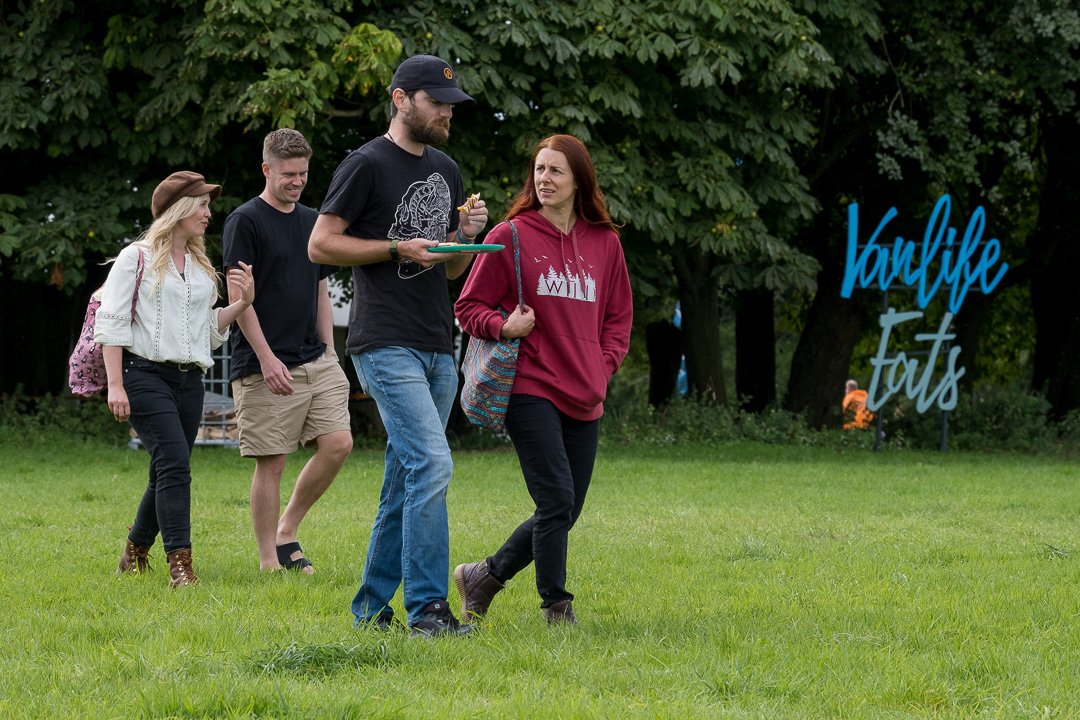
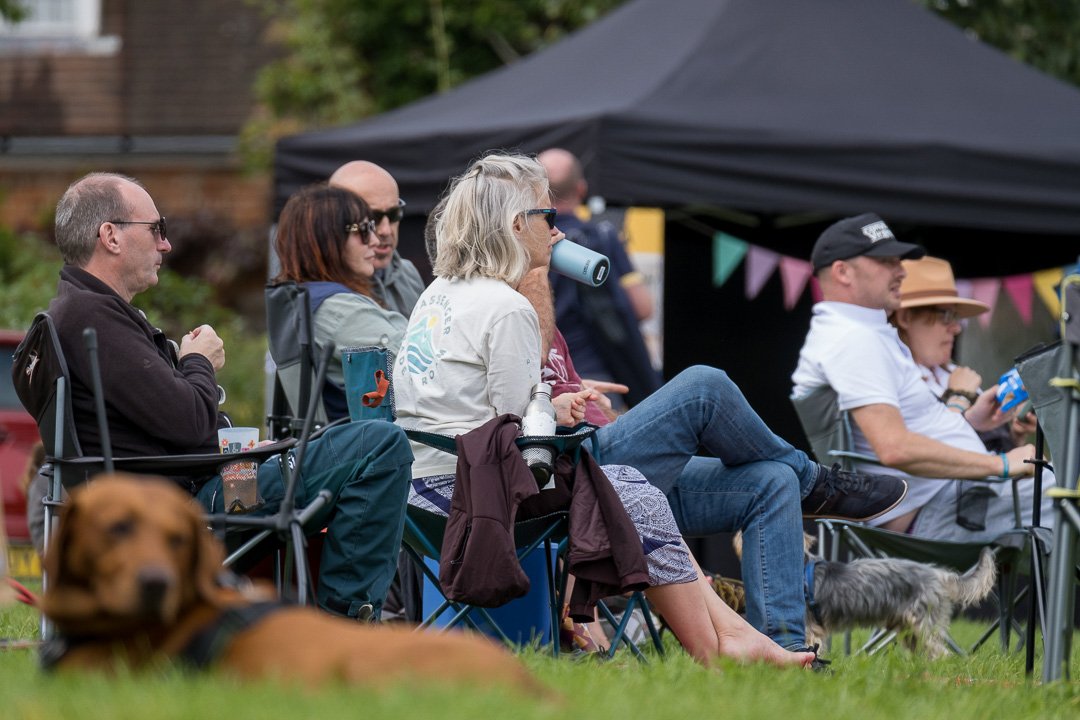
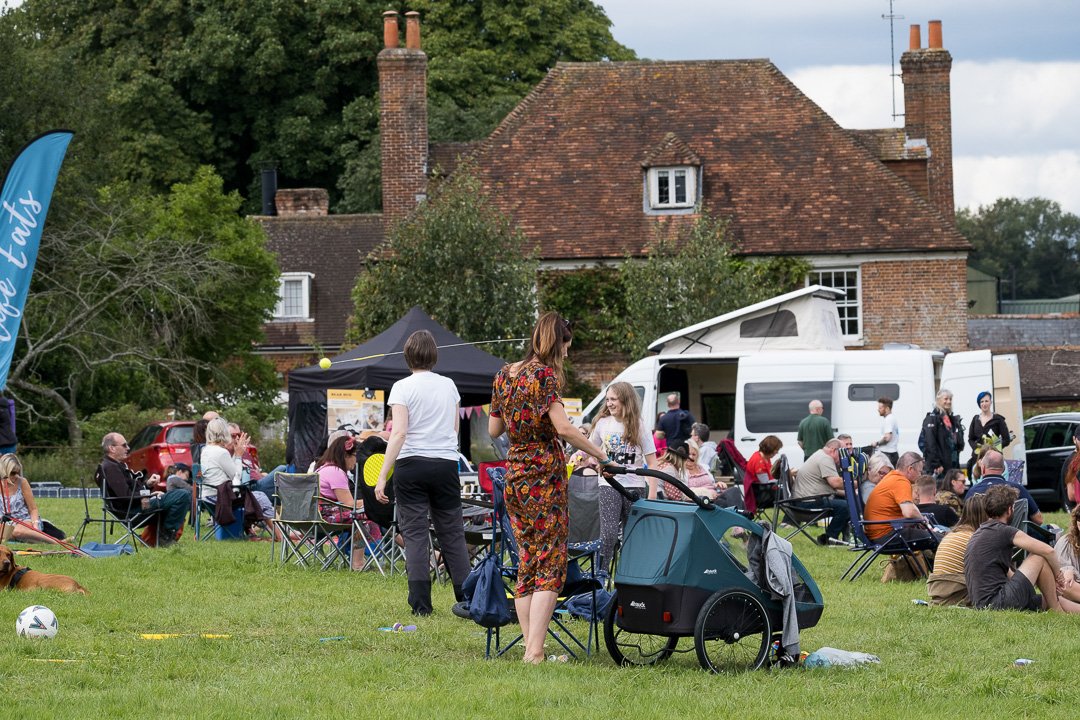
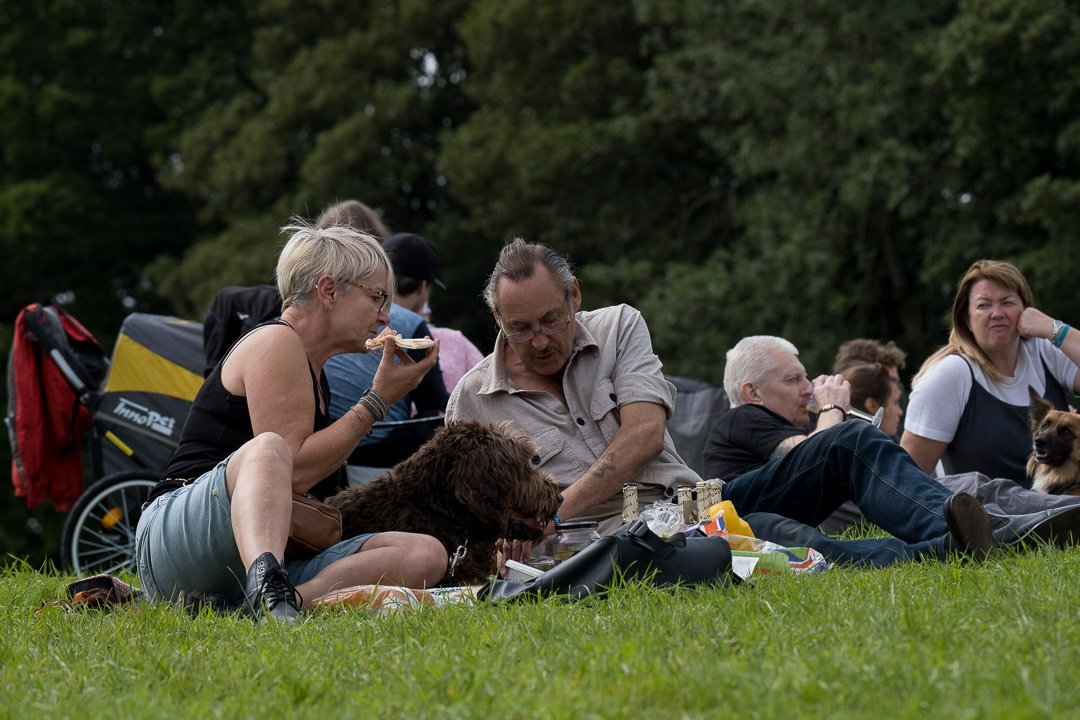
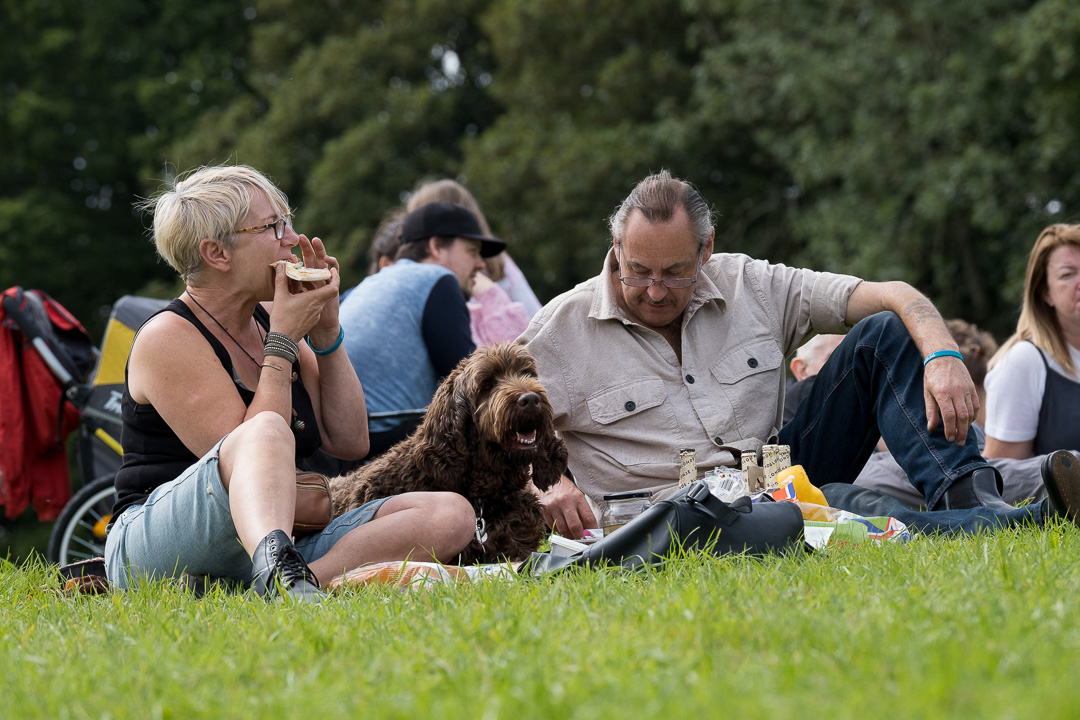
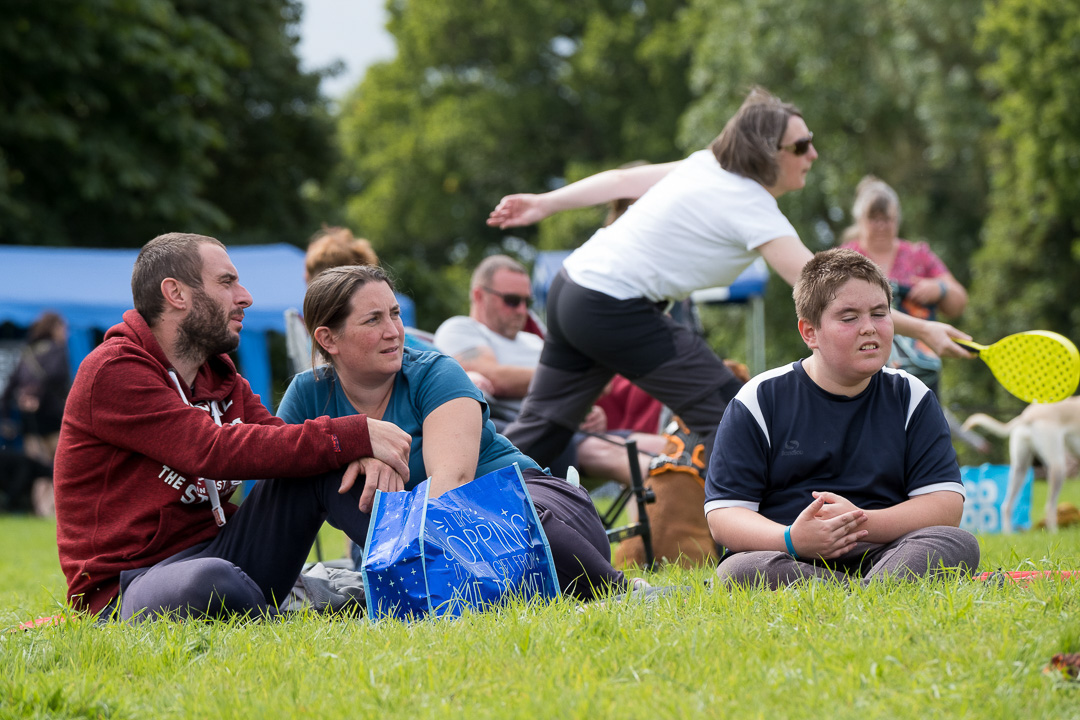
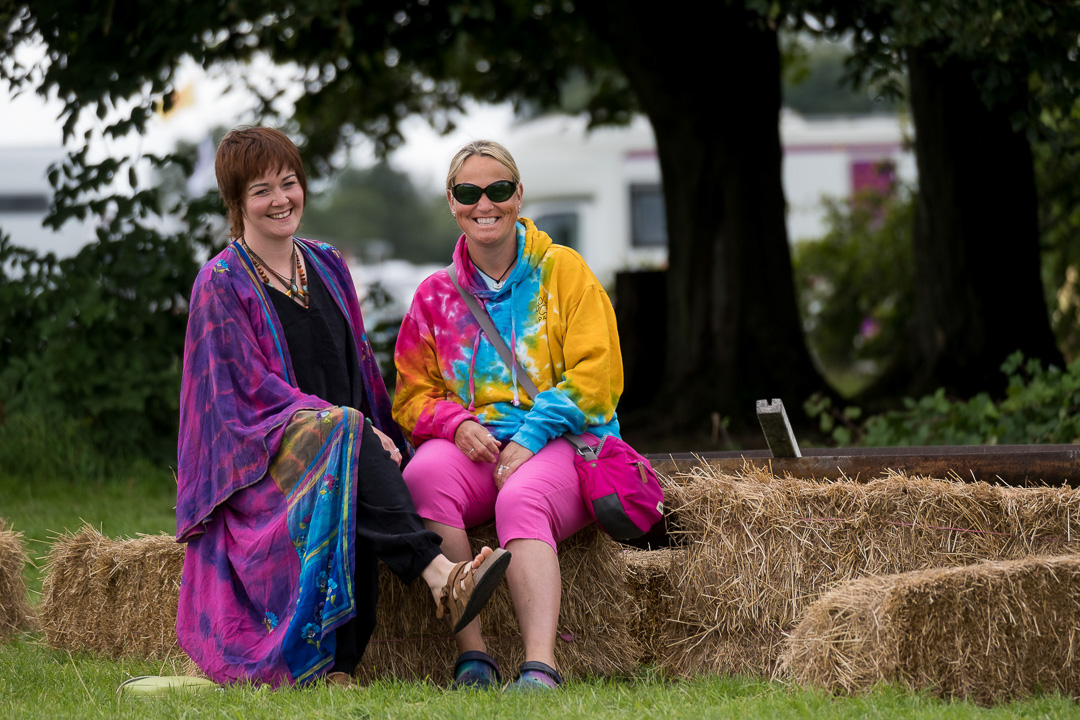
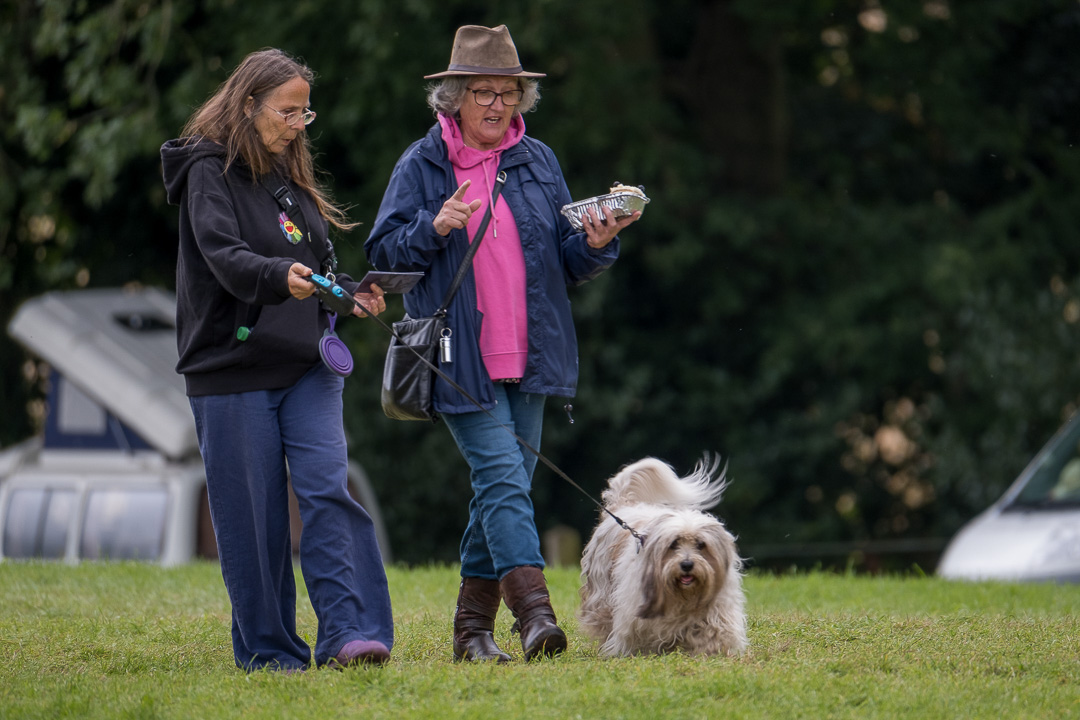
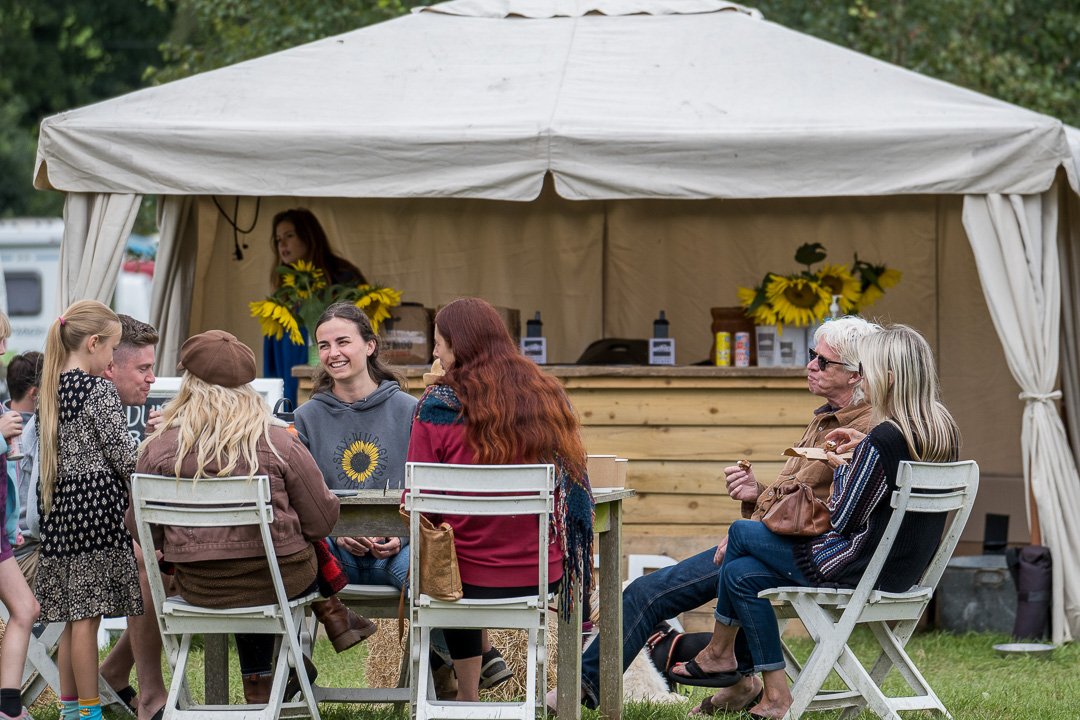
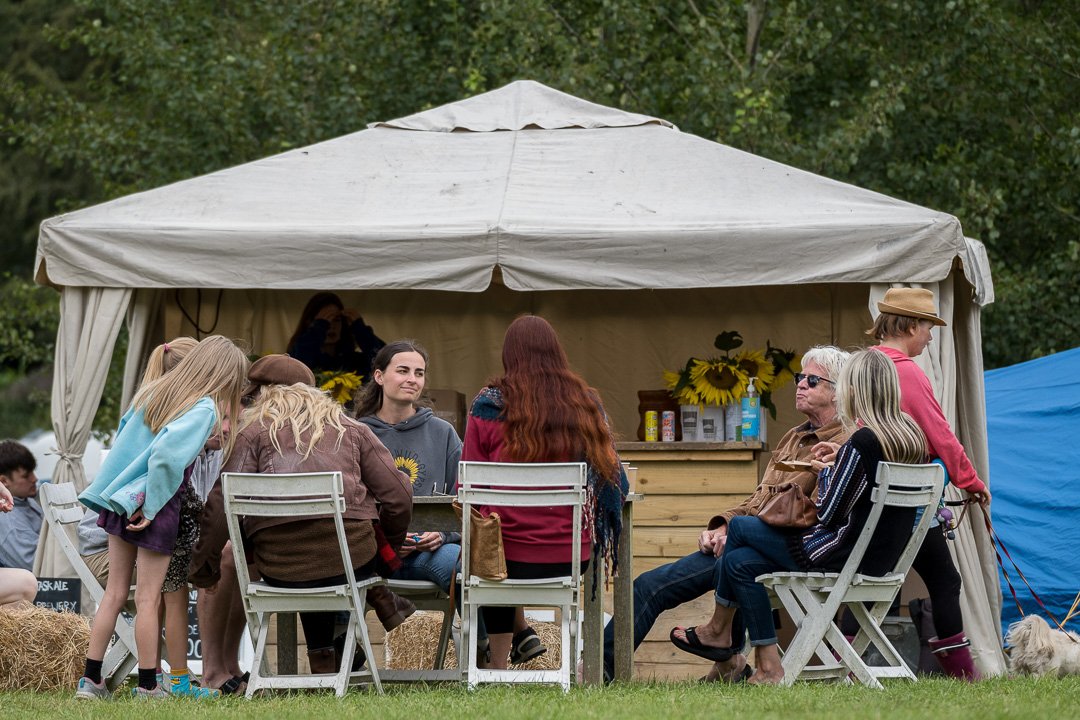
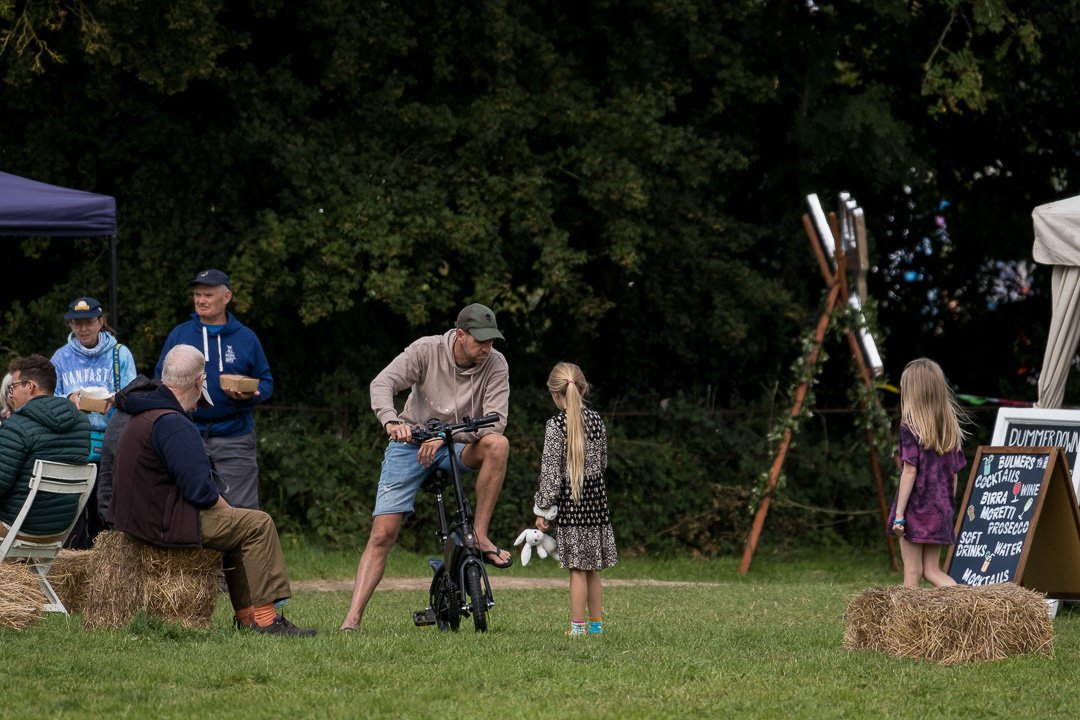
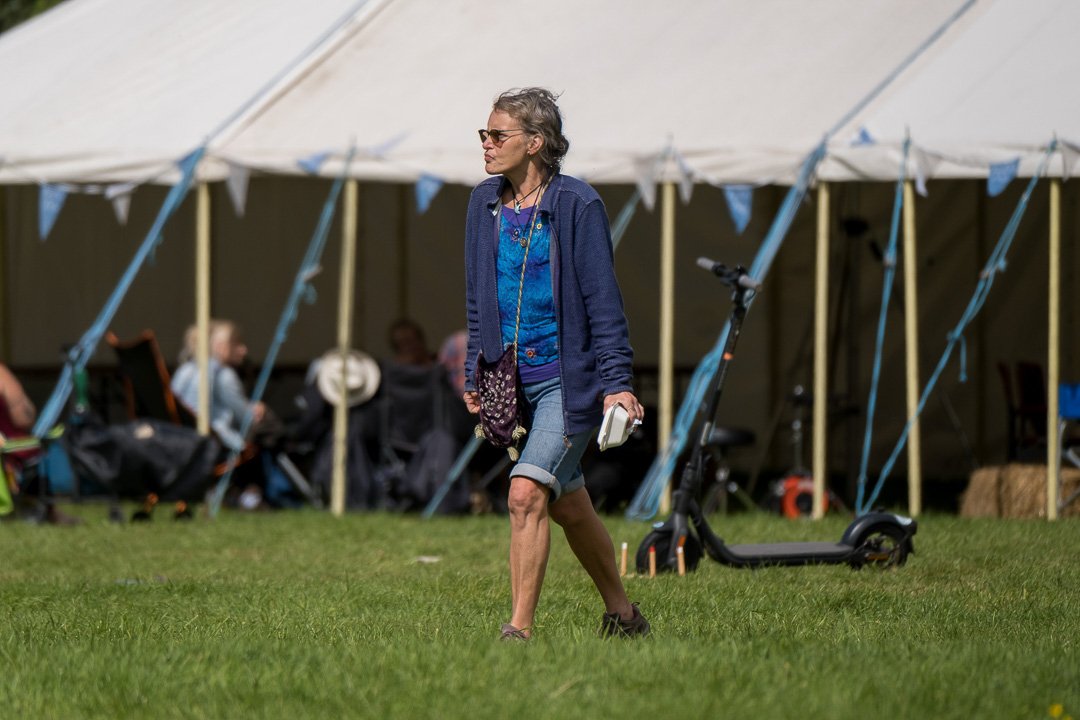
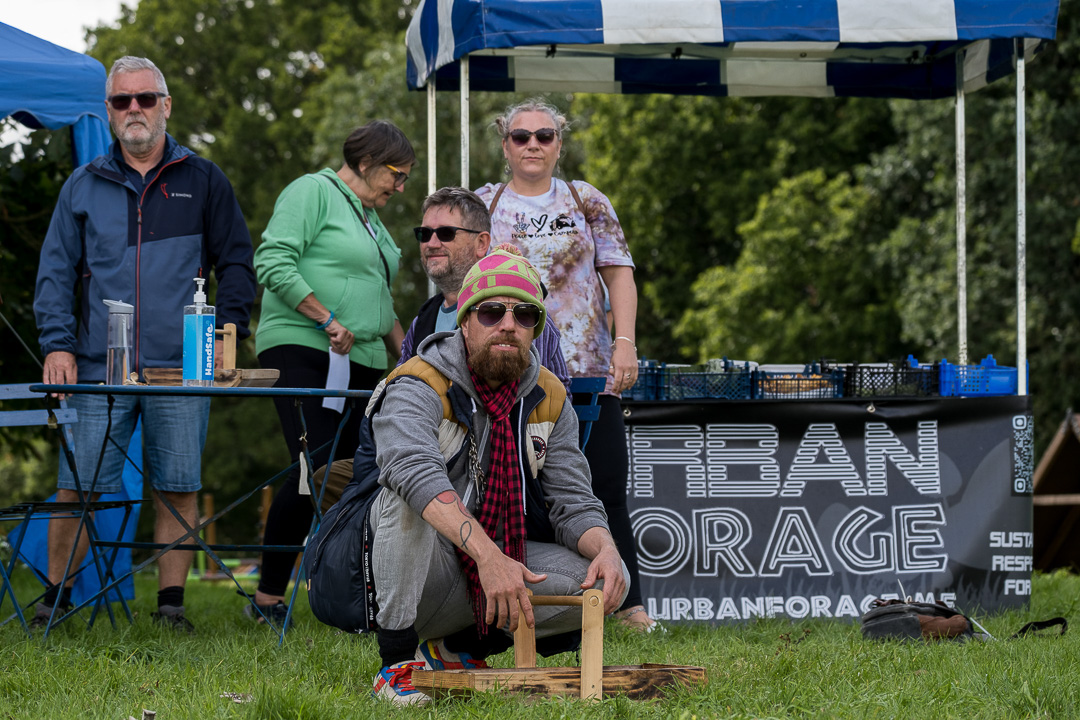
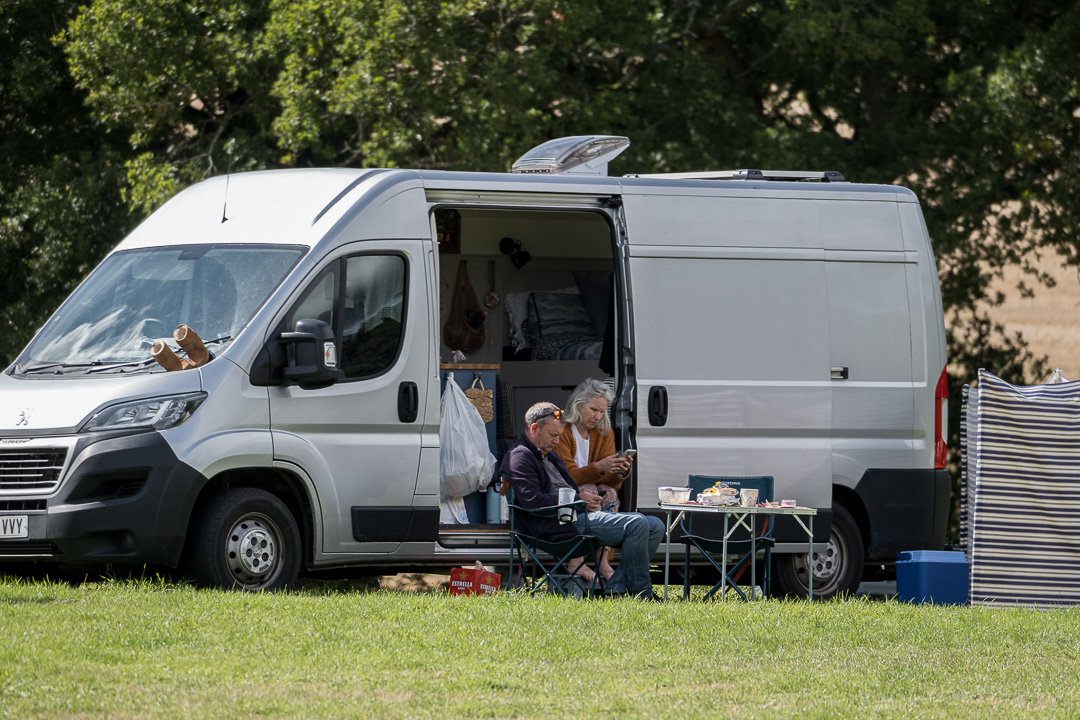
Here are some photos of the event to relive the fun..

We owe a HUGE thank you to everyone who helped make this year so amazing as well as to you guys who attended. You are all so incredible and make the whole Vanlife community just the best!

Lots of Love
Sophie & Mark
XX

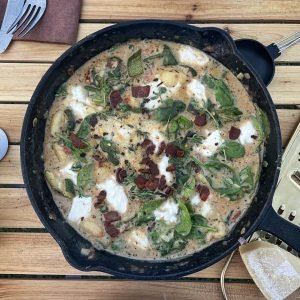
The ultimate campsite gnocchi

0

Big Picnic Demo dish

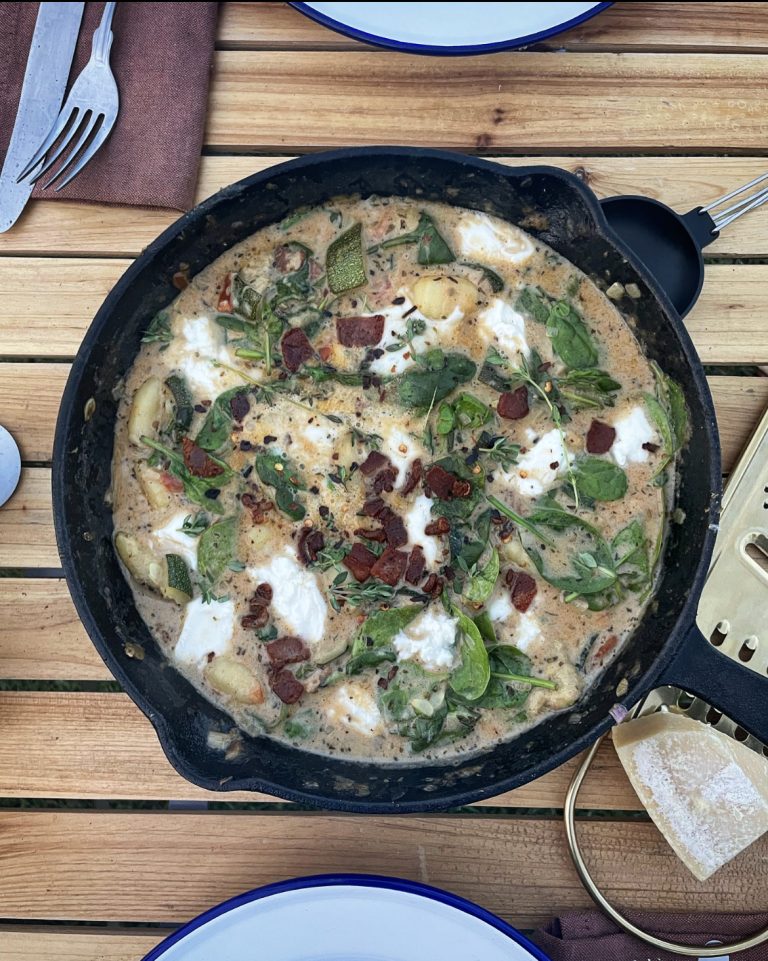
This ultimate gnocchi was a cooking demo by @lifeinthebricklane at the big picnic 2023.

The ultimate campsite gnocchi is the perfect dish for when you want something warming and satisfying but really don’t want the dishes that come along with a vancooked meal! It’s one pot, uses minimal tools and can be ready in about half an hour. This ultimate gnocchi is one of our favourites for using up leftover vegetables and it uses so much cheese that it’s a great way to get children to eat their greens! You can switch it up to make it vegetarian friendly or it works for a group of meat eaters and vegetarians. You can also switch out the vegetables depending on what you have in your fridge or what you need to use up – gnocchi keeps well in the fridge so you can have this recipe on the backburner for a night towards the end of a trip when you’re not sure what you’re going to have to hand.
The ultimate campsite gnocchi

The Ultimate Campsite Gnocchi

@lifeinthebricklane
Meat Based
All you need is a decent frying pan (a cast iron pan is our favourite) and a wooden spoon, some gnocchi, parmesan and spare veg and you’ve got yourself a winning campsite supper.
5 from 1 vote
Family friendly – Leftovers – Stove top meal
Prep Time 5 minutes
Cook Time 30 minutes
Total Time 35 minutes
Course Dinner
Servings 2 people
Diet Meat Based

Equipment

Ingredients
  

Ingredients (serves two, scale up for more people):

  • Olive oil
  • 250 g gnocchi shop bought is absolutely fine
  • 6 rashers smoked streaky bacon ignore if vegetarian!
  • 2 cloves garlic
  • 2 shallots
  • 1 bunch fresh thyme
  • 3 medium sized tomatoes the fresher the better; or switch out the medium sized tomatoes for a good handful of cherry tomatoes
  • 1 courgette
  • Chicken stock a stock pot or cube is fine
  • Water
  • 50 g Parmesan a small handful is just right
  • 150 g Spinach
  • 125 g mozzarella (1 ball)
  • 1 sprinkle Chilli flakes
  • Salt and pepper to taste

Instructions
 

  • This looks like lots of stages, but it’s very easy…
  • The first stage depends on whether you’re cooking for meateaters or vegetarians or both. If you’re cooking for vegetarians, skip to stage 2! If you’re solely cooking for meateaters, start by splashing some olive/rapeseed oil into your frying pan, let it heat through slowly and chop your bacon into 1cm cubes. Fry the bacon in the pan until it’s crispy. Remove and set aside. (If you’re cooking for a combination, do the bacon in a separate pan at the same time as step 2.)
  • If you’re cooking for vegetarians, the first stage will be softening your shallots. Add your oil, shallots and a sprinkle of salt, but don’t be too generous with the salt as the later ingredients are quite salty. Finely chop the shallots and cook slowly on a low heat, for 5-7 minutes or until translucent.
  • Finely chop your garlic and add it to the pan. Rustic chopping is fine – we are in a most likely to be in a field, after all!
  • After a minute or two, when the garlic is fragrant, add some fresh thyme leaves and cook for a few seconds.
  • Chop your tomatoes as the garlic is cooking and add them to the pan. They can be fairly chunky, as they’re going to cook down as you move through the recipe.
  • As the tomatoes are cooking, chop your courgette into 2-3cm chunks and fry it off so it’s slightly golden. You’ll want to turn the heat up to medium for this stage. It will soften as you continue to cook, so if it’s any smaller it will start to disintegrate and you’ll lose the fresh courgette flavour in the finished dish.
  • Once you’ve got your golden courgette (don’t cook for any longer than 5 minutes!) add your gnocchi. Make sure you stir well but also allow the gnocchi to brown and crisp slightly. This will add some fun texture to the gnocchi for later.
  • If you’ve cooked bacon, add half of your cooked bacon to the pan and stir in with the gnocchi. If you haven’t – ignore this step…
  • When your gnocchi is starting to turn golden (after 3-5 minutes), add your stock cube and enough water to cover the ingredients in the pan by about 2/3s. Bring to the boil quickly before bringing to a simmer and then turn right down.
  • Add your spinach. Stir well, so the spinach wilts in the pan. It will look like you’re adding way too much spinach to start, but wait until it’s wilted and then you’ll have the perfect balance.
  • Grate in your parmesan. Mix well as you’re grating it in and you will see the parmesan melt and the sauce start to thicken.
  • Rip the mozzarella into small balls and push into the gnocchi mix. Try to spread it out around the pan.
  • Simmer on a low heat for a few minutes, as the mozzarella melts and does its gooey mozzarella thing in the pan. Check for seasoning and add more salt if it requires.
  • Finish by sprinkling some chilli flakes, black pepper and fresh thyme on top.
  • Serve, and enjoy! If you’re cooking for a group, add a fresh green salad and some French baguette to keep it simple but tasty.

Notes

If you don’t quite have the same ingredients but want to try something similar, use the following guidelines to adapt the recipe:
• If you have firm vegetables, fry them off before you add the gnocchi – at the same stage as the courgette.
• If you have leafy veg, add them at the same stage as the courgette.
• If you don’t have bacon but have sausages, take the sausages out of their skin and follow the same steps above with the sausage meat as with the bacon.
Essential tip:
Don’t forget the Parmesan!😉

Nutrition

Calories: 855kcalCarbohydrates: 66gProtein: 42gFat: 49gSaturated Fat: 22gPolyunsaturated Fat: 5gMonounsaturated Fat: 18gTrans Fat: 0.1gCholesterol: 110mgSodium: 1733mgPotassium: 1420mgFiber: 9gSugar: 10gVitamin A: 9504IUVitamin C: 70mgCalcium: 771mgIron: 9mg
Keyword cheese, comfort food, gnocchi, italian
Tried this recipe?Let us know how it was!

MeShell’s Kick A** Guacamole

0

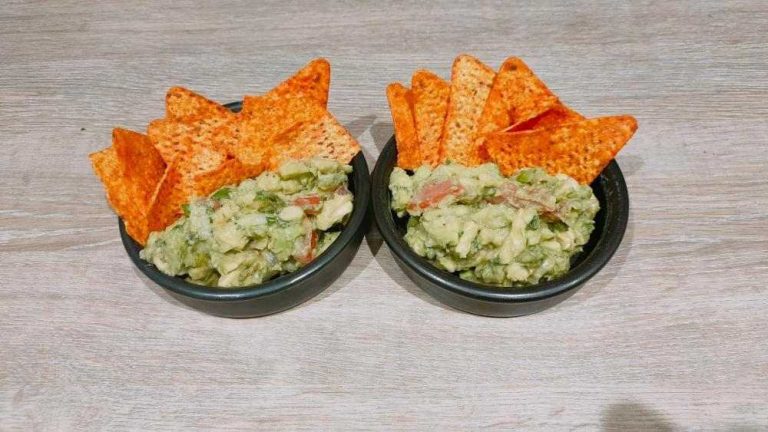
I love mexican food and cooking it. MeShell’s kick a** guacamole is a great edition to any mexican meal. This guacamole is chunky, and perfect for dipping tortilla chips into.

The beloved Tex-Mex starter or side dish originated with the Aztecs. It is hard to pinpoint the exact birth date for guacamole but there are records that it has existed for over half a millennium. During the 1500s, Spaniards were introduced to avocado mixtures that appeared to be extremely similar to guacamole during their explorations of the new world from the Aztecs. The Spaniards thought that the creation would be a huge hit back home, so they brought the concept back to Spain.

The mixture originally included avocados, tomatoes, and chili’s since those ingredients were native to the Americas. Over the years, Spaniards started adding their own ingredients and spin on the recipe, like onions, cilantro, and lime juice.

MeShell's kick ass guacamole

MeShell’s Kick A** Guacamole

amerimanx_travels
Vegan
I love to cook and eat Mexican food. This guacamole is the perfect side dish. Tip – I add the Avocados last as I like my Guacamole a bit chunky and not to pureed.
5 from 1 vote
Family friendly – Less washing-up – No cook – Prep ahead
Prep Time 25 minutes
Total Time 25 minutes
Course Appetizer, Dips / Sauces, Outdoor, Side Dish
Servings 4 people
Diet Vegan

Equipment

Ingredients
  

  • 4 – 6 ripe Avocados
  • 1 -2 limes
  • 1 large ripe tomato
  • Several spring onions or one small red onion
  • 1-2 garlic cloves
  • Handful of fresh chopped Coriander leaves
  • 1 medium Jalapeño
  • Salt and Pepper

Instructions
 

  • All ingredients are to taste and preference, add to mixing bowl after each step
  • Dice several stalks of spring onions (no green bits)
  • Cut tomato and scoop out all the seeds, dice into small bits
  • Finely mince garlic or use a garlic press
  • Remove Coriander leaves from stalks, finely chop
  • Cut open jalapeño and remove all the seeds. Test heat on tongue.
  • Finely dice pepper, add a bit at a time to taste
  • Zest one lime
  • Cut Avocados and dice into bowl
  • Cut lime and squeeze over mixture
  • Stir well
  • Salt and pepper to taste
  • Just remember that flavour develops over time. Less is more and can be added additionally.
  • Cover with cling film
  • Refrigerate until ready to serve with tortillas chips and a lime slice on the side

Nutrition

Calories: 334kcalCarbohydrates: 21gProtein: 4gFat: 30gSaturated Fat: 4gPolyunsaturated Fat: 4gMonounsaturated Fat: 20gSodium: 79mgPotassium: 1075mgFiber: 14gSugar: 3gVitamin A: 622IUVitamin C: 30mgCalcium: 35mgIron: 1mg
Keyword avocado, dip, no cook, Outdoor, picnic, side dish
Tried this recipe?Let us know how it was!

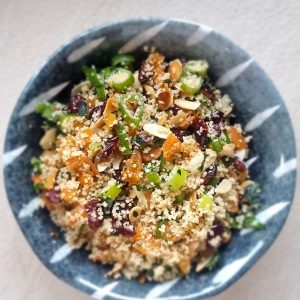
MeShell’s bejewelled couscous salad

0

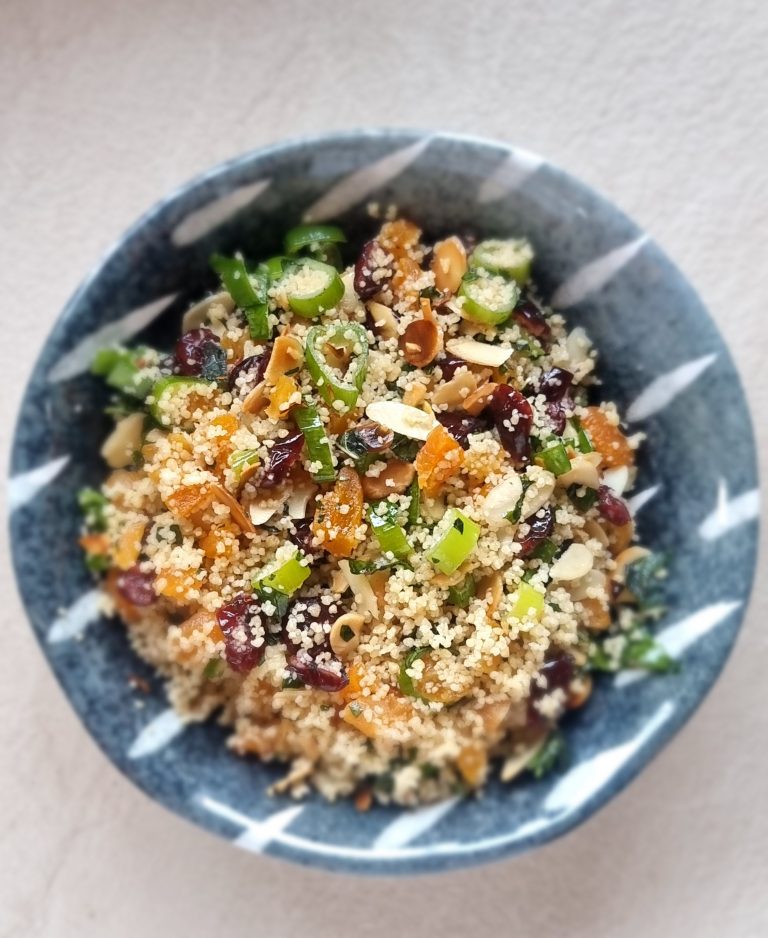
This bejewelled couscous salad is the perfect side dish to so many different main meals. It’s versatile and looks gorgeous so it’s great to share with others. This is a vegan recipe but can also be an accompaniment to many dishes. This bejewelled couscous salad is no-cook and can be made using a kettle, you can boil water on the stove instead. A great recipe for if you are low on gas, or it’s too hot to cook.

This bejewelled couscous salad is great for solo vanlifers too as it stores well in the fridge in an airtight container. It can be packed up for a picnic lunch too! Check out my other recipes here.

bejewelled couscous salad

MeShell’s Diner Bejewelled Couscous Salad

amerimanx_travels
Vegan
When you're looking for the perfect side for a BBQ, a Curry or even on it's own, this cous cous salad is it. It's better left overnight to chill and the flavours and aroma to mingle.You can also add additional dried fruit to your taste such as dried cherries, dates, sultanas. The choice is up to you. Initial purchase of ingredients may seem a lot but I guarantee having them on hand is worth it. 👌Serve with grilled chicken, fish or even halloumi. This is a winner all round.
5 from 1 vote
Less washing-up – No cook – Prep ahead – Solo travel
Prep Time 25 minutes
Cook Time 5 minutes
Total Time 30 minutes
Course Dinner, Lunch, Outdoor, Salad, Side Dish
Servings 4 people
Diet Vegan

Ingredients
  

  • 1 cup couscous
  • ½ cup chopped dried apricots
  • ½ cup dried cranberries
  • ½ cup toasted almond flakes
  • ½-1 cup sliced/diced ends of green onion
  • ¼ cup roughly chopped Coriander
  • cup finely chopped Mint
  • 1 lemon juice only
  • Olive oil to taste
  • Salt
  • Pepper

Instructions
 

  • Boil the kettle
  • Place couscous in mixing bowl, pour hot water till it slightly covers the couscous, cover with tea towel.
  • Dice apricots to small chunks
  • Roughly chop Coriander
  • Finally chop Mint
  • Toast almonds
  • Wash the insides of the green stems of the spring onions to remove any dirt. Shake and pat dry, remove any wilted stems. Slice stems about the width of a pound coin.
  • Cut and juice lemon
  • Remove tea towel, fluff couscous with a fork, generous drizzle of olive oil, mix to coat couscous, add lemon juice and stir, add all the ingredients you’ve prepared and throughly combine, taste at this point, you may need more olive oil or lemon juice, add salt and pepper.
  • Place in air tight container in fridge.

Notes

If you are travelling solo this will store well in an airtight container for 3-4 days.

Nutrition

Calories: 328kcalCarbohydrates: 62gProtein: 9gFat: 6gSaturated Fat: 1gPolyunsaturated Fat: 2gMonounsaturated Fat: 4gTrans Fat: 0.003gSodium: 10mgPotassium: 437mgFiber: 7gSugar: 21gVitamin A: 844IUVitamin C: 18mgCalcium: 72mgIron: 2mg
Keyword 30 minute meal, Easy, no cook, no oven, quick, Simple
Tried this recipe?Let us know how it was!

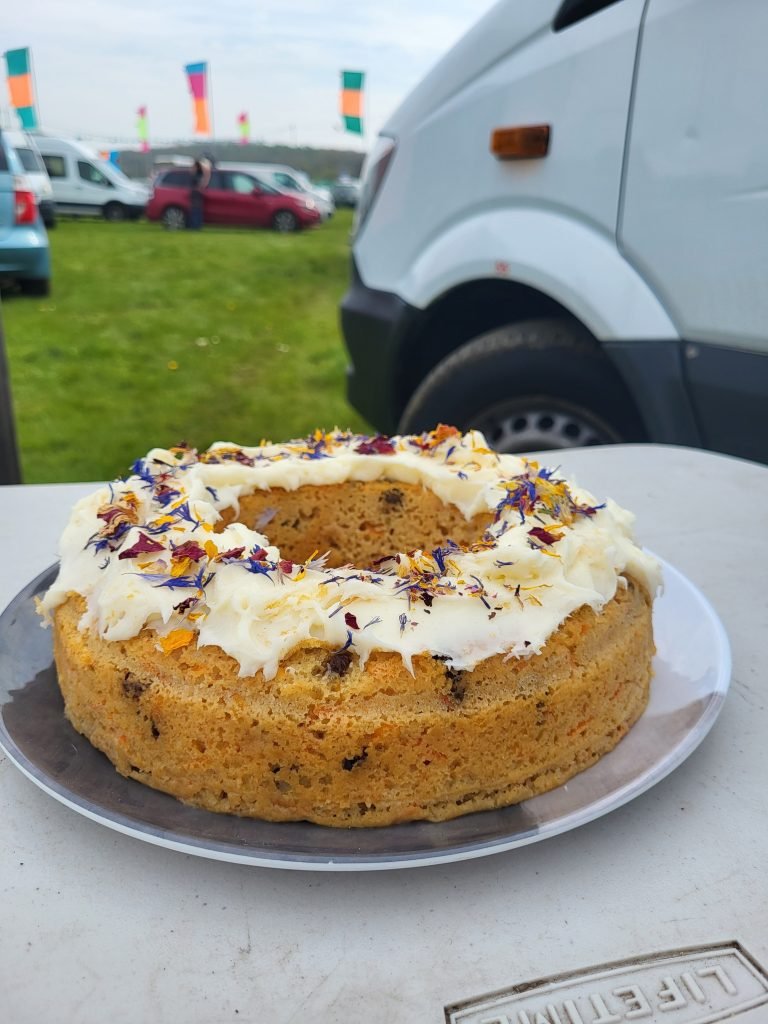
Vegan Omnia carrot cake

0

This Omnia vegan carrot cake proved very popular at Camp Quirky 2023. Vegan cakes can be difficult to make as it can be difficult to get them to rise. The mixture of baking powder and vinegar in this recipe is the key to a well risen vegan cake. The acid from the vinegar interacts with the baking powder and forms bubbles, don’t worry you can’t taste the vinegar in it. It is important to wait until you are ready to put the cake into the oven before adding the wet ingredients because of this process. If you really don’t like the idea of adding vinegar in your cake you can use lemon juice instead.

This vegan omnia carrot cake can be made with the addition of chopped walnuts for some texture. You can also add some cinnamon for an extra depth of flavour.

As always with the Omnia, we would advise cooking this carrot cake low and slow, but in the case of this cake giving it a quick blast at the beginning can really help with the rise. If you would like any tips when cooking with the Omnia oven we share them here.

We used pre-made icing for ease when making this carrot cake, especially when at a festival. However, vegan frosting is pretty easy to make. It cooks quickly and stores well in an air tight container for a couple of days. Great for sharing with friends when at events and get togethers.

If you try this recipe be sure to rate it for us, and we would love if you took the time to comment too. If you have any great vegan recipes you can share and inspire others here.

Omnia vegan carrot cake

Vegan Omnia carrot cake

Vegan, Vegetarian
We baked this vegan carrot cake in our Omnia stove top oven at Camp Quirky 2023. We have to say it went down a treat, and so now we're doing what we do best, sharing the recipe with you!
5 from 1 vote
Stove top meal
Prep Time 15 minutes
Cook Time 25 minutes
Total Time 40 minutes
Course Baking
Servings 8
Diet Vegan, Vegetarian

Equipment

Ingredients
  

  • 1 1/2 cup self raising flour
  • 3/4 cup sugar
  • 2 tsp baking powder
  • 1 tsp salt
  • 1/2 tsp ground ginger
  • 1/4 tsp ground nutmeg
  • 1/2 cup soy milk
  • 1/4 cup vegetable oil
  • 2 tsp vinegar white or apple cider vinegar
  • 2 tsp vanilla extract
  • 1 carrot large, grated
  • 1/4 cup raisins
  • 1 tub vegan frosting

Instructions
 

  • Pre-heat the Omnia without the silicone mould in, while mixing the dry ingredients together in a bowl. Mix the flour, sugar, baking powder, salt, ginger and nutmeg.
  • When the oven is hot add in the wet ingredients to the bowl. Mix in the plant based milk, oil, vinegar and vanilla extract. The mixture will begin fizzing which is normal. try to mix the ingredients through without over beating.
  • Fold through the grated carrot & raisins. You can also add chopped walnuts at this point if you would like to.
  • Pour into the mould and then place into the Omnia oven.
  • Bake on a medium / high flame for the first 5 minutes to help the cake rise. Then turn down to a low medium heat and bake for the remaining 20 minutes, or until a skewer comes out clean.
  • Take the mould out the oven and leave to cool for 10-15 minutes until cool enough to turn out.
  • When cool, ice with the pre-made vegan frosting, or make your own! See the recipe notes for a link.

Nutrition

Calories: 247kcalCarbohydrates: 51gProtein: 3gFat: 3gSaturated Fat: 1gPolyunsaturated Fat: 2gMonounsaturated Fat: 1gSodium: 439mgPotassium: 115mgFiber: 1gSugar: 29gVitamin A: 1332IUVitamin C: 2mgCalcium: 88mgIron: 1mg
Keyword Baking, Cake, dairy free, omnia, stove top, vegan, vegetarian
Tried this recipe?Let us know how it was!

Miss Kiff

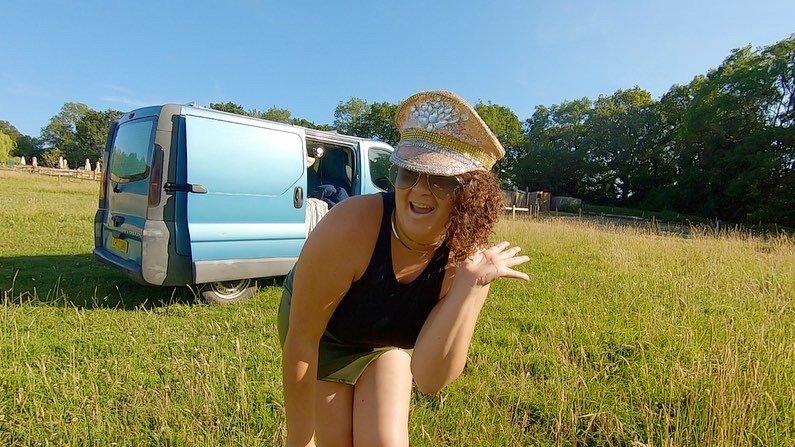
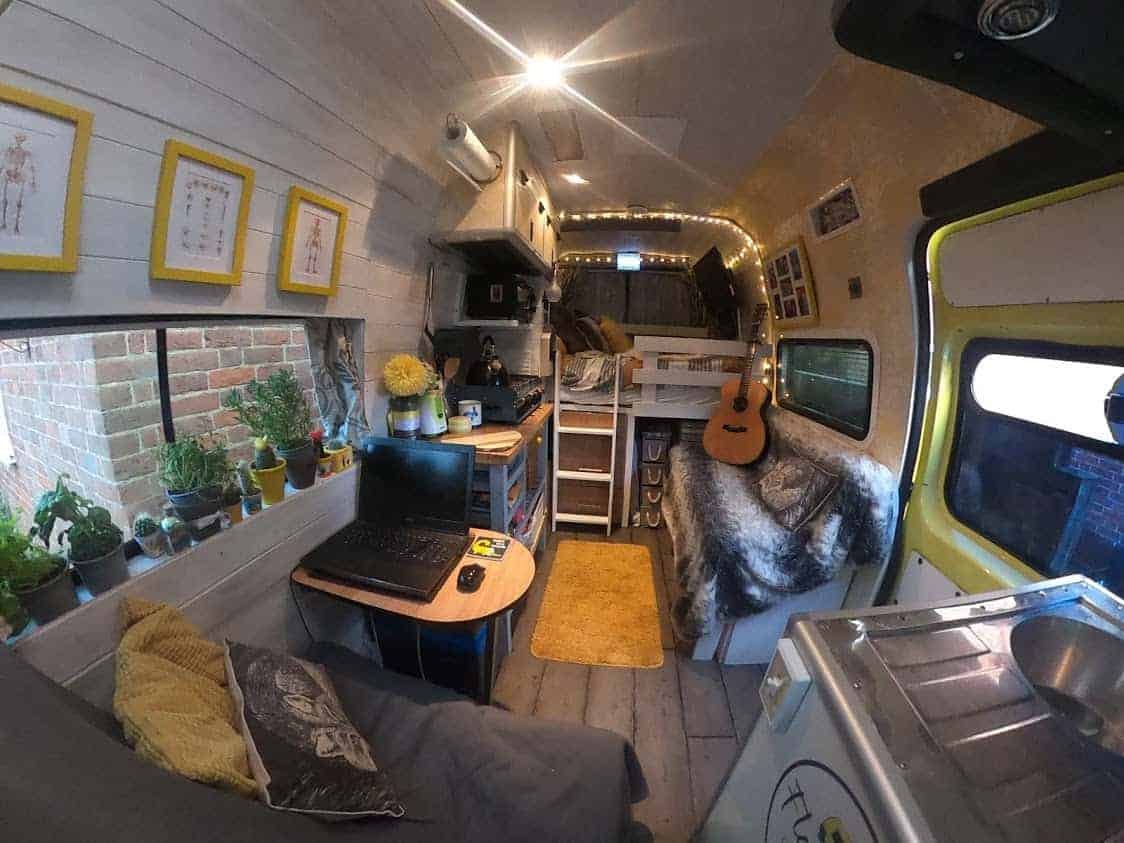
Featured vanlifer Tasha Kiff aka Miss Kiff, shares the amazing support of the vanlife community and the support offered by fellow vanlifers. This is a wonderful feature of the vanlife community coming together to help support Tasha build her van Luna for full time vanlife while living in there!

How did Miss Kiff become a vanlifer?

As with many vanlifers Tasha found herself living full time in a van due to homelessness. In Tasha’s case she sadly lost her Mother and within less than a month, she had to leave her uni accommodation. Although many would worry in this situation, Tasha felt excitement. She had been watching Nic Roams on YouTube and had to begun to manifest getting a van and living vanlife.

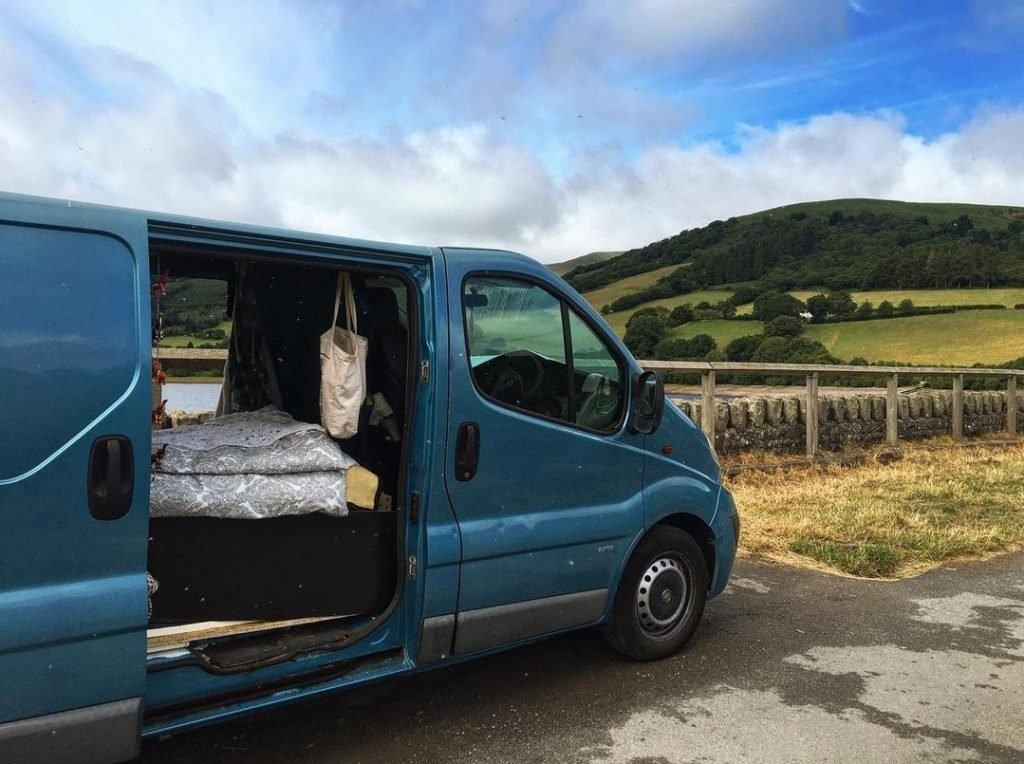
Knowing she had to find somewhere to live, Tasha made the decision to look for a small van, she had a very limited budget and felt this would be more manageable for not only her handiwork skills but also her funds. With this in mind, she found a Vauxhall Vivaro for sale only 15 minutes down the road, and within her budget. Fate! She used half her tuition fee money to buy it. It was an empty van, and on her first night she had no option to sleep on the floor on top of a broken Ikea cupboard. Being due at work in 48 hours time, Tasha didn’t have long to make her van more comfortable. During this time she managed to get the van insulated and a floor down, and at 2am one morning a friend helped her screw her bed into place.

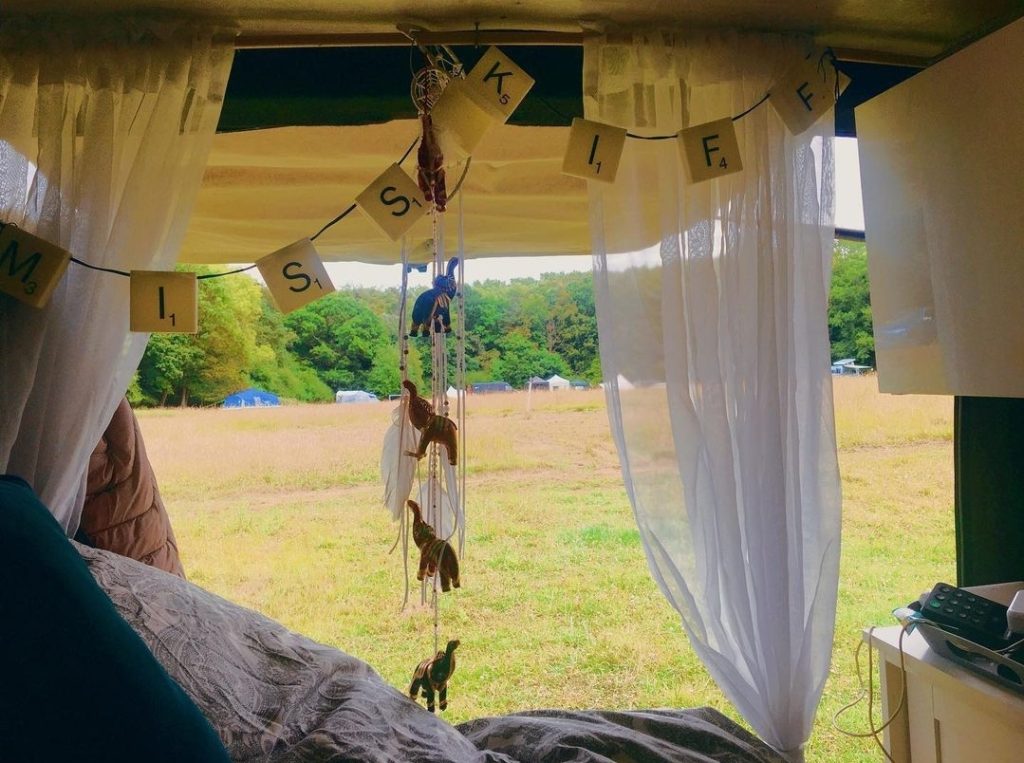
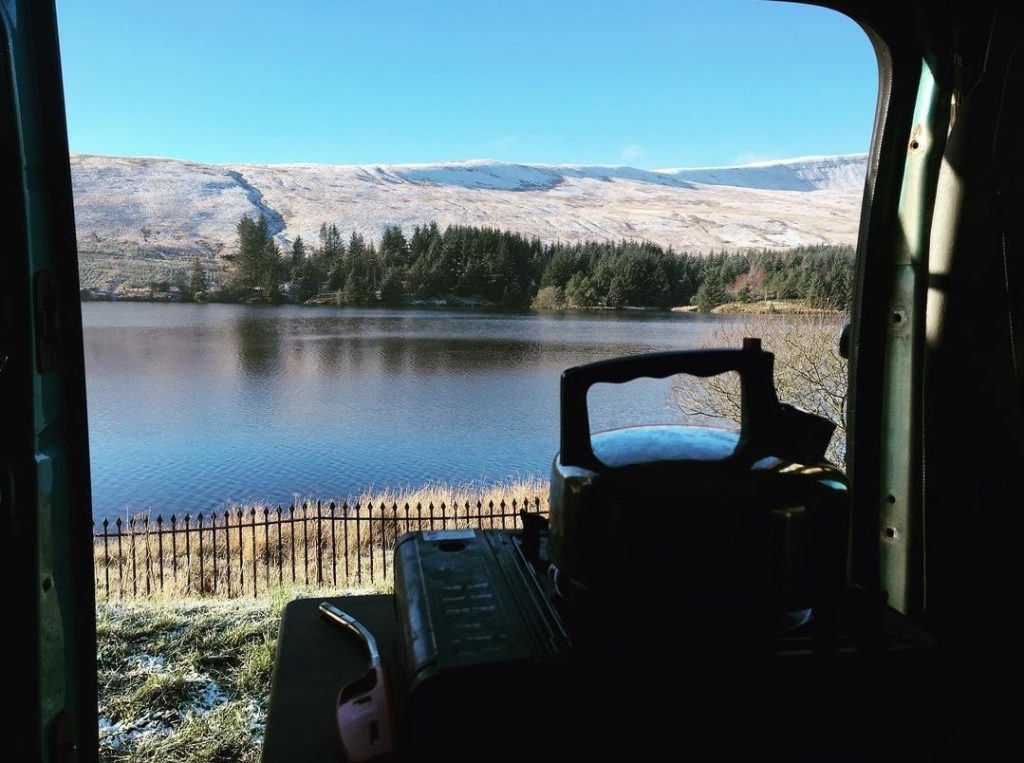
View from the van doors Miss Kiff

Converting a van with little experience, few tools and nowhere to complete the work is a massive challenge as Tasha experienced. Luck was on Tasha’s side once more and her friend no longer able to make the Vanlife Eats big picnic gifted Tasha her ticket. This helped Tasha to meet some amazing members of the vanlife community who would go on to help her continue with her van build.

The van build

Having seen some vanlifers on YouTube Tasha had a sense of the community, but she had no idea just how supportive they would be. She met several vanlifers at the big picnic who put in place support to help with her van build. Simon, Tom, Darren and Liam the Terrible were some of the community who offered support initially.

Miss Kiff's van

After trading tips and advice, when the event finished Tasha headed up north where Liam helped show her how to drill into metal, and how to complete her roof. From there Tasha headed to the Peak district. This is where she painted her ceiling, and added some curtains.

Darren had previously told Tasha about the South central van build meets. These are events when the community come together and exchange help and support. It’s a fantastic way to get jobs completed on your van and help others. Everyone in the community has different skills and being able to share these with one another really demonstrates the great sense of community. At this meet up the van got the addition of some tongue and groove, as well as a solar panel and charge controller. From there the van build continued with the diesel heater installation on the Isle of Wight and the electrics completed at Stonehenge. Luna had cupboards installed in the Brecon beacons, and a kitchen cupboard added while on a campsite in Swindon. Slowly vanlifer Miss Kiff is making the van more homely although it is still not yet fully complete – as with many vans!

Tash-Kiff-and-van

Vanlife adventures

Over a year later, feeling happy with her home on wheels, Tasha feels very proud of what she has achieved. She says the van feels cosy, has a homely feel and she absolutely loves it. Living vanlife has opened up many opportunities, not only to be a part of an amazing community, but also to see some incredible places and enjoy them in a way that isn’t possible for others.

A highlight for Tasha so far has been spending New Years eve in the Brecon beacons, including a cold water swimming session in 3 degrees 🥶. Obviously not afraid of the cold, Tasha also scaled Pen Y fan in -8 degrees Celsius. Of course she also adds the Vanlife eats big picnic to one of her highlights, where she fully submerged into the sense of community. She also learnt one of her new regular go to meals in the van of one pan Turkish eggs from The vanlife cookbook.

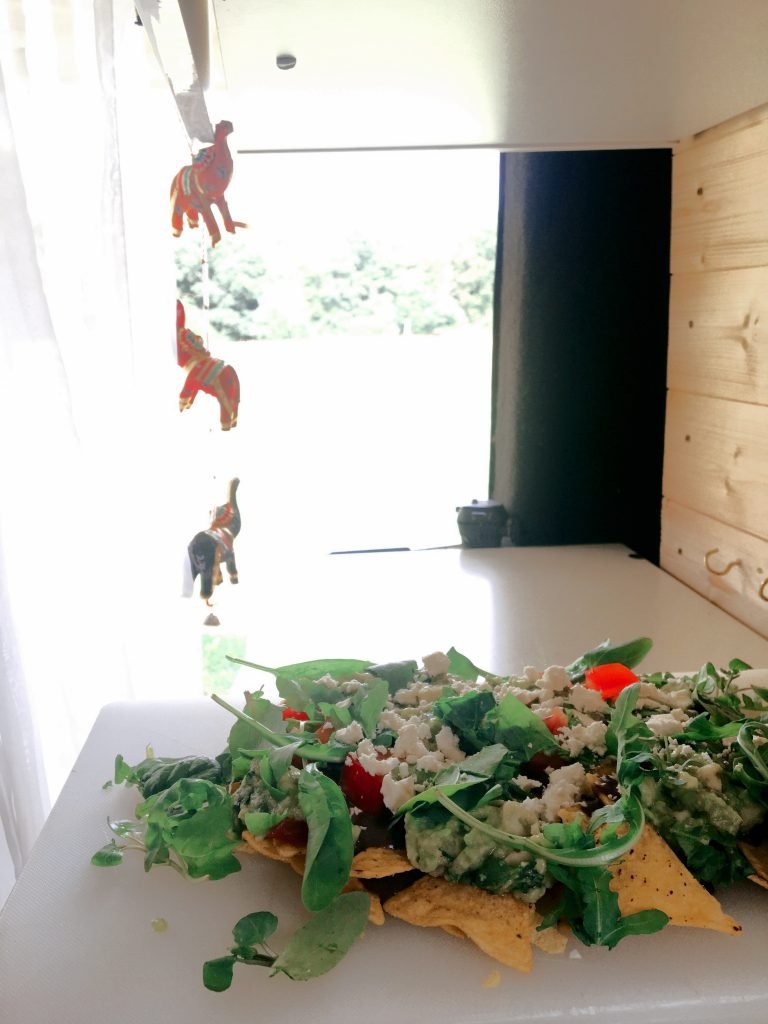
Black bean nachos

There are more exciting adventures ahead, Tasha has managed to get seasonal work on a beautiful campsite. It is at this campsite that she plans to run some wellness retreats for vanlifers you can find out more on her Instagram @kiffcampoutretreats. After this she plans on heading to Scotland, and next year a 3 month trip exploring food, champagne and vineyards in France.

Not all adventure

With the good often comes the bad, in this case it is no different. It’s time for some vanlife reality. As a solo female vanlifer, life on the road can sometimes be scary. Tasha spent 7 months stealth camping in Cardiff which overall she enjoyed. However, being in a big city can sometimes be intimidating when in a van on your own and she said she often spent nights unable to sleep in ‘fight or flight’ mode.

There have been difficult times in winter where she has found it too cold to get to sleep, but one of the most difficult times is losing her van, even though it was brief. As with many vanlifers, if your van needs repairs, it often means you have nowhere to stay. Unfortunately this happened to Tasha and she ended up being without a van or home for 3 weeks. One of her tips for fellow vanlifers is to make sure you put aside some money for accommodation, for if/when this happens.

Miss-kiff-park-up

On a brighter note, if you end up sitting with Tasha round a campfire, be sure to ask her about the time she got back to the van slightly worse for wear with a full bladder…..

Luna the van

Tasha loves the van and the cosy feeling she has in there, there’s a definite sense of pride and achievement when she describes it. As time goes on she is realising things that work well and things that could be better. As with any tiny home, space is crucial, and so Tash will be making some improvements with the cupboards in her van for more space. Organisation is also key, and having little boxes to be able to organise teas, nuts, oils etc has been a game changer for her. Having a portable hob means Tasha can cook inside or outside if the weather is good and the mood takes her.

Tasha loves a van kitchen gadget and has an Omnia, a blender for perfect lattes and smoothies, plus she’s planning on getting an electric oven. All of this is made possible by her 300w inverter, she says it’s one thing she can’t live without.

Beautiful vanlife park up

Tasha loves to cook in her van and often makes protein pancakes, ramen and of course the turkish one pan eggs. Obviously she loves to make her black bean nachos, the recipe can be found here. Sometimes cooking can impact on her other hobbies though, and she once ended up with her podcast mic covered in pancake batter. Miss Kiff’s podcast provides truthful experiences about her life on the road which you can find on Spotify, it’s called My Van Life Perspective Podcast‘.

If you would like to hear more about Tasha’s vanlife experiences, and living in a van full-time while converting it, then you are in luck. She is currently writing an ebook all about her experiences, and it will be available very soon.

Miss Kiff vanlife perspective podcast

Advice for fellow vanlifers

Do it! Life is too short to wonder, it’s tougher than it looks. Van Community is Everything! Start trusting strangers (the right ones of course), go to van festivals to meet like minded people. Even if you have no skill or resources it can be done. The first year will be testing you to the limit, take your van to a mechanic before you start converting it. And get a reliable mechanic!

Where to find featured vanlifer Miss Kiff

Website: www.misskiff.co

Instagram: instagram.com/misskiff_

YouTube:

Want to be featured?

Want to be featured on
vanlifeeats.com?

To apply for a featured post on vanlifeeats.com simply follow this link and fill out the application form. We promote all featured van lifers across all our social media networks, we send out a “featured Van Lifer” sticker for your van as well as awarding you a prestigious badge for your profile on our website.

Vegan black bean nachos

0

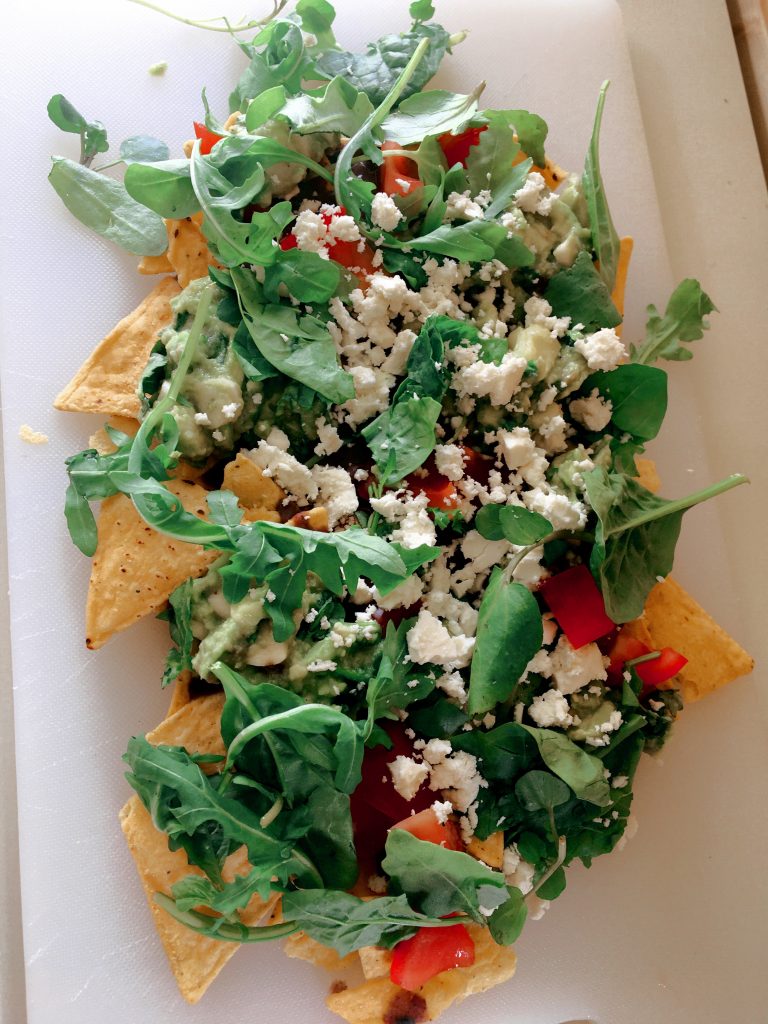
This vegan black bean nacho recipe is a favourite of featured vanlifer Miss Kiff. You can read her feature, right here. Packed full of different flavours, and a delicious kick, we’re sure it will be being made by vanlifers worldwide.

This is one of my favourite things to make in the van, black bean nachos brings an authentic mexican flavour, and is great to share. This recipe is vegan but you could use feta rather than the vegan version should you not want this dish to be vegan. This recipe calls for harissa to give it a delicious kick! If you want to make your own there is a really simple recipe right here at the Holy cow vegan website.

Black bean nachos

Black bean nachos

@misskiff_
Vegan
Smokey black beans with a hint of spice complemented with a citrus tangy guacamole and refreshing herbs, tomatoes and feta served on a crunchy tortilla chip to leave your mouth watering for more. A budget dish to enjoy alone or serve a group.
5 from 1 vote
30 minute meal – Family friendly
Prep Time 5 minutes
Cook Time 15 minutes
Cooling time 5 minutes
Total Time 25 minutes
Course Dinner, Lunch
Servings 2
Diet Vegan

Equipment

Ingredients
  

For the black bean pate

  • 2 tsp Coconut oil
  • 1 Onion
  • 3 Garlic cloves
  • 1 can Black beans
  • 1 Vegetable stock cube
  • 2 Chillis (chopped)
  • 2 tbsp Harissa
  • 1 tbsp Smoked paprika
  • 250 mls Water

For the guacamole

  • 2 Avocado
  • 1/2 Lemon
  • 1 handful Coriander
  • 2 Garlic cloves Chopped
  • Salt & pepper to taste

To serve

  • 1 bag tortilla chips
  • 100 g vegan feta
  • 4 Tomatoes chopped
  • 1 handful Spinach
  • Coriander to garnish
  • 1/2 Lemon to garnish

Instructions
 

For the black bean pate

  • Take a pan and add 2 teaspoons of coconut oil add 1 onion 🧅 and 3 cloves garlic let than turn golden brown for 2-3mins.
    Black bean nacho prep
  • Reduce heat and add 1 can of black beans (with the sauce in can) add 1 veg stock cube, add 2 chopped chillies, 2 tablespoons harissa, and 1 table spoon smoked paprika. Add 250ml water – let this simmer and reduce for 10mins. You want the liquid to start looking like a gravy texture.
  • Once your beans have finished let this cool for 5mins and then blend this together if it’s too thick add some hot water to make into a pate form.
  • Whilst this is simmering you can start off your guacamole 🥑

For the guacamole

  • Use 2 avocados mush in a bowl.
    Black bean nacho ingredients
  • Add half a lemon, bunch of coriander (if you love coriander add a palm full if you are not keen then half a palm) chop chop chop add to avocado,
  • Slice 2 gloves garlic (you can use as little or much as you like – I love garlic) – mix together add a pinch of salt and pepper. If you need to add more lemon 🍋 ( if the avo is too thick)

To serve

  • Add to a plate some tortilla chips, add beans, guacamole, feta and chopped Tomato, coriander and I like to add some spinach finish with dash of lemon.
  • And enjoy! You tastebuds will be satisfied
    eating black bean nachos

Nutrition

Calories: 1532kcalCarbohydrates: 186gProtein: 39gFat: 79gSaturated Fat: 19gPolyunsaturated Fat: 22gMonounsaturated Fat: 31gTrans Fat: 0.1gCholesterol: 45mgSodium: 1679mgPotassium: 2875mgFiber: 41gSugar: 18gVitamin A: 6375IUVitamin C: 161mgCalcium: 571mgIron: 9mg
Keyword 30 minute meal, dairy free, Easy, fresh, sharing, Simple, vegan
Tried this recipe?Let us know how it was!

Vanlife soup mix

0

This vanlife soup mix is a great vanlife hack! This dried soup mix can be used in many different recipes. Store this in an airtight container and it will keep well for a good few weeks. This soup mix is really useful for solo vanlifers as you can use as much or little of the mixture to make up your recipe, being as it stores so well and can be used in a variety of recipes. Check out more of our recipes here, or our instagram here.

Vanlife soup mix

Vanlife soup mix

amerimanx_travels
Meat Based, Pescatarian, Vegan, Vegetarian
This is a dried mix that stores well in a cupboard for awhile. Very few ingredients but hugely versatile, so can be adapted to LOADS of recipes.
5 from 1 vote
10 Ingredients or less – Family friendly – No fridge – Prep ahead – Quick cook – Solo travel
Prep Time 10 minutes
Total Time 10 minutes
Course Dinner, Lunch, Main Course, Soup
Servings 4 people
Diet Meat Based, Pescatarian, Vegan, Vegetarian

Equipment

Ingredients
  

  • 1 cup non-fat dried milk
  • 3/4 cup cornflour
  • ¼ cup dried bouillon/equivalent crumbled stock cubes use your preference chicken, beef, vegetable
  • 4 tablespoons freeze dried minced onions
  • 1 teaspoon dried basil
  • 1 teaspoon dried thyme
  • 1 teaspoon ground black pepper

Instructions
 

  • Mix all together and store in a air tight container.
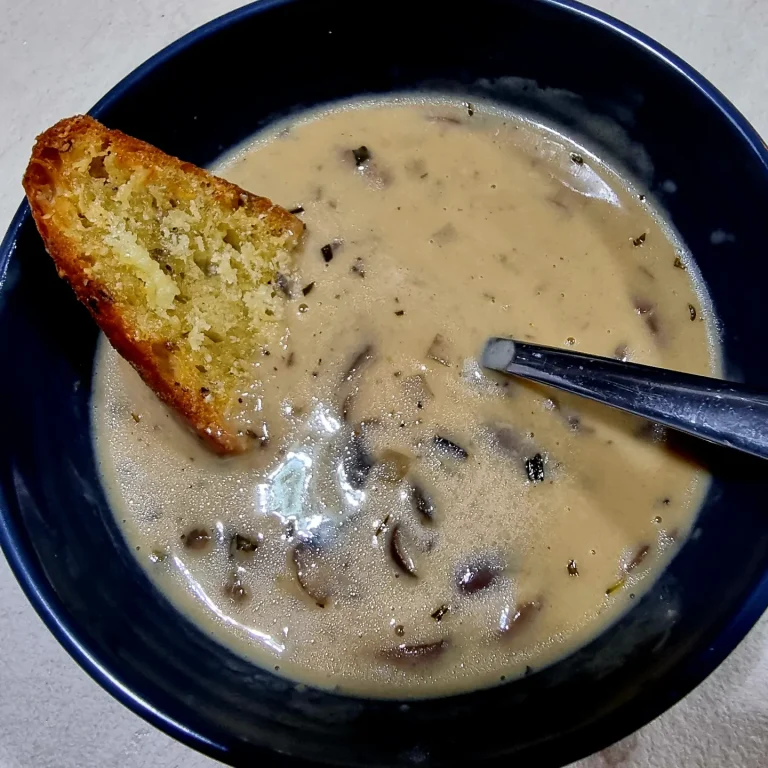
  • For the equivalent of one can of condensed cream soup, mix ⅓ cup dry mix with 1 ¼ cup water. Cook until thick. Then add anything you like to soup, ie, mushrooms, chicken or brocoli and cheddar cheese. Can be used as a base for a variety of recipes.
  • Such as elbow macaroni, cheddar cheese and this soup, which make a quick Mac and Cheese

Nutrition

Calories: 228kcalCarbohydrates: 43gProtein: 12gFat: 0.4gSaturated Fat: 0.2gPolyunsaturated Fat: 0.04gMonounsaturated Fat: 0.1gCholesterol: 6mgSodium: 234mgPotassium: 671mgFiber: 1gSugar: 19gVitamin A: 712IUVitamin C: 6mgCalcium: 430mgIron: 1mg
Keyword Easy, no cook, quick, Simple, soup
Tried this recipe?Let us know how it was!

How to bake in a van

Have you ever wondered how to bake in a van?

Baking in a van comes with some challenges, the lack of available space can mean you sometimes have to get creative. Baking in a van isn’t as difficult as it may seem initially, cakes, bread and pies are definitely on the menu in our van!

lemon drizzle Omnia

How to bake in a van without scales

Baking requires exact measurements, it can be a very exact science, but it is possible to bake in a van without scales. It doesn’t really pay off to guess measurements when baking, especially with cakes and biscuits. One misjudged measurement can make a massive different in how your bake turns out, affecting taste and texture.

When I first started baking in the van, I had no idea how to bake in there without scales. I would take the electronic scales from the house with me and measure ingredients. Slowly I converted to measuring cups and have found it so much easier.

Collapsible measuring cups

It can take a while to get used to making the change to cups, and it can be quite daunting. It is however, so much easier to do in the van and at home! We use collapsible measuring cups in the van. It helps save space as we can either collapse them flat and have them in a drawer or hang them on a hook on the wall.

There are however some things you need to be mindful of when measuring in cups for baking. Cups are based on volume rather than weight, this means the transfer from weight to cups is not uniform across all ingredients. E.g. 125g of flour is 1 cup, yet 175g brown sugar is 1 cup. Remember UK cups and American cups are different sizes to confuse things further. A UK metric cup measures 250ml, while the US versions are typically smaller. We have created a handy table to help you convert a number of usual ingredients required for baking in a van. The cup measurements are for 250ml cups.

Ingredient1 Cup3/4 cup2/3 cup1/2 cup1/3 cup1/4 cup
Plain flour125g94g84g73g42g37g
Wholemeal flour120g90g80g60g40g30g
Ground almonds110g83g74g55g37g27g
Cocoa powder125g94g84g73g42g37g
Granuated / caster sugar250g150g133g100g67g50g
Brown sugar175g131g117g88g58g44g
Icing sugar110g83g74g55g37g27g
Butter / margarine230g173g153g115g77g58g
Oil225g169g150g113g75g56g
Milk235g177g157g118g78g59g
Condensed milk305g227g204g151g102g76g
Cream cheese225g169g150g113g75g56g
Yoghurt245g183g164g122g82g61g
Chopped nuts125g94g84g73g43g37g
Flaked almonds100g75g67g50g34g25g
Dried fruit180g135g120g90g60g45g
Oats (uncooked)90g68g60g45g30g23g
Chocolate chips180g135g120g90g60g45g

When measuring butter it may be easier to use the markers on the side of the packet (usually in 50g increments). If the packet doesn’t have this then you can spoon the butter into the cup measure and level it off with a knife, you want to push this in to avoid and minimise any air pockets and make sure you have enough butter for the perfect bake. A great tip is to cover the cup in clingfilm first, you then can tip it out and the cup is ready to use for the next ingredient to be measured. Saves greasy water going into your grey waste in the van too! You can use the clingfilm to grease the tin or mould if needed.

If you really aren’t confident with how to bake in your van without scales, then there are some great folding scales available. These won’t take up much room in the van and will give you much more precision when baking.

vanlife Oat Pancakes

How to bake in a van without an oven

One of the other hurdles I had to overcome was how to bake in the van without an oven! I had no idea this was even possible. This is where our stove top oven, the Omnia came in handy. We have plenty of articles about the Omnia, whether it’s worth it, and tips for using it. It works on the stove top with it’s unique design meaning the heat is pretty evenly distributed. The bottom can get very hot though, so it’s important to cook low and slow to avoid a burnt bottom.

This gadget makes it quite easy to bake in the van, it packs away neatly and is stored in a cupboard when not in use. We have baked cakes, bread, pizza, muffins, pies, lasagne and a lot more in ours. Even a roast dinner at one point. It definitely makes baking in a van without an oven a possibility, even if you do end up with ring shaped cakes and loaves.

cheddar onion loaf

There are other options to the Omnia. Be creative when baking in a van without an oven! We have seen cheesecakes made in an instant pot and pineapple cakes cooked in a slow cooker. We often make flatbreads and pizzas in a pan on the hob and they taste amazing. It is possible to get your bread fix without an oven.

The other gadget we have used for baking in the van is our ridgemonkey. We bought the Compact Xl sandwich toaster, and originally used it only for toasting sandwiches. Since then our eyes have been opened up to the possibilities and we bake in it quite often. We have baked the pre-made croissants and pain au chocolat, pizza pinwheels and even made brownies.

If you have a pan then your bread fix is never too far away. When craving bread we often want a quick fix for those carby cravings. The flatbread recipes, provide a great option to have delicious bread in the van without the need for an oven.

Although it initially seems baking without an oven in the van is impossible, there are options out there.

aero mint brownies

How to bake outside the van!

Remember, one of the joys of being in a van is that you can have an ever changing kitchen view. Cooking outdoors is a great way to get involved in nature. If on a campsite, it’s a great way to keep an eye on the kids and cook dinner at the same time.

Baking on an open fire is possible! Just be sure to be responsible if building a fire in the great outdoors. Damper loaves are great to cook on the fire, and satisfies that crunchy, doughy bread craving.

garlic damper

Baking in a van with an oven

If you have an oven in your van it may seem like plain sailing when baking. Certainly, it may be easier than stove top baking, but there may be some limitations. As when using a hob you need to keep an eye on your gas levels, nobody wants a half baked cake!

Remember all ovens have their own little quirks, hot spots, cold spot. Get to learn the best place to bake your goodies. Unfortunately the slope can affect us all, so make sure you are parked levelly if you want a uniform looking bake.

Keep ventilation in mind if using an oven, be sure to ventilate your van well to ensure the van doesn’t get too hot. It’s a great idea to invest in some silicone bake-wear. It can be folded flat for storage, is light-weight and easy to clean.

Maple pecan pie bars

Extra tips for how to bake in a van

Ingredients

If you are part-time in your van, consider weighing your dry ingredients at home. You can store them in a Ziploc bag. This will keep them fresh and secure – no flour spillages. When ready to bake you can simply tip the ingredients in and mix in your wet ingredients.

Vanlife baking

One of the differences between baking in a house and a van is the levelness of the hob or oven. It can sometimes be difficult to see before you start baking whether you are on a slope. Be prepared that some of your bakes may be slightly uneven. It all adds to the character, and they will still taste amazing.

Omnia vegan victoria sponge

Tidy pan, happy van

Baking in a tiny space can get messy. It is so important to clean as you go to avoid a caked on mess (pardon the pun!). Washing up isn’t always easy in a van, so washing up sooner rather than later can help. It is also the perfect excuse to lick the spoon and bowl clean, less mixture to go in your water waste!

The proof is in the rising

If baking bread it will need proving time. Take into account the temperature in your van proving bread. If it’s a nice sunny day we leave ours in the window in the sunshine, but there have been times we have had it near the diesel heater to get the perfect rise.

Smells be gone!

If you use silicone baking products in your van you may have noticed, they can cling onto smells. To get rid of this heat up the silicone mould, this opens up the pores. Then wash with warm soapy water, once dried, your will be free to bake again. No risk of any unwelcome whiffs.

Practice makes perfect

Finally, remember to go easy on yourself! If you aren’t used to baking in a van it can take some getting used to. If your bakes don’t always come out perfect in the van, it doesn’t matter.

campervan omnia pizza

Please note this article contains affiliate links. Any items purchased via these links, will be at no extra charge to you. We will gain a very small commission which helps to cover the running costs of the website. Thank you

International Vanlife Cooking Day June 21st

0

Vanlife has become a popular lifestyle choice for adventure seekers and travel enthusiasts. It offers the freedom to explore different places while having the comforts of home on wheels. One aspect that adds excitement to the vanlife experience is cooking on the go. International Vanlife Cooking Day celebrates the creativity and culinary skills of vanlifers from around the world. Celebrate International Vanlife Cooking Day with us and vanlifers across the globe to enjoy this unique celebration.

What is International Vanlife Cooking Day?

International Vanlife Cooking Day is a global celebration that takes place on June 21st every year. It is a day dedicated to embracing the joy of cooking delicious meals while living the vanlife.

Vanlife is not just about traveling; it’s a way of life that encourages self-sufficiency and creativity. Cooking in a van presents unique challenges and opportunities. International Vanlife Cooking Day highlights the resourcefulness of vanlifers who create mouthwatering dishes with limited kitchen space and equipment. It showcases the diverse culinary skills of individuals who have a passion and love for cooking on the road.

Vanlifers, travel and adventure seekers as well as van dwellers around the world come together to share their favorite recipes, cooking tips, and culinary adventures on social media platforms using the hashtag #VanlifeCookingDay and tagging the main sponsor of this event Vanlife Eats.

How to Participate in International Vanlife Cooking Day

1. Cook your favourite food

Before hitting the road, plan your menu for International Vanlife Cooking Day. Consider the available cooking facilities in your van and choose recipes that are easy to prepare with minimal ingredients. Opt for dishes that reflect your personal taste and the local flavors of your destination.

2. Find a Scenic Location

One of the joys of vanlife cooking is the ability to enjoy stunning landscapes while preparing meals. Choose a scenic location for International Vanlife Cooking Day, such as a picturesque beach, serene forest, or breathtaking mountain range. Cooking amidst nature adds an extra element of tranquility to the experience.

3. Embrace Local Ingredients

Make your International Vanlife Cooking Day memorable by incorporating local ingredients into your recipes. Visit farmers’ markets, roadside stands, or local grocery stores to source fresh produce, spices, and other regional delicacies. Experimenting with local flavors will elevate your culinary creations and provide an authentic taste of the area.

4. Document and Share Your Vanlife Cooking Experience

Capture the essence of International Vanlife Cooking Day by documenting your cooking adventures. Take photos and videos of your cooking process, the beautiful surroundings, and the final plated dishes. Share your experiences on social media using the hashtag #VanlifeCookingDay, inspiring and connecting with the global vanlife community.

Dont forget to tag @vanlife_eats on Instagram

To find inspiration dont forget to browse our collection of vanlife recipes here