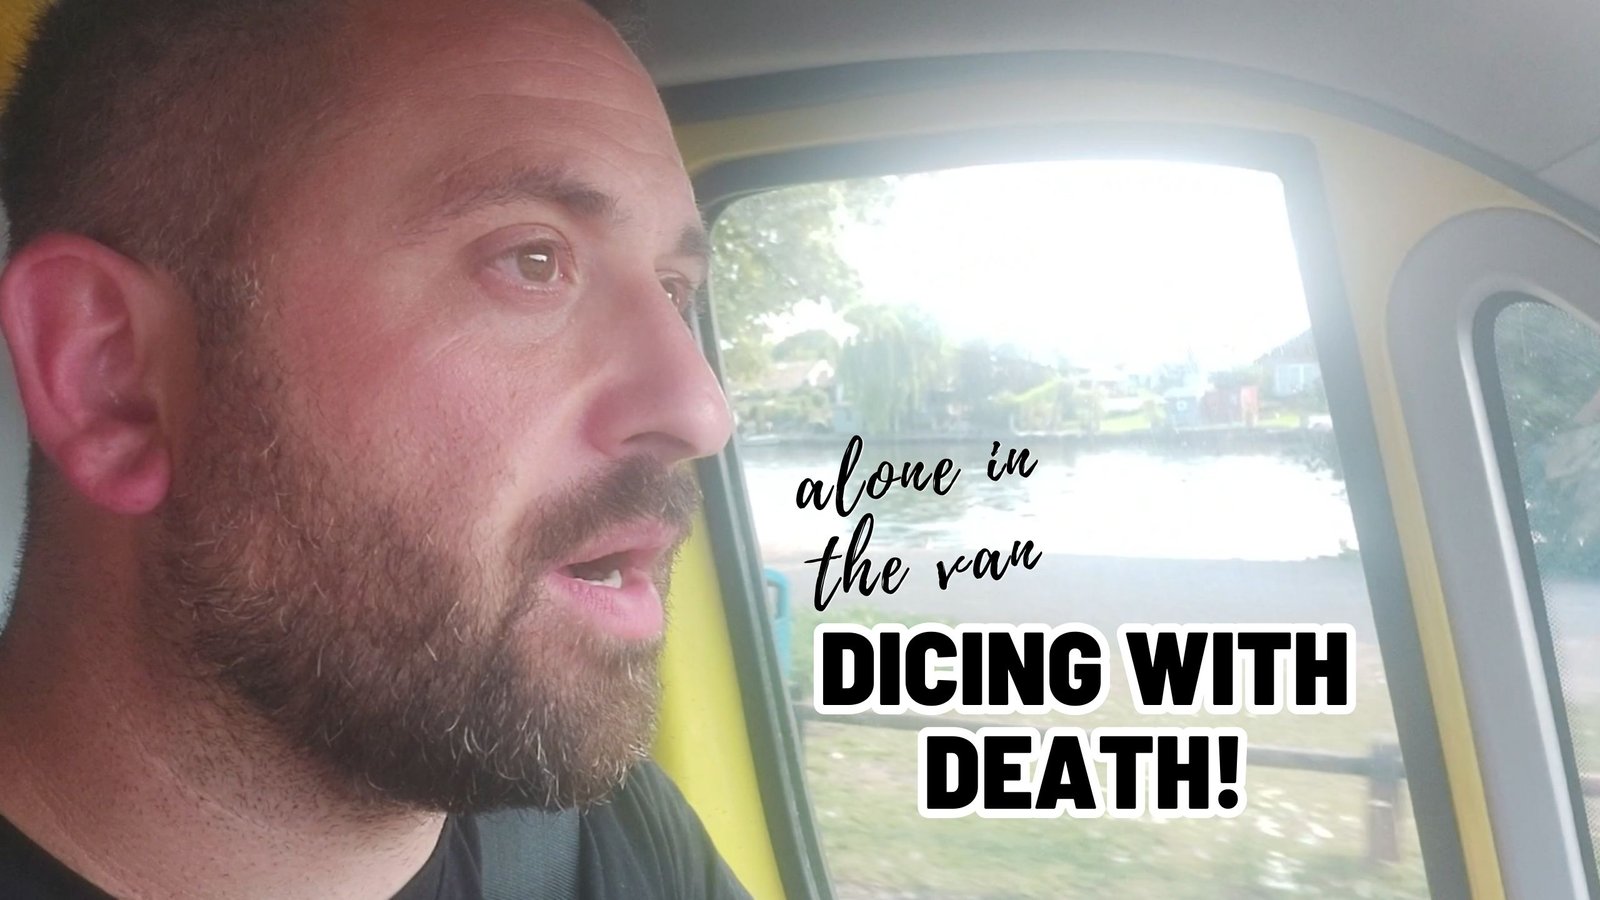
Those that know me well have heard me continuously moan about this but the majority of these people are not vanlifers, least of all full time...
")
RidgeMonkey
BBQ & Fire
Cobb / CADAC
Slow Cooker
Air Fryer
One Pan
Those that know me well have heard me continuously moan about this but the majority of these people are not vanlifers, least of all full time...
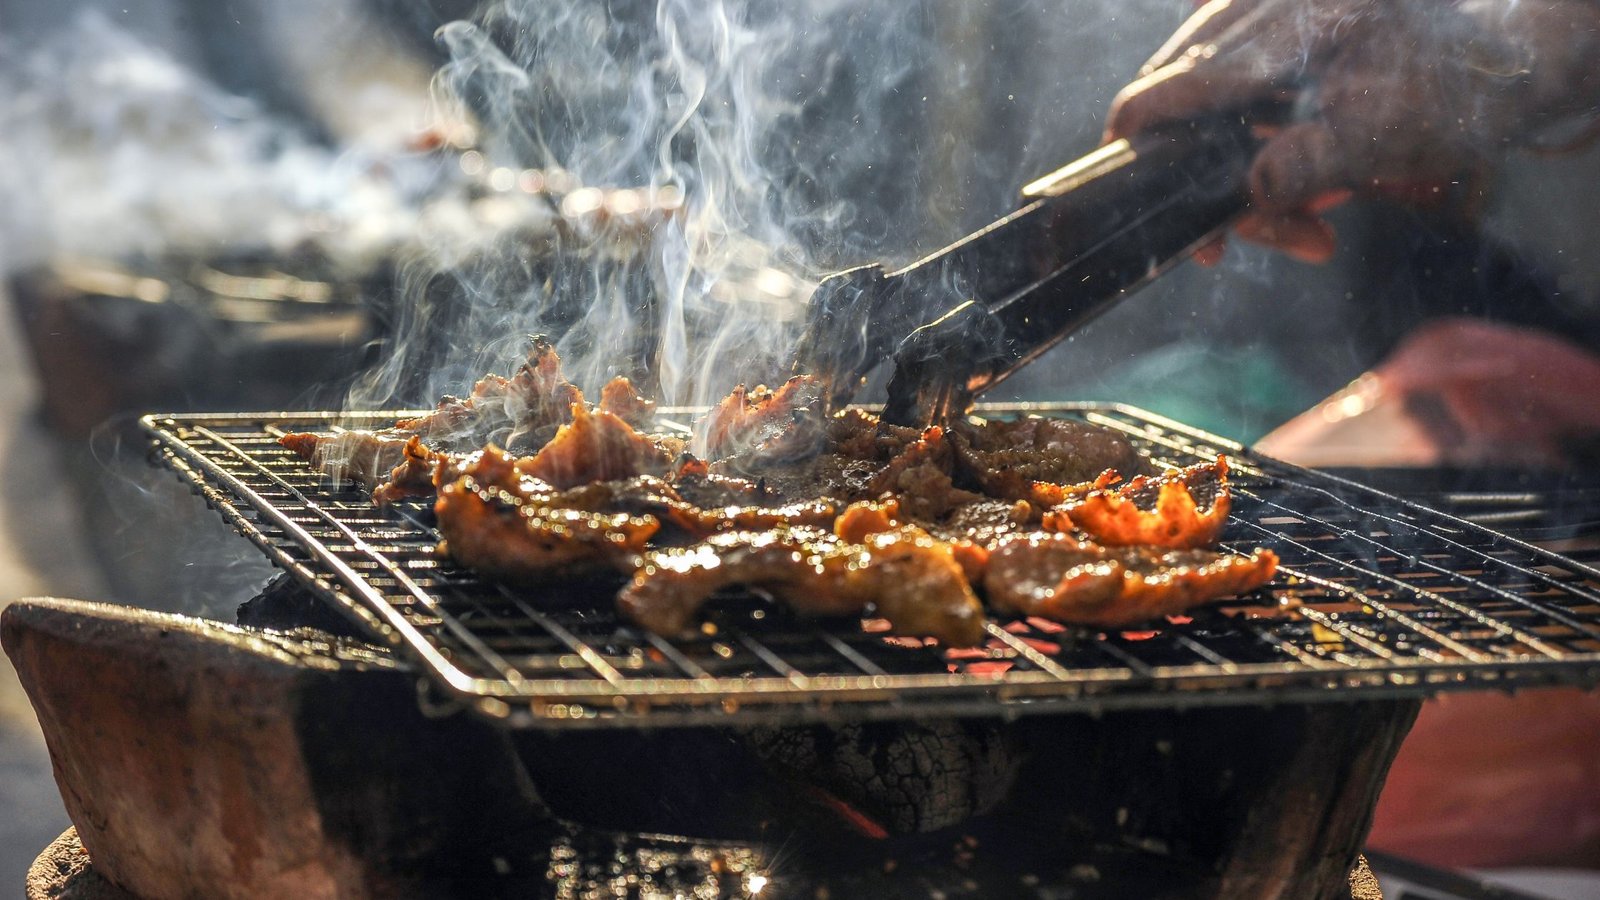
Barbecue (BBQ) is more than just grilling meat—it's an art form, a tradition, and a way to bring people together. One essential aspect of...
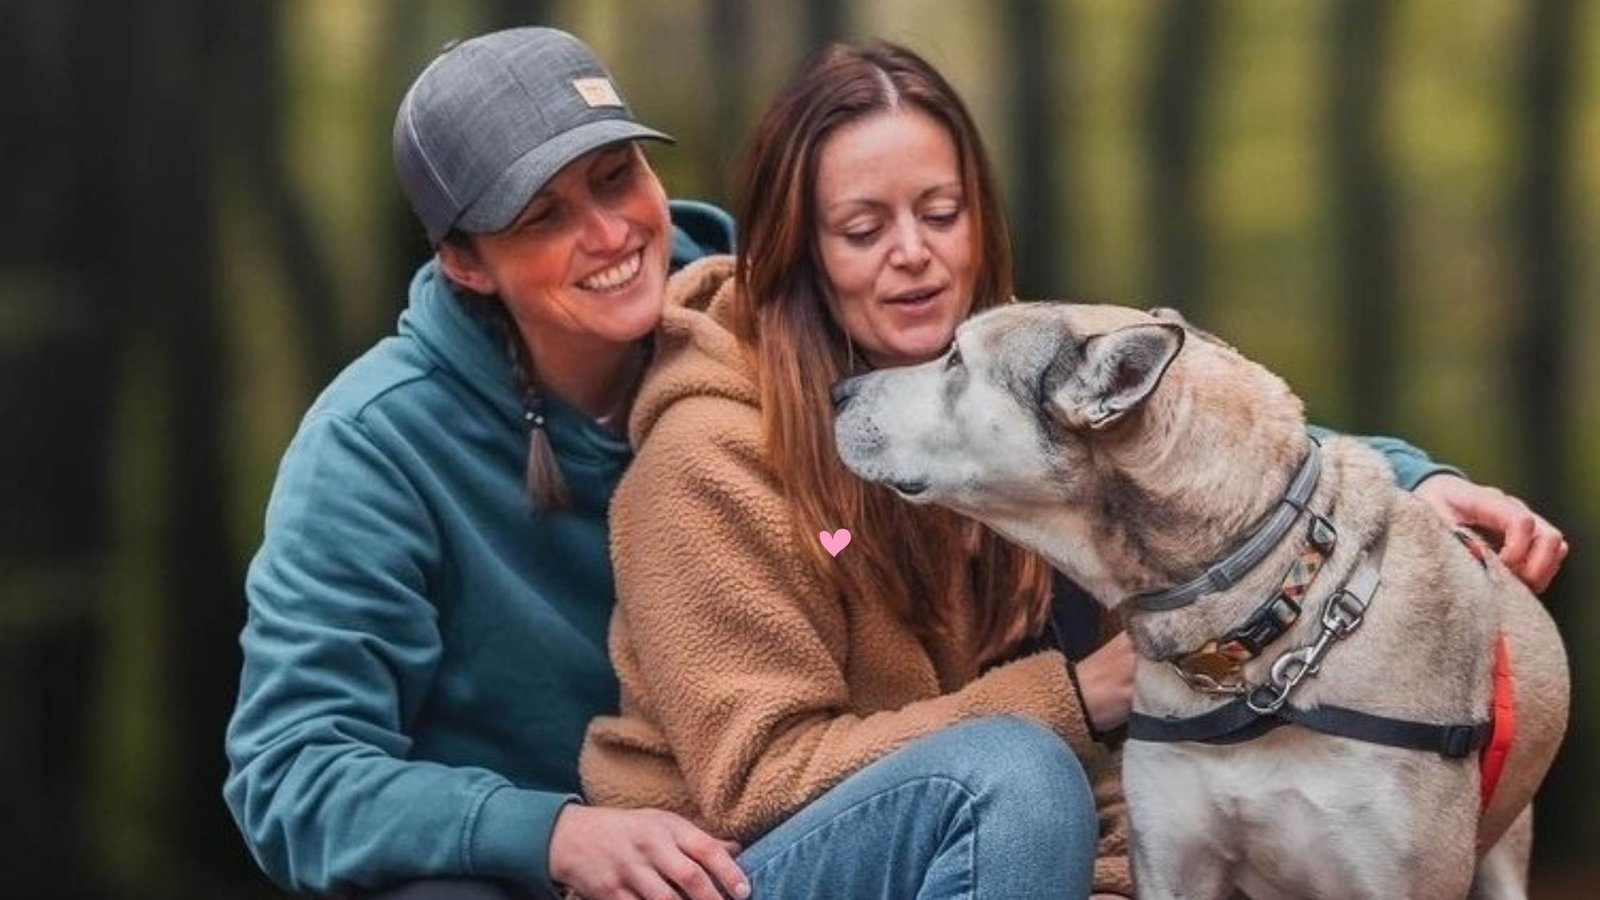
If you haven't heard of our latest featured vanlifers, Camper Vibe, where have you been? Camper Vibe is made up of Emily, the one with the...
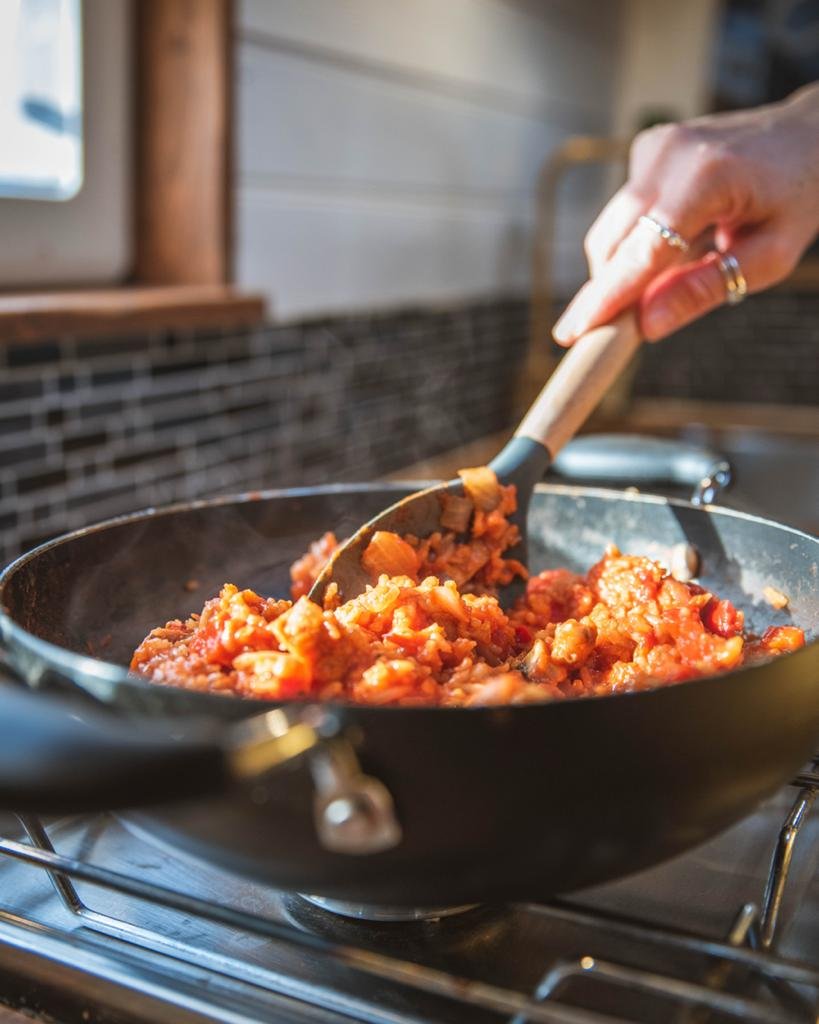
This vegetarian jambalaya is a favourite vanlife meal for Emily from Camper Vibe, our featured vanlifers. You can read their feature here. The...
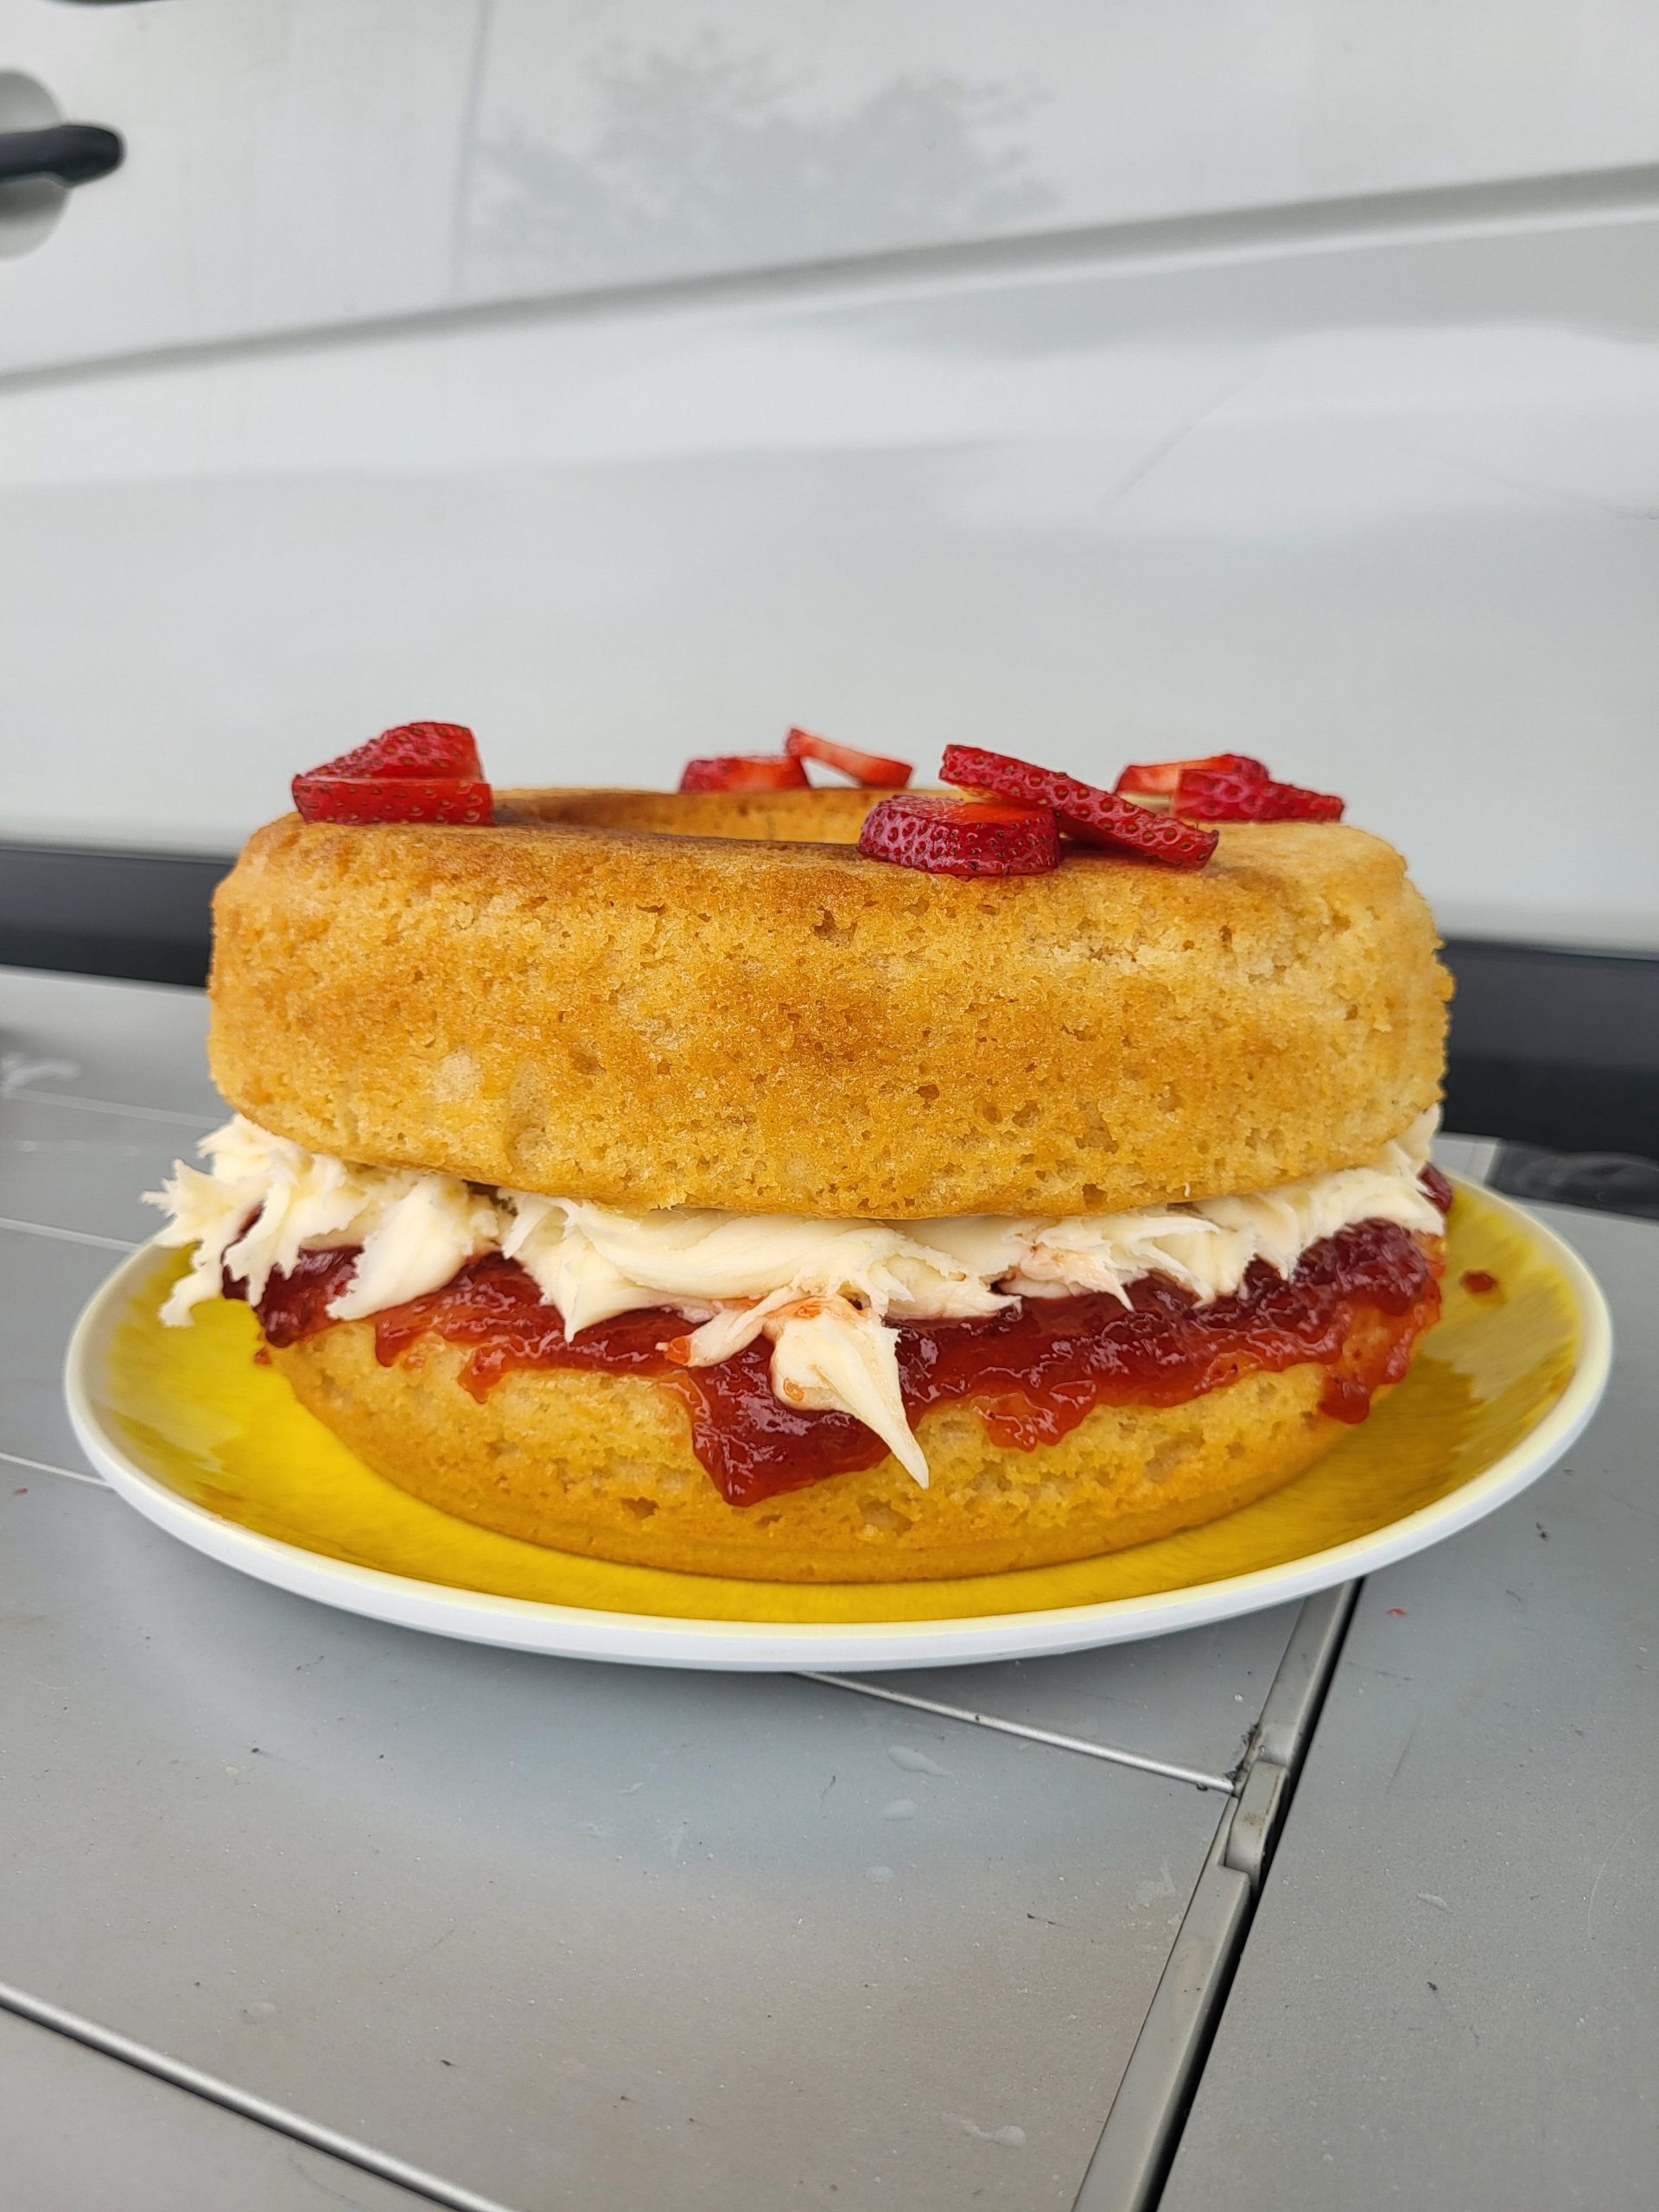
We made this Omnia vegan Victoria sponge for one of our talks at Campervan Campout. It's great for get togethers or even just for family trips!...

This meal of crumpet breakfast muffins is quick and easy to make. It can all be cooked in one pan saving on washing up. We love making these on...
Ricotta Gnocchi - Ndunderi di Minori This is the feast day dish of the quaint unspoiled village of Minori along the Amalfi coast. Deep Skillet...
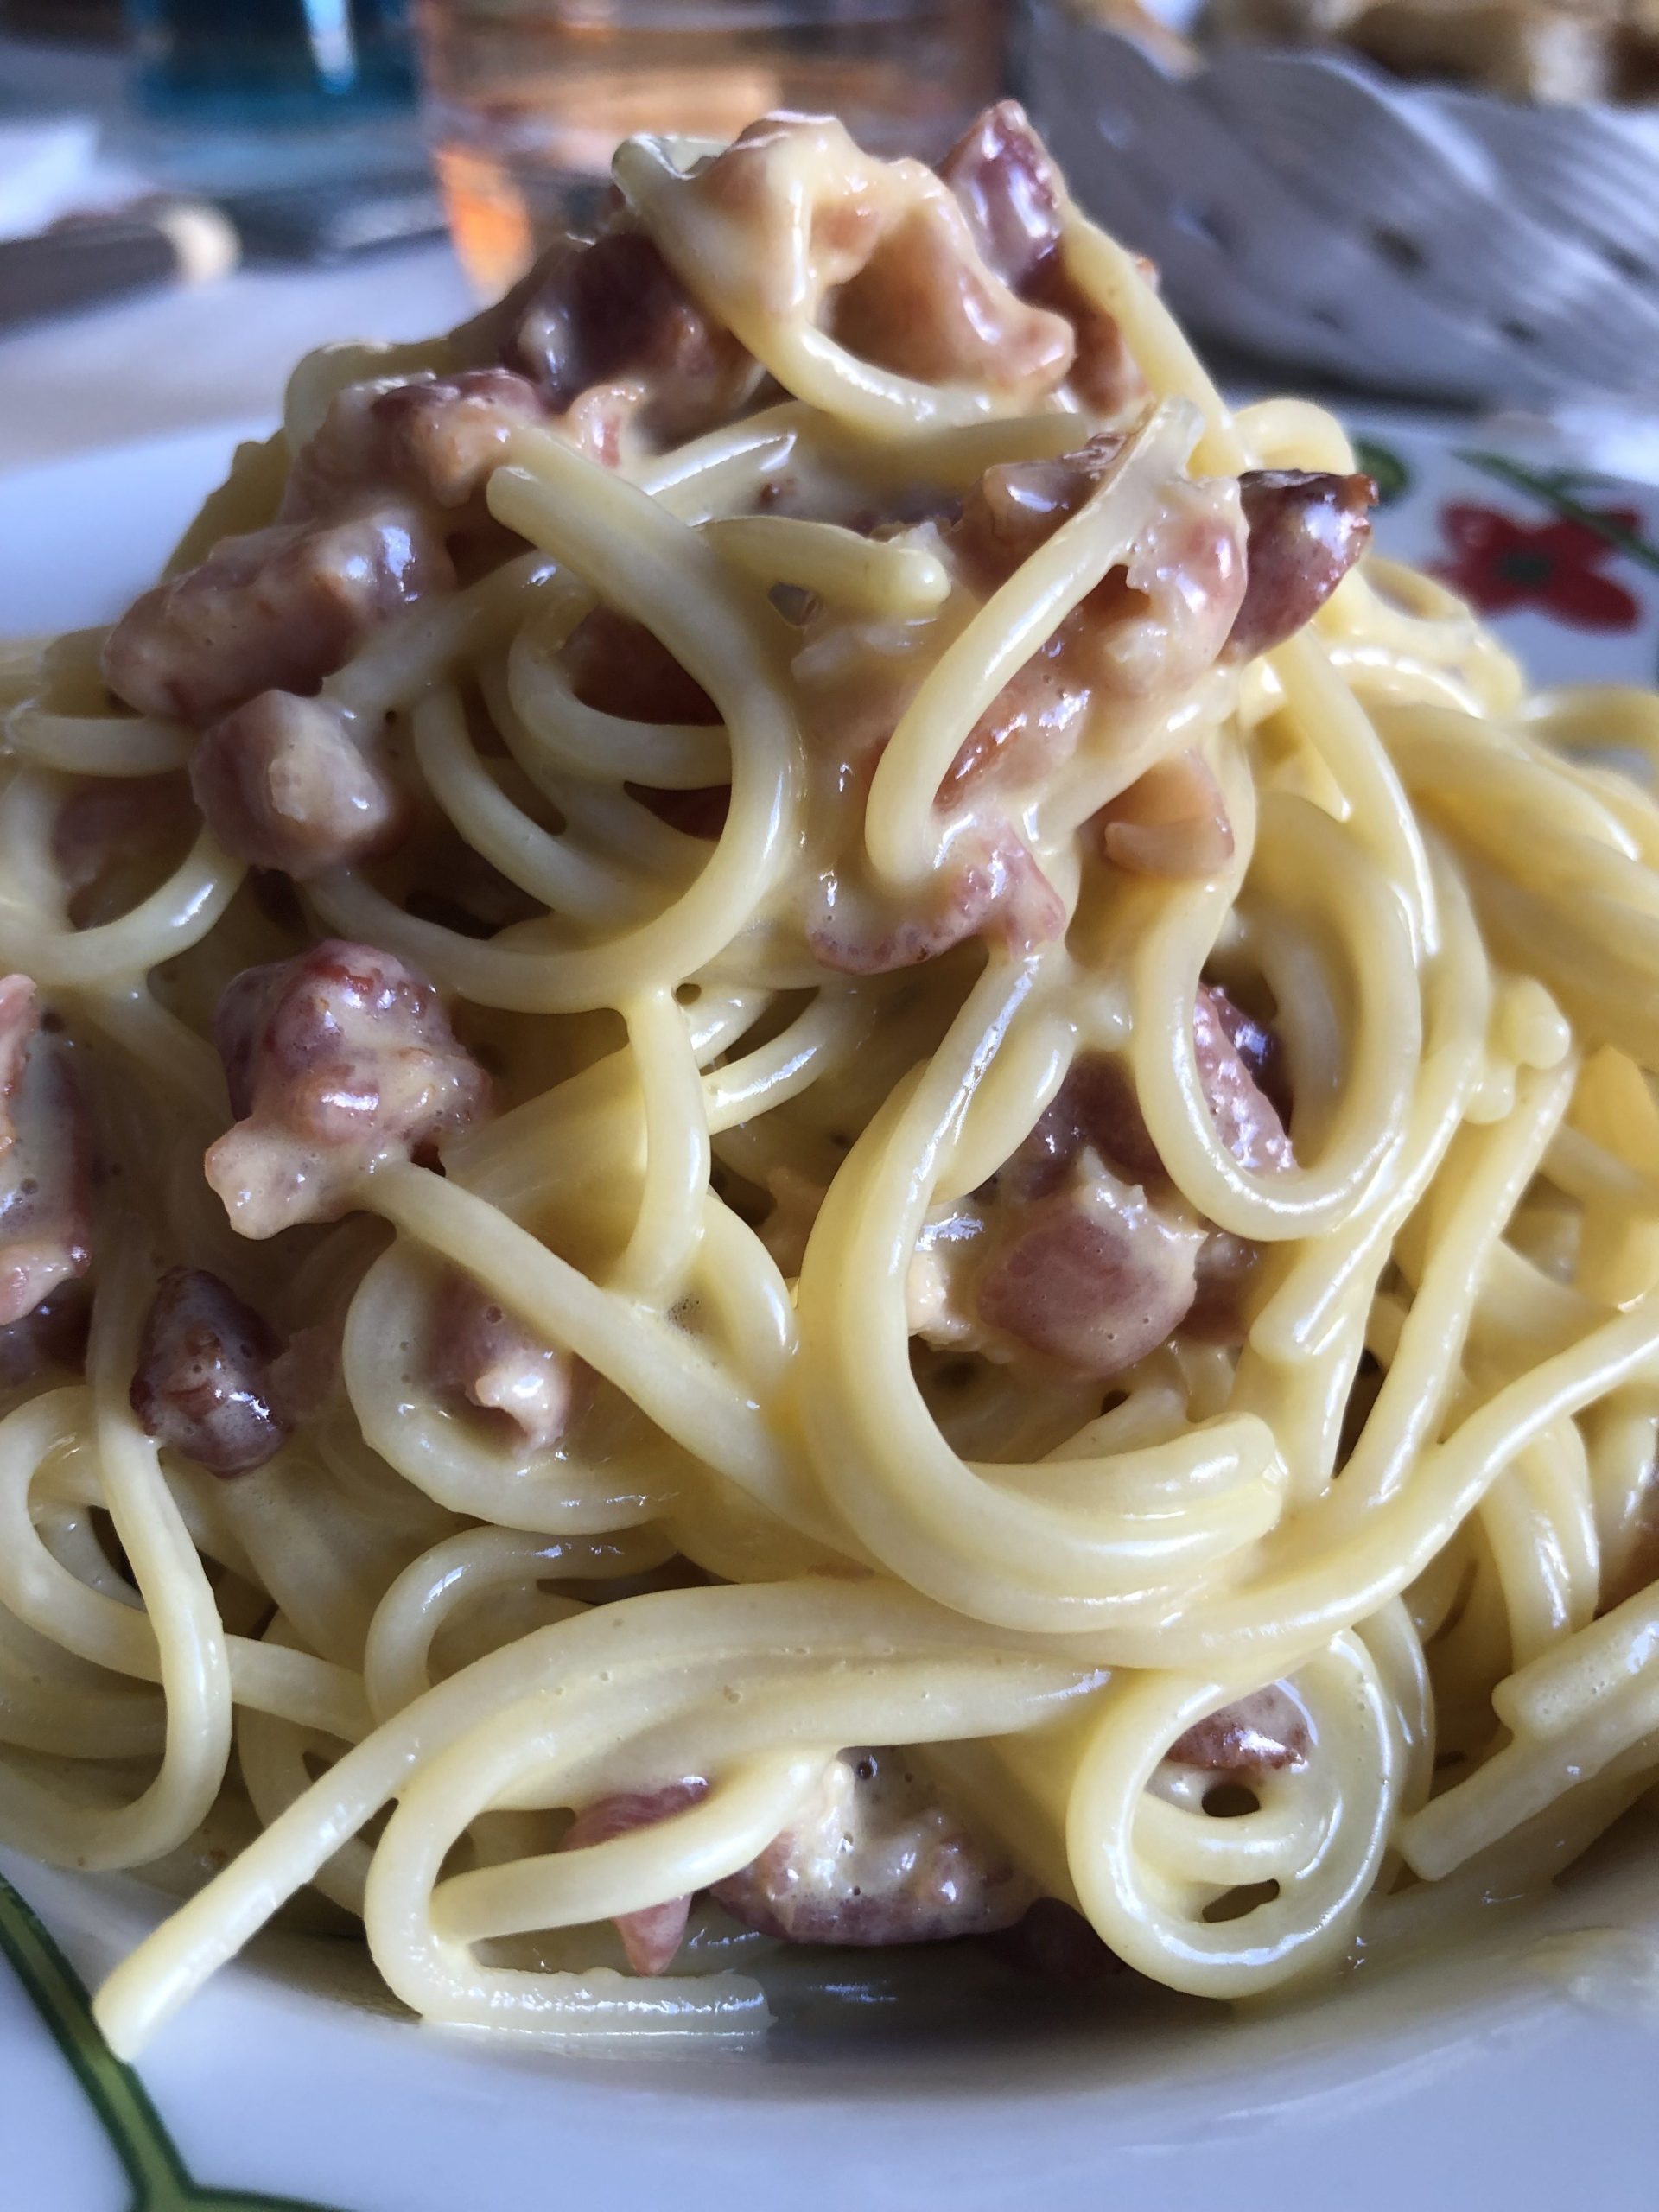
Spaghetti alla carbonara is another amazing vanlife recipe from @vwt4_furbone_. This italian recipe uses guanciale, similar to pancetta....
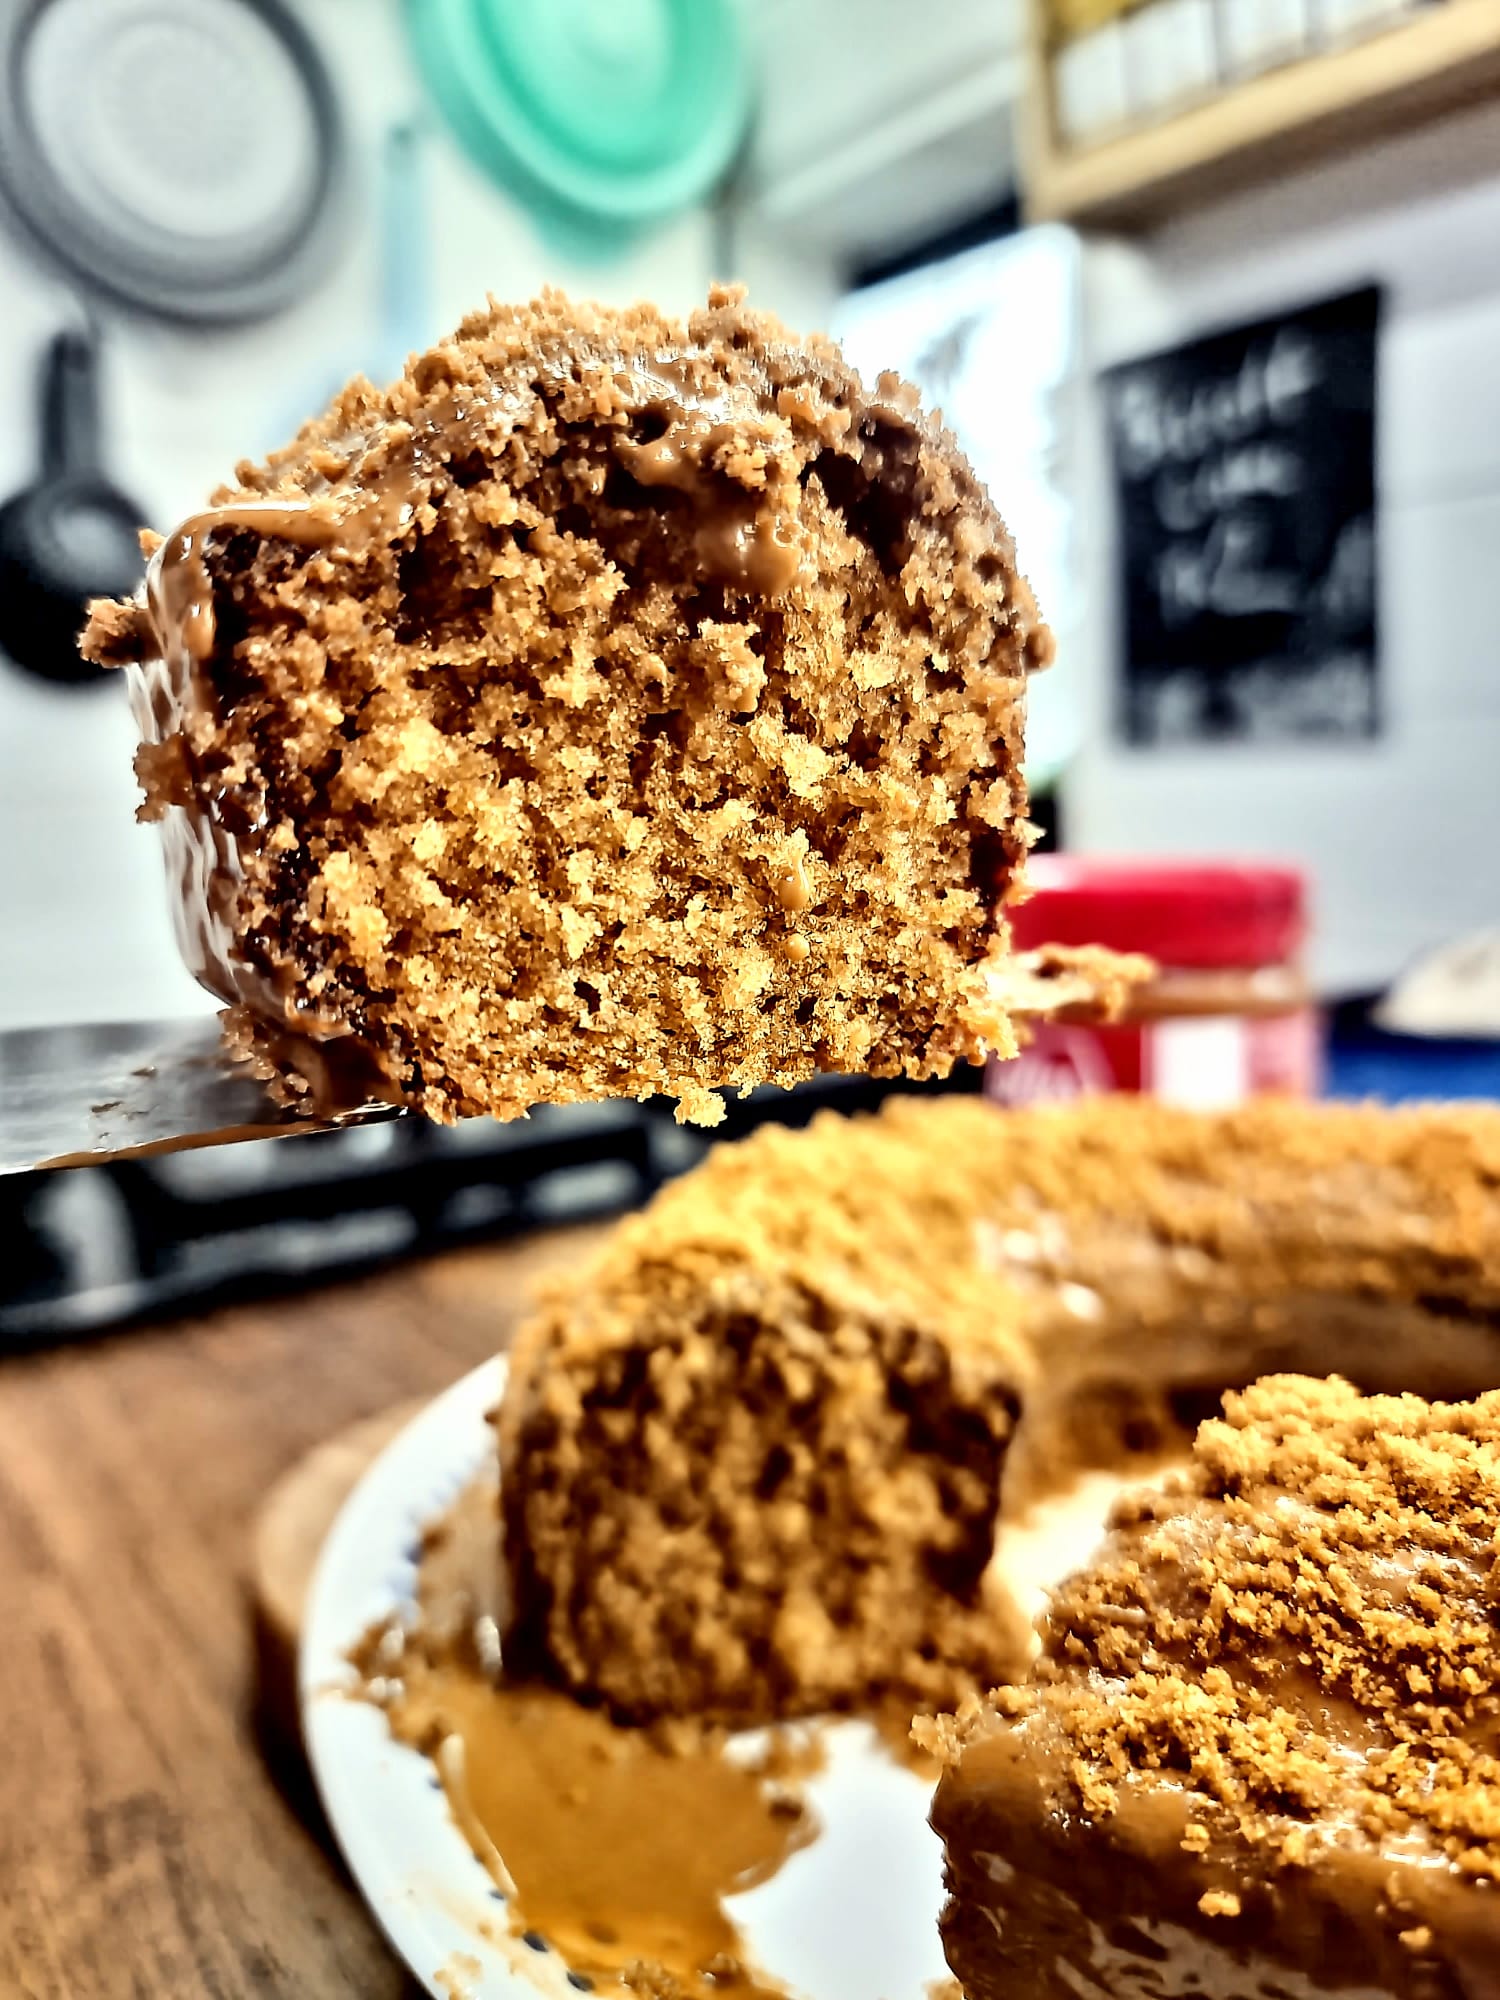
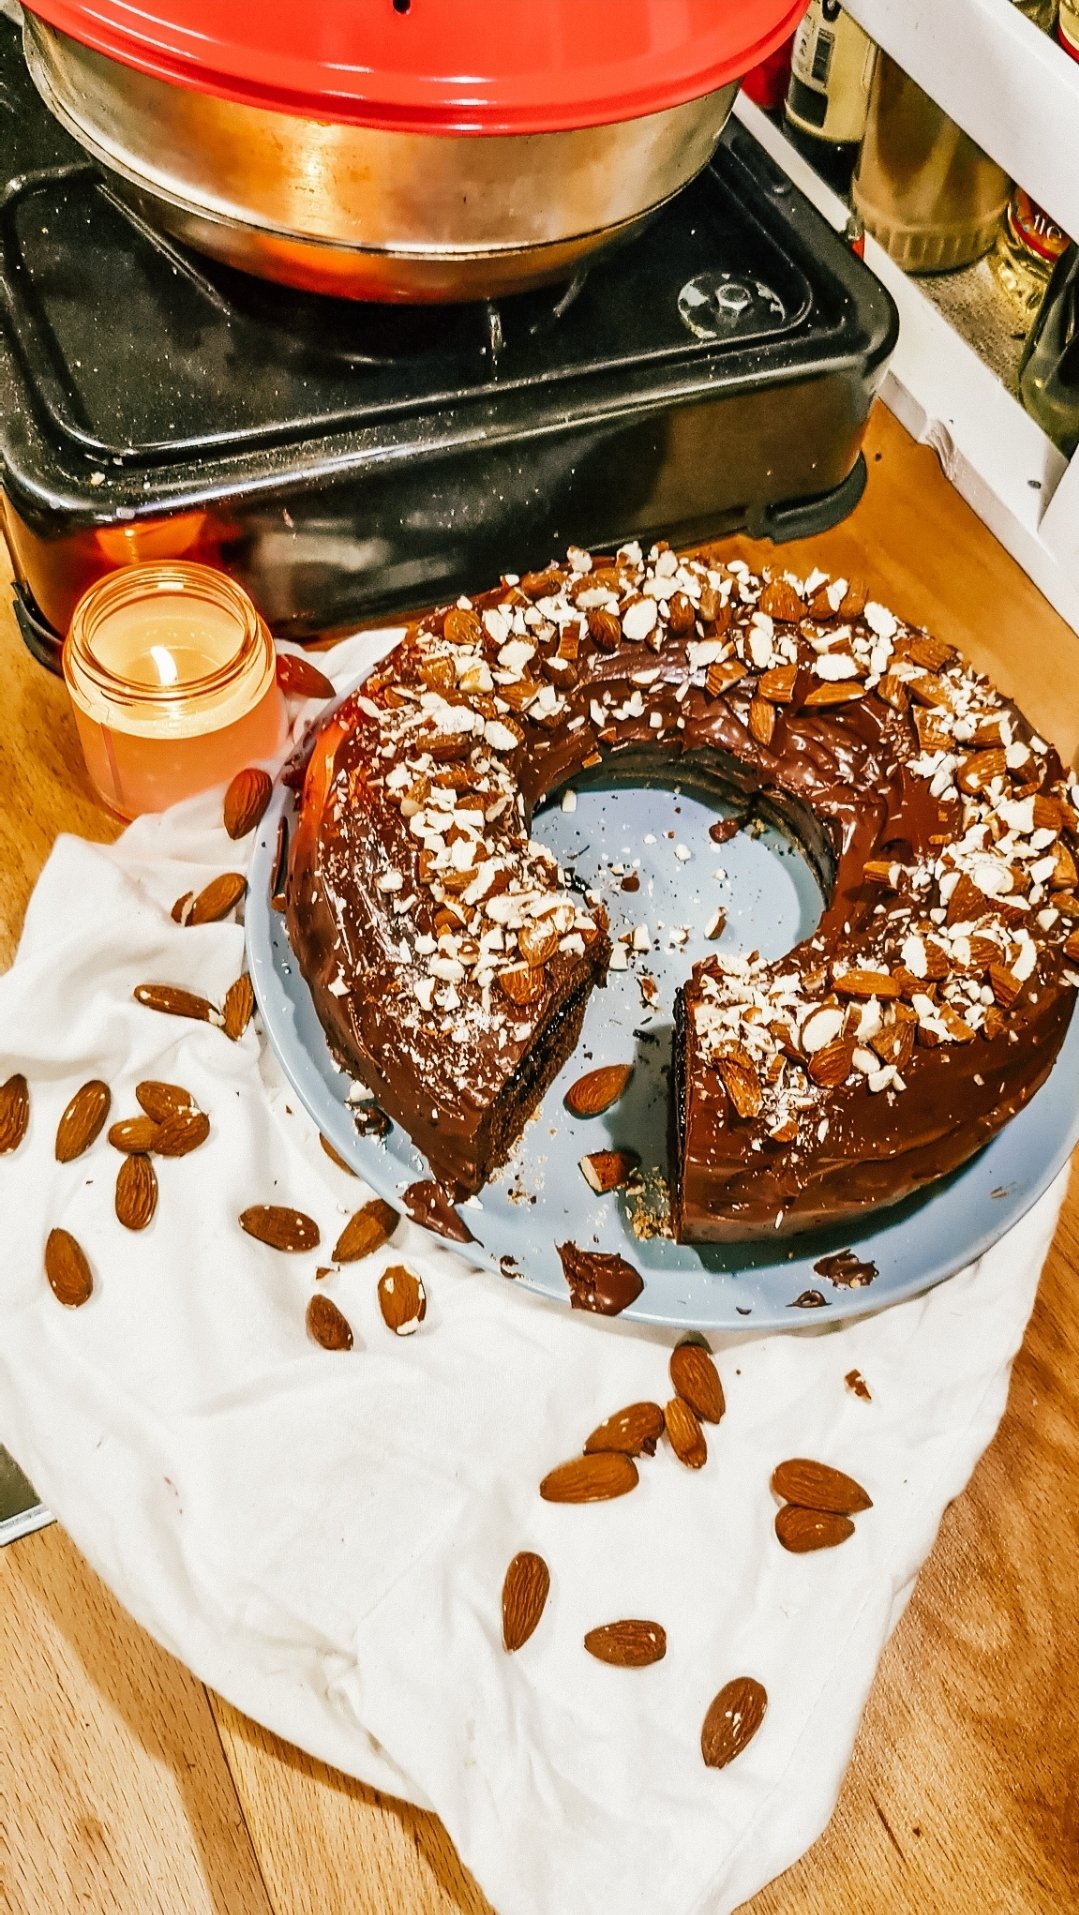
We love biscoff and we love our Omnia, what better combo! We recently saw a 3 ingredient biscoff cake on social media. We thought it would be...

Another classic from MeShell's diner. This recipe for chicken tortilla casserole is full of flavour, crunch and cheese! What more could you...

Chicken and Goats Cheese in a Creamy Red Pepper Sauce I made this as zero carb and full of protein. The flavor is incredible and the creamy...

MeShell's diner is dishing up the goods again. These maple pecan pie bars are to die for! A brilliant recipe for vanlife, campervans &...
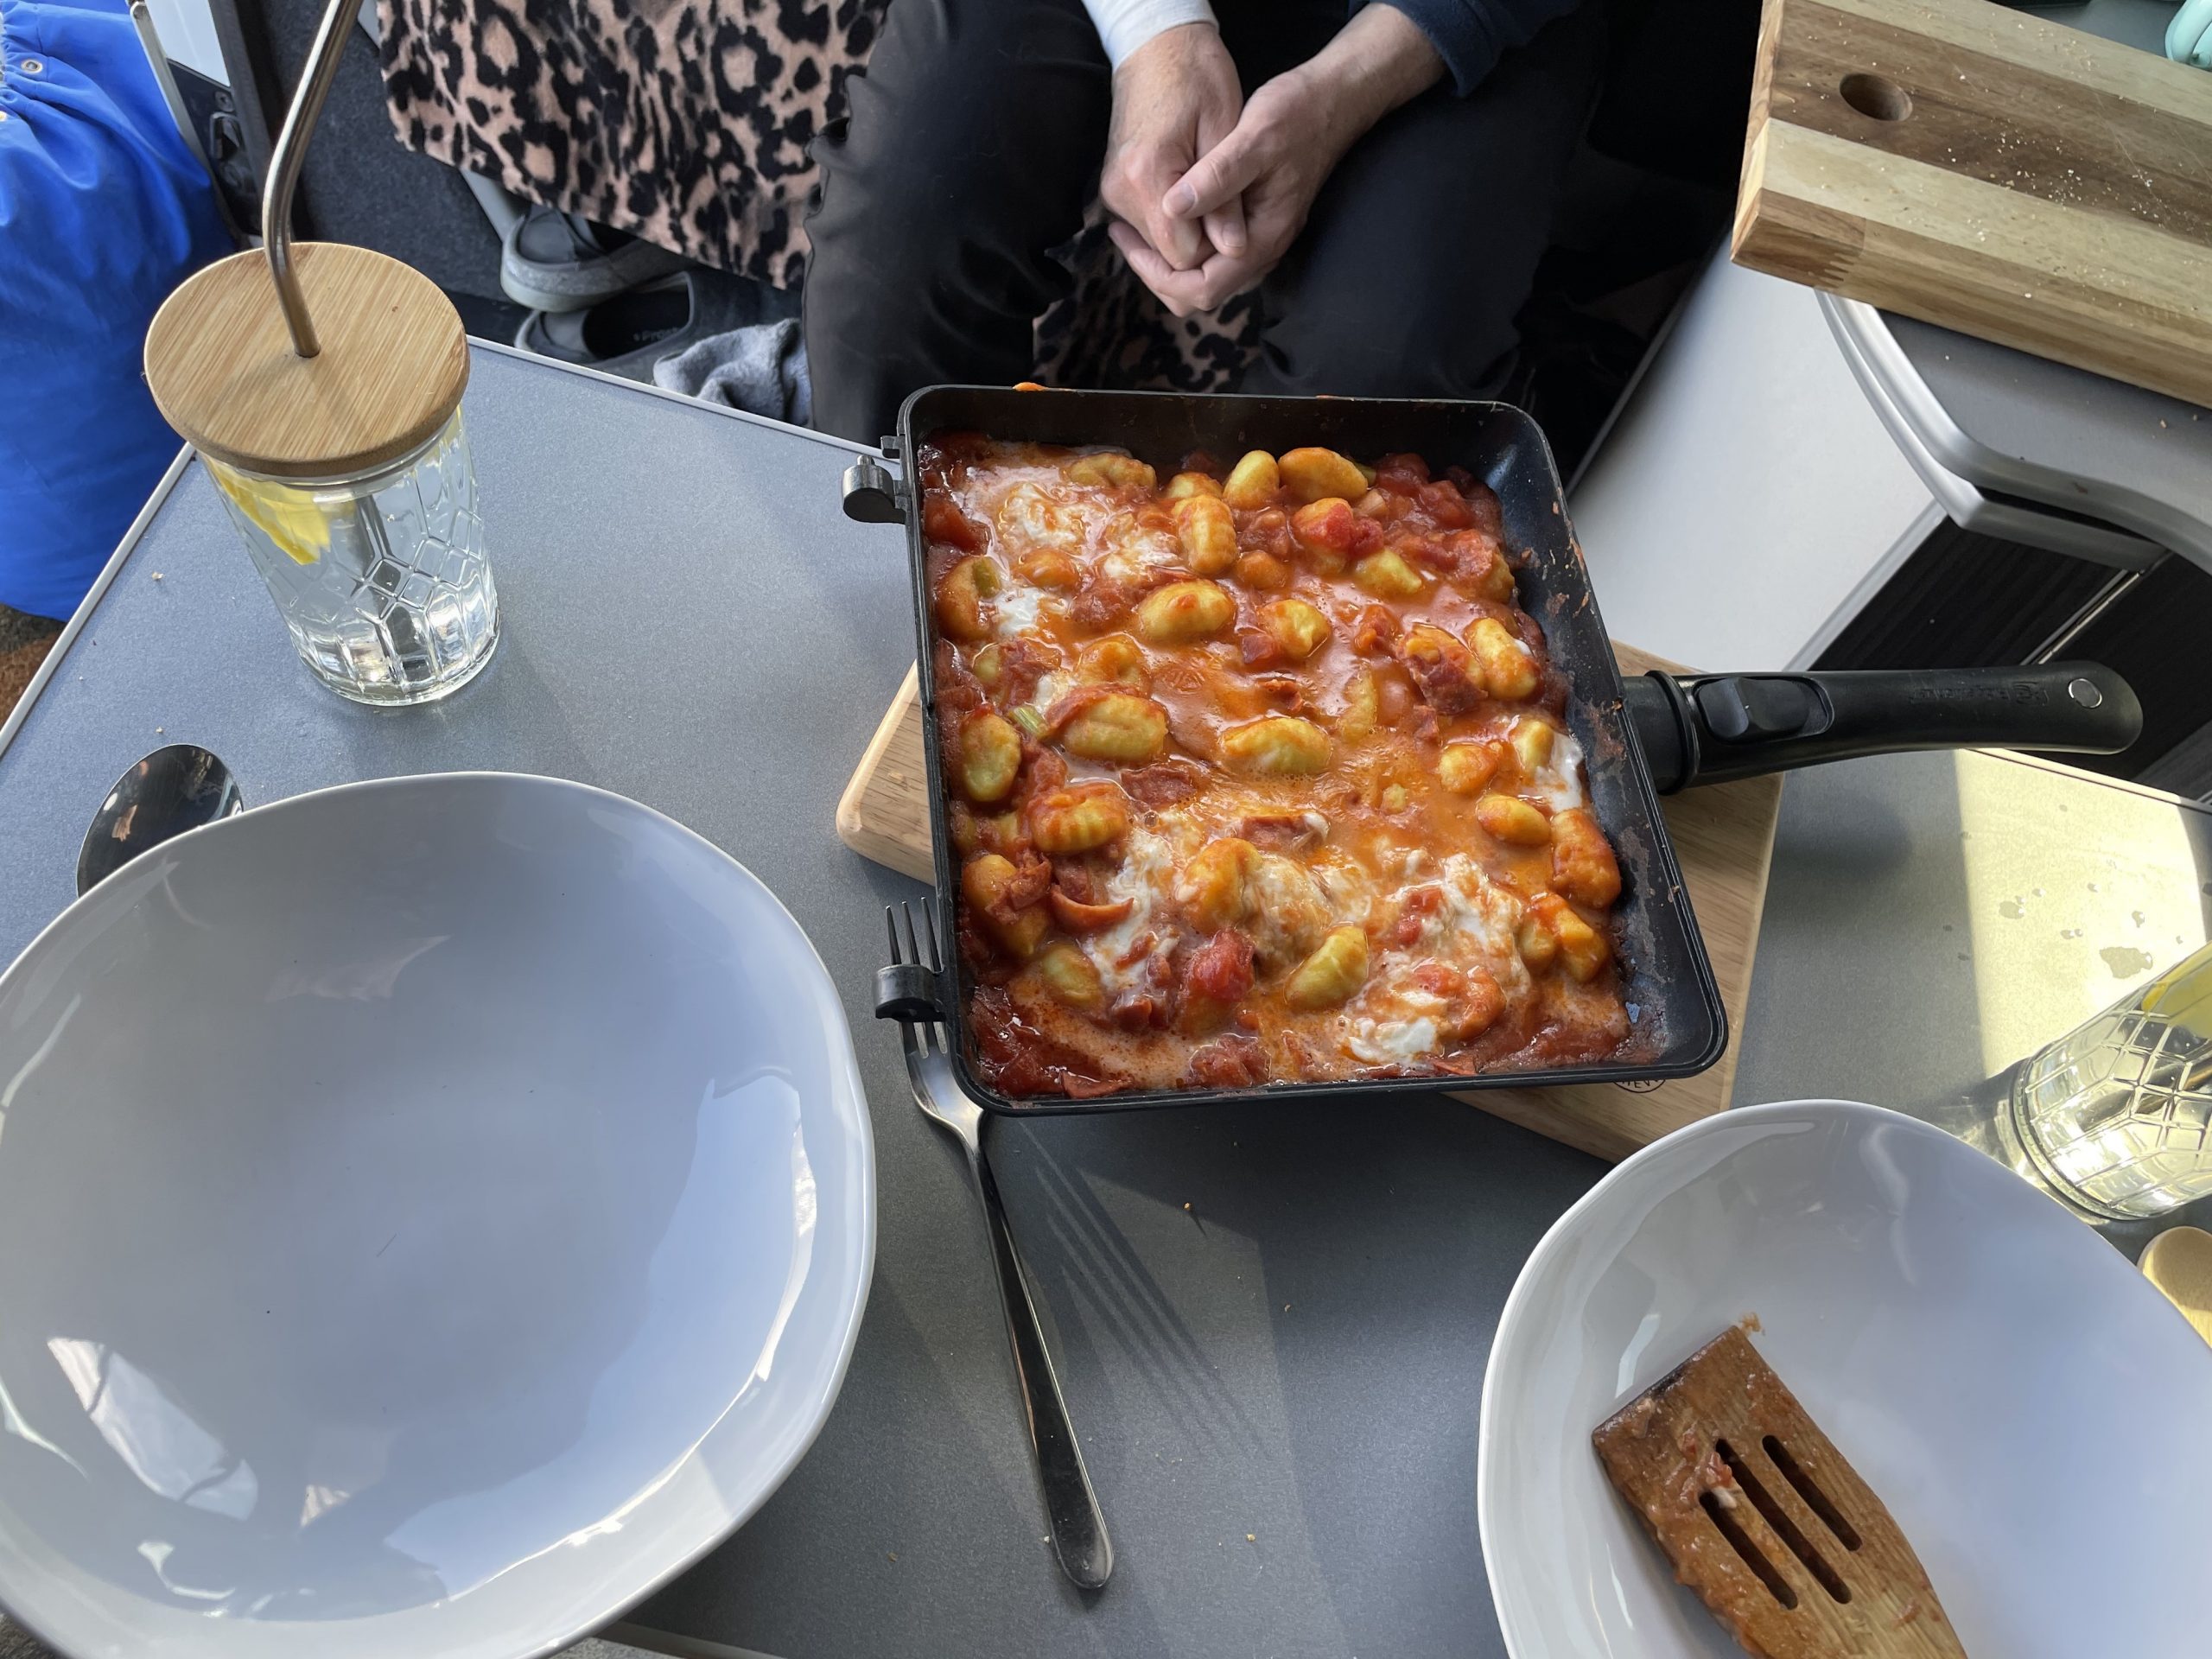
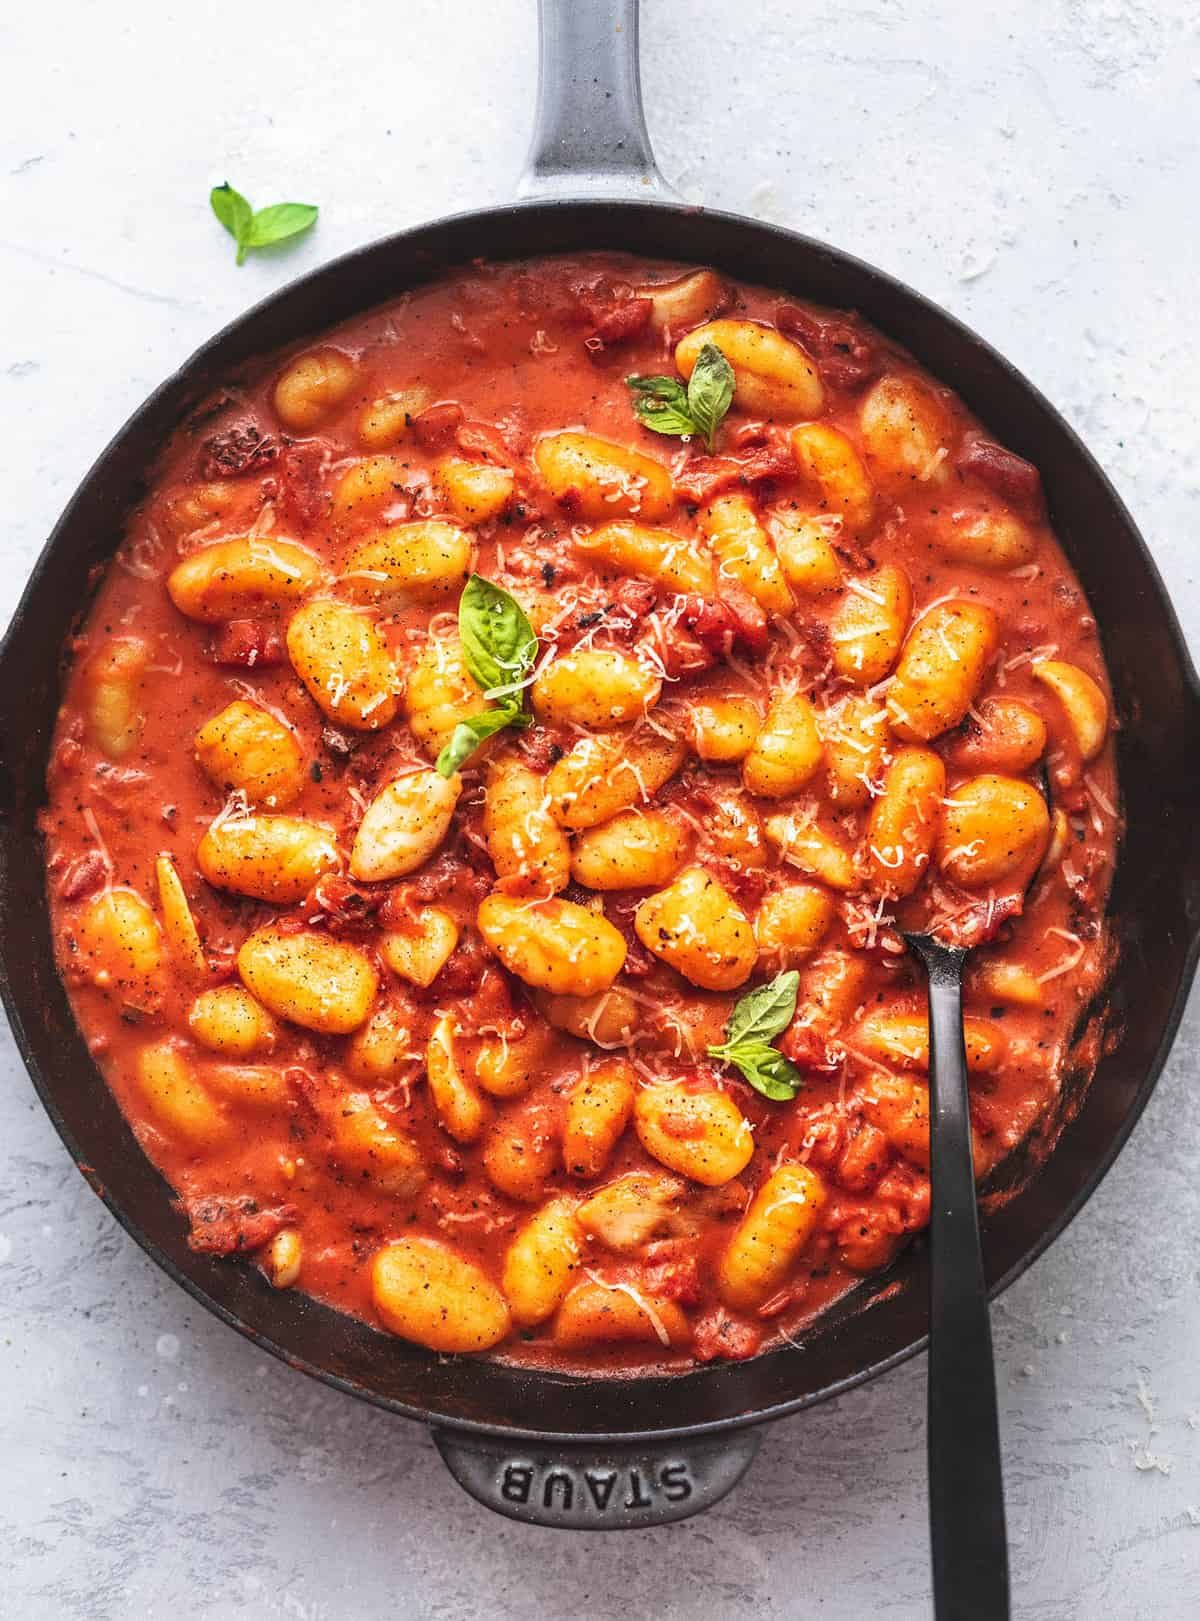
This campervan recipe of chorizo & mozzarella gnocchi cooked in the RidgeMonkey is ideal for vanlife. A quick one pan meal with 10...
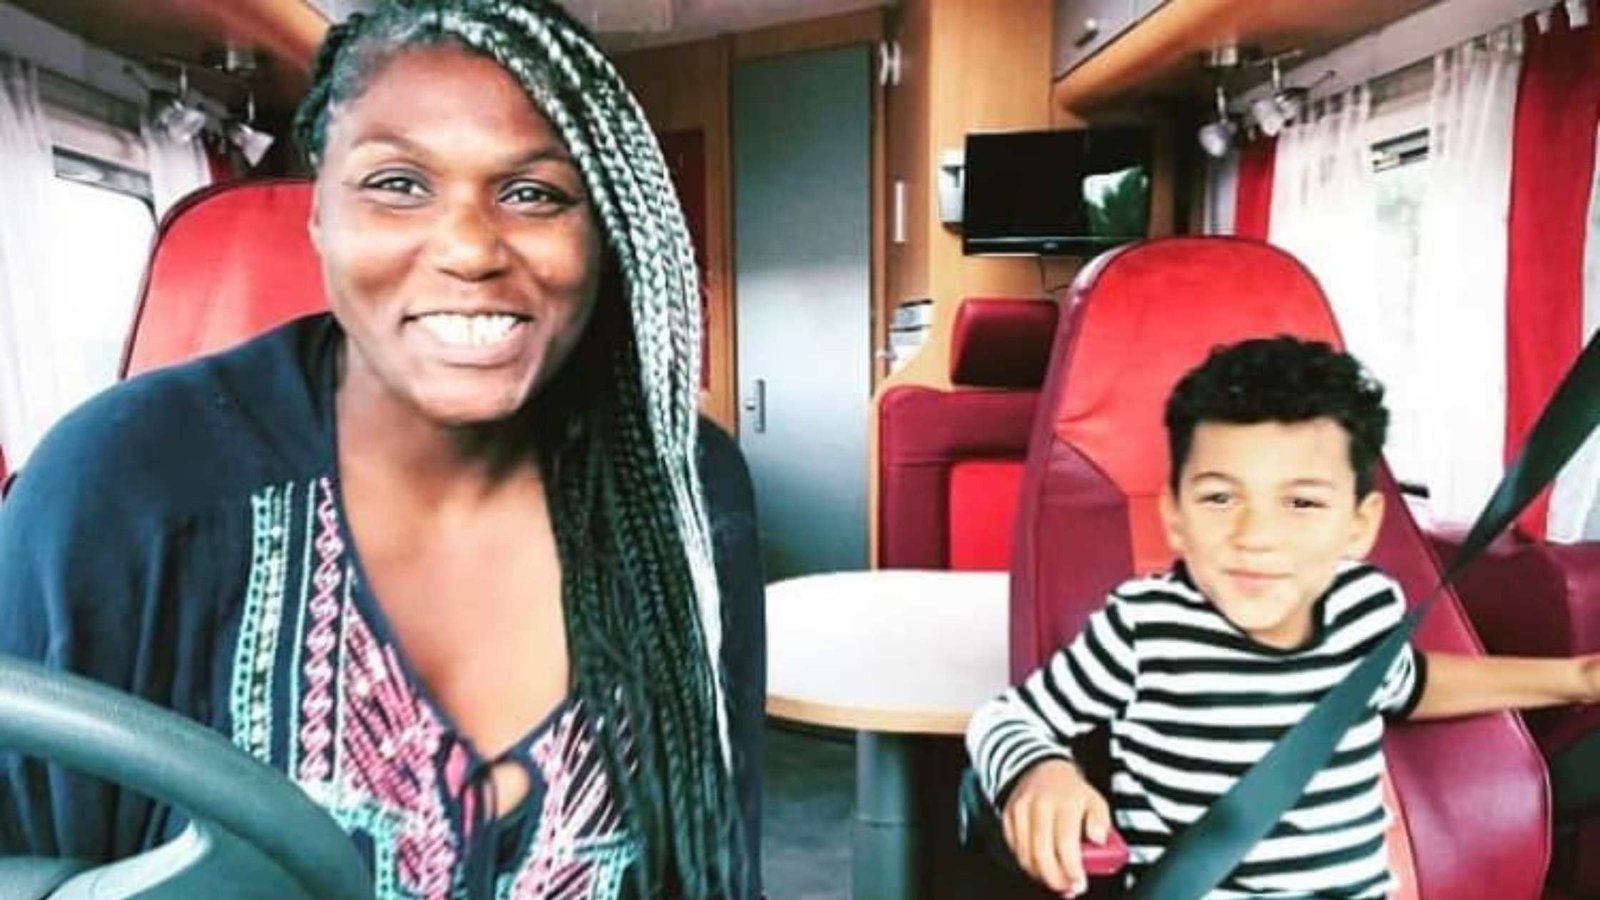
Have you ever thought about trading the school run for a full time vanlife adventure? That is exactly what featured vanlifers Mum Delanie &...
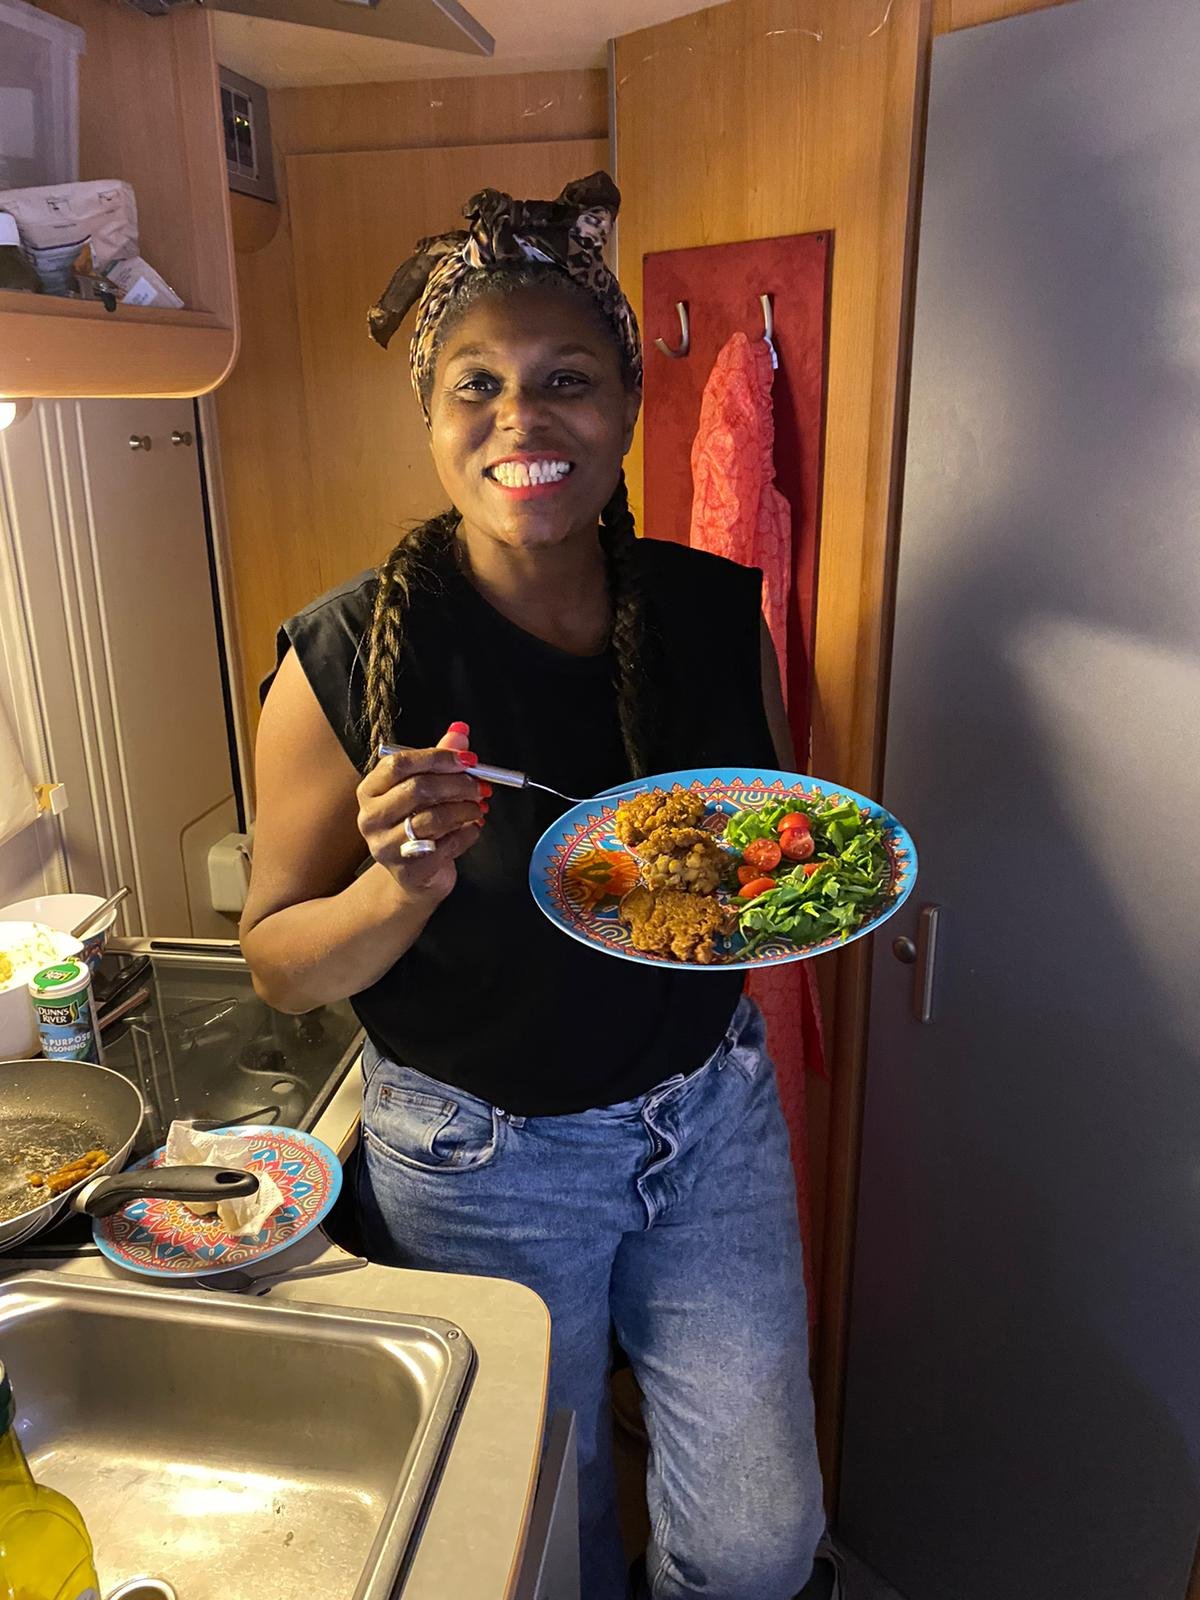
These sweetcorn fritters are a firm favourite of featured vanlifers Delanie & Quincy @mumandsontravels. If you would like to read their...
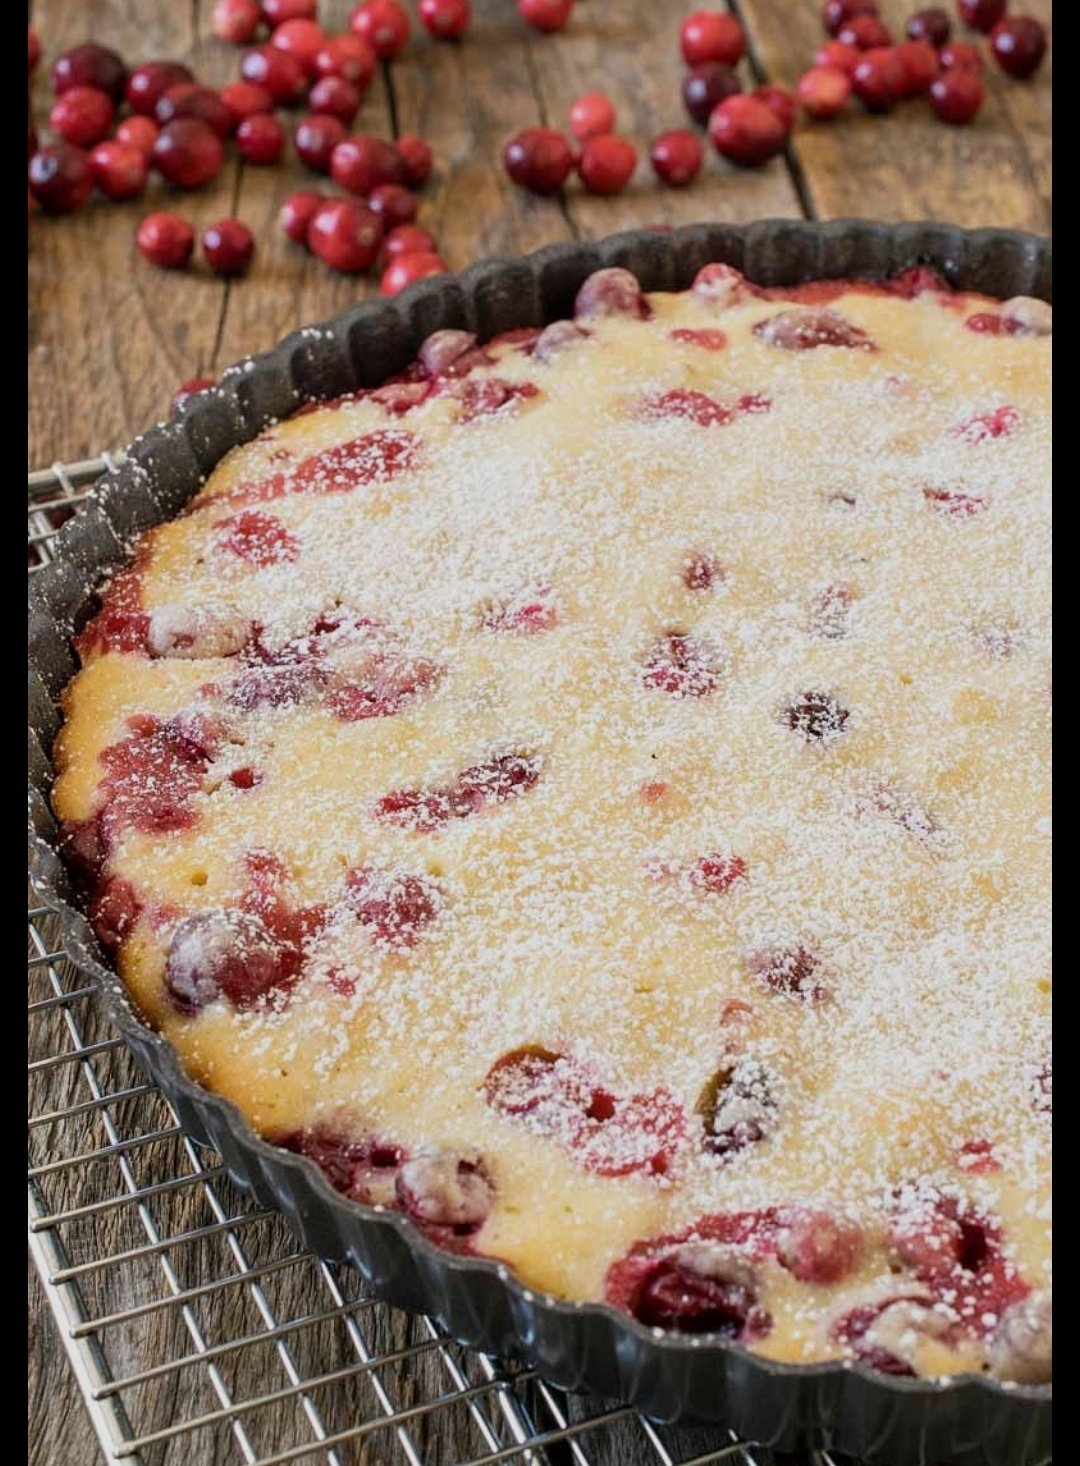
This recipe for Nantucket Cranberry Pie is so easy and so good. This is a delicious light sponge, full of juicy cranberries, crunchy pecans and...

Another meal from MeShell's diner, this time butter pecan fudge. The buttered pecans give this fudge a bit of texture as well as a whole lot of...

Wondering what gift to get a vanlifer in your life this Christmas? We've got you covered with this list of essential vanlife Christmas gifts....
This festive vegan gingerbread cake made in the Omnia is perfect for Christmas. Full of the wonderful flavour of Christmas, gingerbread with...
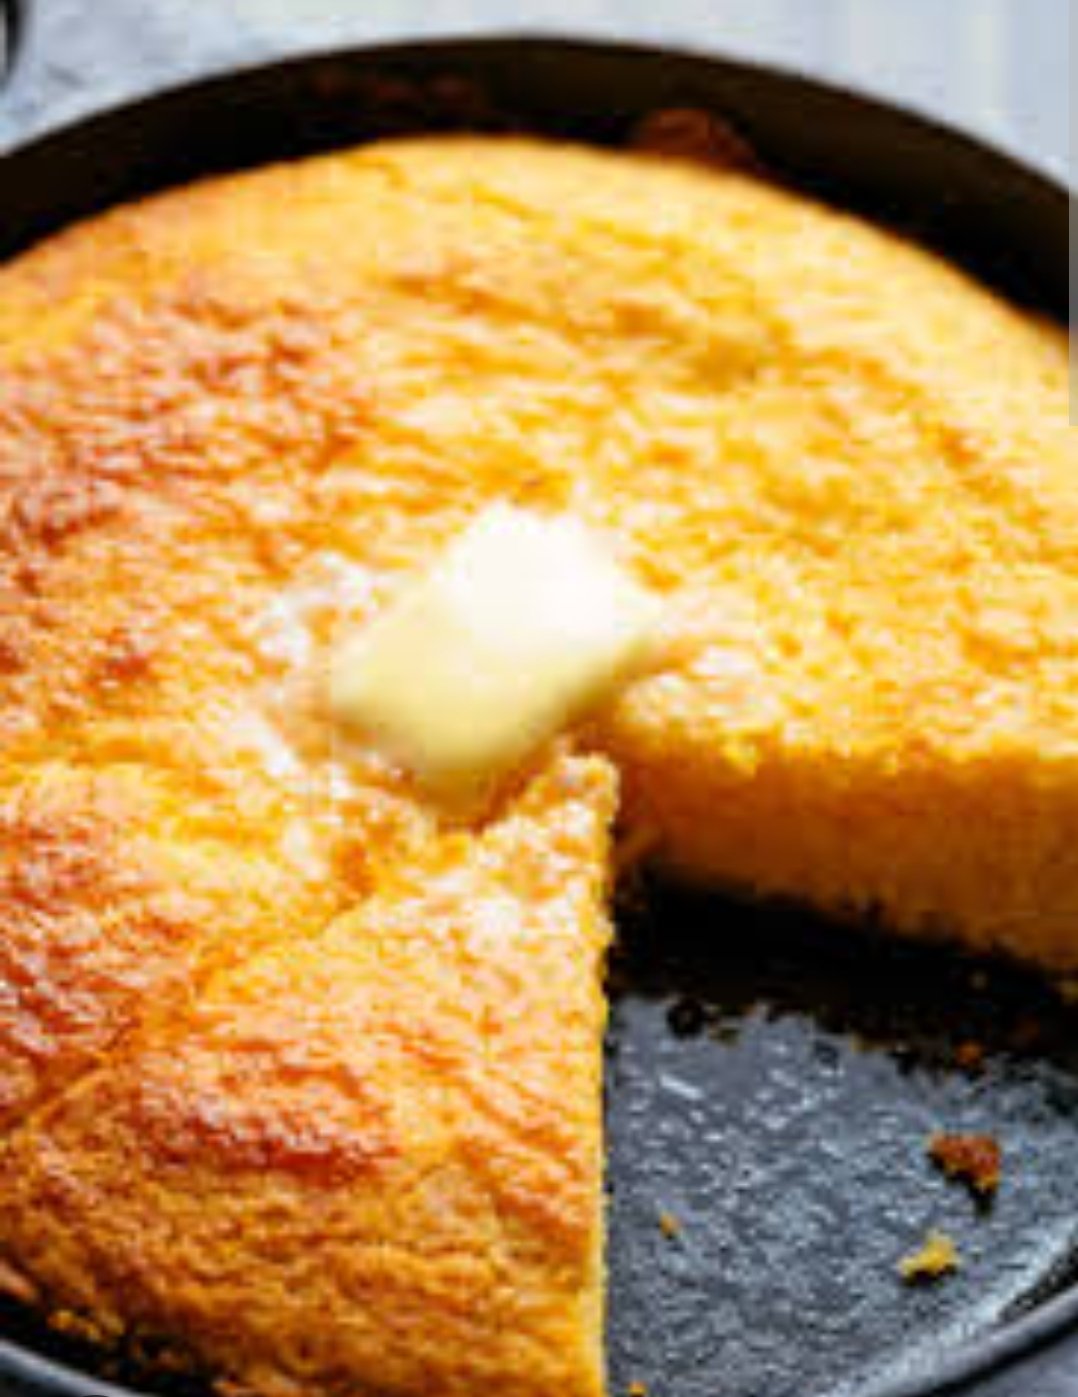
MeShell's diner cornbread is a very versatile recipe, and so easy to make - even in a van! In fact I even made an award winning version in the...
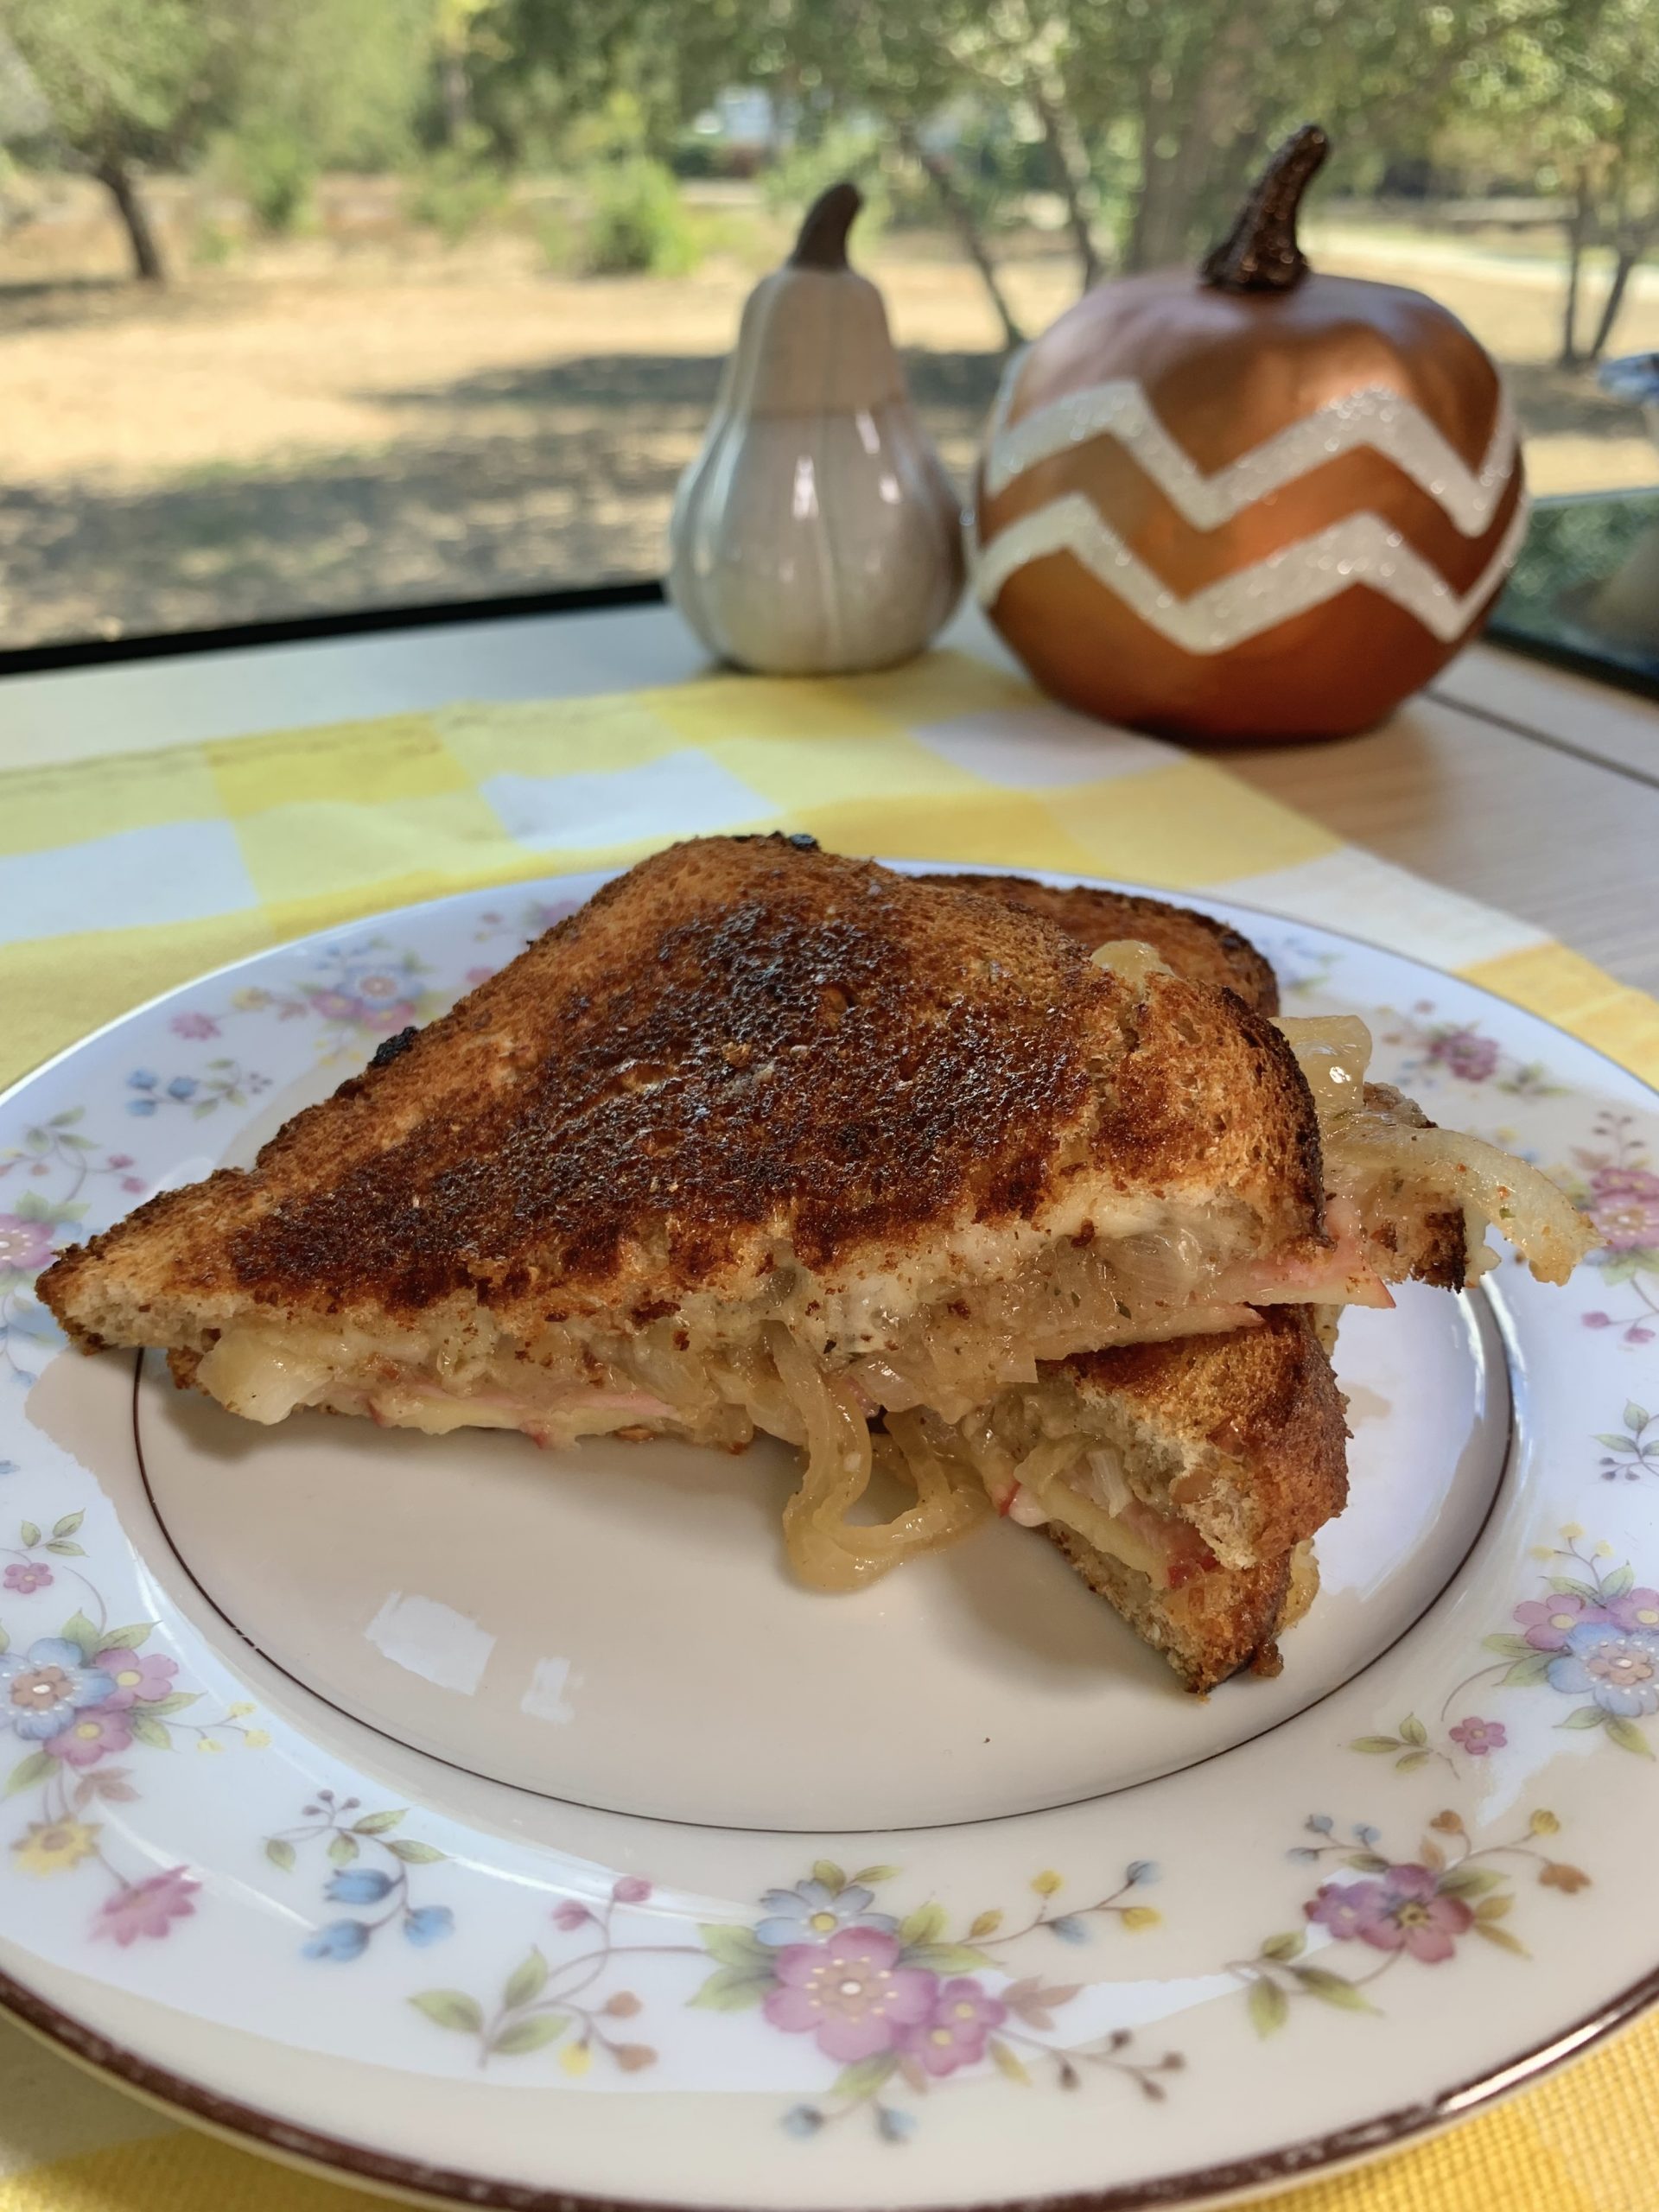
This french onion and apple grilled cheese is the perfect mix of sweet & savoury. It's a perfect recipe for the van too as you only need...
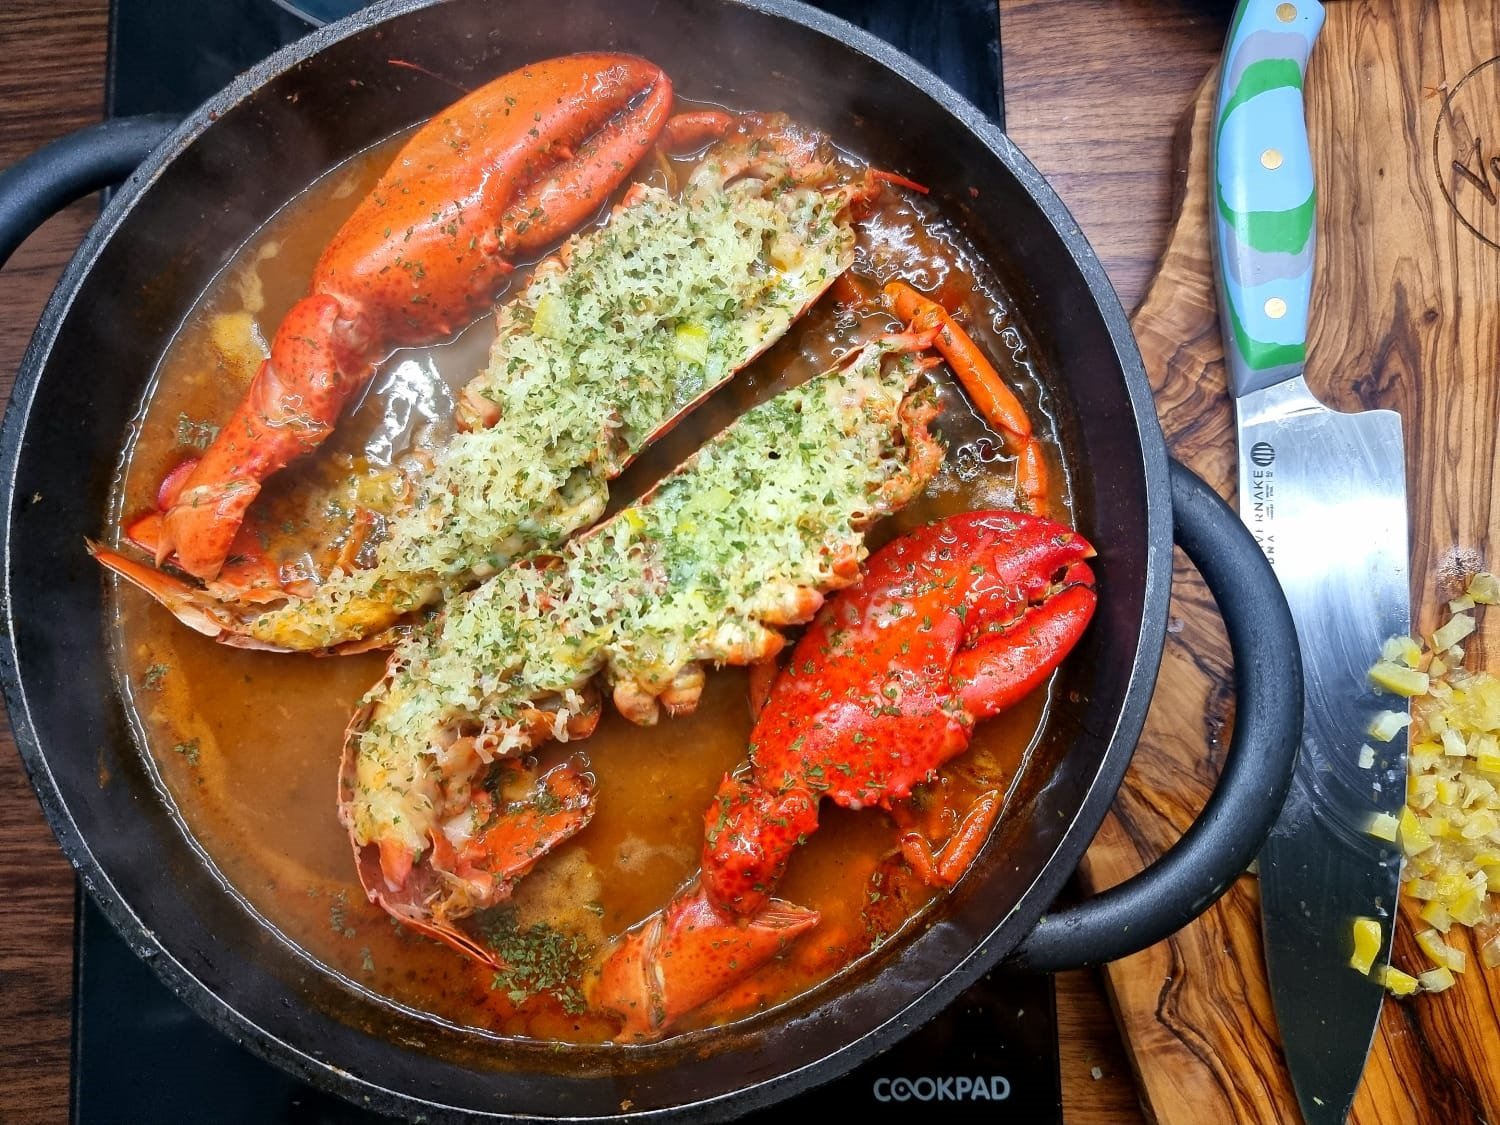
One of my favourite places to park up in the van is down by the coast. When I came across a local seafood shack selling catch of the day I...
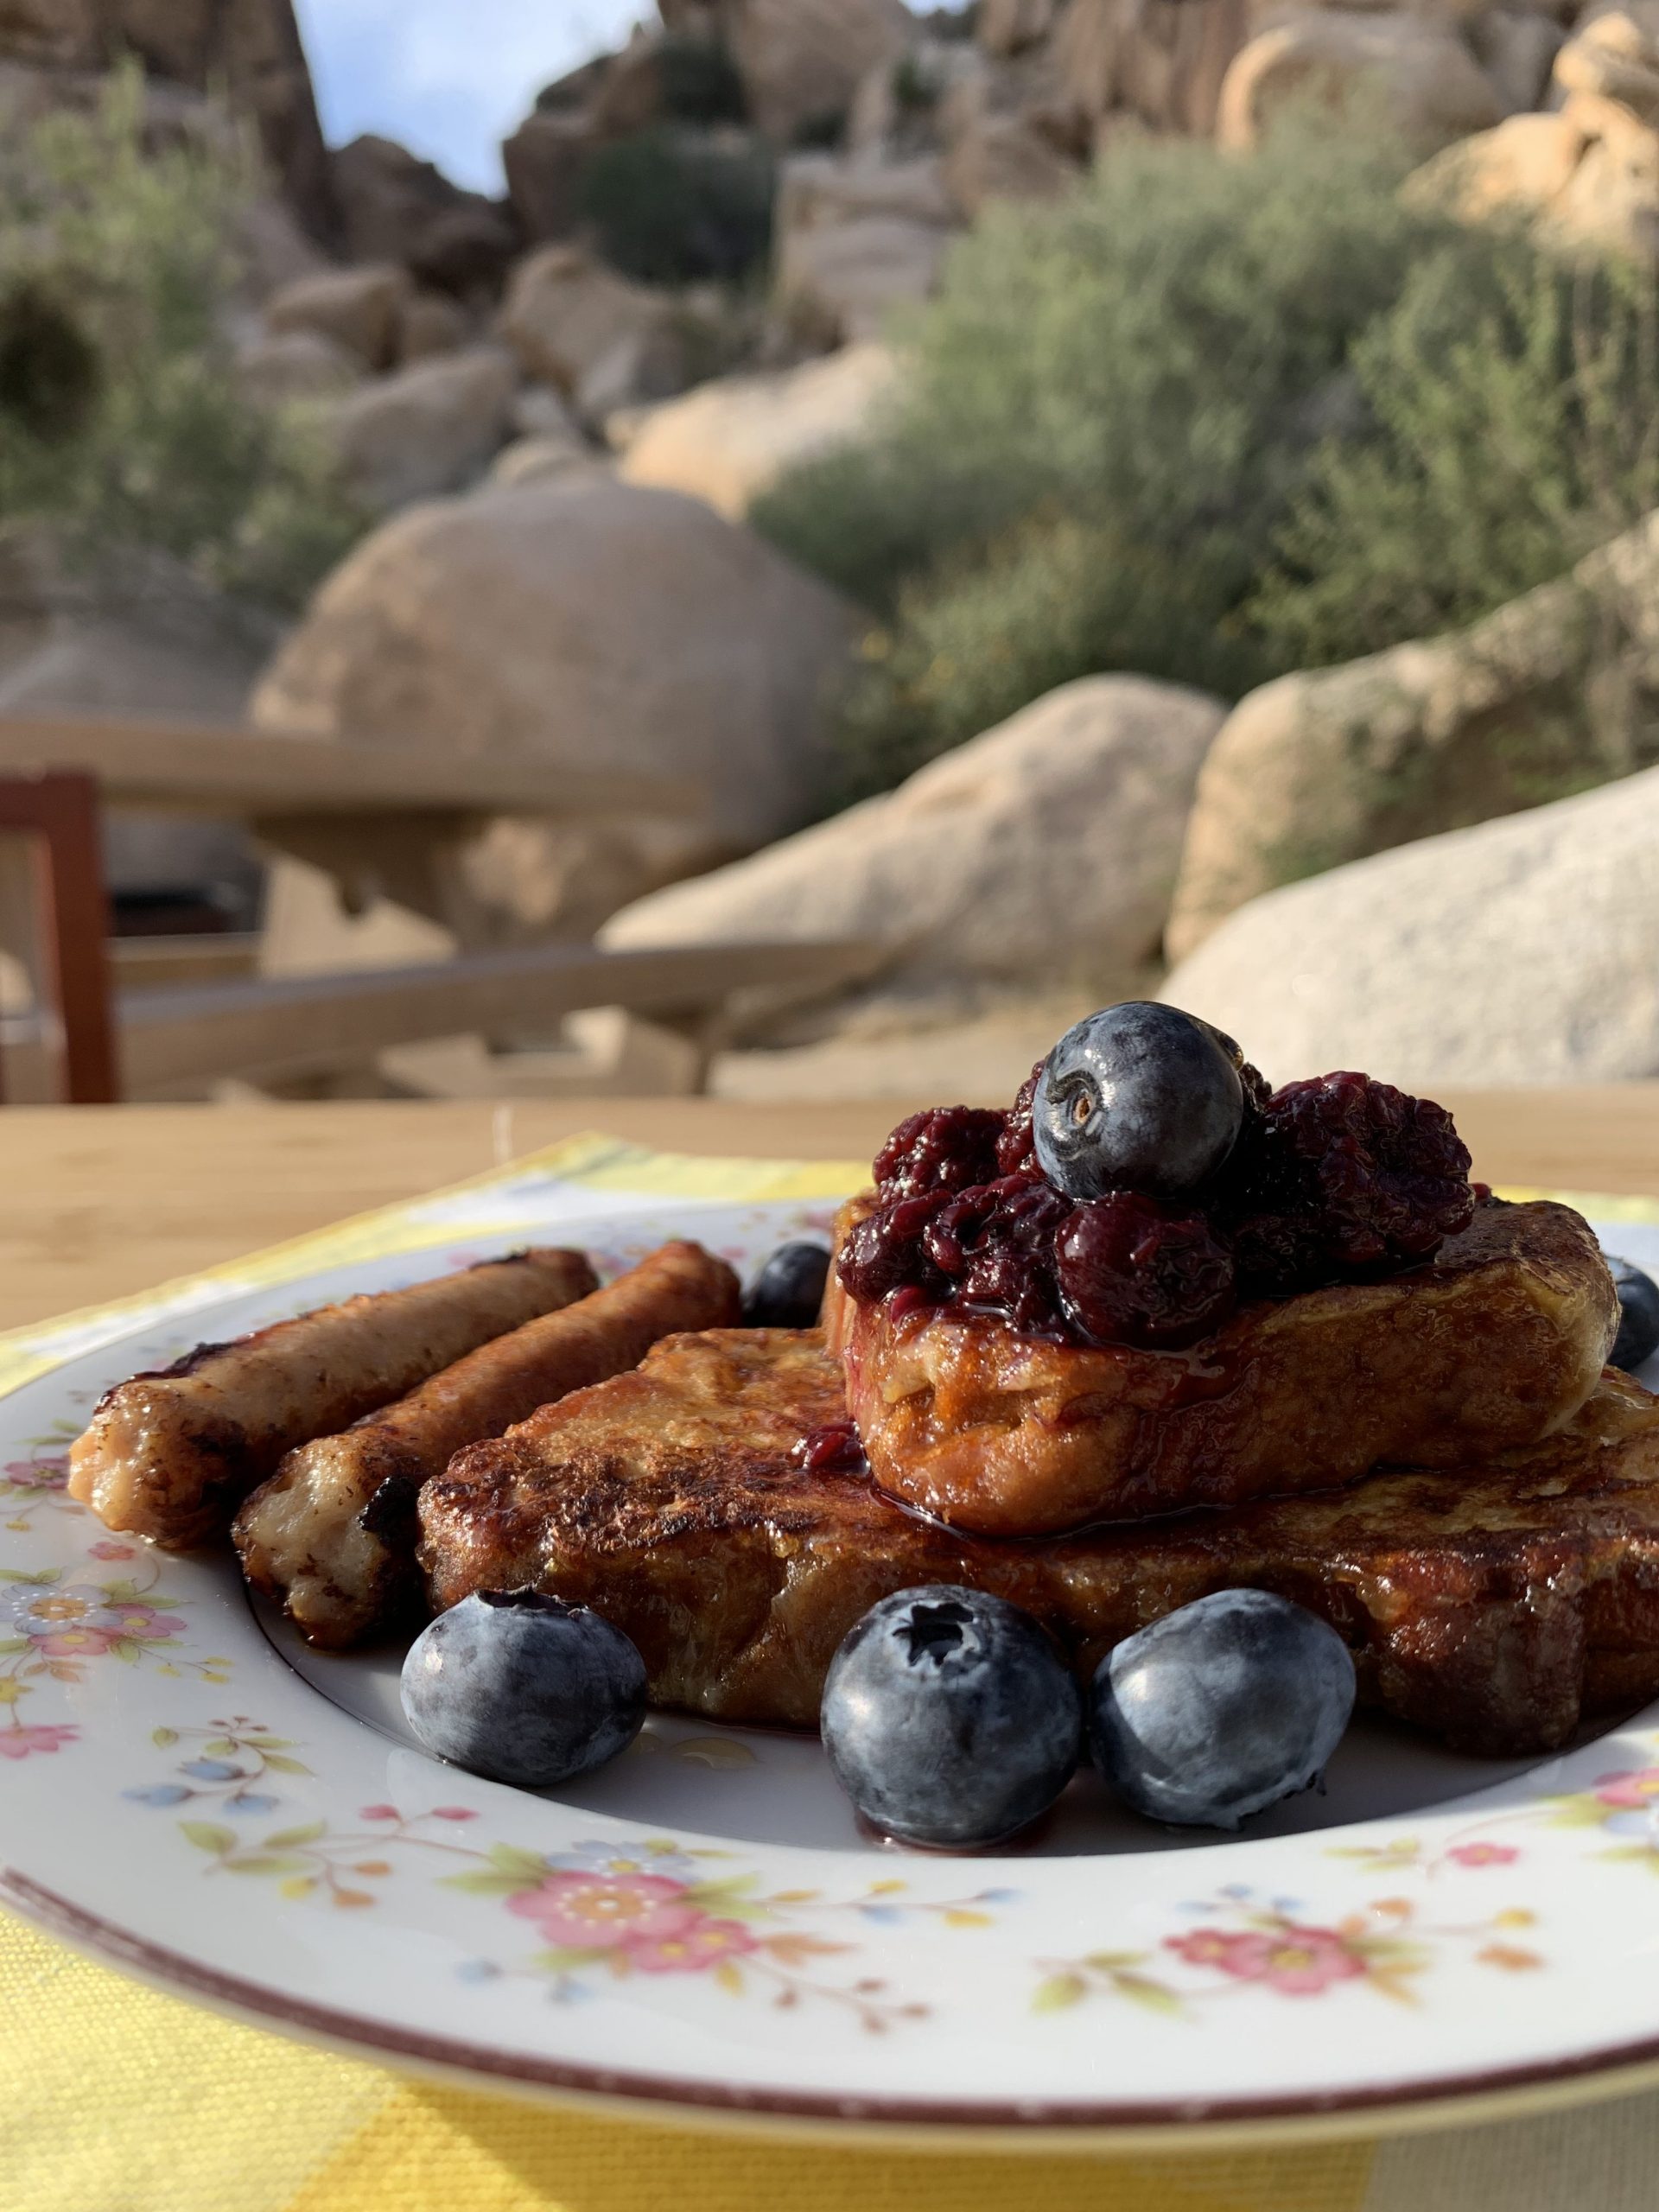
This recipe of French Toast with berry compote is great for cooking outside or in a van. The perfect fuel for hiking or biking. We serve ours...
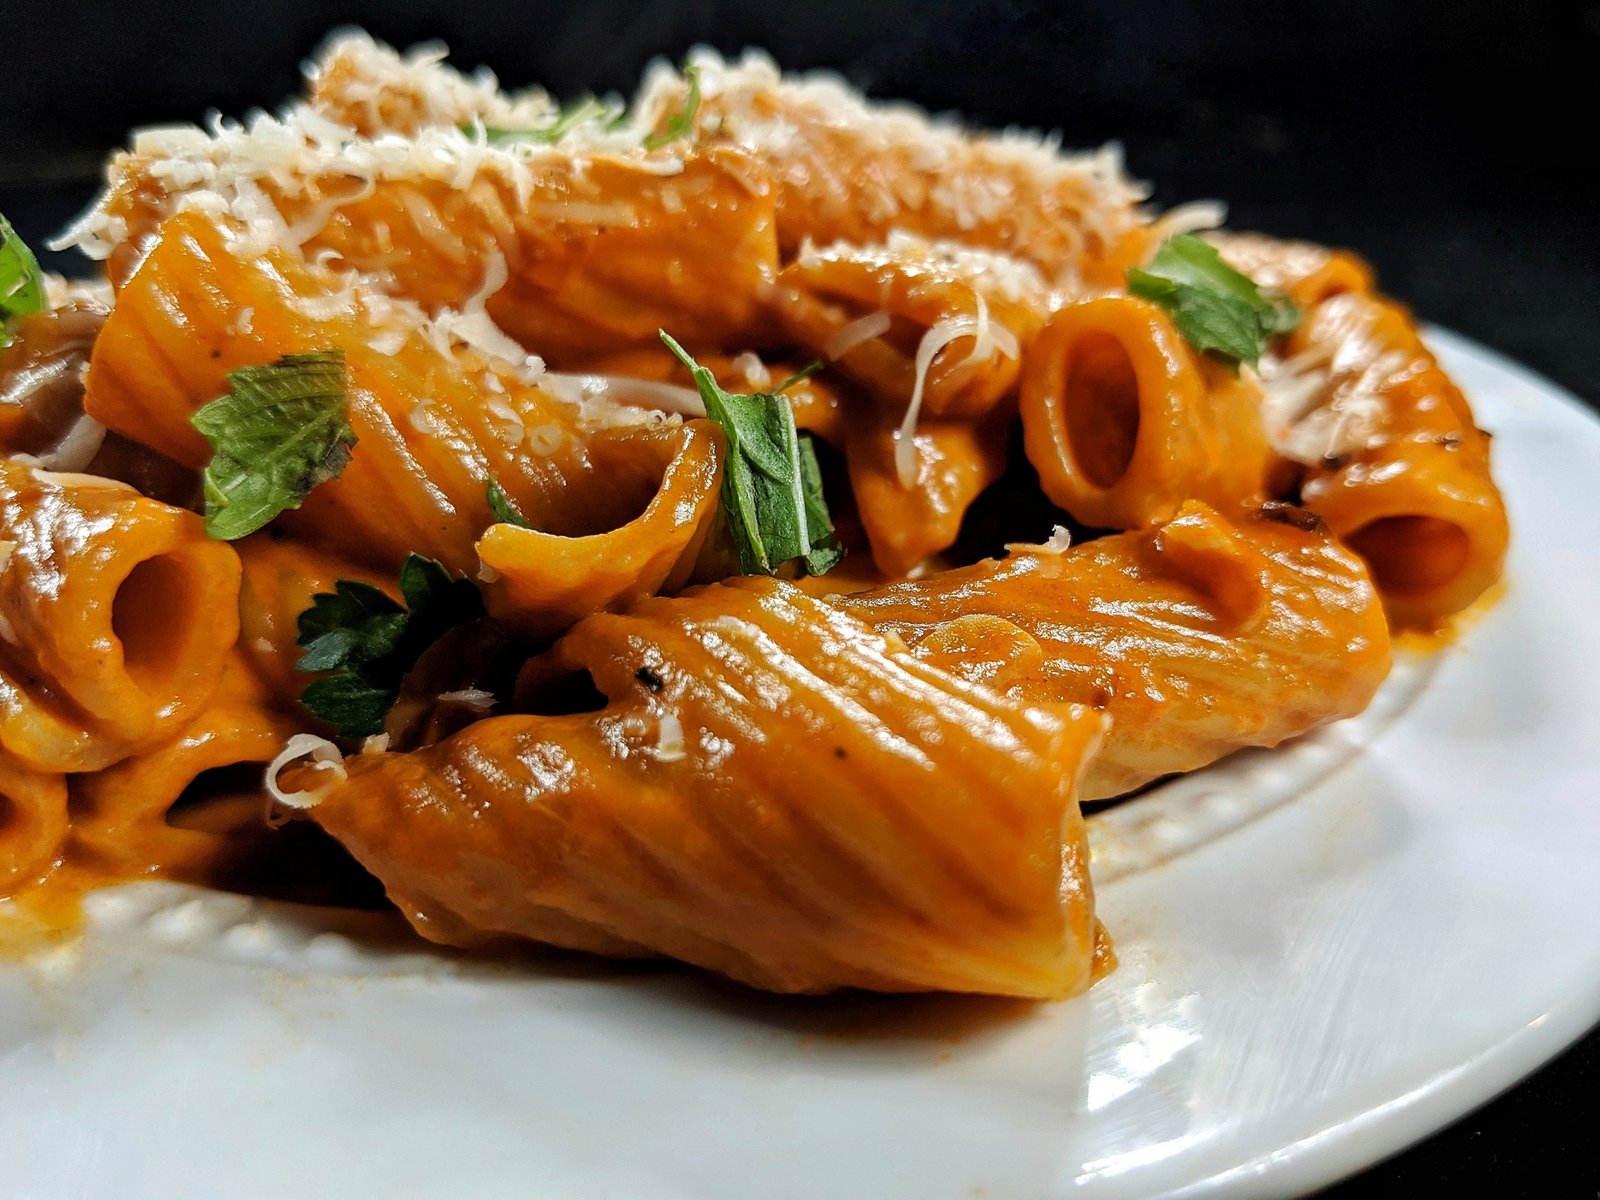
This recipe for Rigatoni all vodka is one of our featured vanlifers favourite meals to eat in their bus Sweet Bea. Read their feature here....
