On a recent trip to a campsite in Aylesbury we decided to visit the on-site farm shop. With super fresh ingredients, we decided to make a...

")
RidgeMonkey
BBQ & Fire
Cobb / CADAC
Slow Cooker
Air Fryer
One Pan
On a recent trip to a campsite in Aylesbury we decided to visit the on-site farm shop. With super fresh ingredients, we decided to make a...
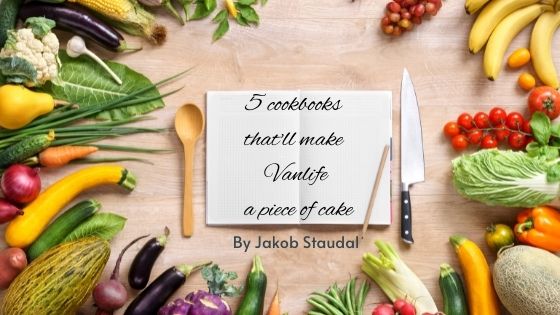
Like cooking in your van? Want to know 5 cookbooks that'll make vanlife a piece of cake? Jakob Staudal from www.headlessnomad.com takes us...
This campervan recipe of Summer cous cous is fabulous to make and enjoy for a tasty lunch or side dish. It is amazing eaten in the sunshine...
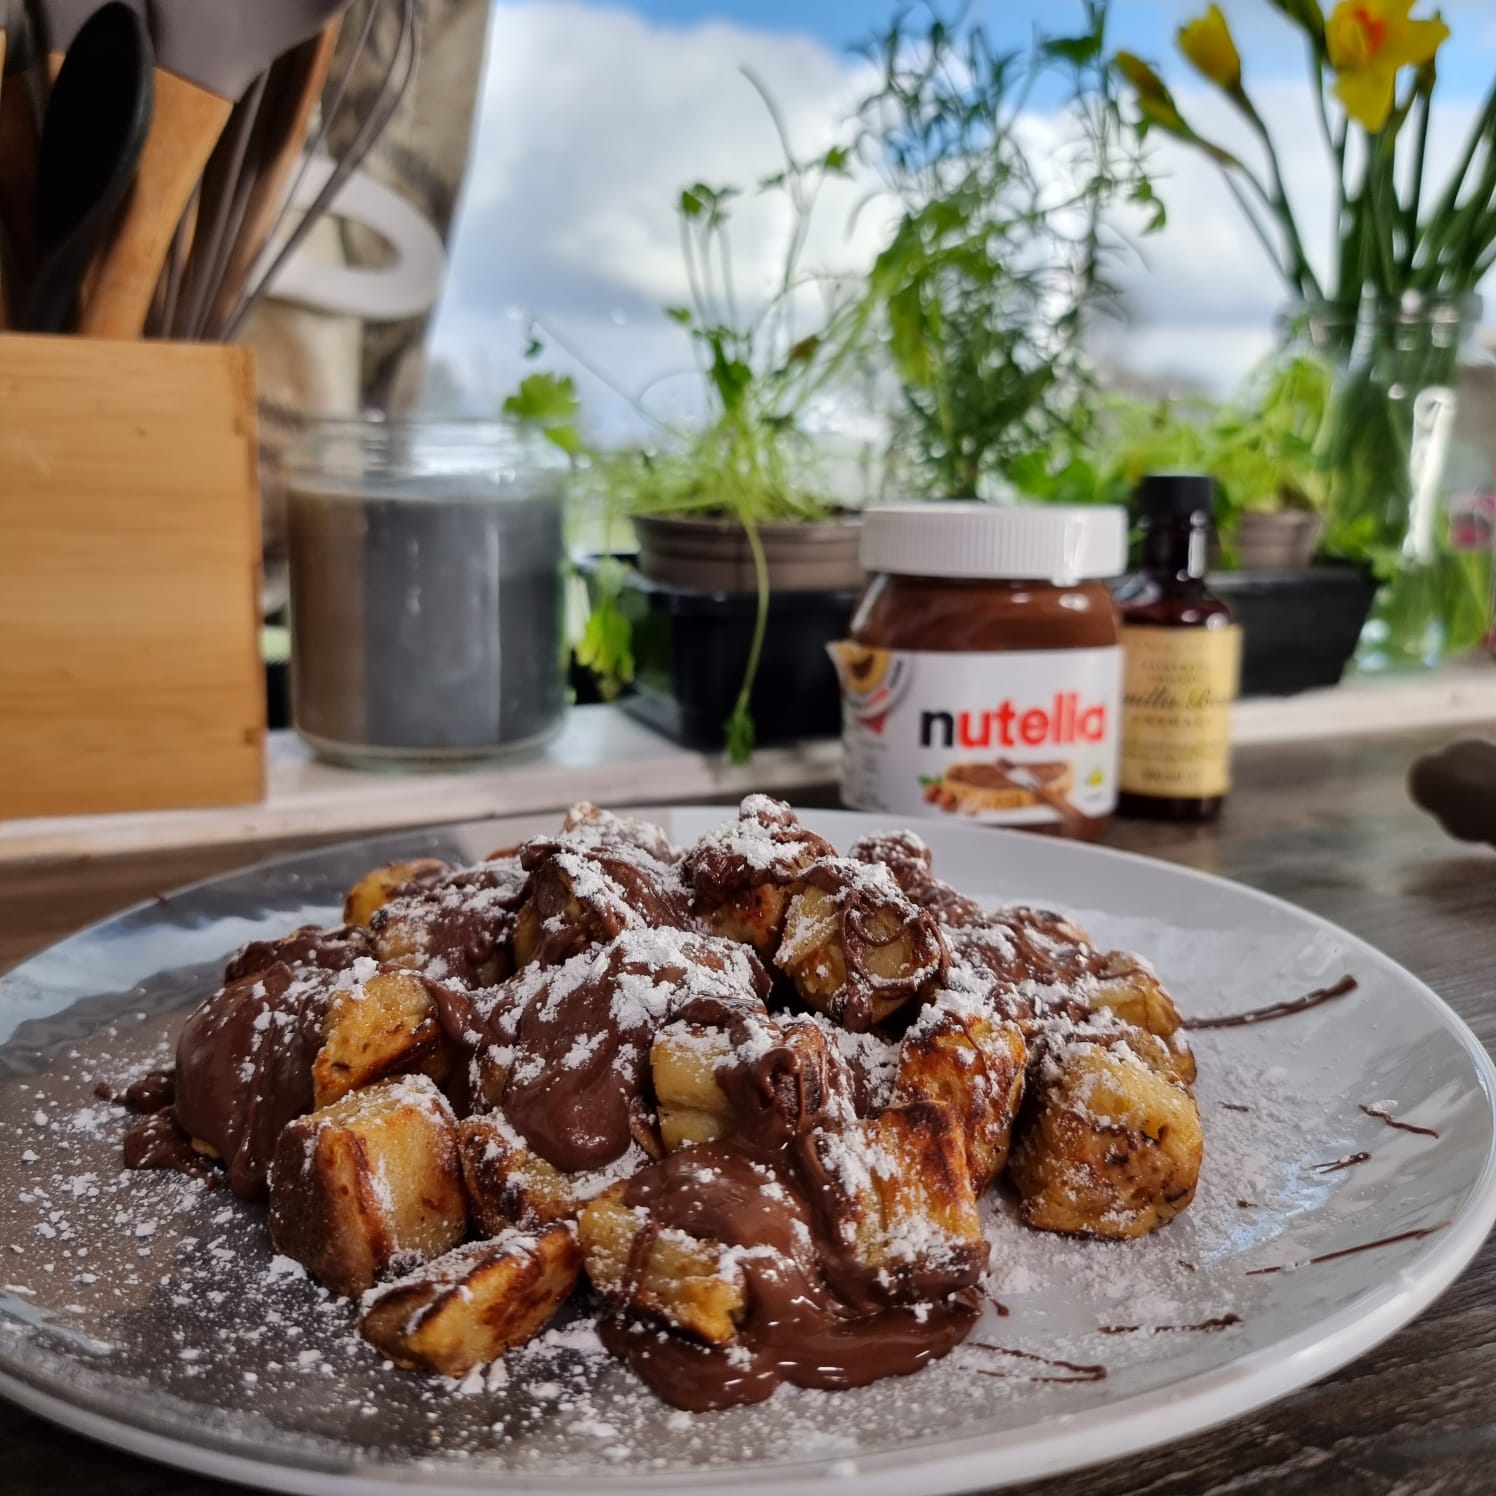
We decided a treat was in order on our recent camping trip!! We ended up having Naughty nutella crumpets for an indulgent Sunday morning...

Ever wondered what size inverter you need for cooking in your van? Eliot Prince of www.wattalot.com explains what size inverter you need for...
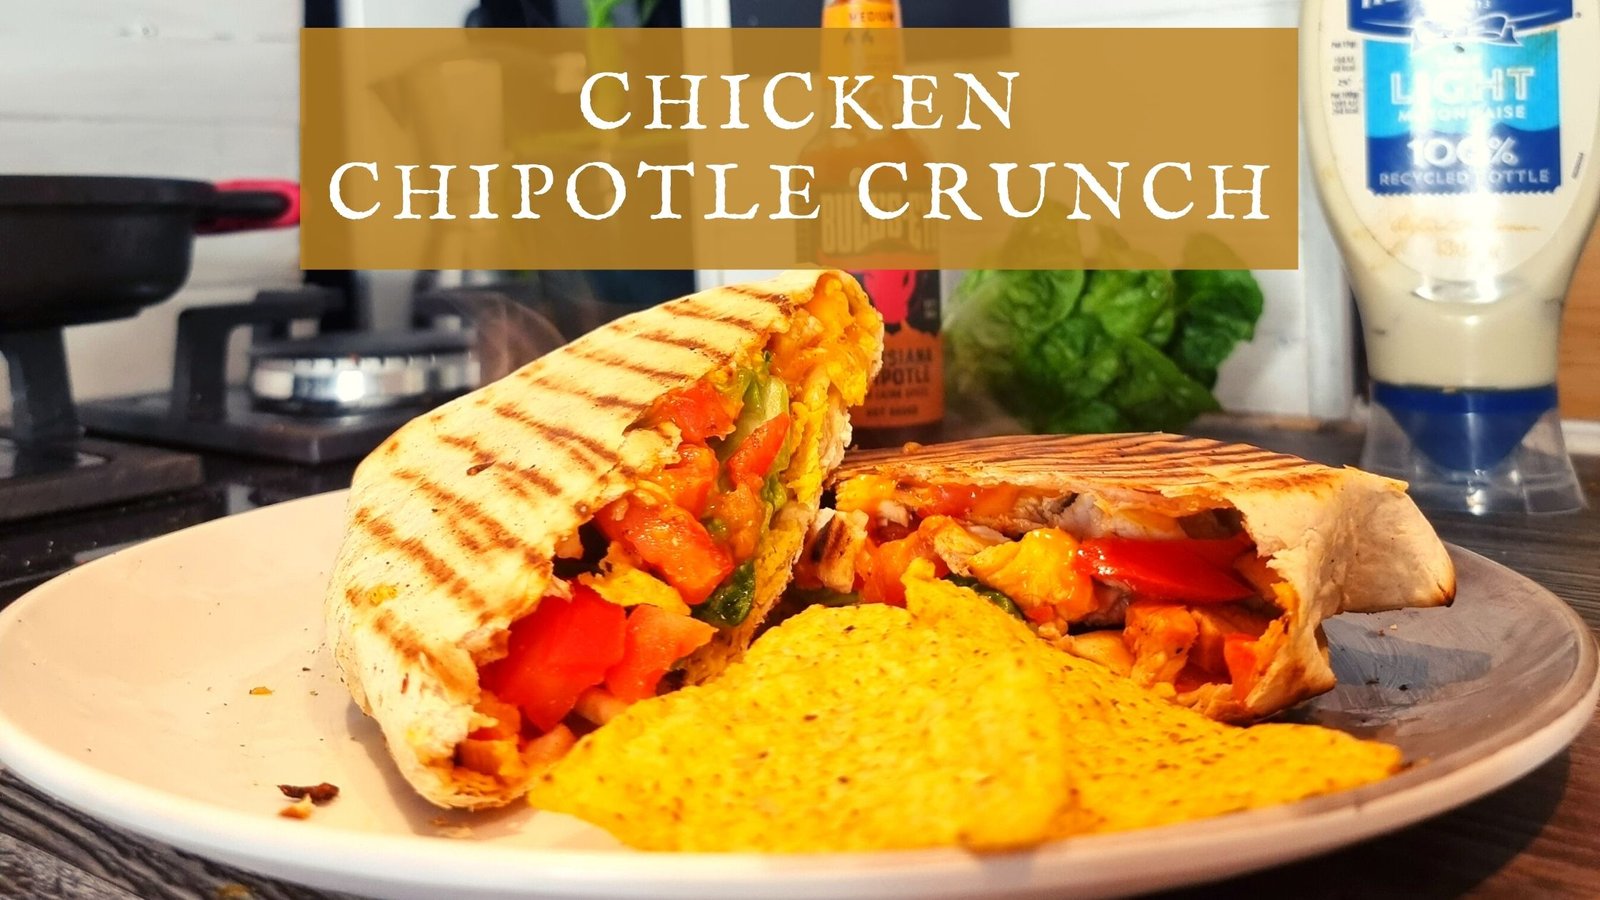
Tortilla wraps are everyone's go to for a Vanlife recipe. Quick easy and incredibly versatile. Here is one of our favourites for when...

Full time vanlife cooking can be a very different game to that of the vanlife weekend warrior. Cooking three meals a day (or more if you are a...
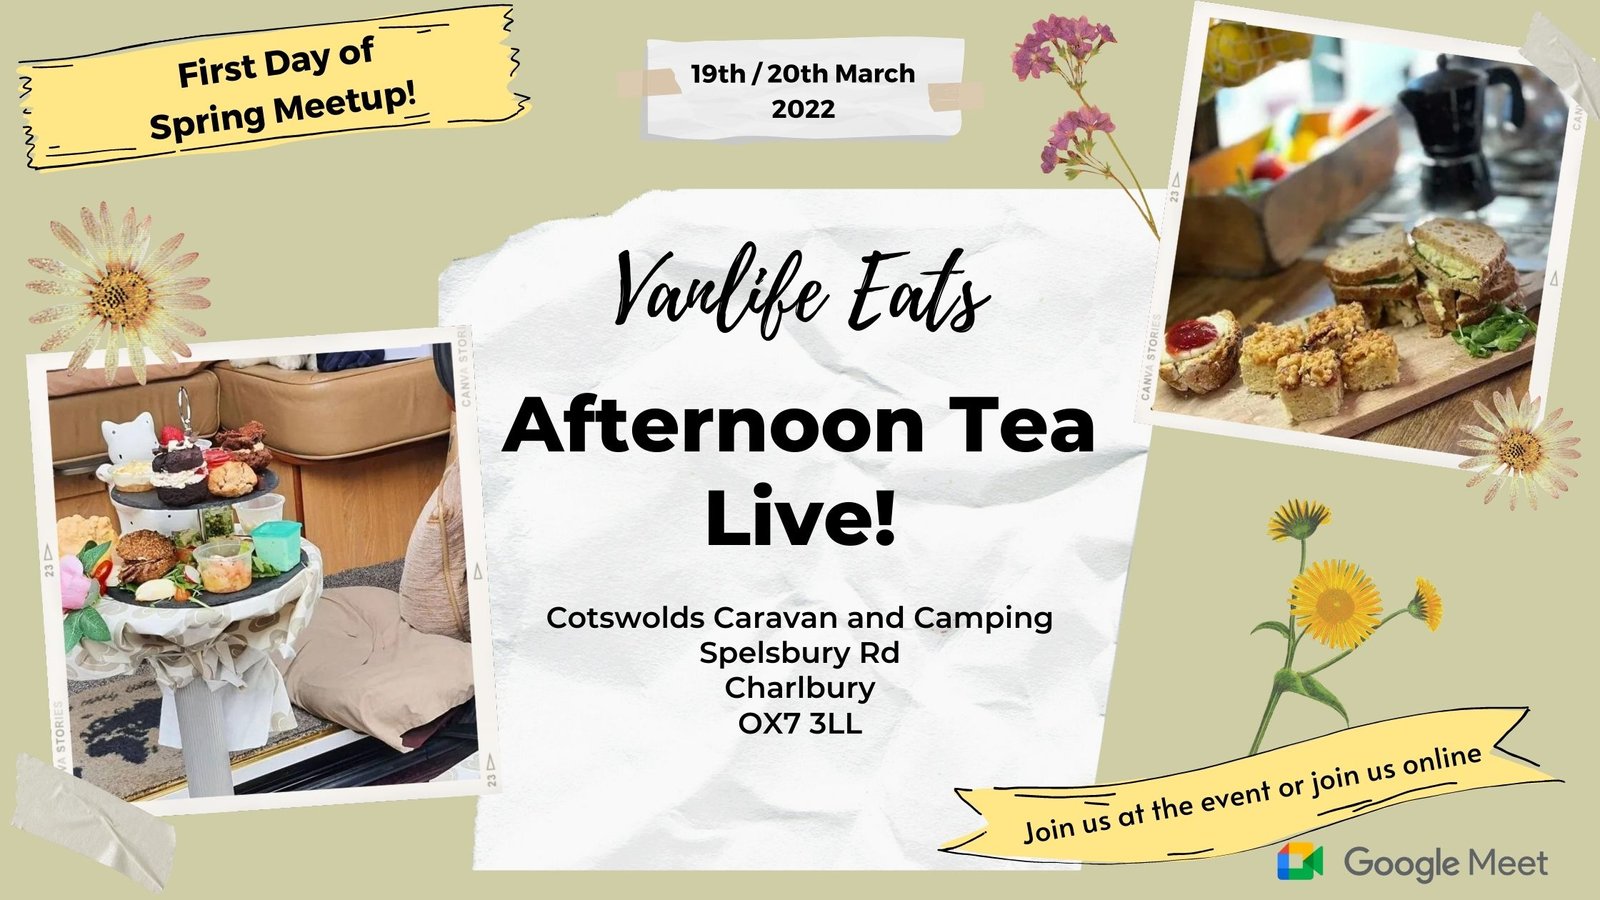
For the first weekend of Spring here in the UK we host our Vanlife Event "Afternoon Tea" and we are inviting Vanlifers anywhere in the world to...
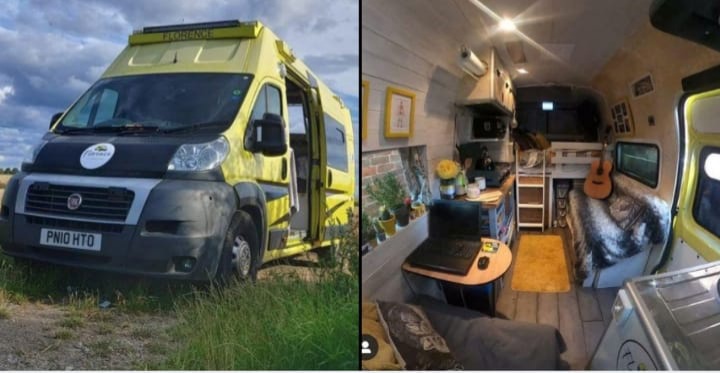
The Story of Our Ambulance Conversion: "Florence the Ambulance" In 2019, we realised that our beloved VW T4 just wasn’t big enough for our...

Vegan Jackfruit Burger Anyone else "beyond" bored of the usual vegan burger? You have to try our best ever Vegan burger! Skillet Pan...
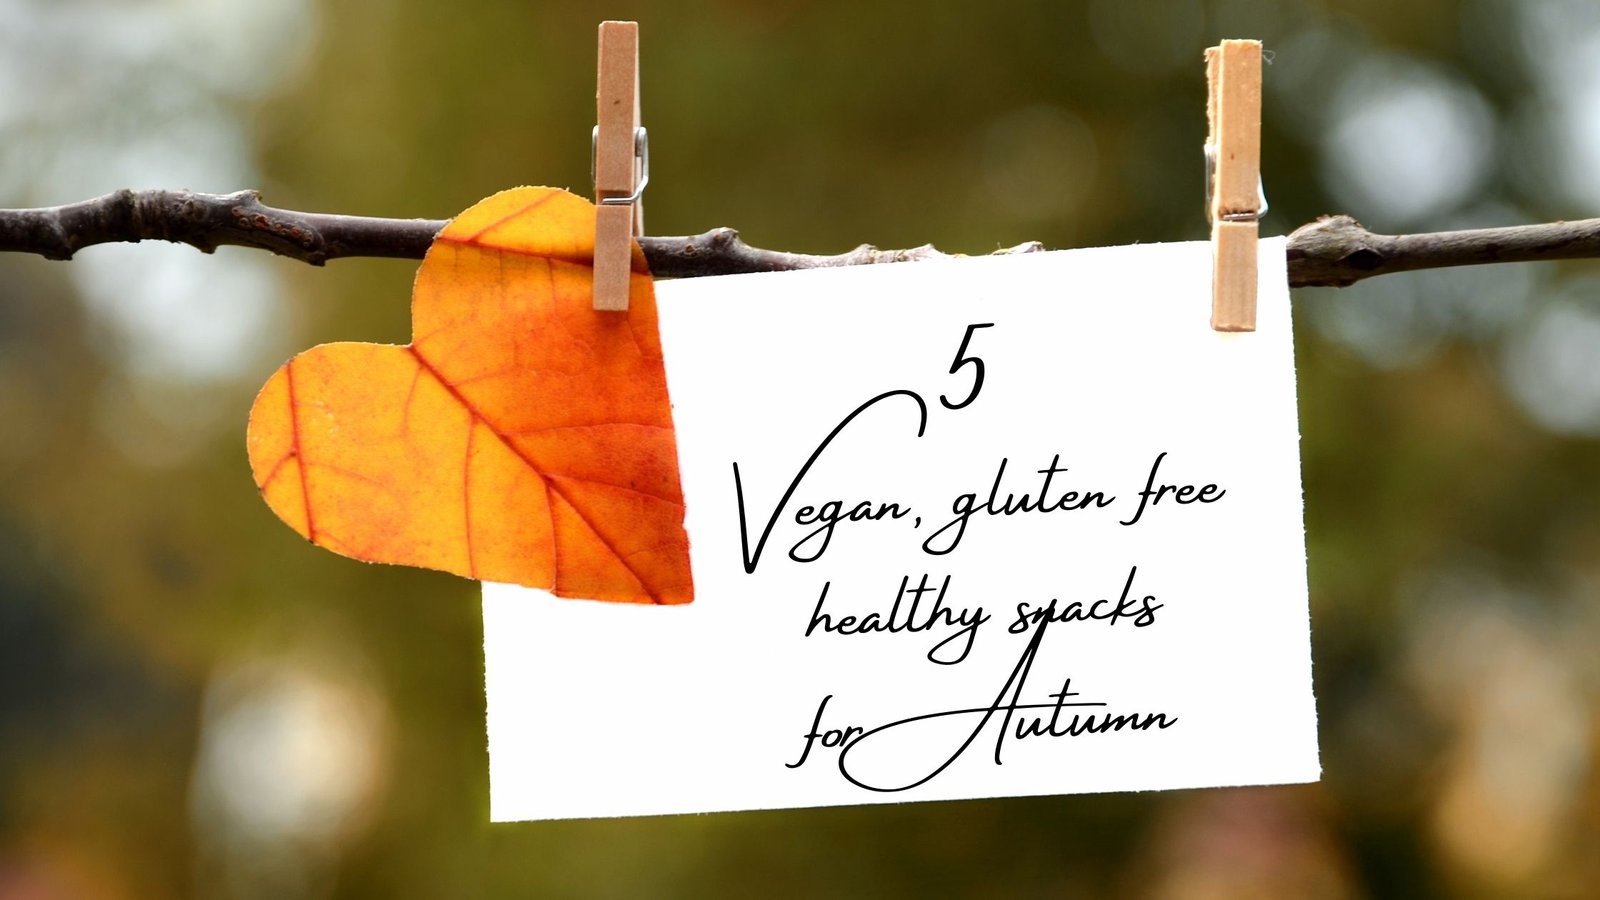
Looking for vegan autumnal snacks for vanlife? Look no further, @wellnesswanderersyoga update us with their global travels and share 5 healthy,...
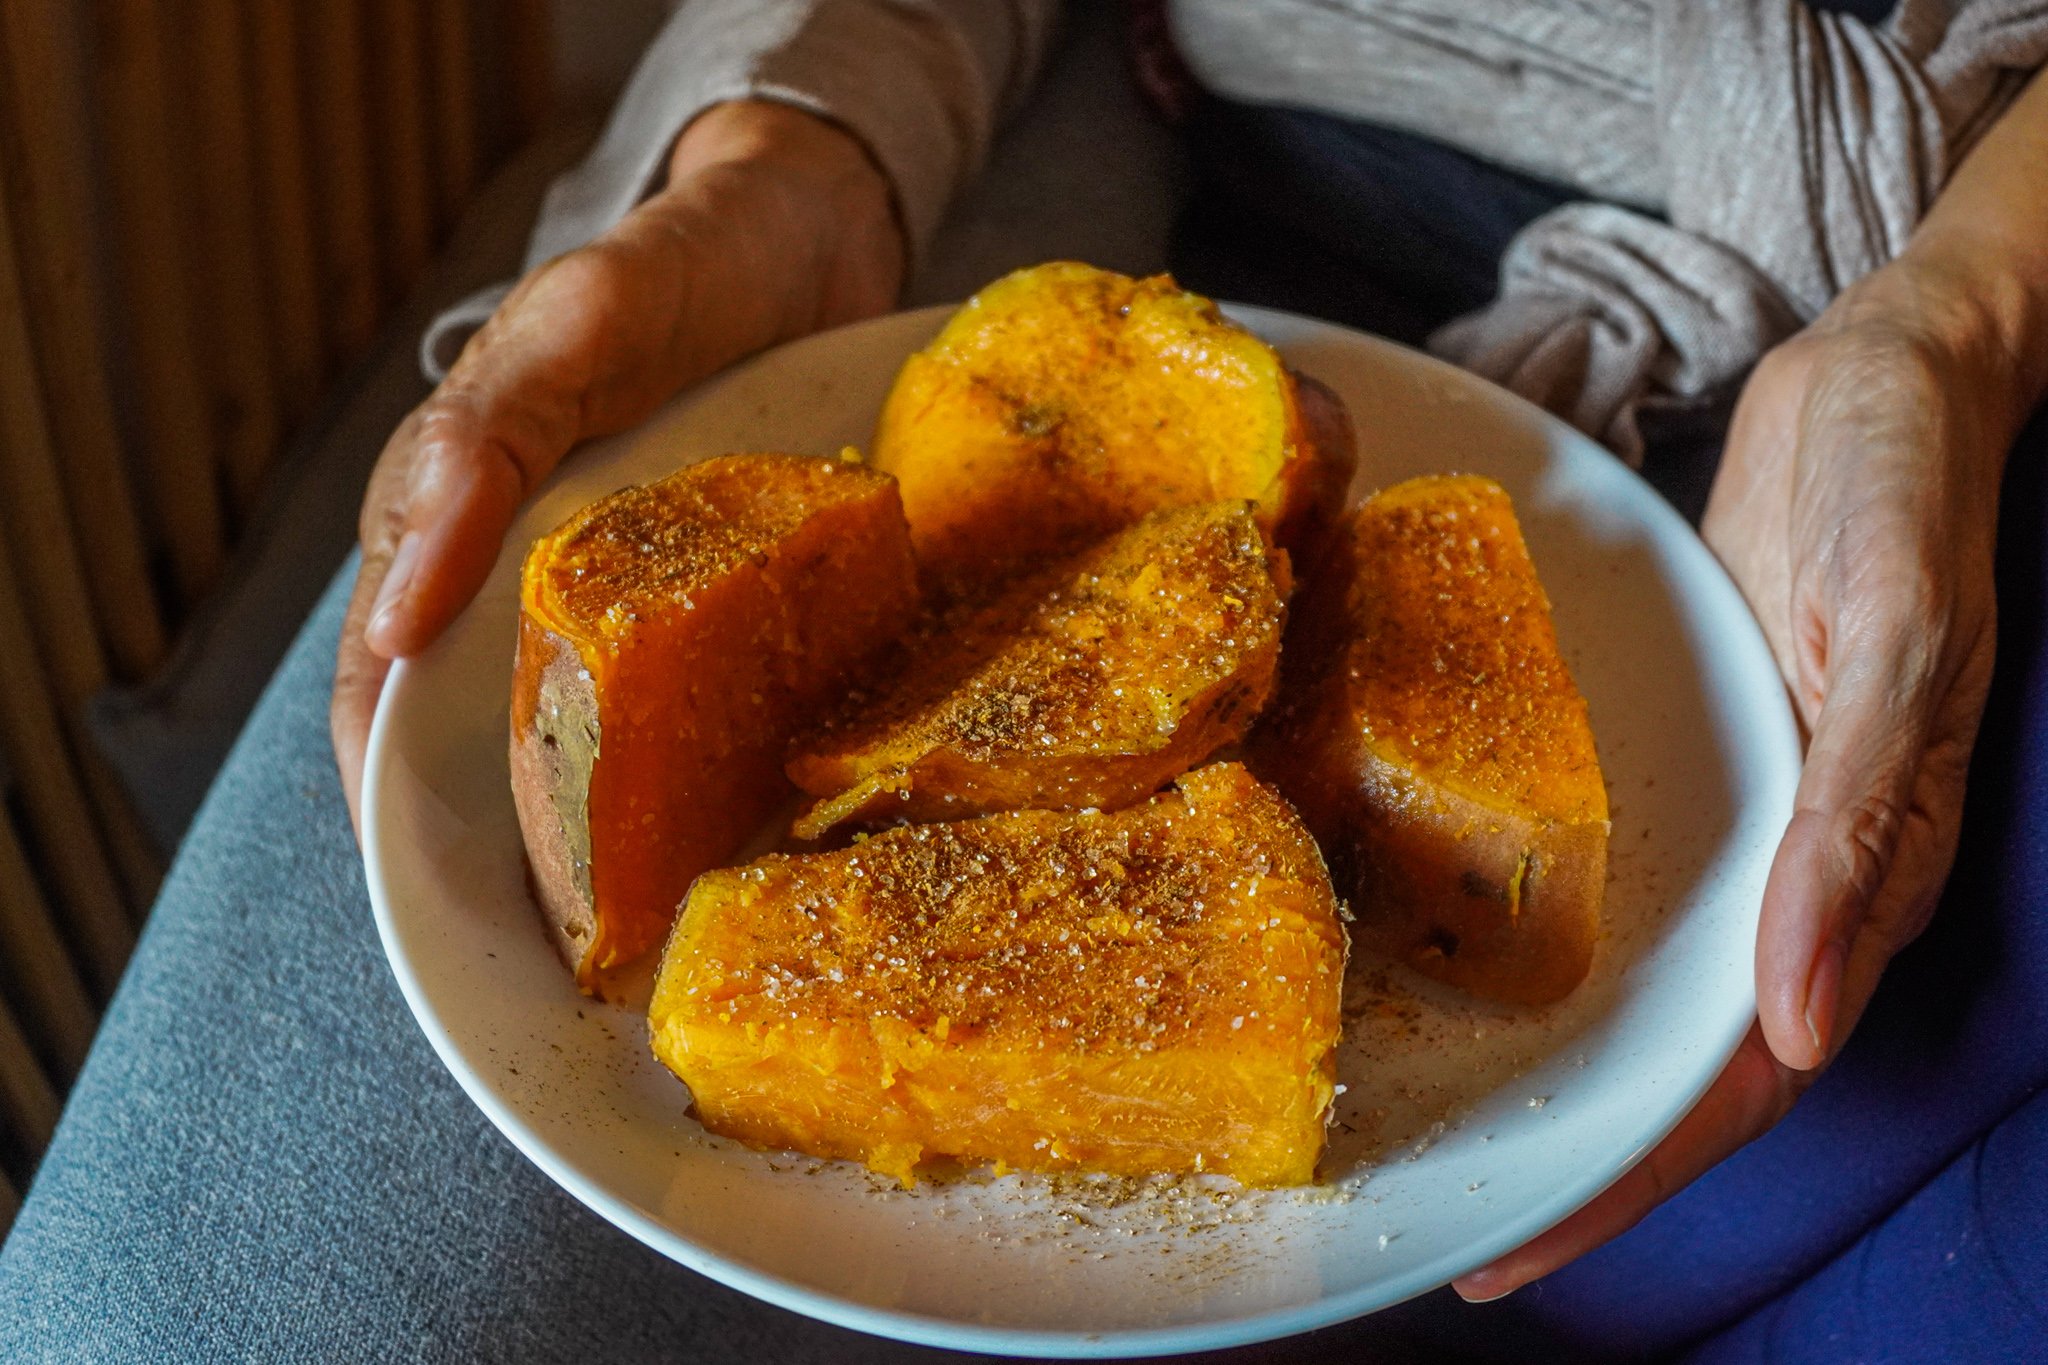
These cinnamon sweet potatoes are one of 5 delicious Autumnal recipes that Wellness Wanderers Yoga shared with us. It’s perfect for those...

These Crunchy, Munchy squash fried are one of 5 delicious Autumnal recipes that Wellness Wanderers Yoga shared with us. They're...
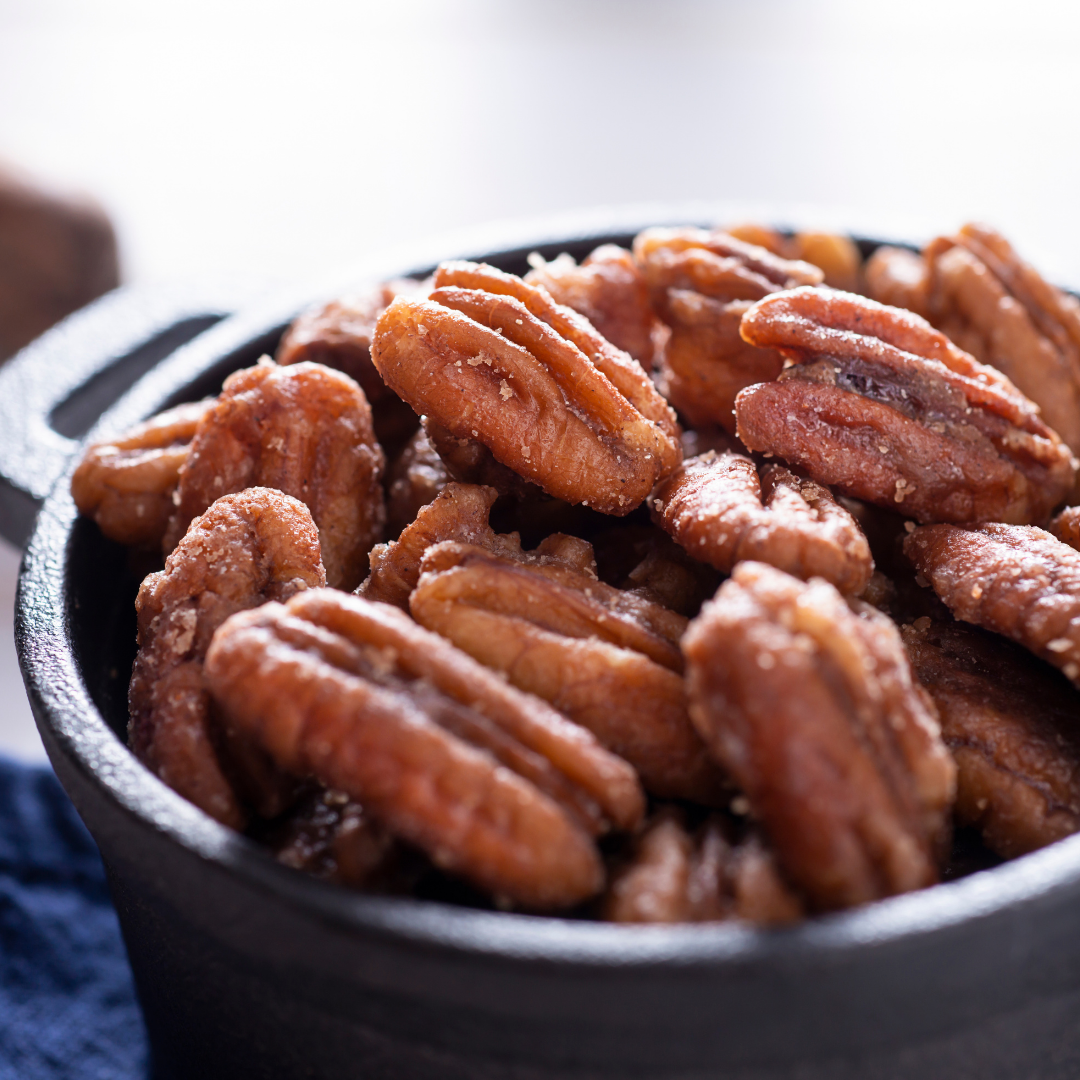
This delicious Candied Pecans are one of 5 delicious Autumnal recipes that Wellness Wanderers Yoga shared with us. They are perfect for those...
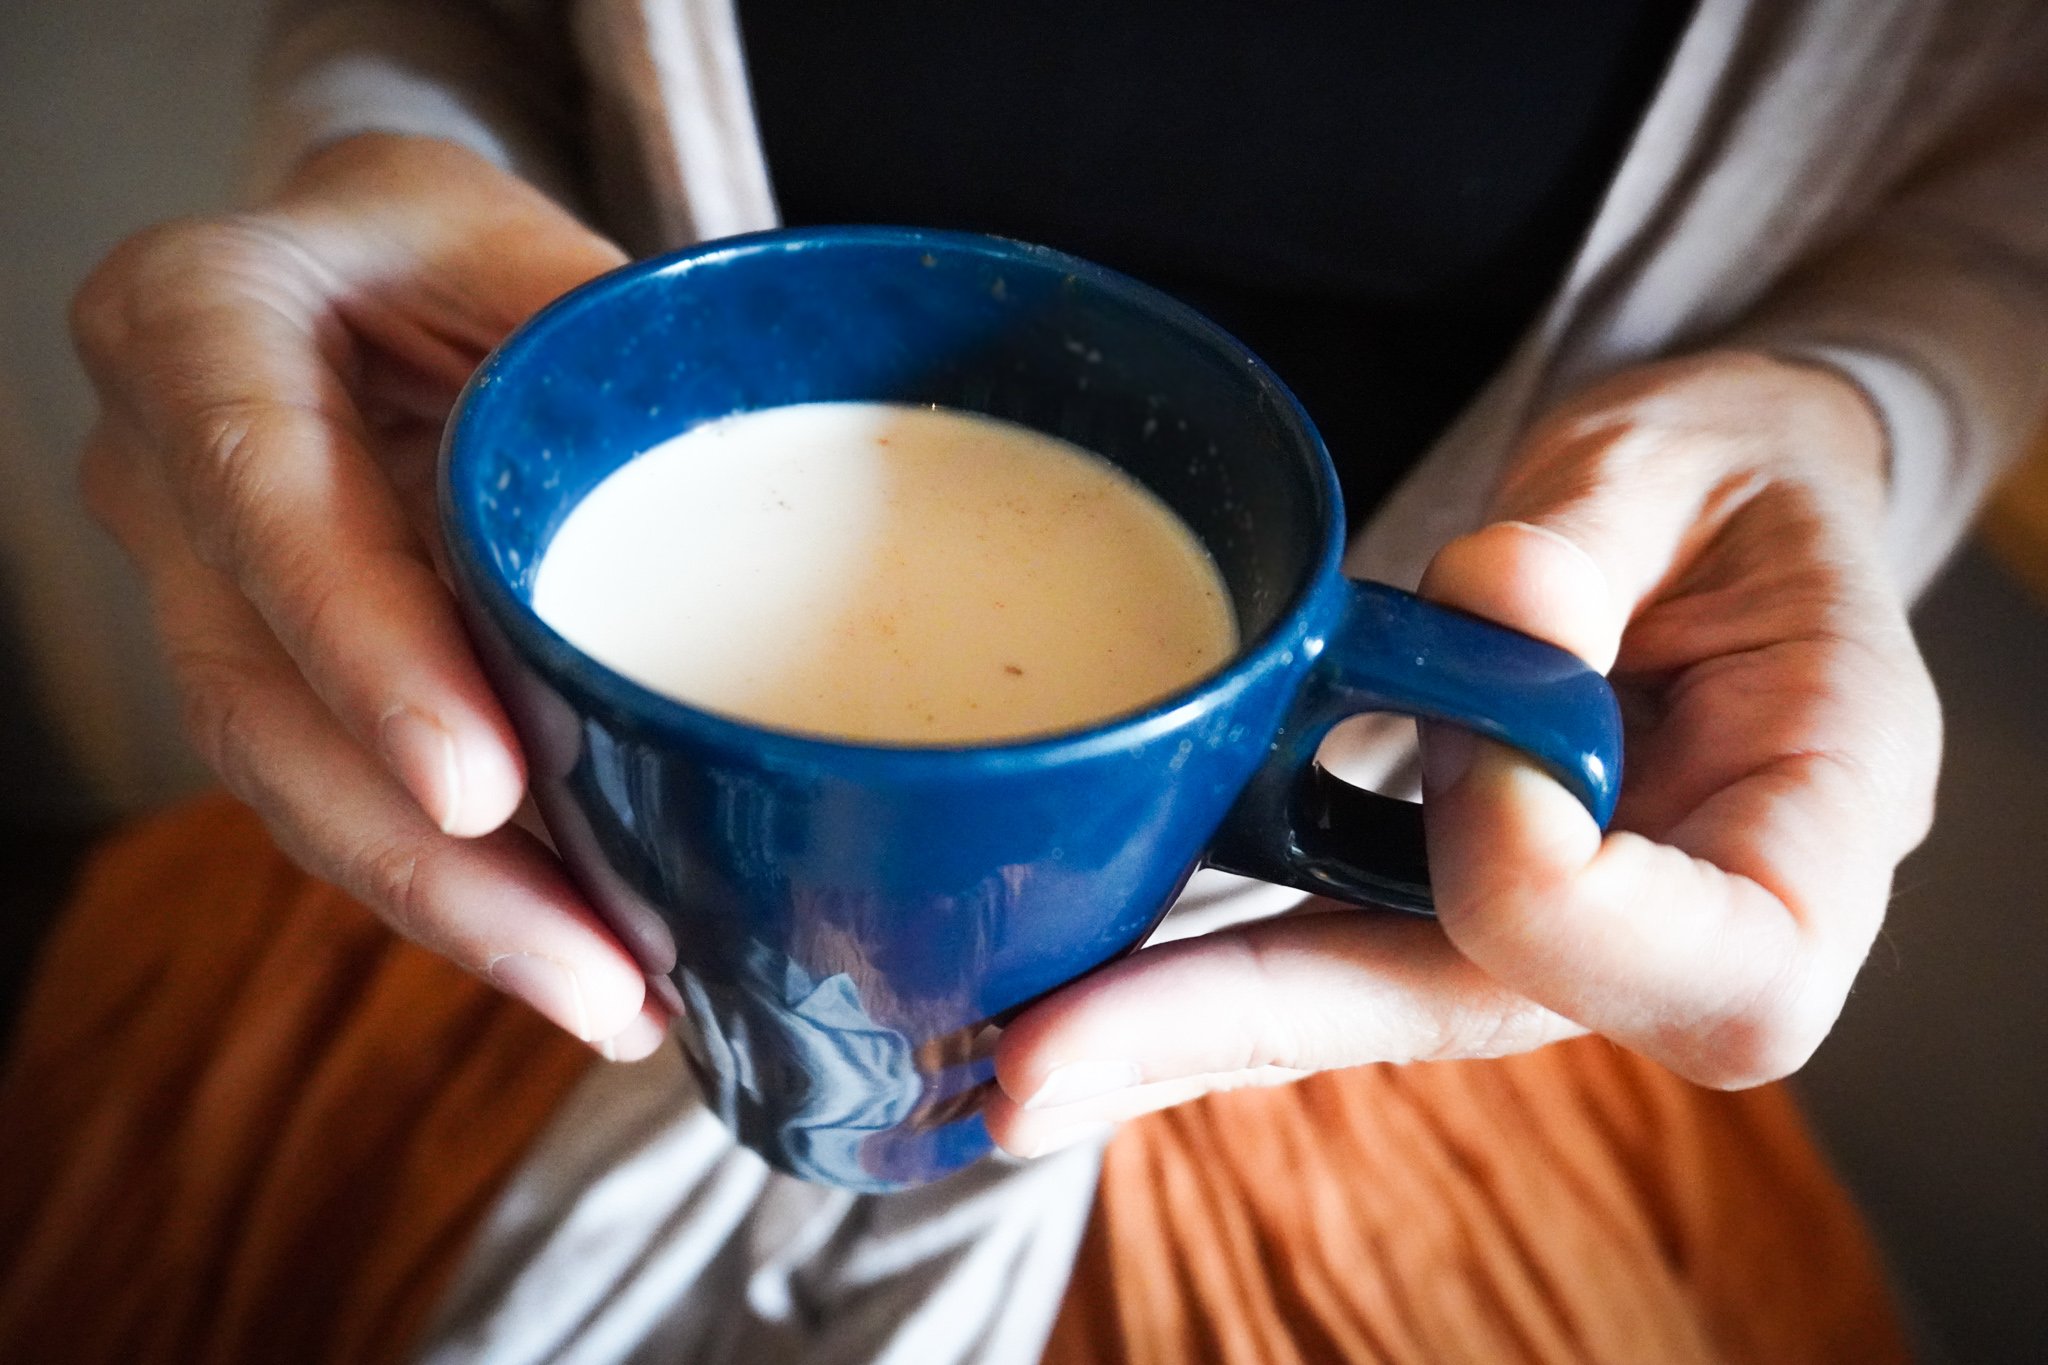
This decaf Chai Spice Tea is one of 5 delicious Autumnal recipes that Wellness Wanderers Yoga shared with us. It’s perfect for those Autumn...
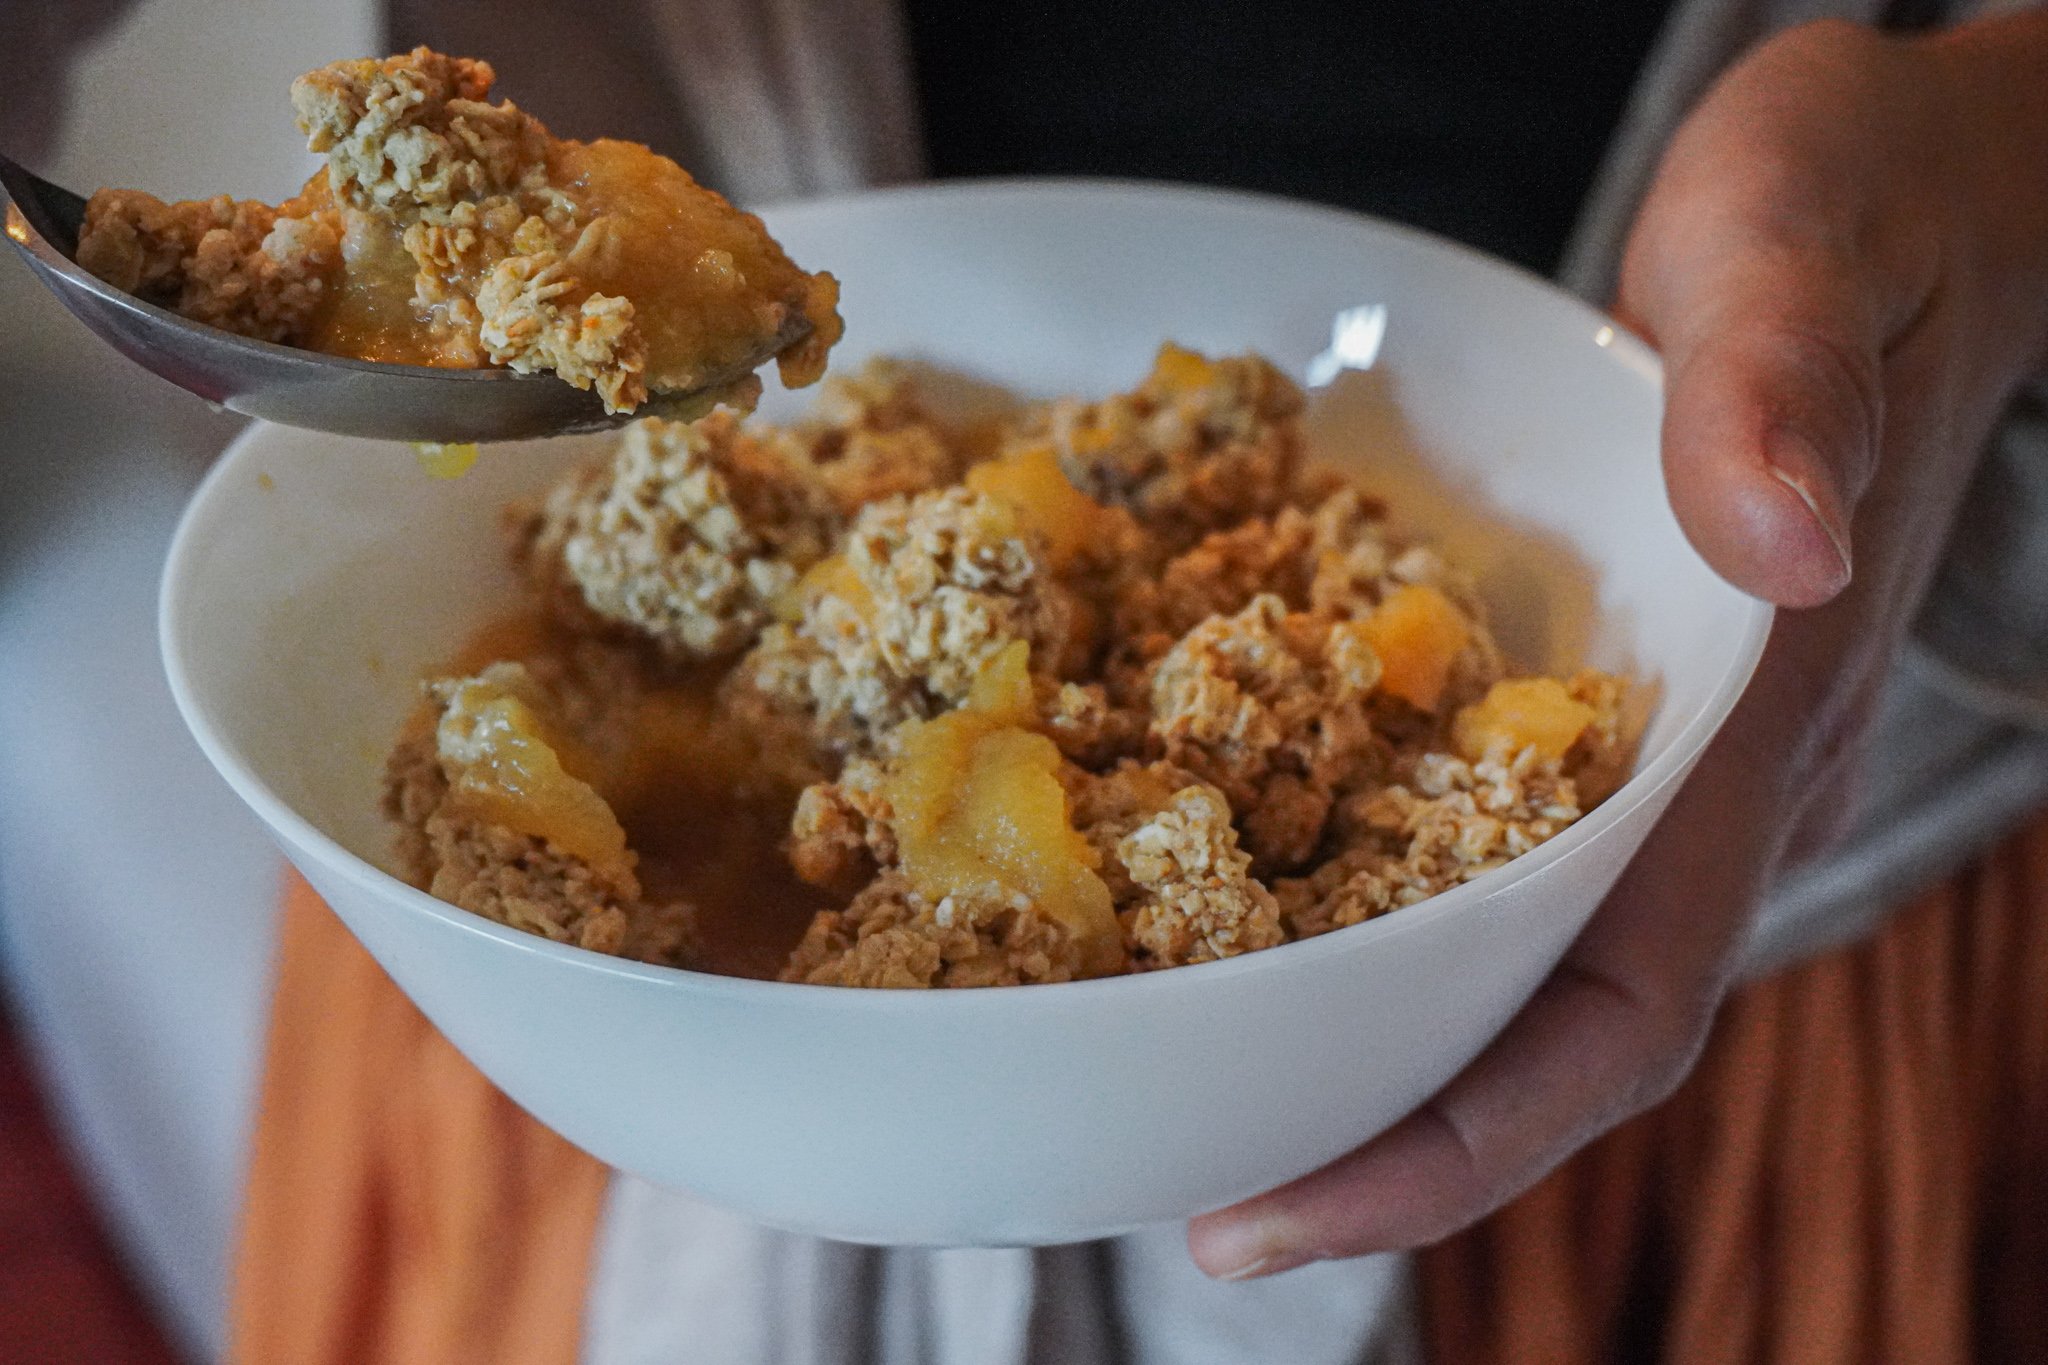
This flavourful Appily Apple crisp is one of 5 delicious Autumnal recipes that Wellness Wanderers Yoga shared with us. It's perfect for those...
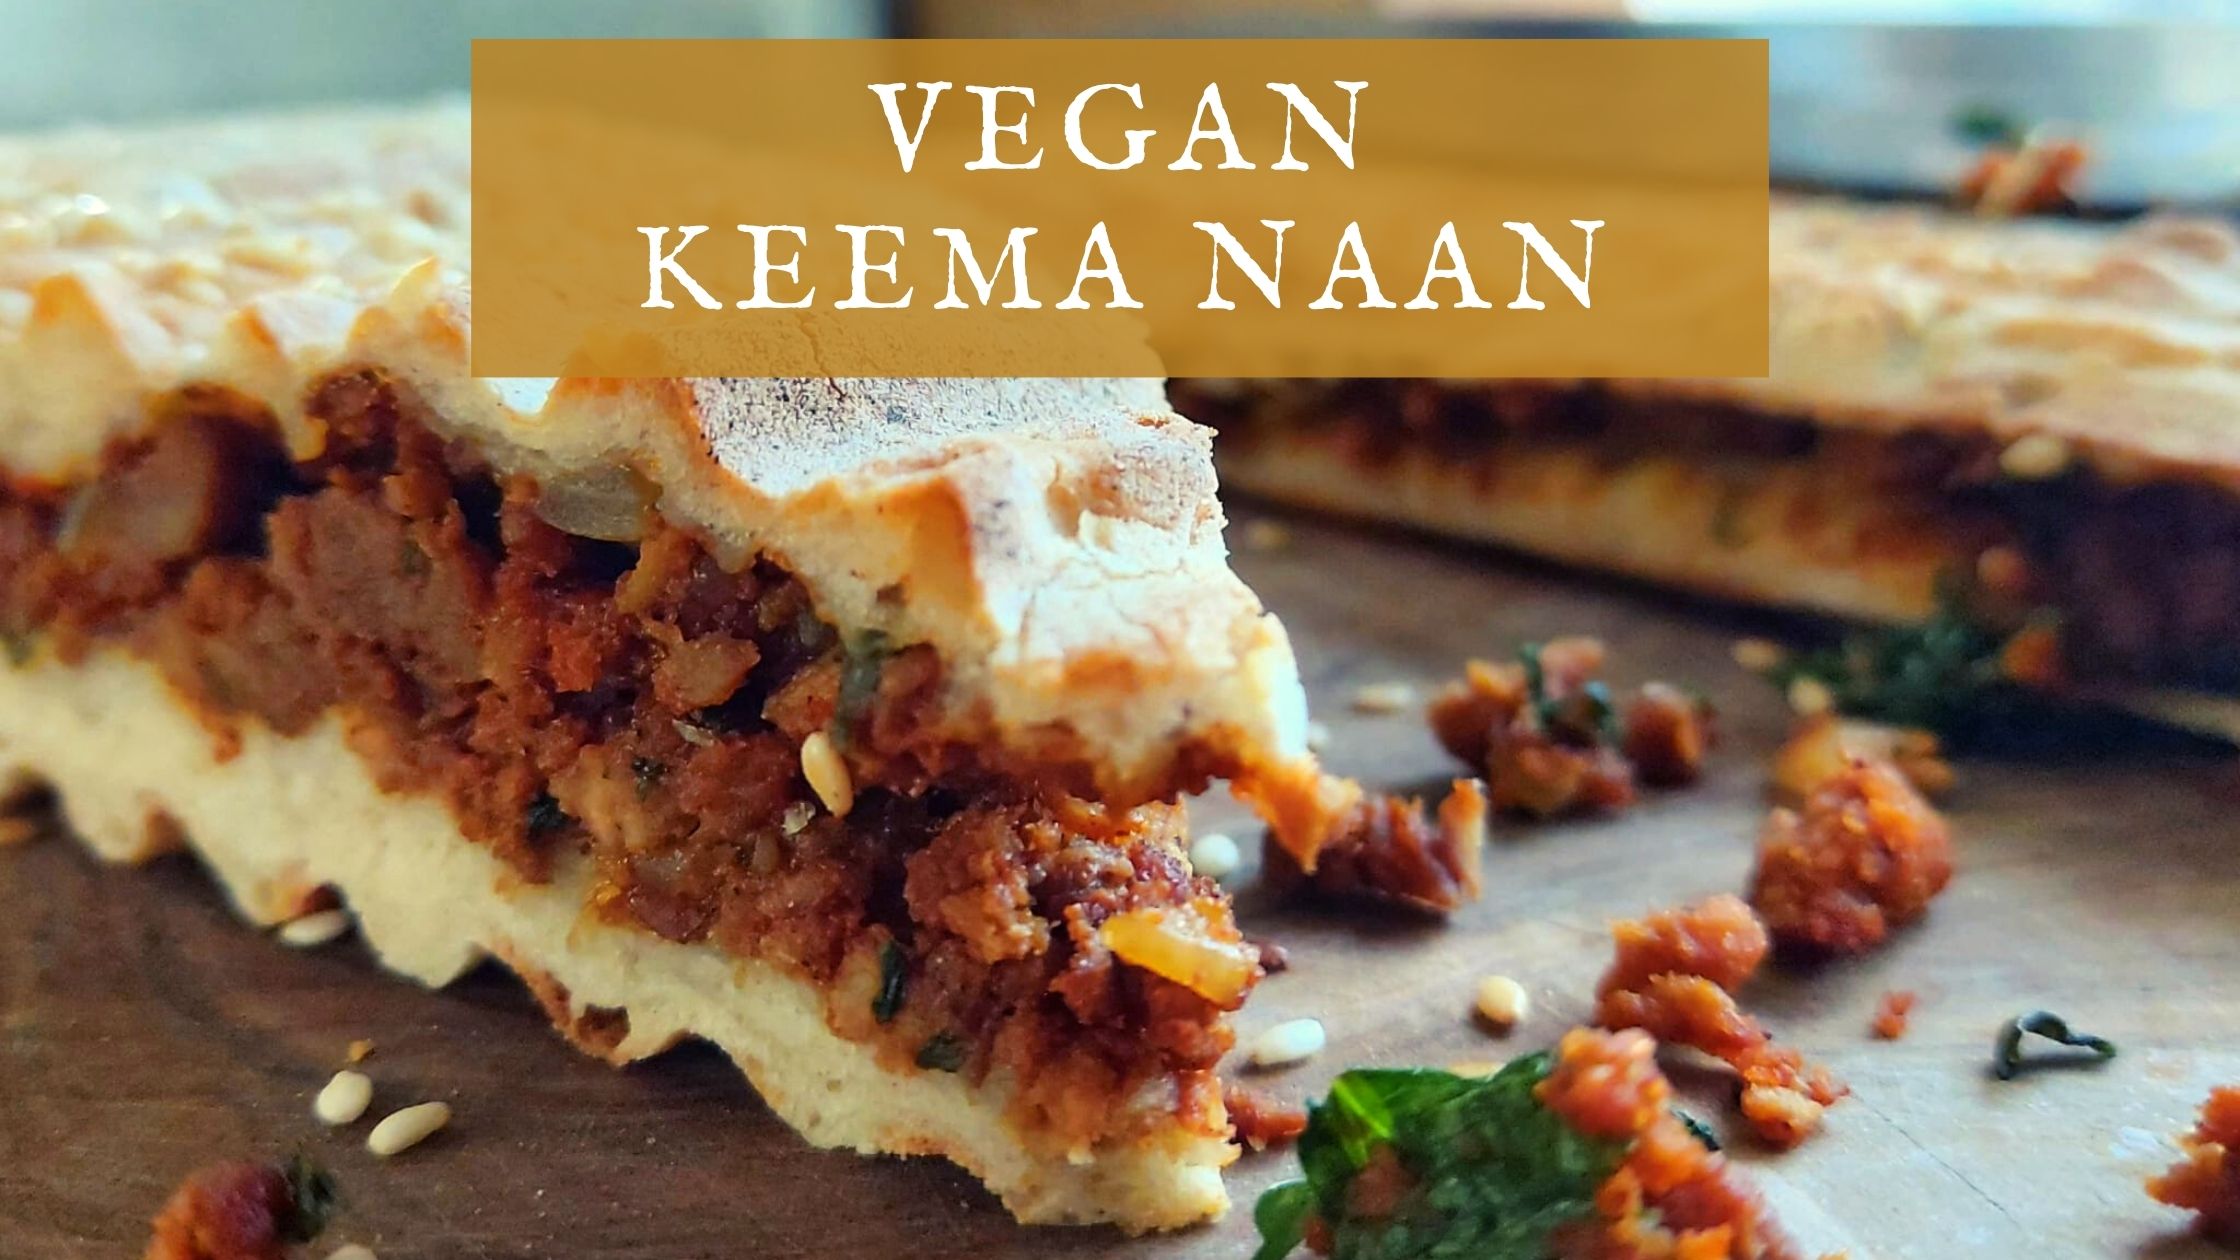
Vegan Keema Naan Sometimes the accidental recipes come out as the best recipes and this is a perfect example. Amazing Naan Bread to make in...
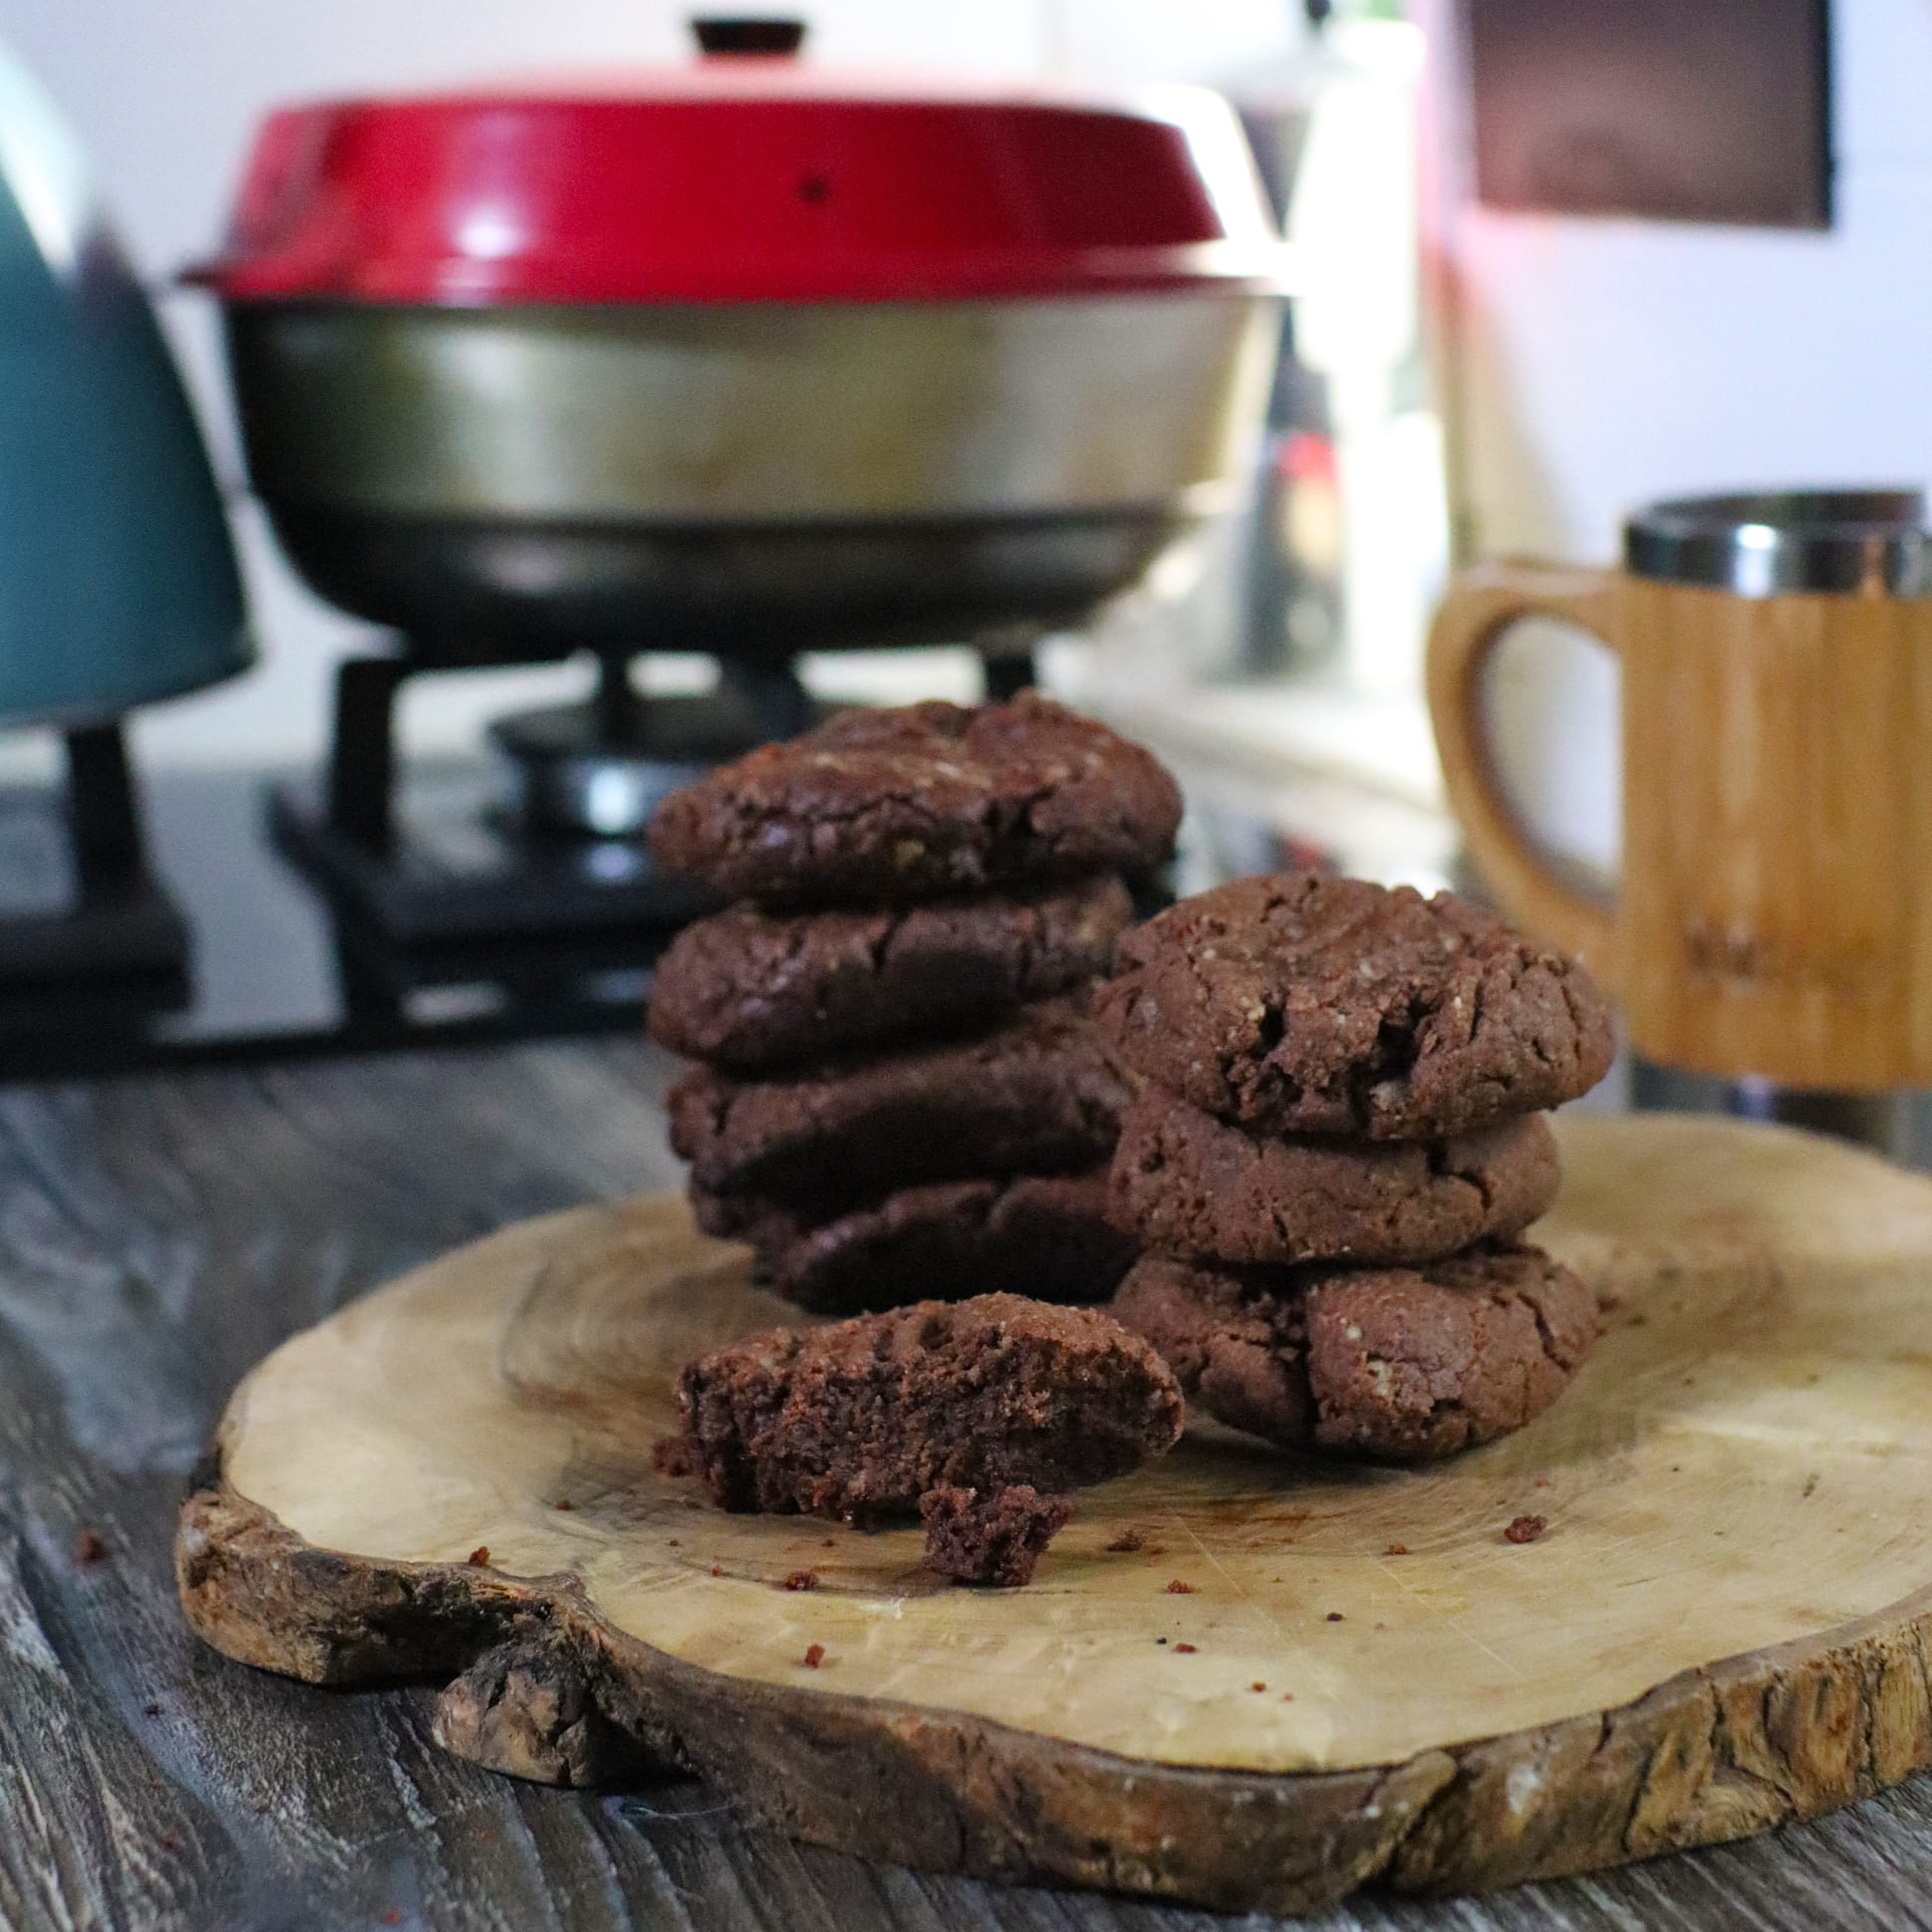
I made these Nutella cookies for biscuit week for Van Bake off. Since I made them Mark has not stopped raving about them (or eating them). I...
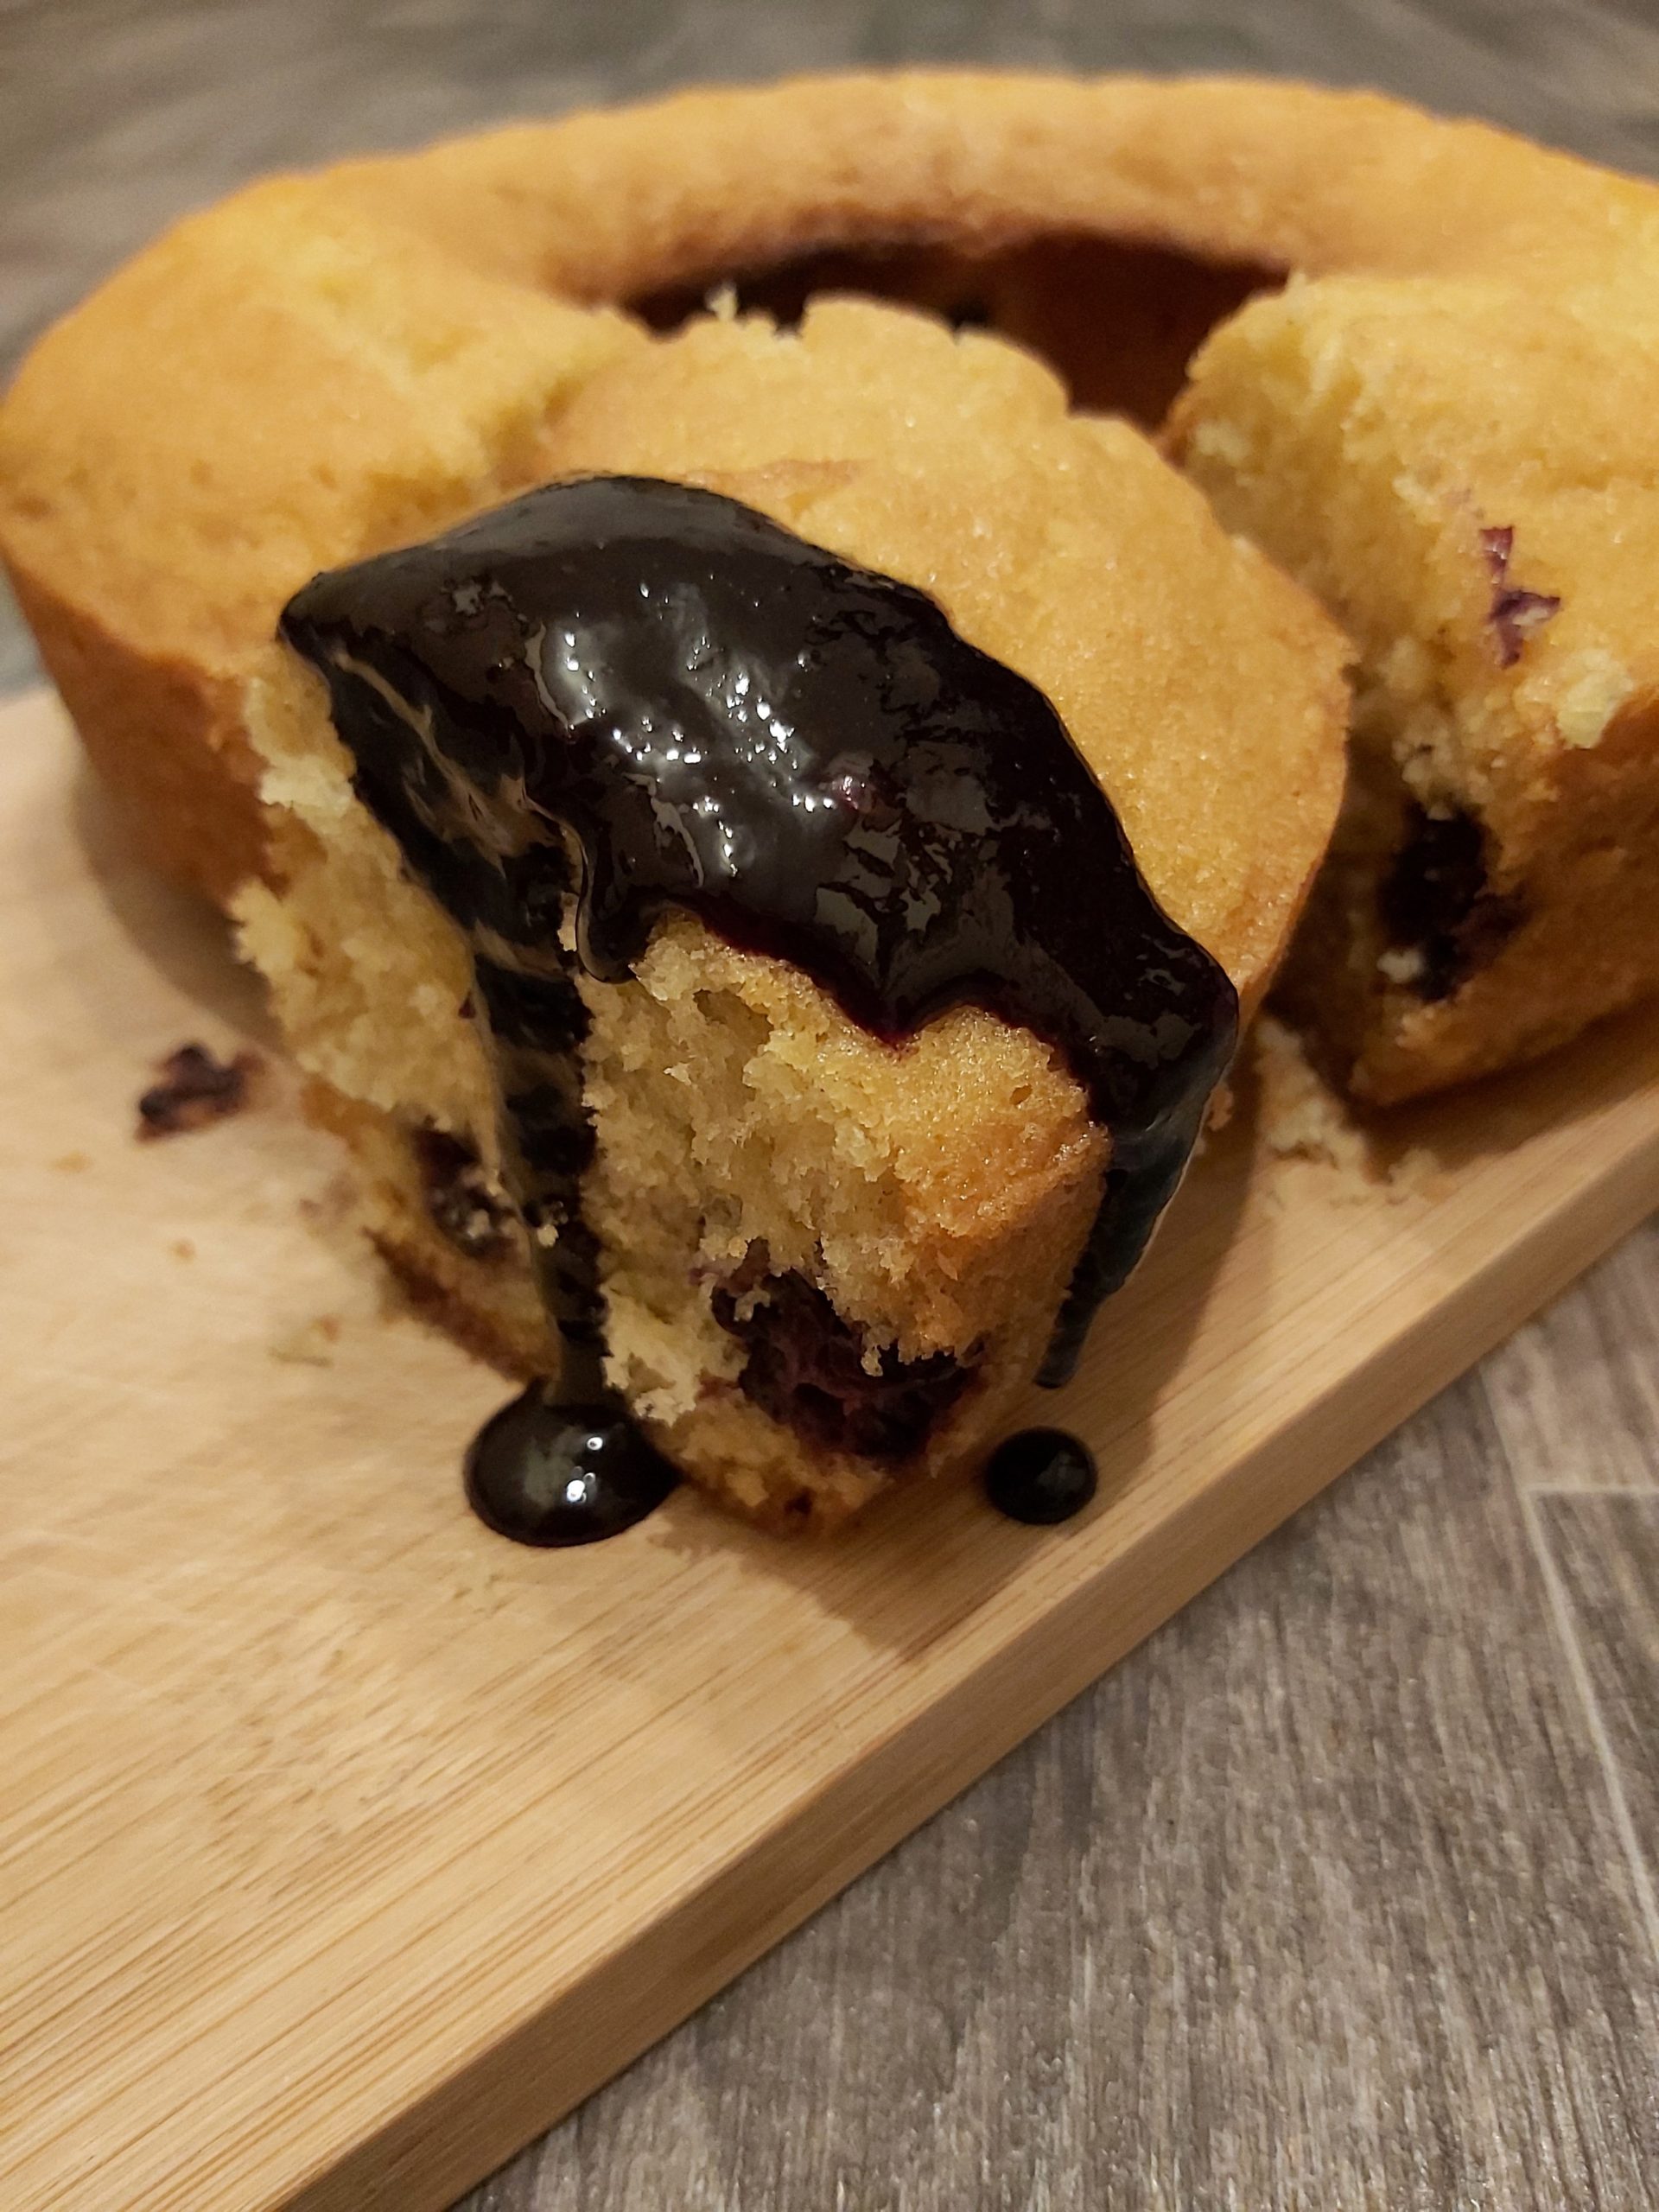
This Omnia blackberry cake is ideal for using up foraged blackberries. The classic blackberry is an easy fruit to forage, easily recognisable...

The time has come for Van Bake off 2021! It's that time of the year again, the dark nights are becoming longer, and the temperatures are...
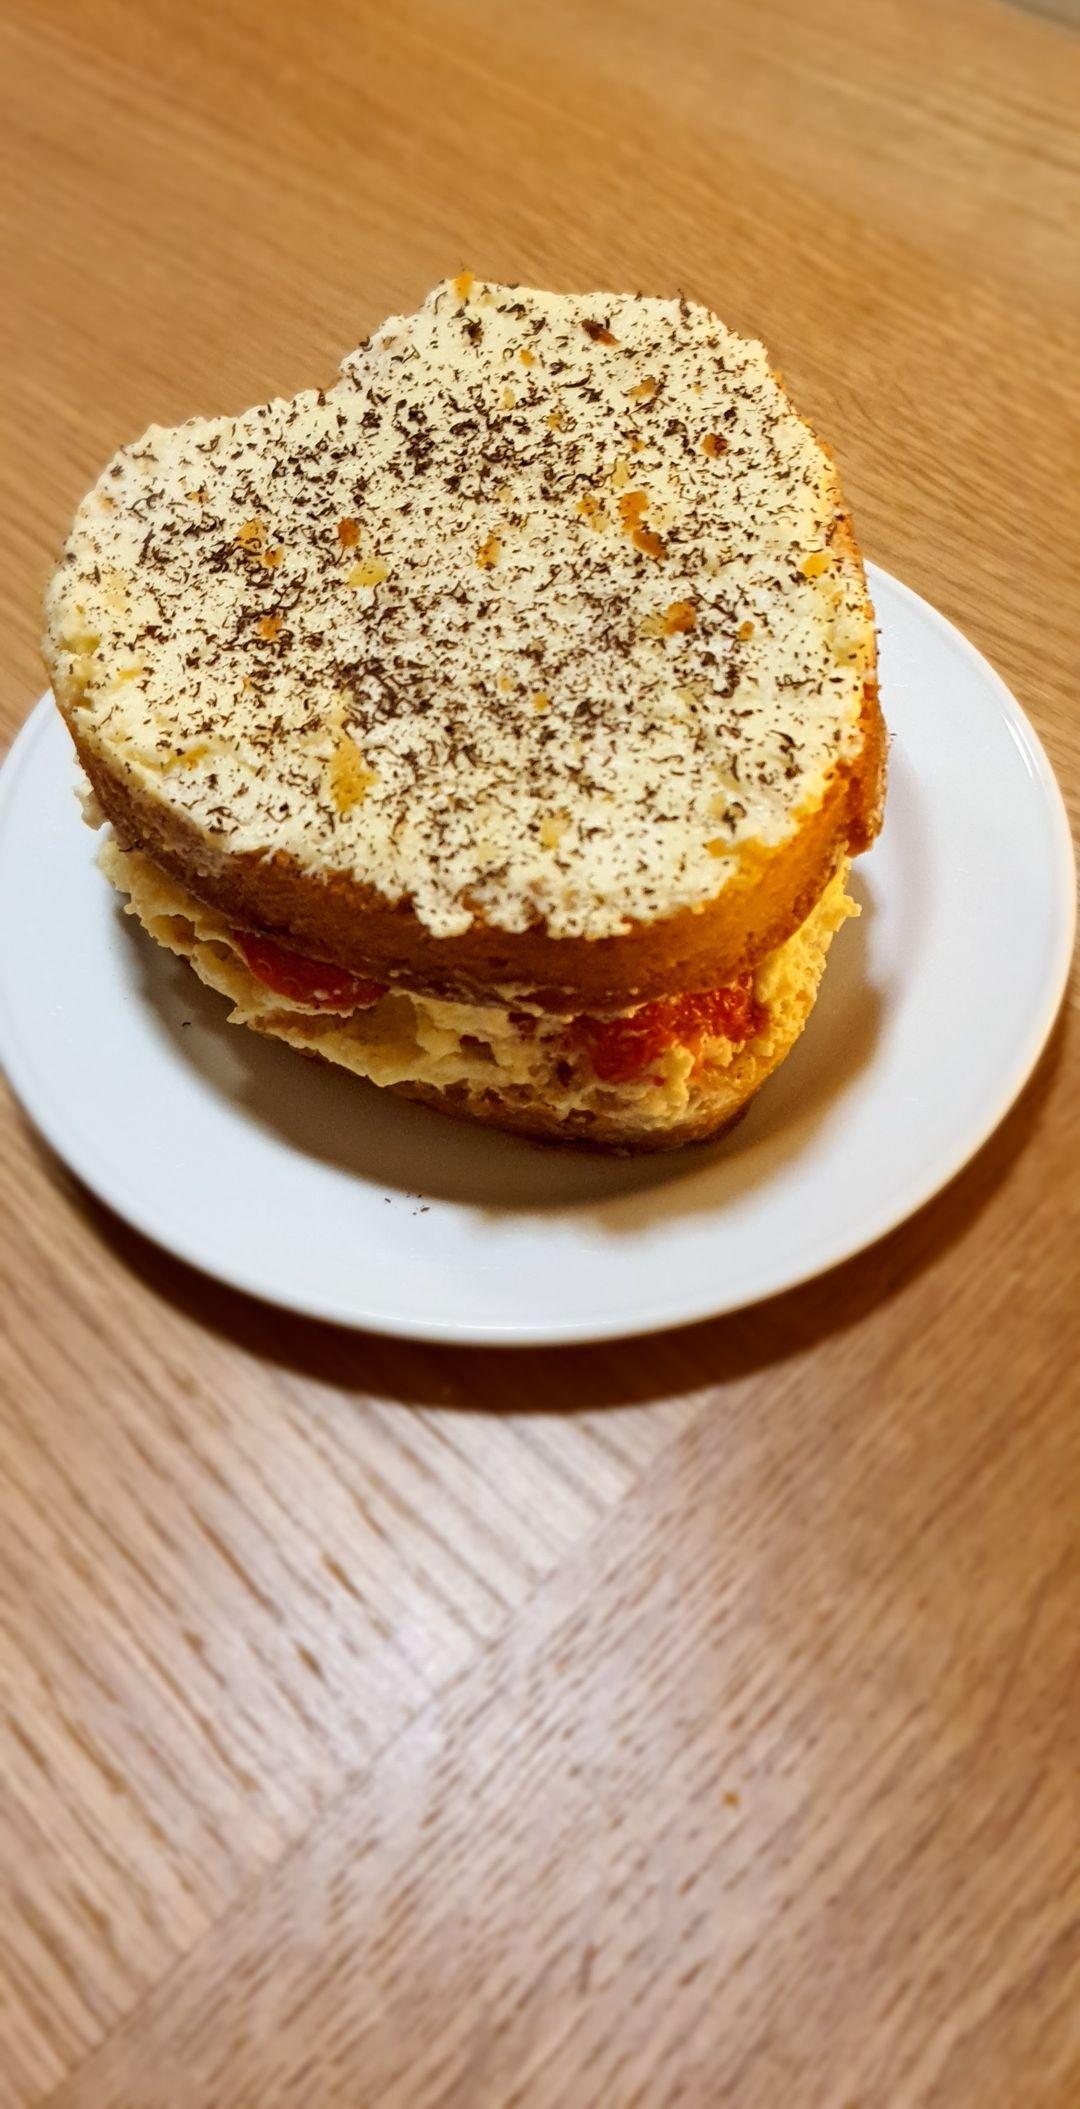
Here is week one's star Baker of van bake off. Week one was cake week and Lesley of @stillyoungatart made this gorgeous looking victoria sponge...

Join the organic movement and support local organic farmers while enjoying tasty meals. In this post, we celebrate Organic September by going...

Choosing appropriate food and snacks to bring with you on a hike will help you maintain energy and keep you enjoying your day out. If you don’t...

Although mushrooms are delicious simply sautéed in a little butter, there is so much more you can do with them. Celebrate mushroom month with...
