We came across the Lifetub products on Instagram. When they offered to send us some products to review there was no way we could say no!...

")
RidgeMonkey
BBQ & Fire
Cobb / CADAC
Slow Cooker
Air Fryer
One Pan
We came across the Lifetub products on Instagram. When they offered to send us some products to review there was no way we could say no!...

Join in with all the campervan baking fun and be in with a chance to win the best campervan kitchen gadget... an Omnia oven! In collaboration...
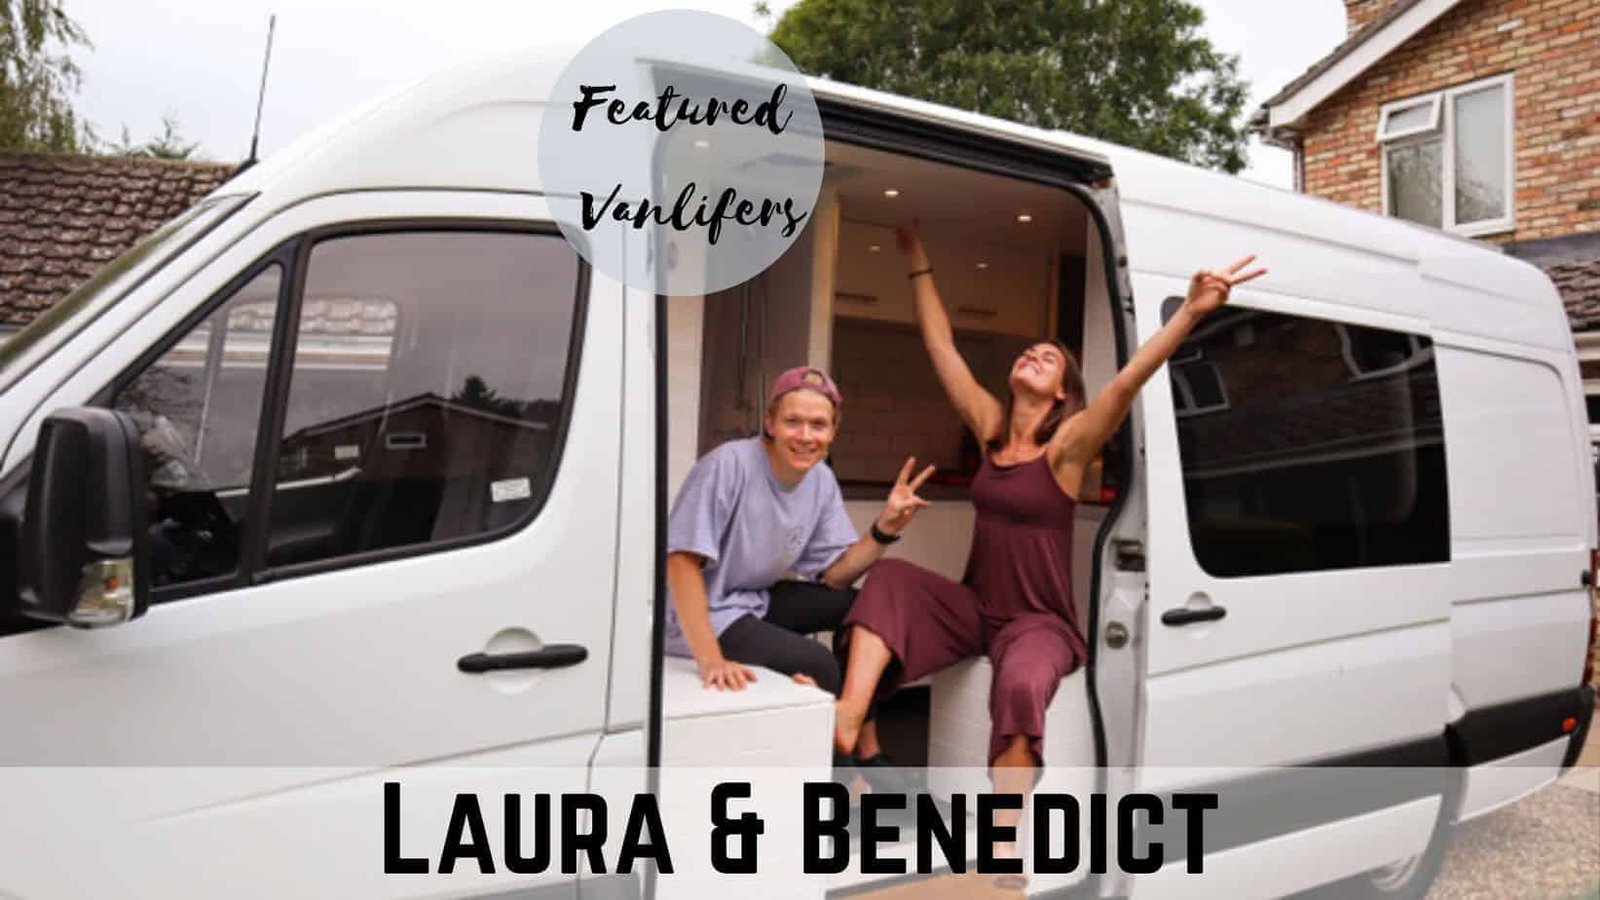
Laura and Benedict are some of our newest vanlifers - in the sense that they are new to our site and new to vanlife! They gave up their jobs...

What are the Best Vanlife Meals To Cook Whilst Travelling? Being passionate vanlife foodies and from speaking regularly to the vanlife...

Our latest featured vanlifer is published author - Janey de Nordwall. Janey is a BAFTA award winning producer for her work in film and...
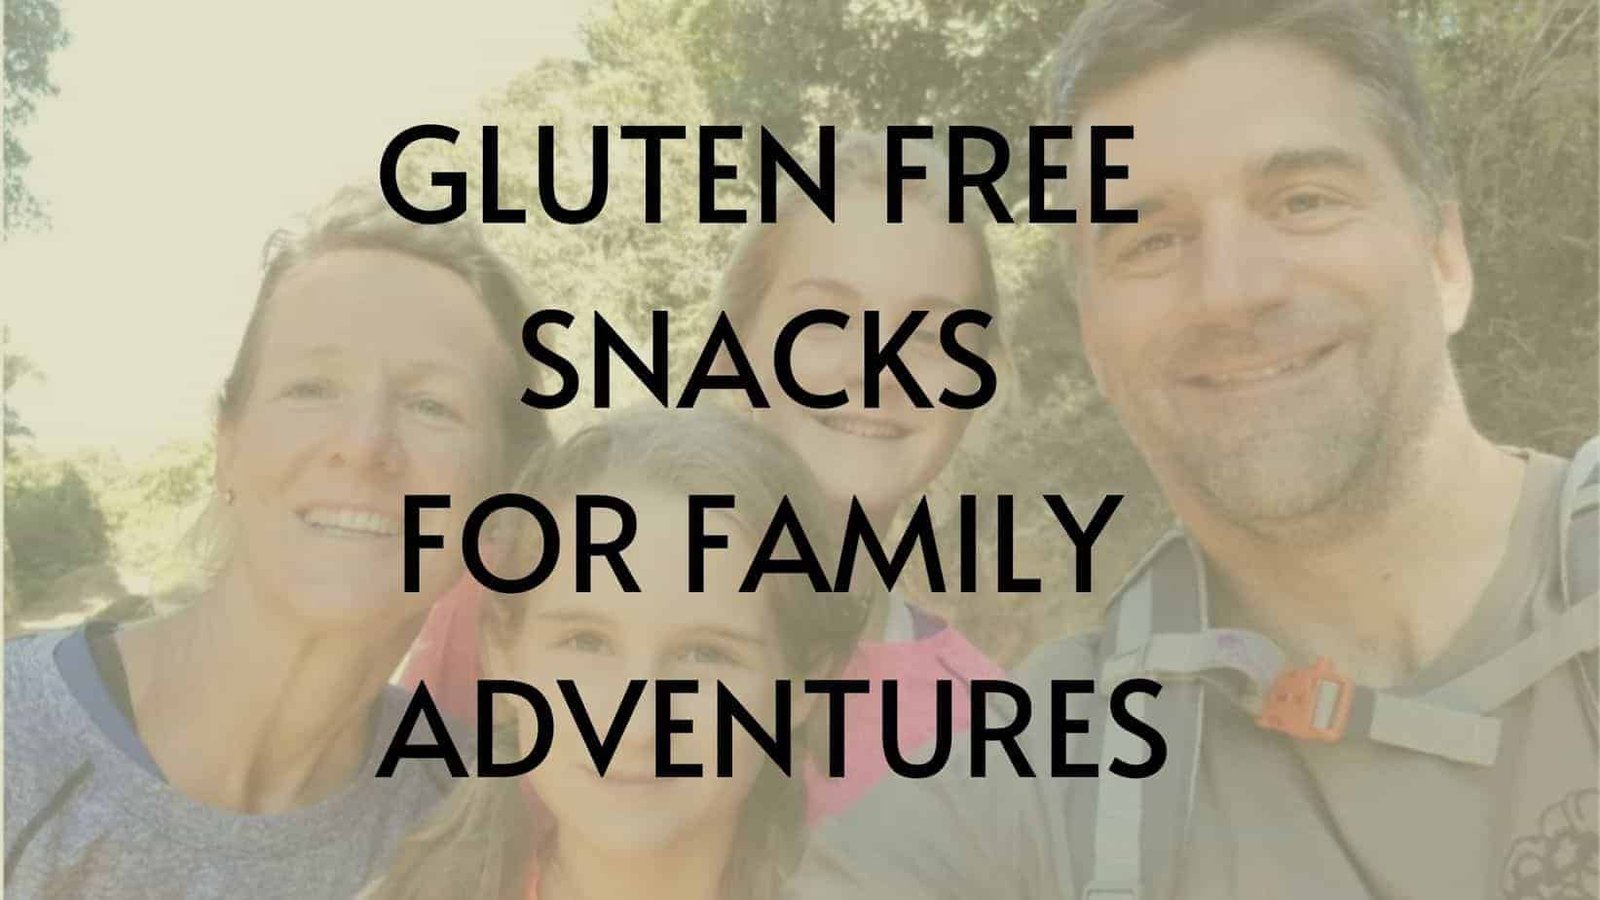
Guest author familywellnesswanderers share their favourite gluten free snacks for their family adventures. Hi, we are a traveling family of 4...

Nat & Abi travel have been travelling full-time in their van Towanda for the last 18 months. They travel with their furry companions Bear...
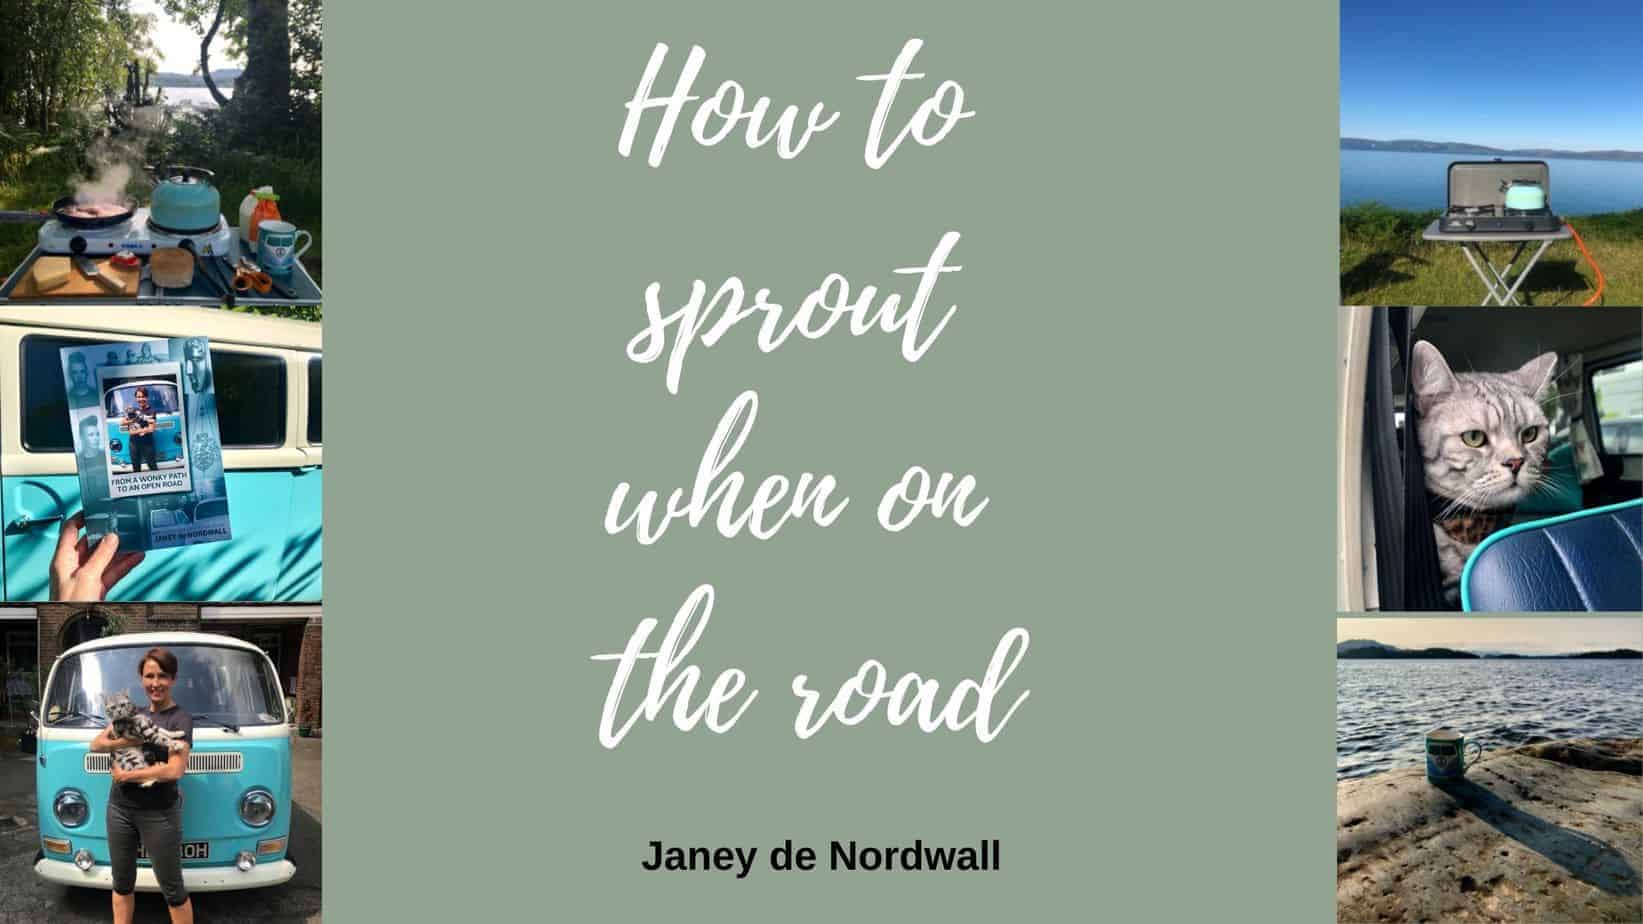
Do you sprout when out and about in your van? Here, guest blog post author Janey de Nordwall explains why and how she decided to sprout while...
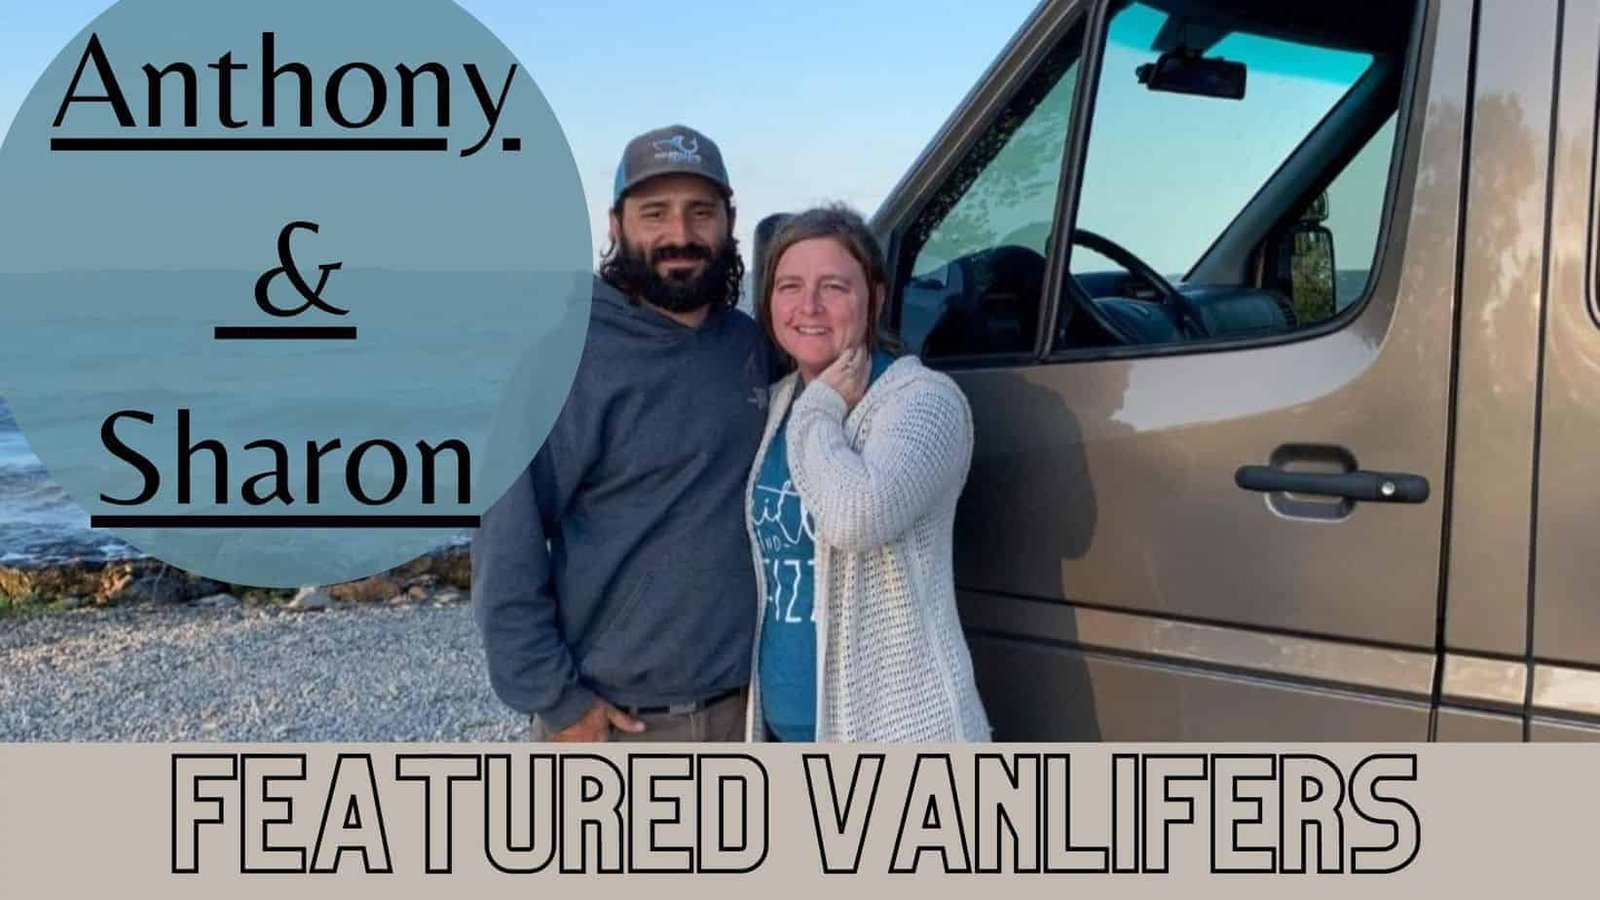
Meet Anthony & Sharon of The Bearded Van, this couple love an adventure in their van. Anthony is a keen and skilled fisherman (check out...

Homemade, healthy, vegetarian meals in the van. Yes please! Hi there, it’s Jen with @the.waglers and we are weekend van lifers. ...

Many of us living van life like to be at one with nature and plant based diets are very common in the van life community but have you ever...
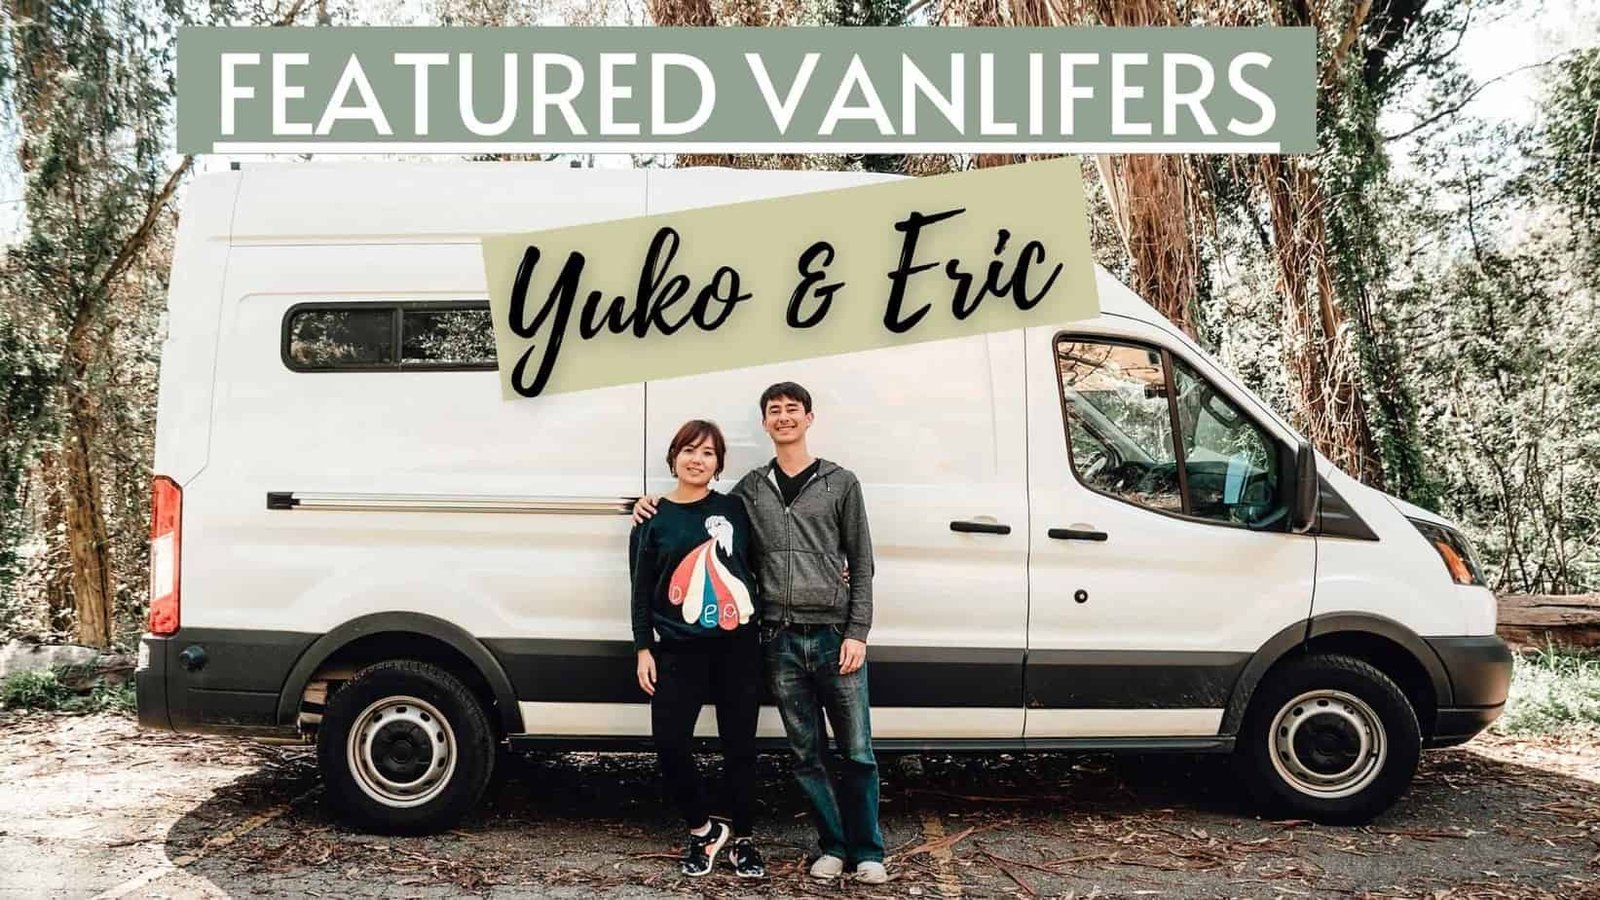
Yuko and Eric have been travelling full time in their van Bernie for just over a year now. They have traveled parts of the USA, Canada and they...
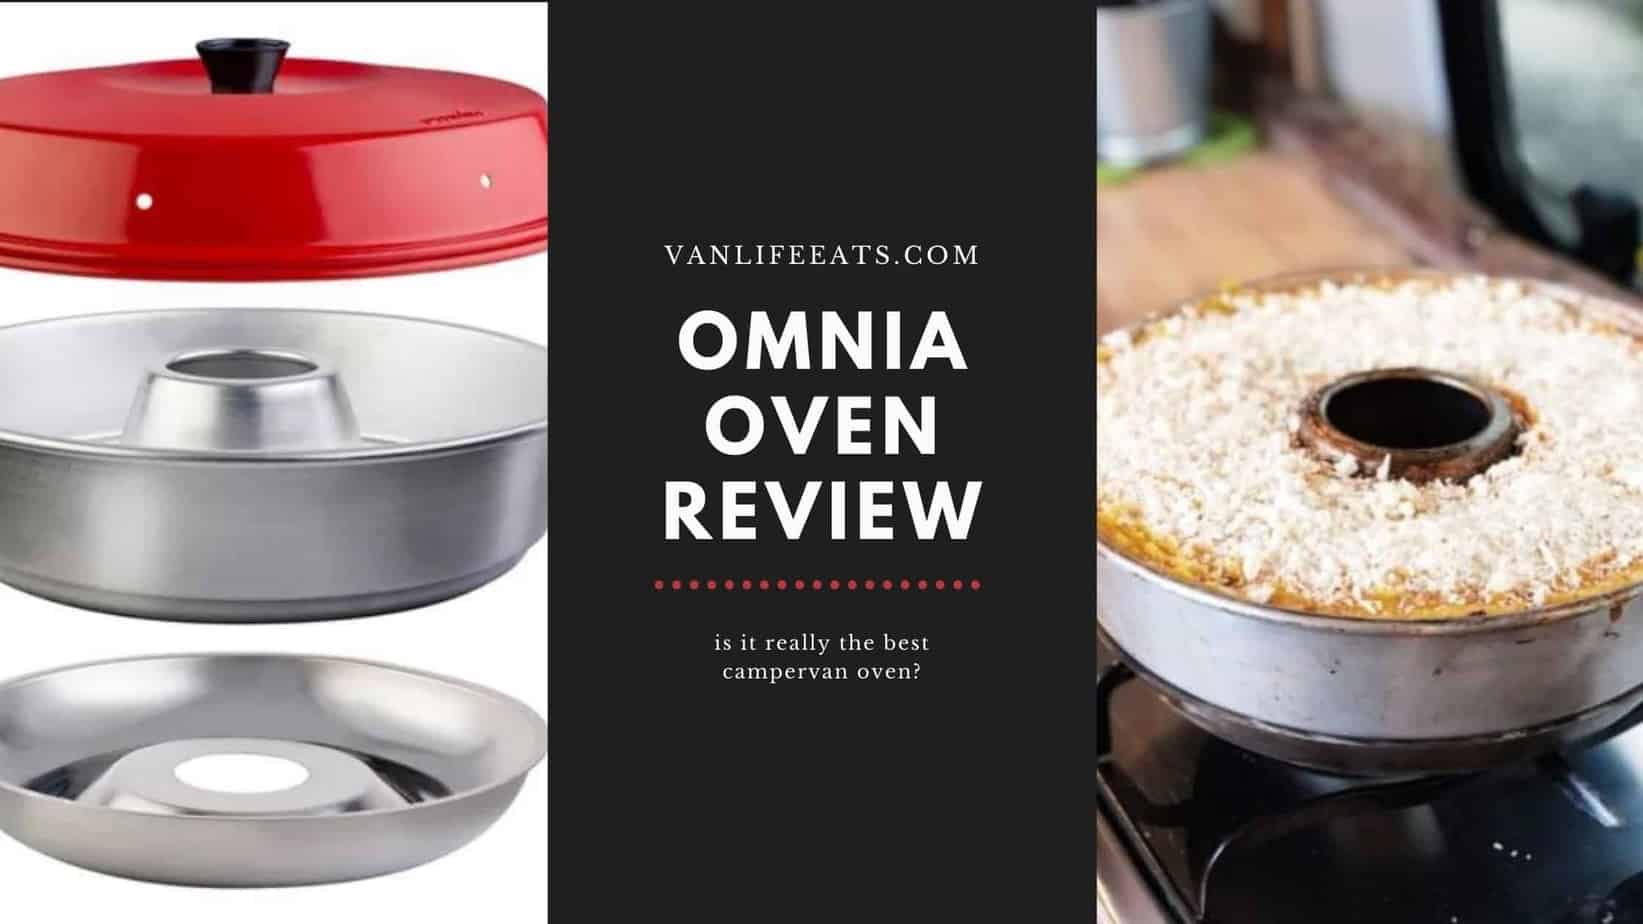
As a passionate cook and living full-time van life, here is my honest review of the Omnia oven, and will I claim this to be the best campervan...

As the days of Plastic Free July are fading, we are going to share some tips on reducing plastic use when living in a van. Sustainable vanlife...

Words by: Emilly Sonsie (@sonsie_life) Welcome to your in depth look at how the Sonsie’s eat on the road. We are Emilly & Michael and we...
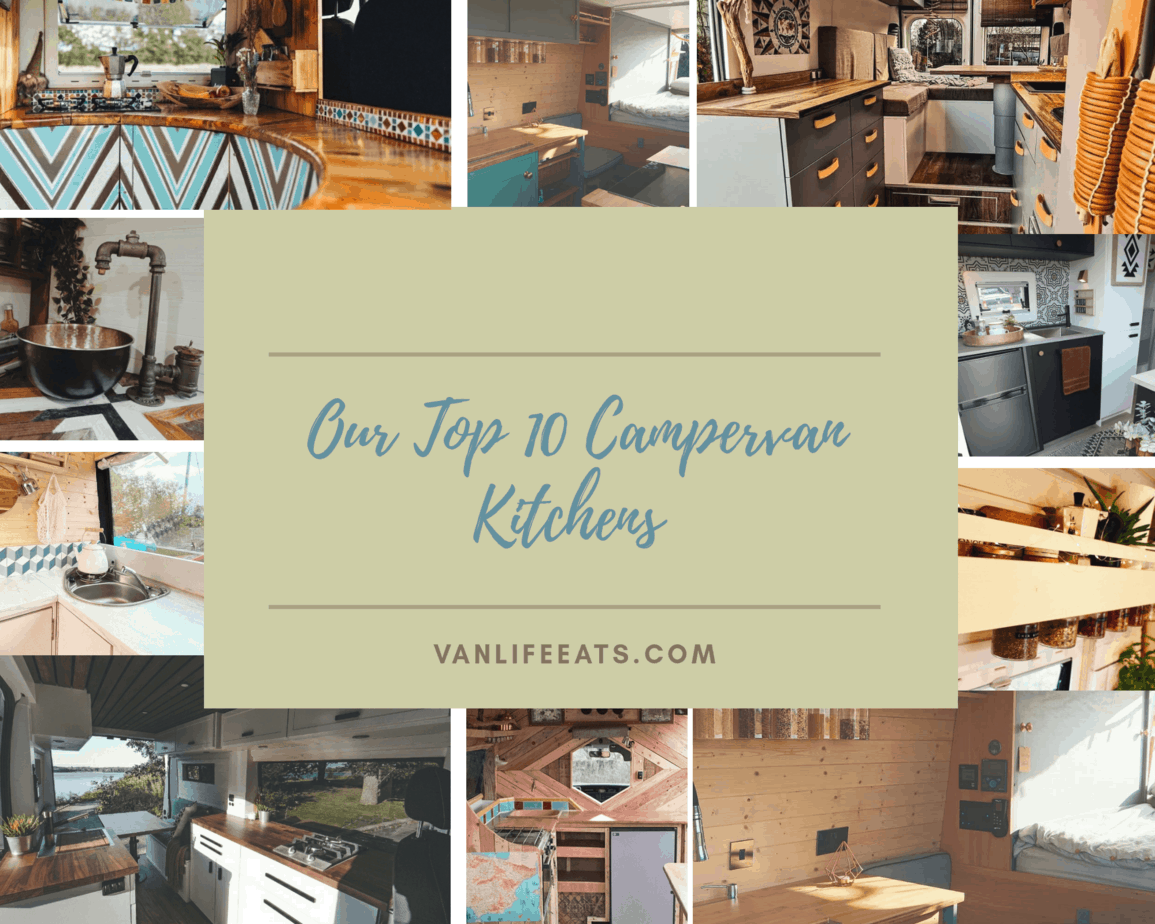
Here at Van Life Eats we take kitchens almost as seriously as we take food, so here are 10 fantastic van life kitchen ideas to inspire you. We...
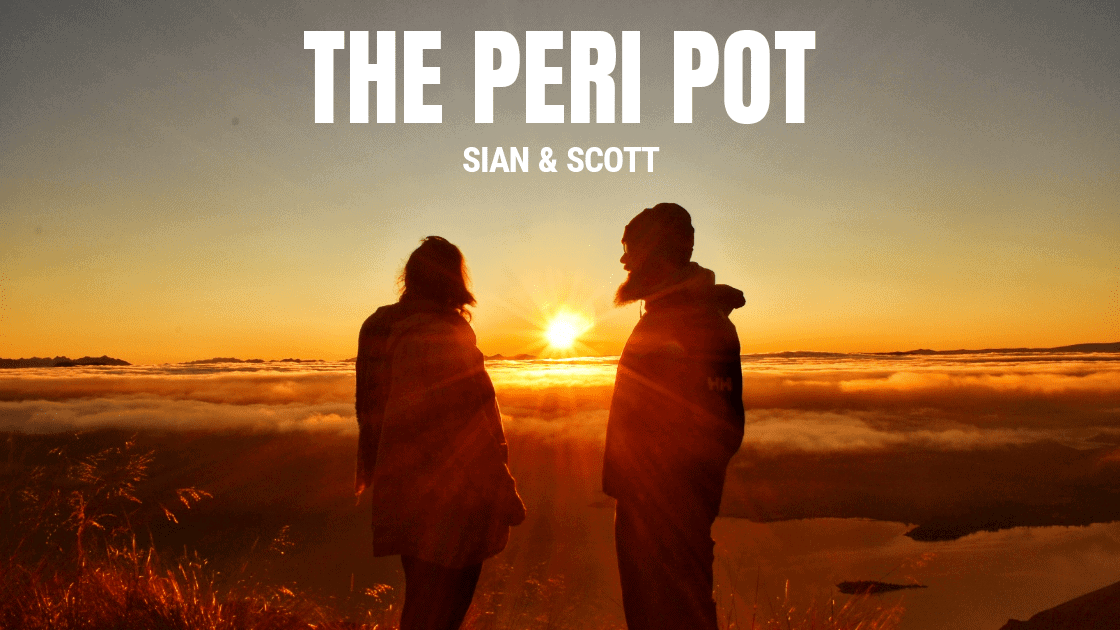
Sian and Scott of the_peri_pot are a Scottish couple who are travelling around New Zealand in their recently purchased van, Alec. Sian is...

What wild food is safe for foraging whilst on your van life adventures? Whilst out on your adventures you are more than likely driving through...

Lockie and Ash are an Australian couple on a tour of Europe in their van Tommy the Transit and are currently exploring Austria. Staying healthy...
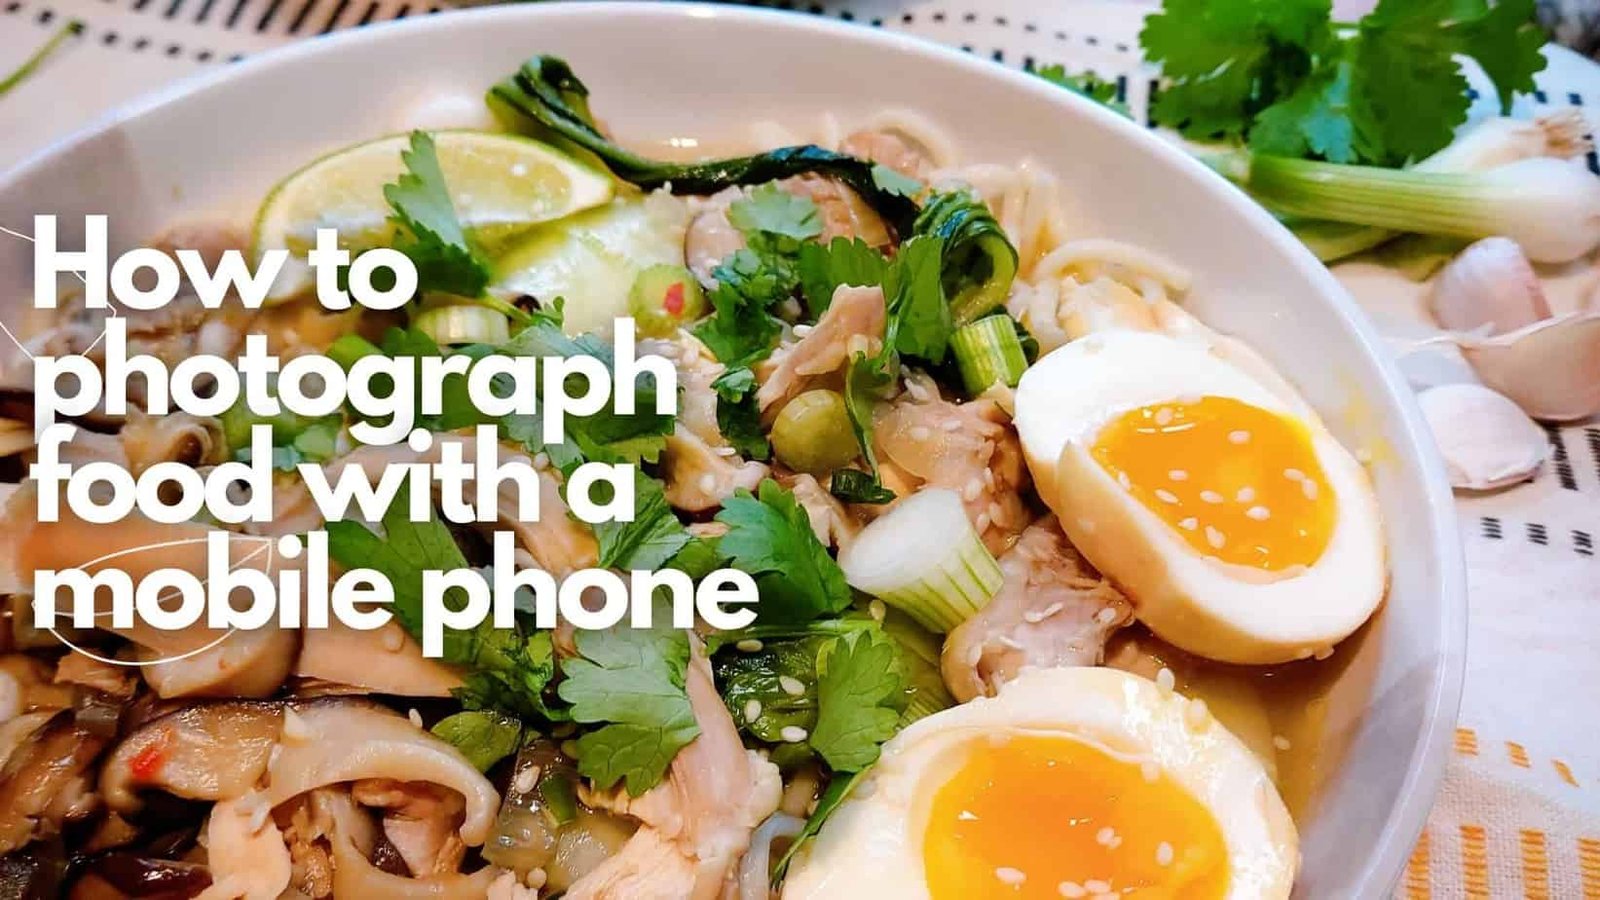
In order to really show off your van life eats you should really learn how to photograph food with a mobile phone inside a campervan. ...

The best way to eliminate cooking smells from your campervan is to maintain a steady airflow with a suitable ventilation system. There are also...
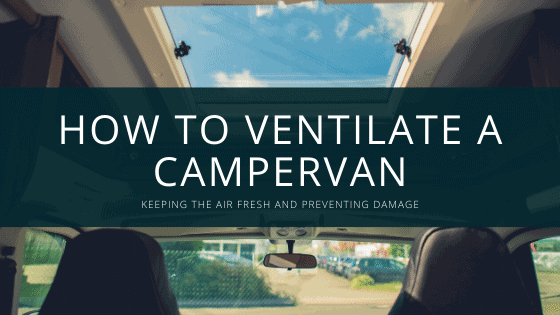
From preventing damage to keeping safe, healthy and hygienic it's important to ensure your campervan has adequate ventilation and you know how...
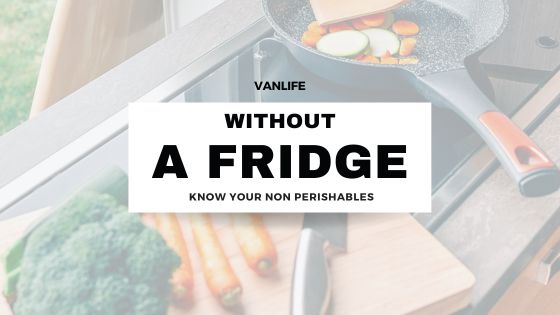
Life on the road can be tiresome at times and finding the time to prep a good hearty meal can become challenging. Van life without a fridge is...
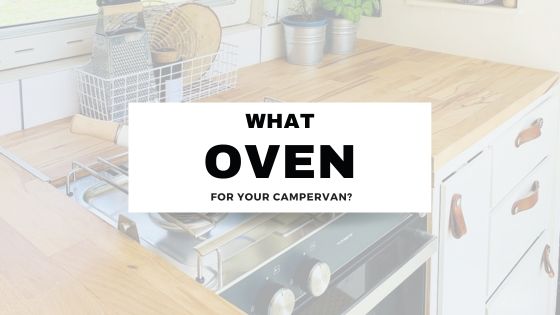
Whilst the choice of many Van Lifers is to keep a van life oven simple and low cost, there are many options available to help you conjure up...
