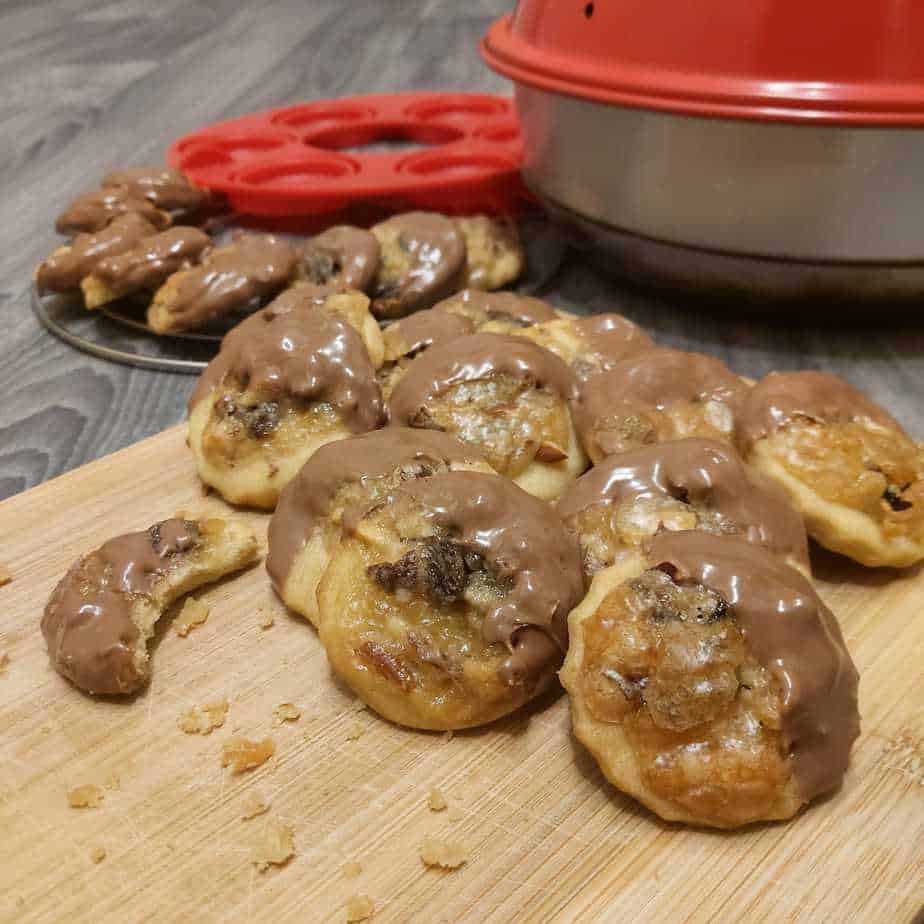
These little biscuit bites give the best of both worlds, a biscuit with a delicious florentine. We made these in our Omnia oven during Van Bake Off 2020.
")
RidgeMonkey
BBQ & Fire
Cobb / CADAC
Slow Cooker
Air Fryer
One Pan
These little biscuit bites give the best of both worlds, a biscuit with a delicious florentine. We made these in our Omnia oven during Van Bake Off 2020.
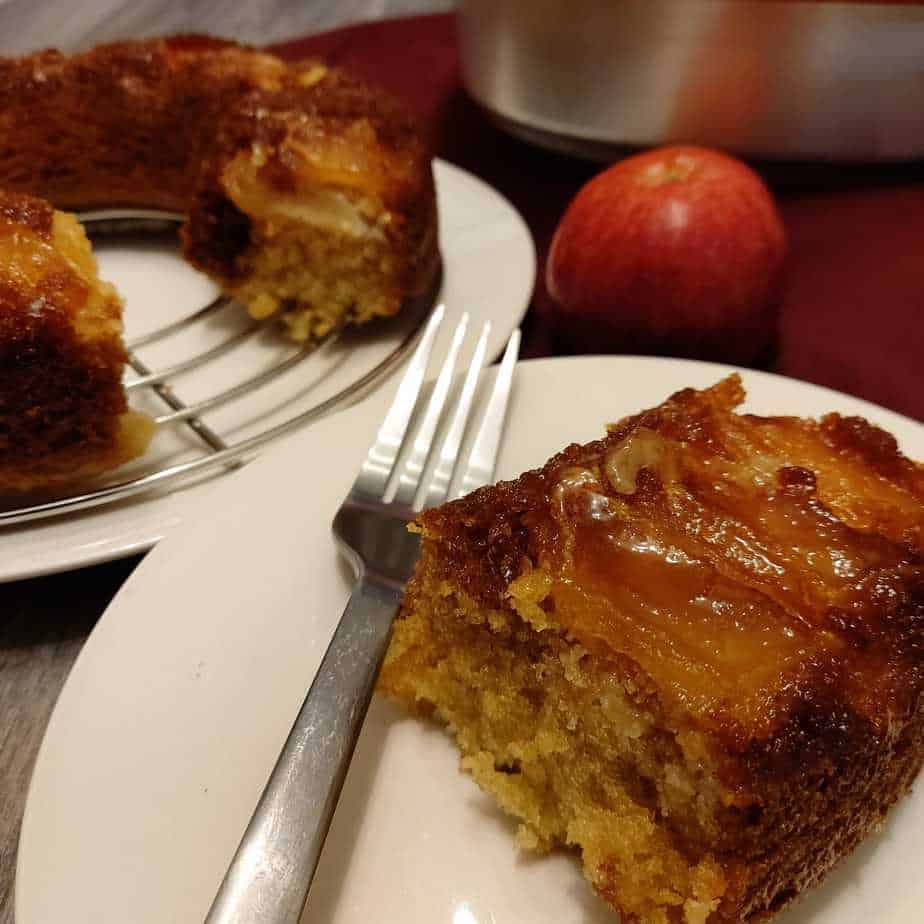
We made this cake in our Omnia oven during Van Bake Off 2020, it’s great with a cup of tea or even served with some custard.

This delicious recipe requires a little bit of effort but it definitely worth it!
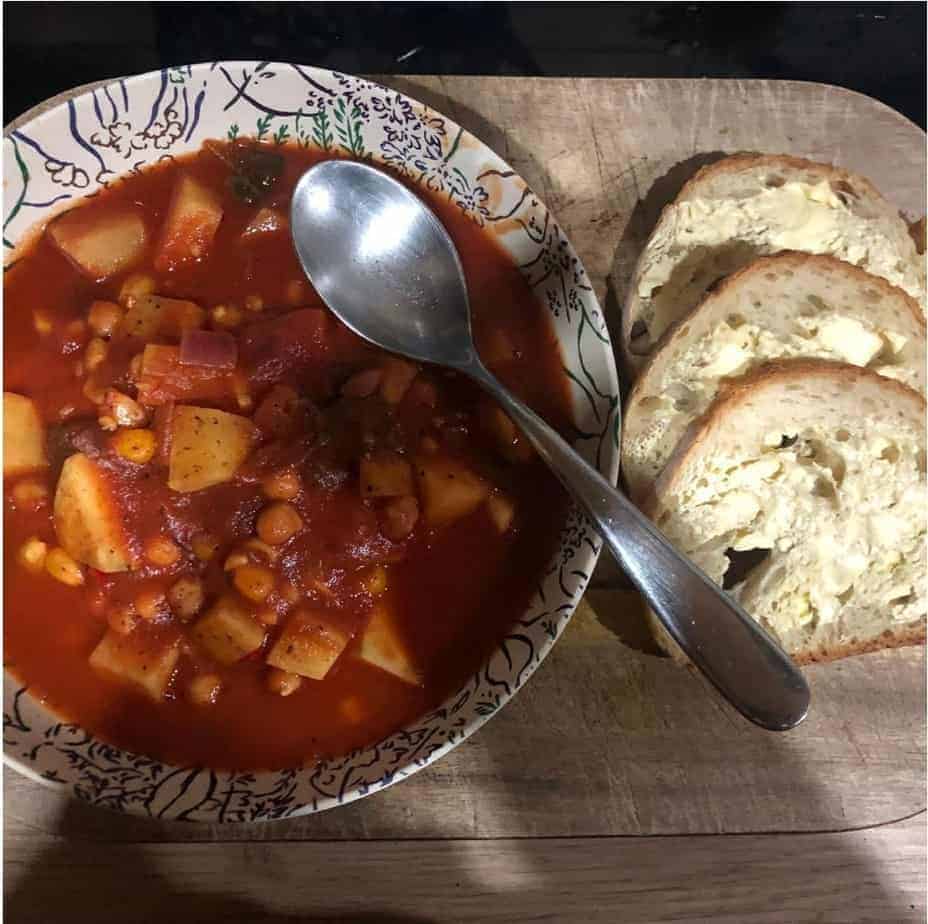
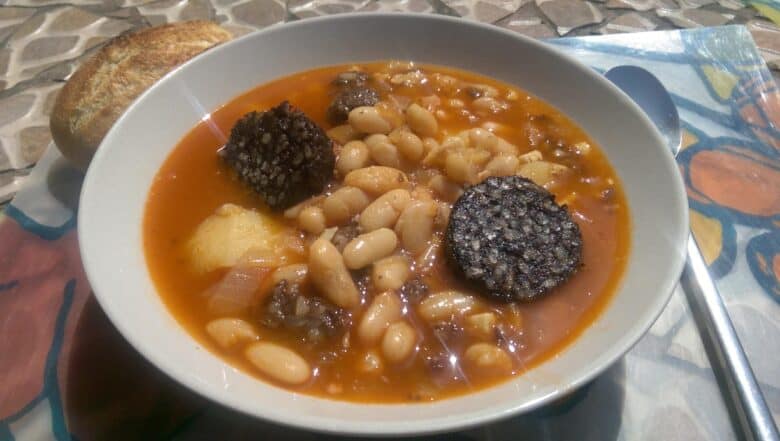
This vegan recipe is warming and filling, perfect for autumn.

Cooking with foraged ingredients can make a dish extra special.
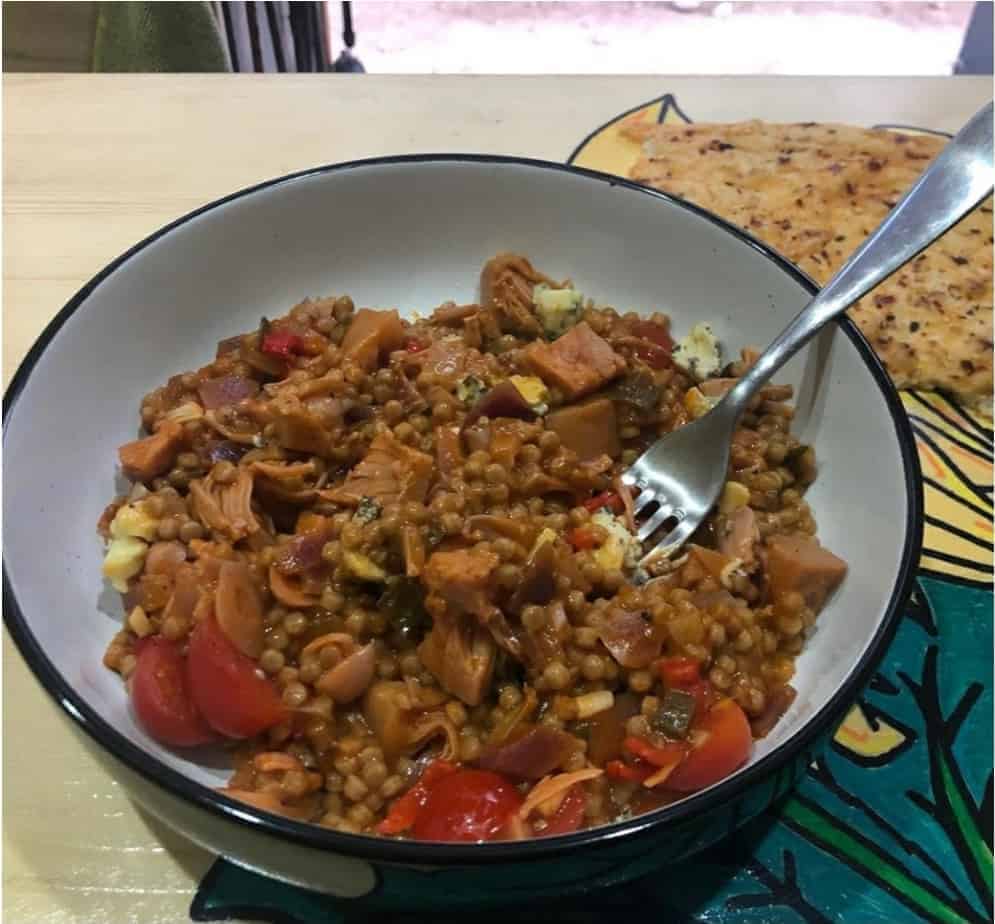
This turned out amazing when I missed the shops and just had to make something good from what I had in.
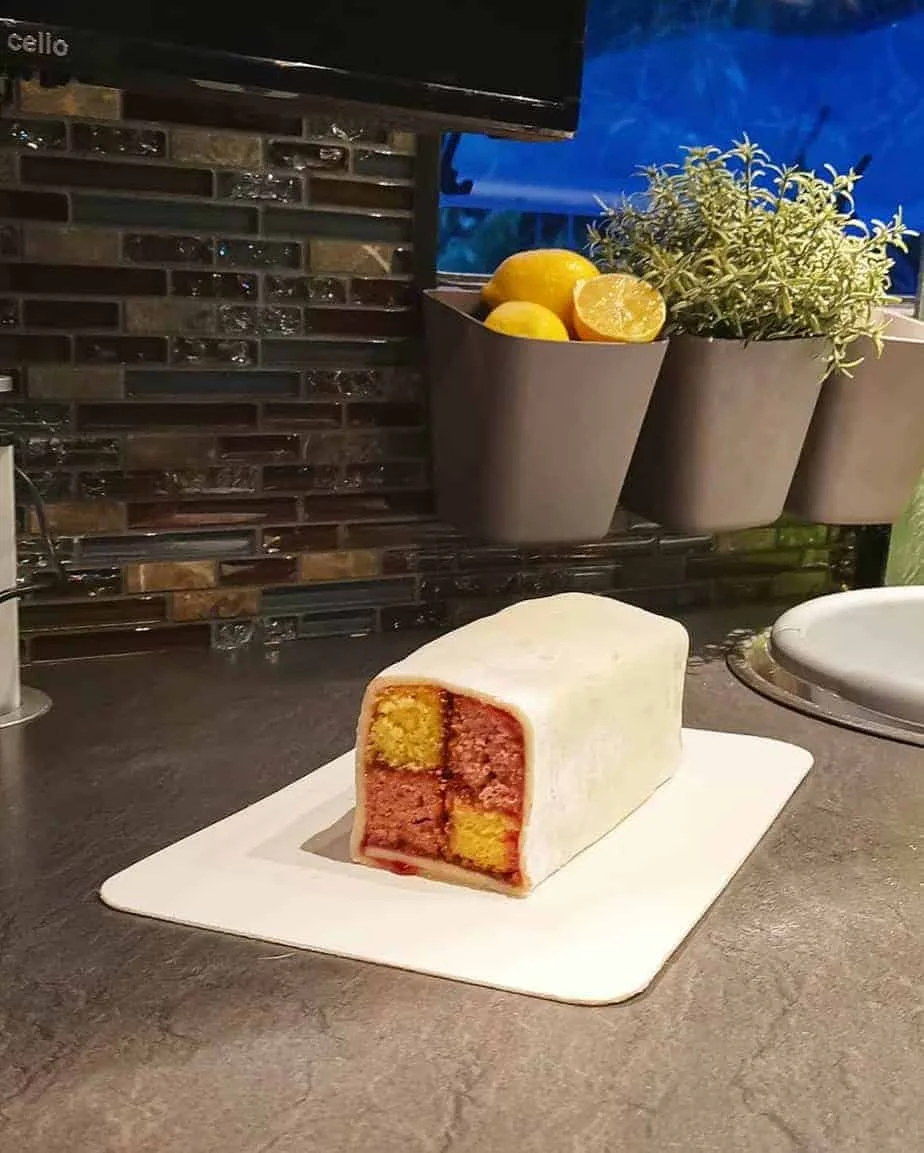
This fabulous recipe won the first week of our van bake off competition 2020 and became our first star baker.
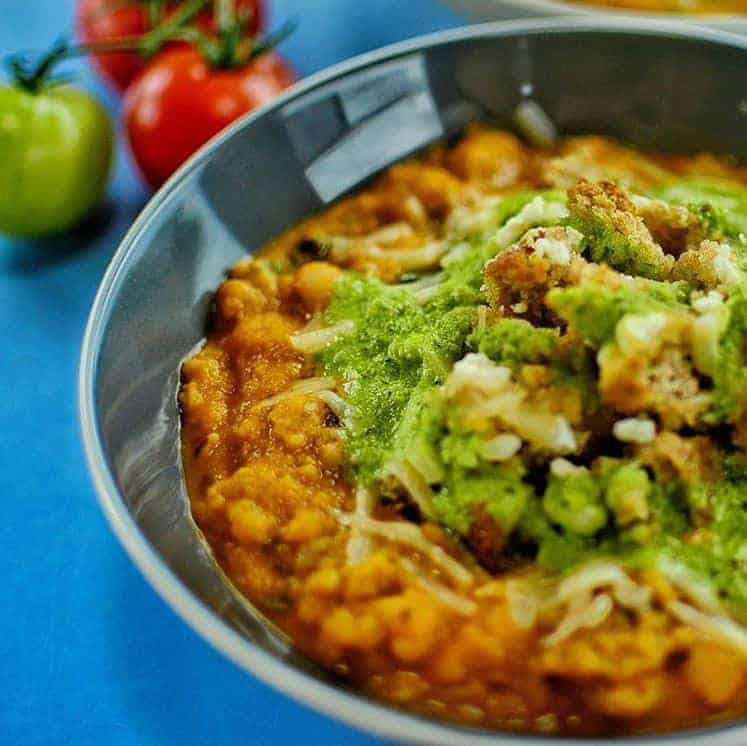
Tuscan Ribollita Stew
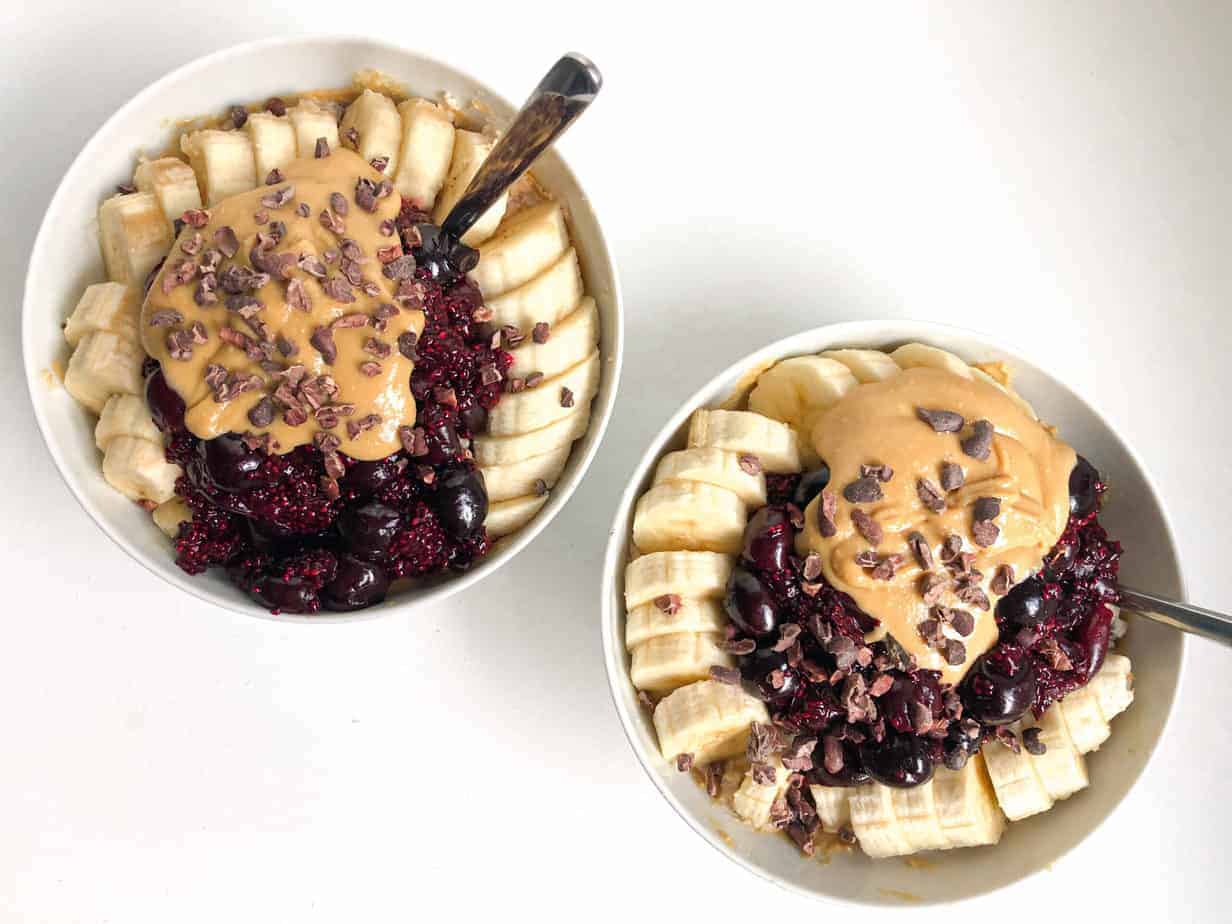
Easy Berry Oats – VEGAN

Our family loves chocolate! And we also take it on the road. We find the best local chocolate wherever we happen to be and then use it to create this delicious on-the-go treat.
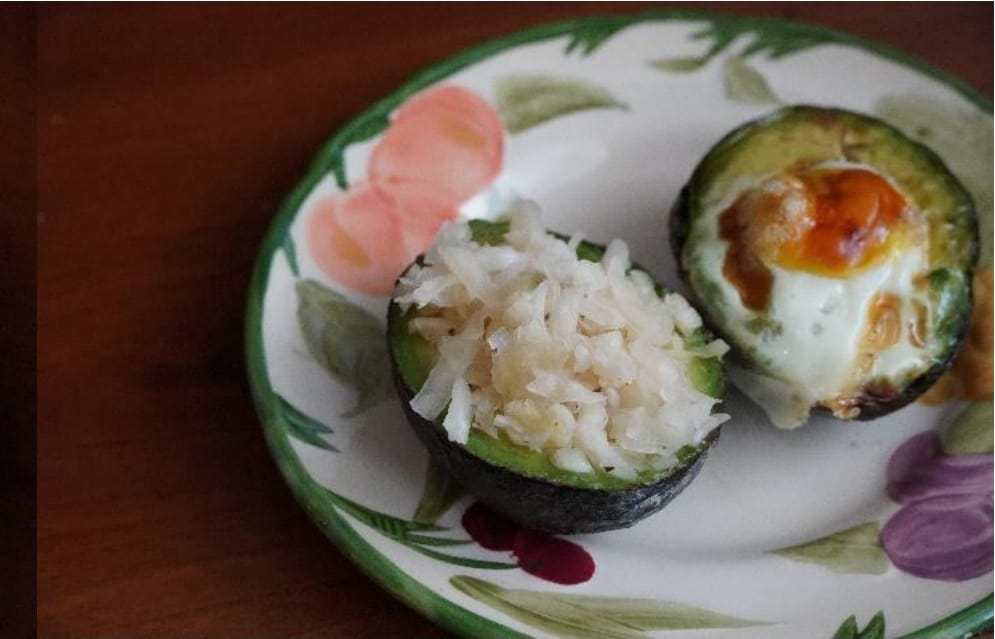
This is a fun and yummy meal on the go. The avocado halves are easy to make and don’t require much to make. We bring them along in a container on picnics or on long drives.

This is a fun and easy treat you can eat for a breakfast or as a dessert. And its super healthy, with no added sweetener. We used to buy this
from our favorite café. But it is really simple to make which is great if you don’t have any extra time.

CREAMY PEPPER SAUCE WITH MUSHROOMS
goes well with with a meaty dish
The key to getting the most “pepperiness” from your peppercorn sauce is to toast the pepper gently with the mushrooms and garlic before adding the cream. Fresh thyme, bay and a squeeze of lemon add all the right flavours and you’re done.
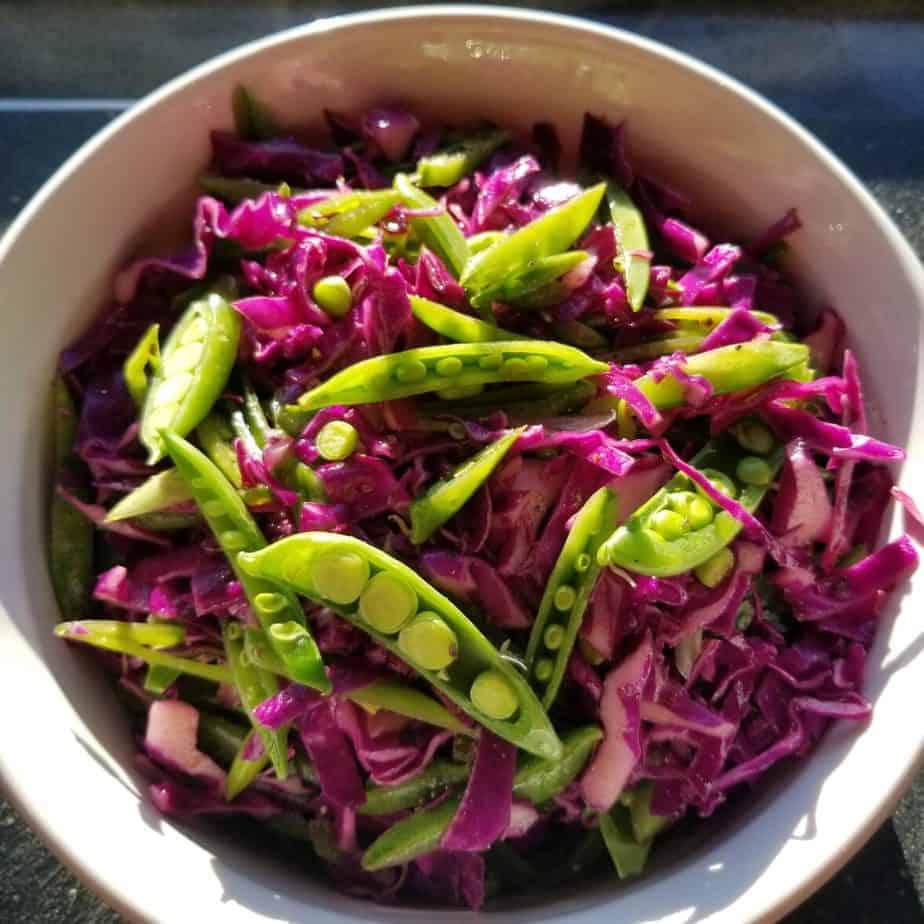
Purple Cabbage Slaw
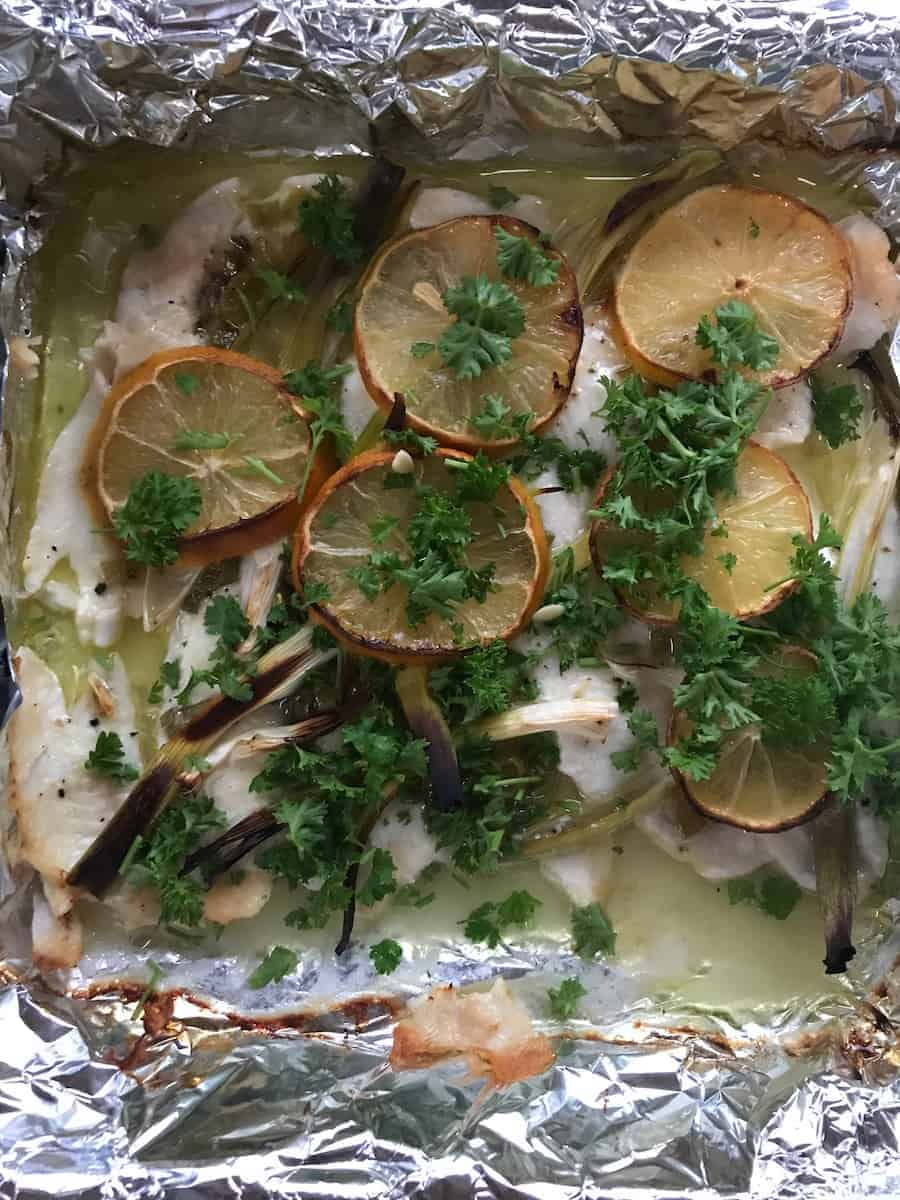
Low FODMAP Baked Lemon Sole
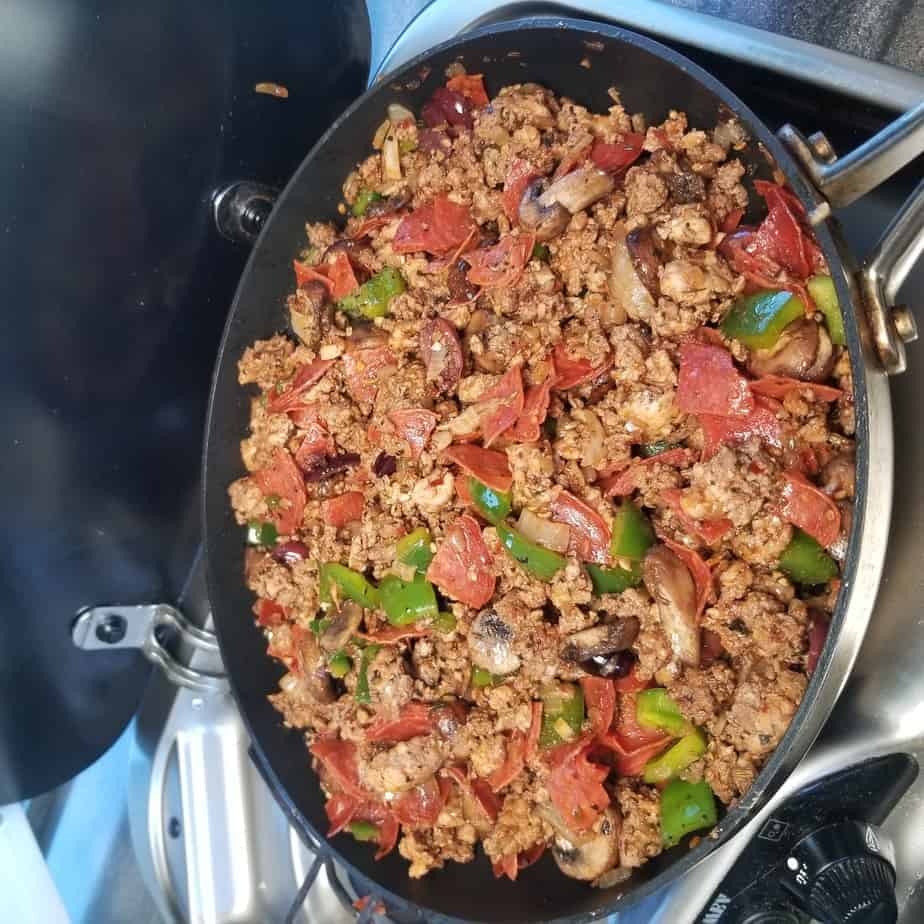
Pizza Protein Bowl
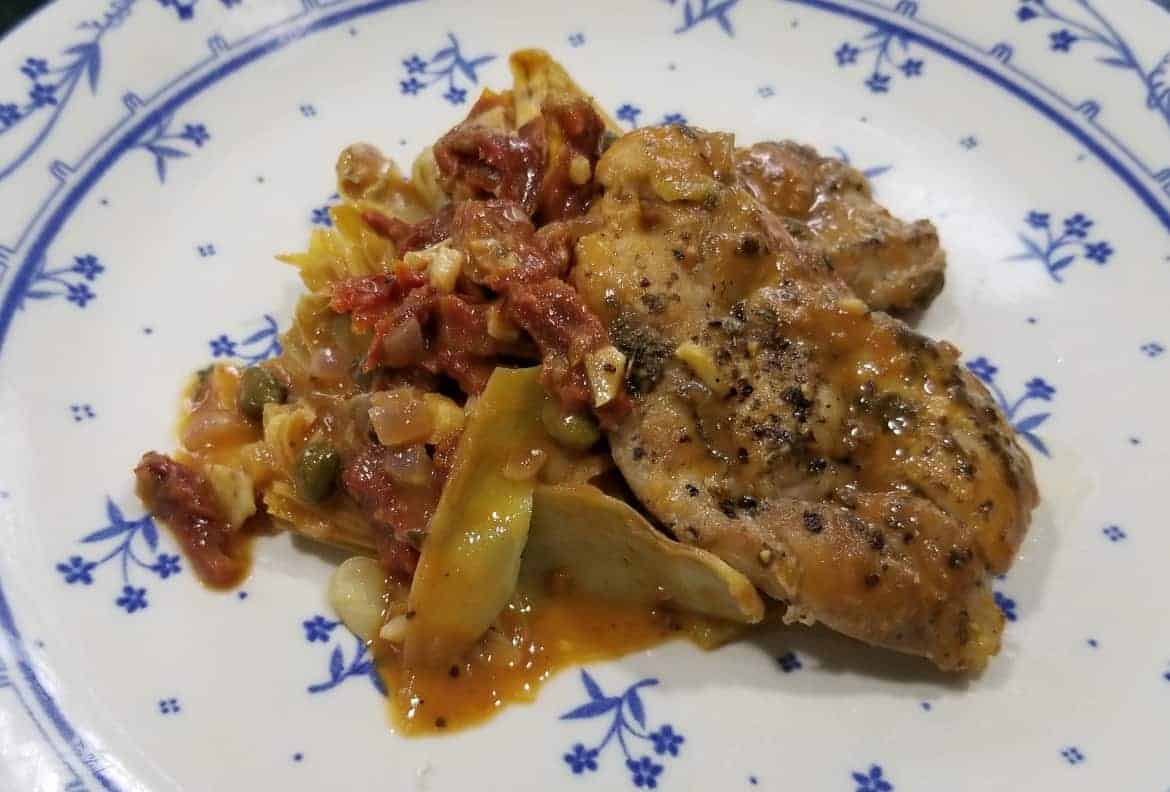
Sundried Tomato Chicken

My guest blog post on here explains how easy it is to sprout beans when on the road, this is one of the many recipes I include them in.

PUMPKIN RAVIOLI WITH SAGE BUTTER
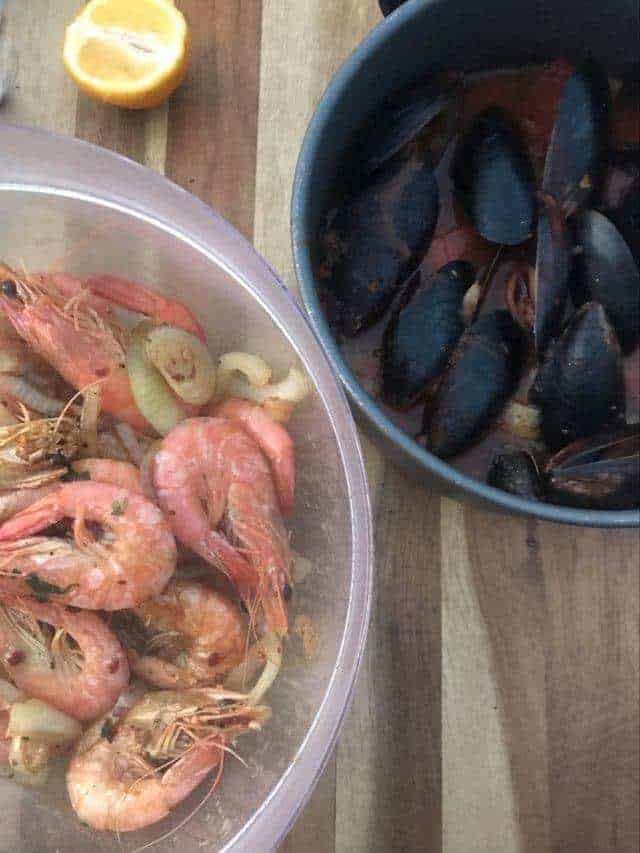
Back home we have amazing seafood since we are an island in the Mediterranean and sometimes we crave some prawns and mussels so we decided to head to a fish shop.

This recipe is really all about the timing! It took some experimentation but we finally got it down to perfection.
We use one pot and a 18″ cast iron skillet to whip up this delicious van favorite.
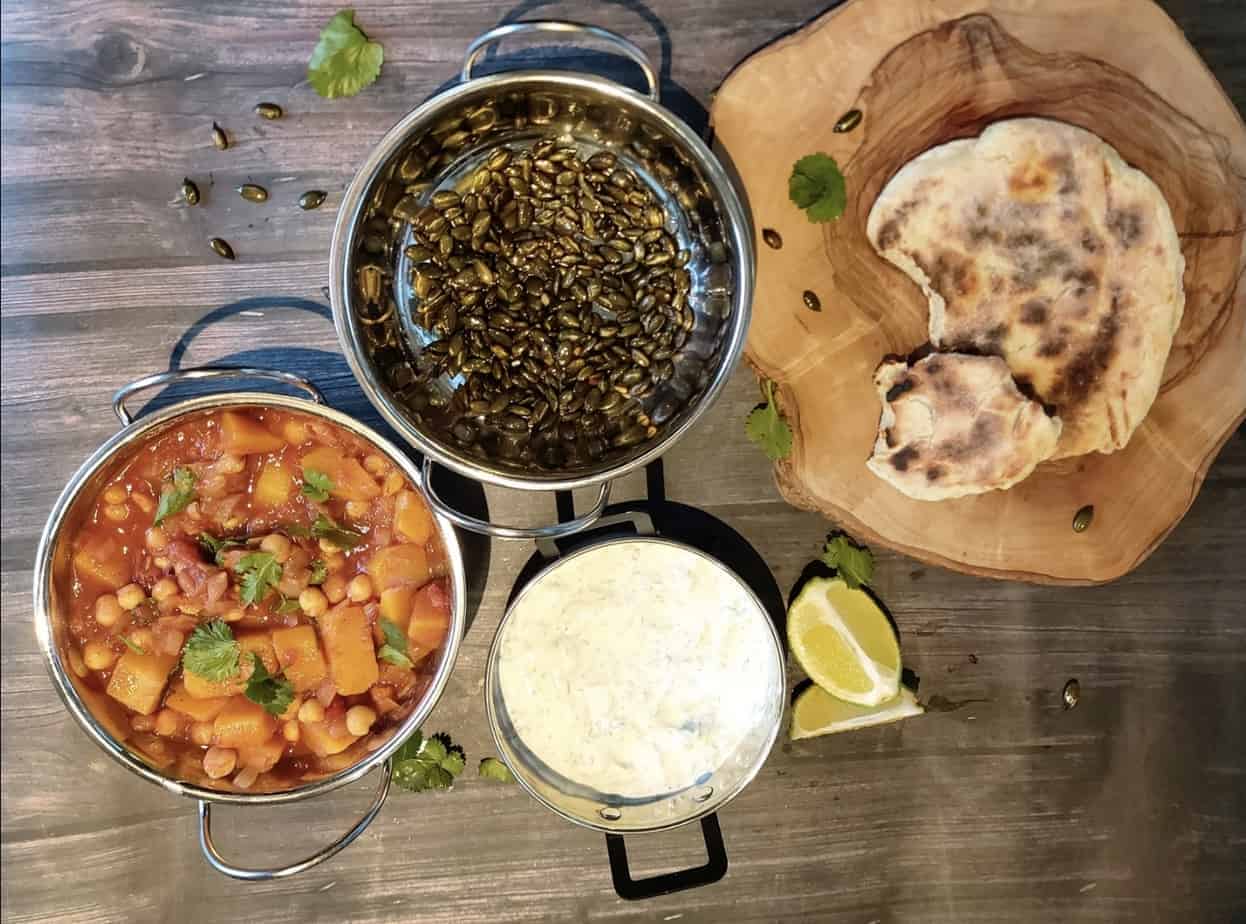
One of the tastiest curries we make in our van! Sophie actually said it’s the tastiest meal I’ve ever made her 😏
One of our favourites!

Bacon and Pesto Pasta salad
