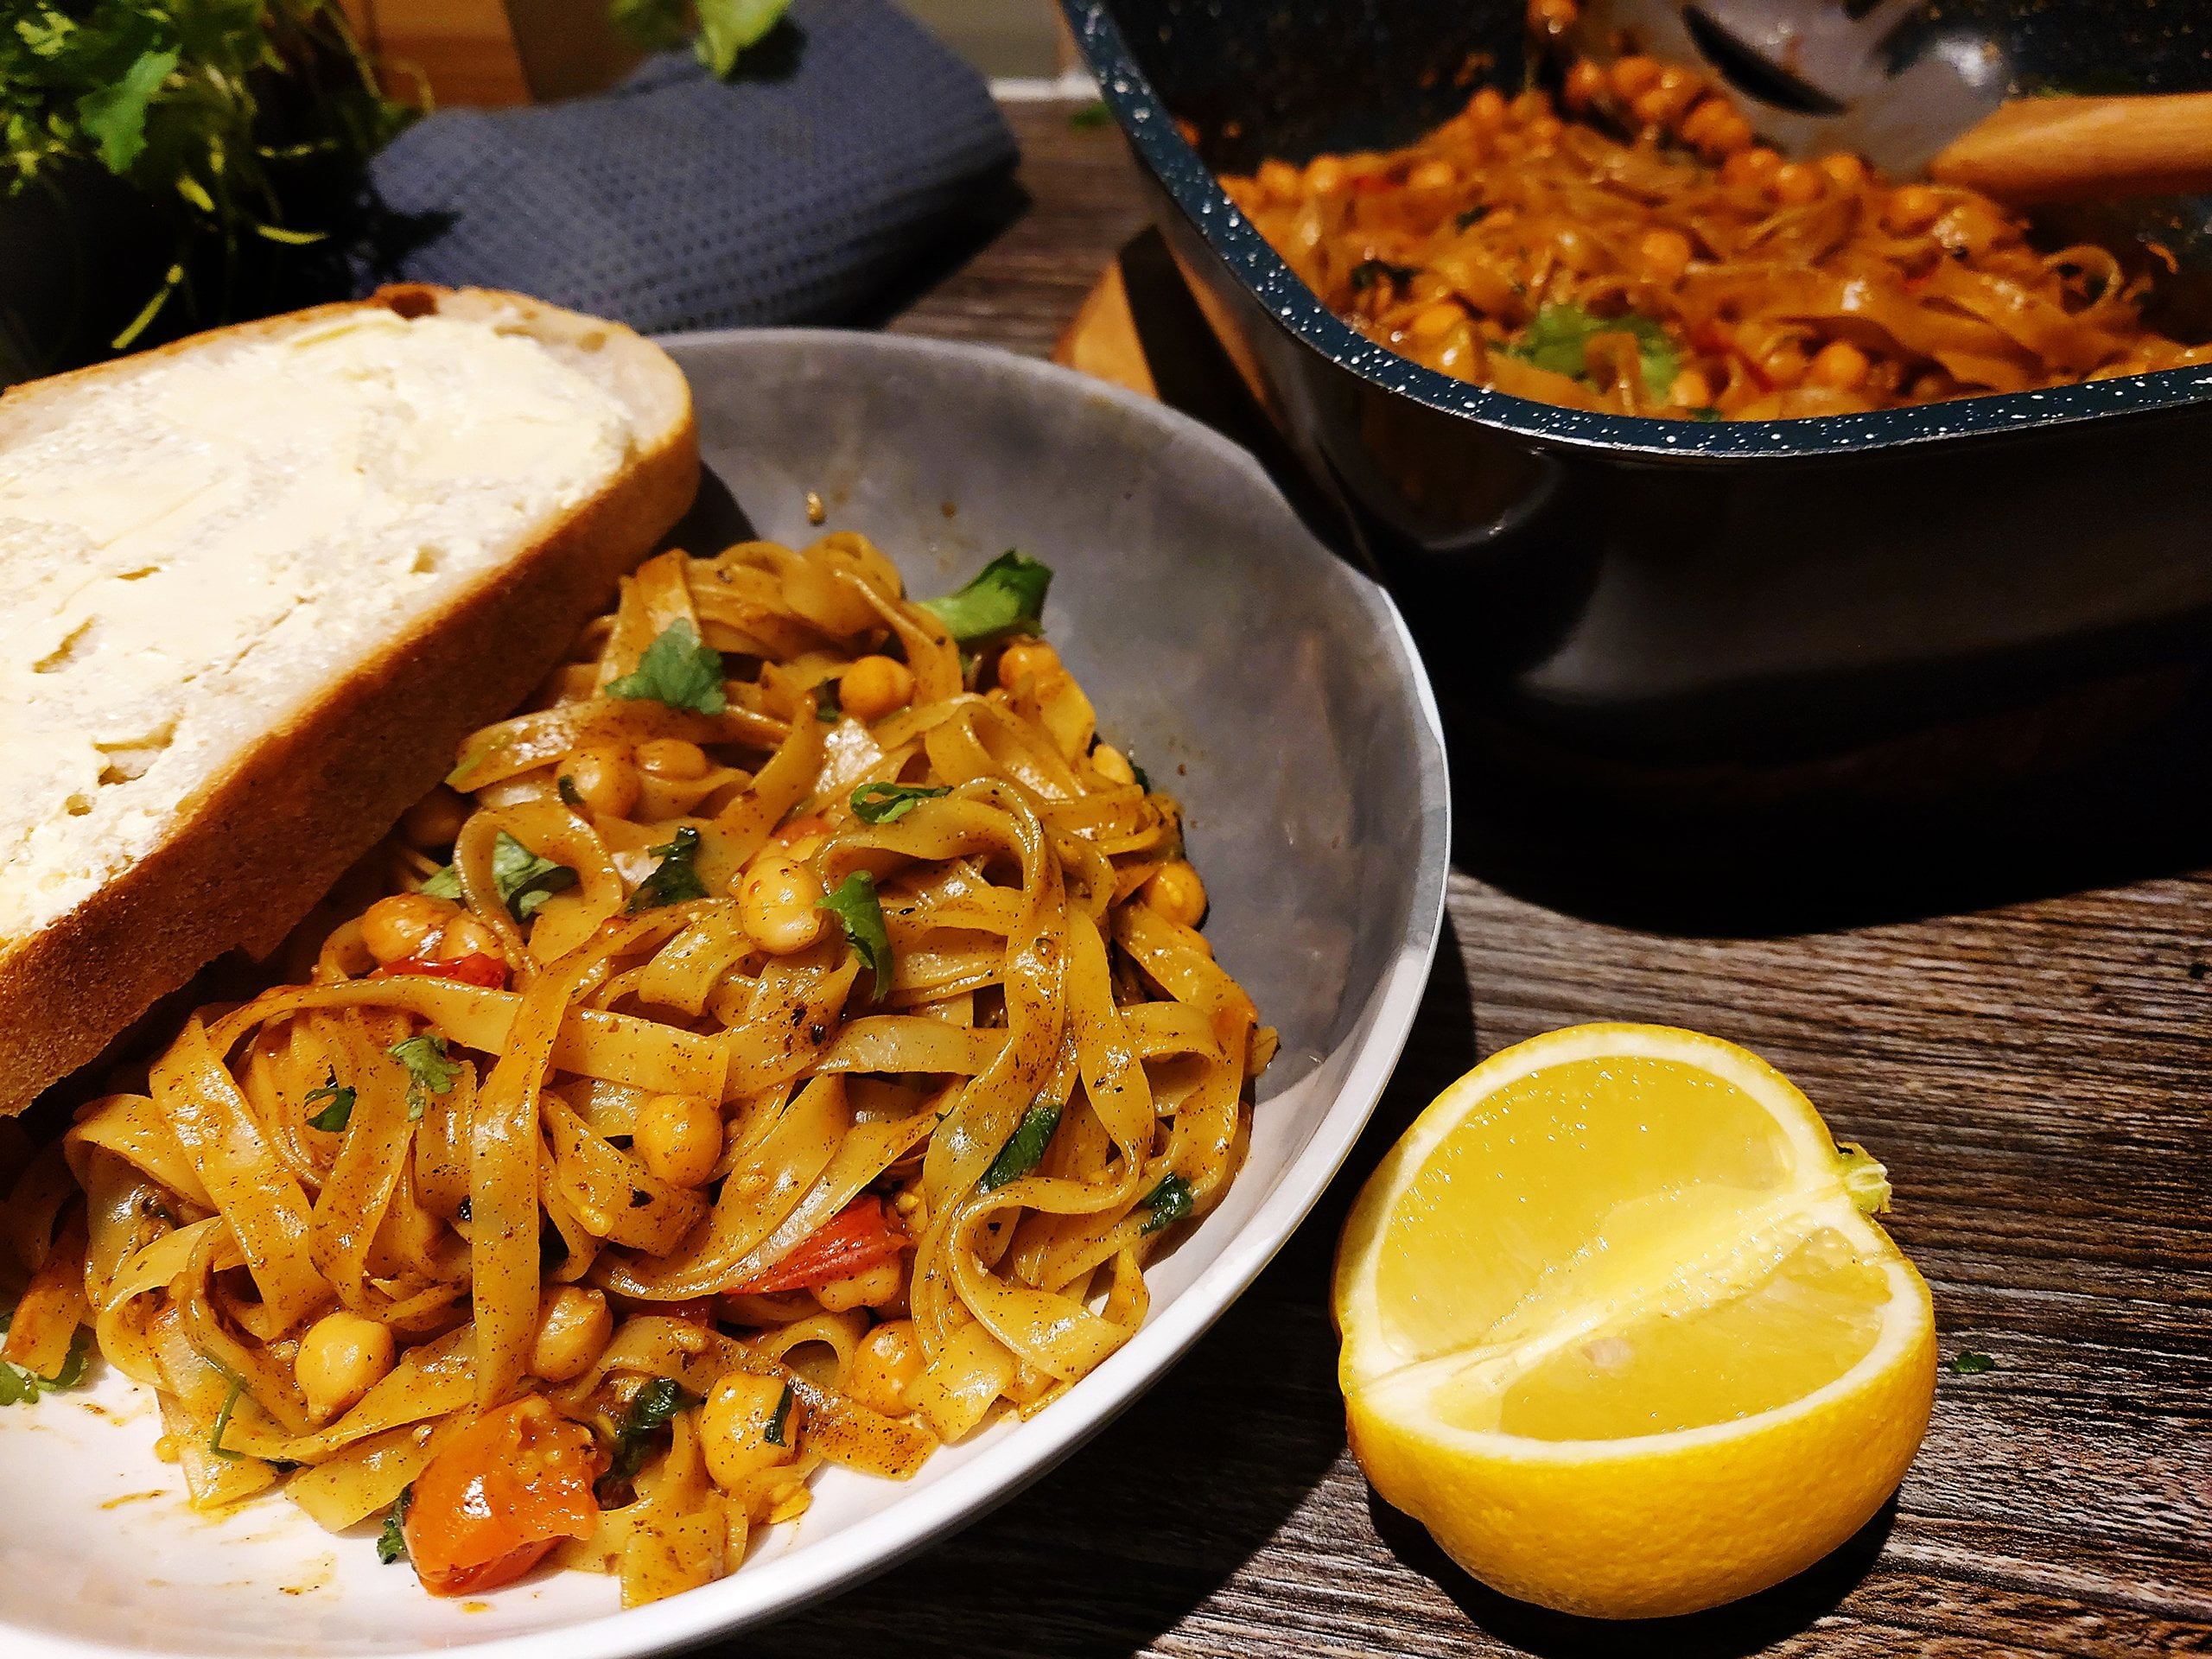
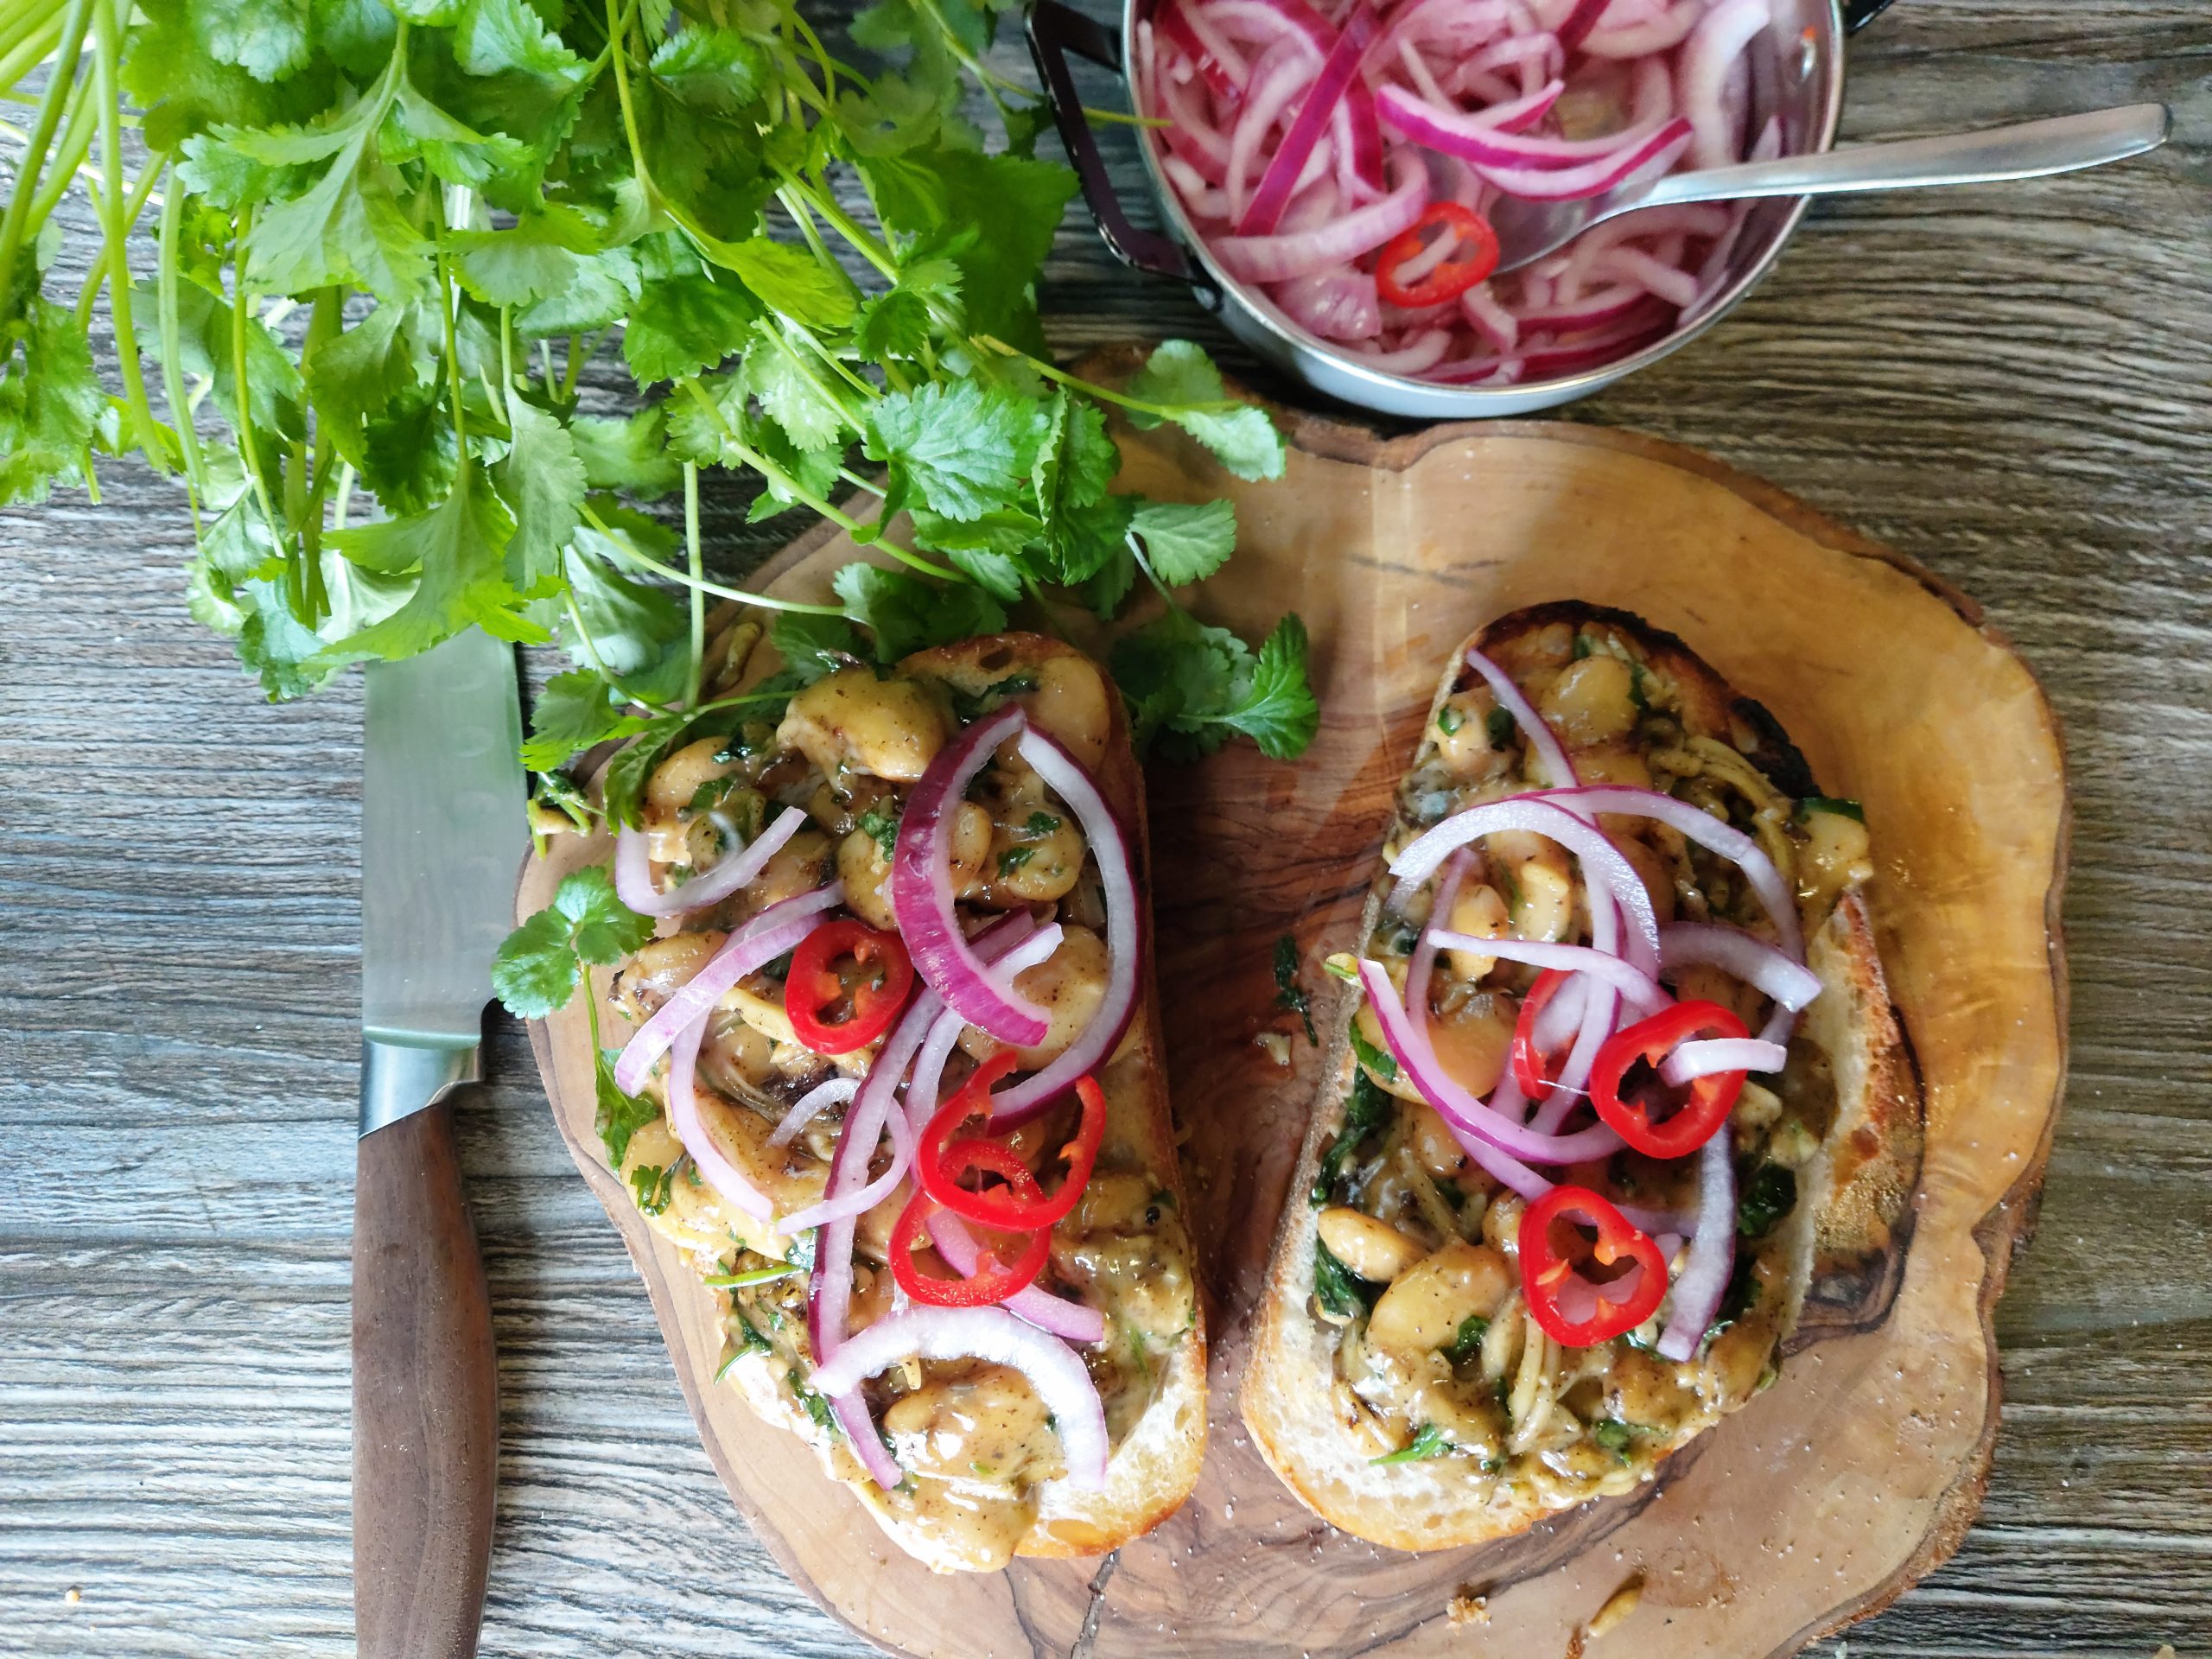
This simple salad is easy to make and the eggs could be cooked in a pan on an open fire if outdoors. Also, everyone loves to forage. A meal of dandelion salad is a dish that has been enjoyed before medieval times and it has lasted the time!
Crumpet avo sunshine: This is a great breakfast dish. Looks fancy but it’s dead simple, it’s just more appetising some times when you put some effort for the plating.
For a breakfast hash, I like to cut my potato into the smallest possible cubes so that they get nice and crispy. Chop the onion as well.
Fry both with olive oil until the potato is crispy looking (usually I put the potato on a min before the onion as it takes more time to cook). Add the garlic and mixed herbs at the end, and mix. Cook another minute.
Push the hash aside in the pan, crack the egg and put the crumpet in the pan as well. Cover with lid and cook until the egg are cooked the way you like it. I like a soft yolk.
Cut the pepper into strips. Don’t cook them. Place them on the plate as shown.
Put the crumpet in the middle and mush some avocado on it. Sprinkle salt on the avocado.
Put the hash between the pepper slices.
Place the egg on the Avocado. Season the rest with salt and pepper to taste
In a bowl mix the yeast cube with a cup (warm) water and 1 tsp sugar. Stir until the yeast has dissolved. Add it to a bowl with the flour, 1 tbsp olive oil, 1 tsp oregano and 1 tsp rosemary.
Knead for a few minutes. Cover the bowl and let the dough rise in a warm place (for example next to the campfire) until it has doubled in size – at least half an hour.
Divide the dough into pieces and then gently roll it into long sausage shapes around the sticks. Keep rotating the bread over the hot embers until all sides are browned.
Cut a slit in each date and remove the pit. In place of the pit press in one or two peanuts.
Melt the chocolate and coconut oil in a heatproof bowl over a pan containing a little water (bain-marie) or directly in a small saucepan on a very low heat. When melting it directly you have to be very careful it doesn’t burn.
Once the chocolate has melted, carefully take the stuffed date and drop it (cut side up) into the melted chocolate and roll gently to coat the date. Remove with a spoon and set on a plate. Wait until the chocolate has hardened.
Add the rice and curry powder. Cook, stirring constantly, until the grains of rice are translucent around the edges. Then add water (preferably hot) to rice in ½ cup increments, stirring constantly and allowing the liquid to absorb fully before adding more, until the rice is al dente and creamy.
Stir in the peas and corn. Taste with salt and pepper.
This fancy frittata with caramelized fennel, apple and blue cheese definitely has the wow factor. An amazing combination of flavours! This recipe definitely demonstrates how well you can eat in a van. The quick method of getting the fennel caramelized is great for vanlife. This recipe is great to make ahead of time and take along to a picnic or get together.
This recipe is usually done using an oven or grill, but we’re sure you get could inventive and give it a go on the stove top. Let us know if you give this caramelized fennel, apple and blue cheese fritatta a go!
Caramelized Fennel, Apple & Blue Cheese Frittata
the_peri_pot
Vegetarian
Ok so here is one of my favourite recipes for living in a camper as it’s so quick easy and versatile! The great thing we love about frittata is we can make them anywhere with our gas stove and grill… You can add anything you want and it’s a great way of using stuff up.
This typical Slovak dish would have been a regular weeknight meal in many houses. It doesn’t require many ingredients and it easy to cook in a van. We have seen this also topped with a fried egg. So you could try that instead of hard boiled eggs should you wish. If you try this typical slovak dish, be sure to rate it below.
Typical Slovak dish
bevanslovakia
Vegetarian
The recipe is for typical Slovak dish Spinach with potatoes and eggs. This is a vegetarian version, but by adding sausage fried on the pan you can make it more meat-eater friendly.
Peel the potatoes, wash them and quarter into equal size.
Put potatoes into a pot and pour cold water.
Add 1 tablespoon of salt and cover.
Boil the potatoes over medium-high heat and cook until the potatoes are tender about 15-20 minutes.
Drain well. And leave on the side.
Hard boil the eggs. After the eggs cool down, just peel them and slice. Whilst eggs are getting ready, you can start preparing the spinach and onion (if using)
If you decided to add onion, firstly chop it small and fry it on frying pan on oil until glossy
Add spinach (either fresh or frozen) to onion / if not using onion, just heat the oil and add spinach.
Simmer together until spinach is defrosted / or leaves of fresh spinach are soft.
Add garlic, pepper and salt and nutmeg, simmer until cooked. If needed, add some water. At the end when spinach is cooked, mix it with hand mixer if you want, until soft and creamy, some more water may be needed.
Serve with or without fried sausage on a plate or in a bowl.
This special extra starchy rice makes a delicious creamy meal that pairs perfectly with mushrooms. If you don’t like chicken then beets, shrimp or pumpkin squash can also be good options.
Dice the chicken roughly. Brown the chicken on each side with butter, salt and mixed herb. Inside should not be fully cooked.
In the same pan, sautè the mushrooms and diced onions in butter for 5min.
At the same time bring the stock to a boil in a different saucepan.
Add the rice and the wine to the mushrooms and reduce liquid by half.
Add simmered stock 1/2 cup at a time and wait until all the juice is almost all soaked up by the rice before the next 1/2 cup. This process should take about 25min.
Add chicken bits after the second cup of stock
Taste the rice. It should be still slightly chewy and not overcooked. When ready, turn off stove, put cheese in and 1/3 cup of stock. Add salt and pepper (I like it very peppery).
Not sure what to do with the water from your chickpeas? Make it into aquafaba chocolate mousse of course! The thought of using aquafaba in something sweet like chocolate mousse can seem strange. It is in fact delicious, and makes great use of something that would be tipped away.
This aquafaba chocolate mousse is not only great for vegan vanlifers, but also those who have an egg allergy.
Aquafaba Chocolate Mousse
gourmettravelcook
Vegan, Vegetarian
This one is a delicious and easy to make 2 ingredient chocolate mousse that also happens to be vegan (if you use vegan chocolate & milk)
The catch: you need an electric mixer. So if you are a normal person and don’t have an electric mixer in your van, this might not be for you.
5 from 1 vote
10 Ingredients or less – Family friendly – Prep ahead
In a double boiler, melt the chocolate. Add a splash of water or milk, it is not necessary but I recommend it for the chocolate consistency when mixing with the chickpea foam.
Meanwhile, drain the chickpea water from the can into a big bowl. I highly recommend adding a tsp of acid (lemon juice) into it as well, it will help the foam stabilize and reduce the whipping time.
With the electric mixer, mix until the chickpea water becomes a stiff peak. It should take at least 15min and you’ll know it’s ready when the foam doesn’t slide when the bowl is tipped. Don’t stop before that.
Cool the chocolate a bit, add the cayenne pepper (if using) and stir very gently.
Pour the chocolate in the foam and incorporate very delicately the foam to the chocolate. The more delicate you are the fluffier the mousse will be.
Distribute the mixture into containers. I recommend whisky glass size transparent glasses.
Refrigerate at least 3 hours or overnight (I used a cooler with ice on top)
This feta orzo salad is great for prepping in advance. Ideal for taking on picnics or trips to the beach. The feta and orzo work really well together and the pepper, onion and cucumber give it a lovely crunch and some colour.
Feta Orzo Salad
gourmettravelcook
Vegetarian
Just an amazing summer cold dish, full of fresh/raw ingredients prepared in absolutely no time. The main ingredient is orzo, which is basically pasta in the shape of rice, which pairs perfectly with the vinaigrette & fresh veggies.
5 from 1 vote
30 minute meal – Leftovers – Less washing-up – No fridge – One-pan – Prep ahead – Stove top meal
This llajua hot sauce is the hot sauce that you’ll see on every Bolivian table. It is traditionally served with savoury meals. It’s dead simple, fresh and delicious. It is made with huacatay leaves, a Bolivian herb with quite a unique flavour. Traditionally this sauce is made with a special hand blender, that gives the sauce a chunky blended texture. However, I was shown it can also be made with a grater, which is what we will do for this recipe.
Llajua Hot Sauce
vanlife_recipes_
Vegan, Vegetarian
A delicious hot sauce that is easy to make in the van with limited equipment!
5 from 1 vote
5 ingredients or less – No cook – No fridge – No water
This one pot jollof rice is a great African dish. Depending on which rice you use in the pot depends whether you are making it the Nigerian or Ghanaian way. This vegetarian jollof rice uses dried herbs and spices like curry powder as it is easier for vanlife. If you have fresh chilli’s then you can substitute these for the curry powder.
Though this is by no means a Chilean recipe, it was the rice dish we made the most in Chile by far, as it uses ingredients which are easy to find all over the country, and only requires one pan. It’s also delicious cold, so we always make double portions, to avoid having to worry about lunch the next day.
One-pot Jollof Rice
vanlife_recipes_
Vegetarian
Who doesn't love a one pan dish? This Jollof rice dish doesn't disappoint
5 from 1 vote
30 minute meal – Less washing-up – One-pan – Stove top meal
Dice the pepper and onion, and fry in an oiled saucepan at medium heat with coriander seeds, until the onions start to brown.
Add thinly minced garlic, cumin powder, curry powder, tinned tomato, stock, rice and thinly sliced coriander stalks. Mix for a minute or so, then add water to cover and put the lid on.
Leave to cook on low heat stirring every 3 minutes or so.
After 10 minutes the rice should be almost cooked (hard but no longer crunchy). Make sure there is not too much liquid left, the top of the rice should be out of the liquid.
Make sure the lid is on properly, turn off the heat, and leave to sit for minimum 5 minutes, while you deal with the eggs. This will allow the rice time to soak up more of the liquid and finish cooking, without the bottom of the rice burning.
If you’re having eggs, fry them in a separate pan.
When you’re ready with the eggs, mix the chopped coriander into the rice, and plate. Serve with crème fraîche and the egg on top, drizzle with olive oil and lemon juice.
Couscous is readily available throughout Chile, and is also the only carbohydrate I know of that doesn’t need to be heated. This comes in handy if you’re looking to save on gas, or if you don’t have a cooker.
Fresh herbs (parsley, coriander, basil and mint are all good options)
100gSoft Cheese - (queso fresco)
1/2Cucumber
1cupCherry Tomatoes
1tspBalsamic Vinegar
1/2Vegetable stock Cube
1/2Lemon
3tbspOlive Oil
Saltto taste
Pepperto taste
Instructions
In a Tupperware, mix the lemon juice, 2 tablespoons of the olive oil, balsamic vinegar and the crumbled stock cube. Then, mash the stock cube with a fork to make a paste.
Next, add the couscous, and pour in just enough water to submerge the grains.
When the couscous is almost ready, slice the olives, and cut the cheese and cucumber into cubes (roughly 1cm squared). If using cherry tomatoes cut into four, if using regular tomatoes cut into similar cubes to the cucumber.
Finally, chop the herbs, then add everything to a container, drizzle with the remaining olive oil and mix well.
Notes
This no cook recipe is ideal when travelling through hot countries, as there is no need feel the heat with the hobs on. Use whatever leftovers you have to make make this meal.
A classic recipe of mushroom stroganoff with some adaptions to make it perfect for vanlife. I used to make this one all the time back home, when I fancied something creamy and comforting.
Here however, fresh mushrooms aren’t so easy to find, plus they aren’t cheap either.​ If you’re in the south at the right time of year, you may be able to get your hands on some cheap wild mushrooms in the markets. The ones you want are the impressive Loyo mushrooms, from the porcini family.​ For the most part, we ended up using tinned mushrooms. I won’t try and claim that these are the real thing, however they do have the advantage of being cheap, easy to find, and of course, lasting forever. By all means, use fresh if you can, but if not don’t be afraid to give these a go, you may be surprised.
All the other ingredients for this recipe are also long life, so you can think about this one in the supermarket, and then forget about it till a rainy day.​
Mushroom Stroganoff
vanlife_recipes_
Vegetarian
A quick recipe of mushroom stroganoff, using long life items, which makes it ideal for vanlife!
5 from 1 vote
30 minute meal - Family friendly - No fridge - Stove top meal - Tinned food
Half-open the mushrooms and drain them well, then fully open them and cut them into slices.
Put your frying pan on high heat.
While it’s heating up, put your water on for the pasta.
Next, add the butter and oil to your pan, the butter will give the mushrooms a great flavour, and the oil will stop the butter from burning. Give the mushrooms a good squeeze to get rid of the remaining water, and drop them in, along with a pinch of salt.
Stir, but only occasionally, so as to get a nice colouring.
After 5 minutes or so the mushrooms should have reduced significantly, and have started to brown. At this stage add your stock and coat the mushrooms. If you’re using a stock cube, you can put it in the corner of the pan with a quarter cup of water from the pasta and mash it into a paste with your spatula or a fork. Then let the mushrooms cook for a further 2 minutes.
Next, add the cream to your mushrooms and let it reduce on low heat. When the cream has reached a nice saucy consistency, add the Provençal mix or thyme and turn of the heat.
Drain your pasta, and mix it into your sauce, along with a squeeze of lemon juice and black pepper.
Heat the pine nuts over a gentle heat in a frying pan until they turn golden in colour. Stir occasionally.
When the pine nuts are golden, place all the ingredients in to your blender and blend until smooth.
Notes
We use a manual food processor to make this pesto in our van, we use the Zyliss easy pull.If you don't fancy getting the pan out, you can always toast the pine nuts in the Ridgemonkey sandwich toaster.
This is our absolute favorite cookie recipe! I made it all the time in the early years of our marriage, before we left for Vanlife. And I was delighted to learn that I could make cookies on a propane stove top with a covered pan!
If you are like us, and don’t have an oven in your van, you will need a lidded pan to make these cookies. It creates an oven effect on your stove top. If you don’t have a pan lid, perhaps you could try a dinner plate!
If you have an electric mixer, you would be fine just using softened butter. I melt my butter to make mixing easier. I didn’t bring my hand mixer, since we boondock most of the time, and rely completely on our solar panels and battery bank. Fellow boondockers, I know you understand!
Melt the butter in the pan you will be using to bake the cookies on. Yay for less dishes! Once the butter is melted, use a scraping spatula to get all of the butter into a mixing bowl. Stir the peanut butter into the butter until well blended.
Add the granulated sugar, brown sugar, baking soda, and baking powder. Mix until well combined.
Whisk in the egg and vanilla extract until combined
Add flour and mix until well combined.
Finally, stir in your chocolate chips. The dough should be thick, and the chocolate chips might fall off a bit to the bottom of the bowl. That’s okay! Fold in the chip stragglers as you roll your dough into 1 ½ inch balls and place those balls in your pan, spaced at least an inch apart.
Cover the pan, and cook on the lowest flame possible without your propane stove going out (see picture for reference). The lower the flame, the more evenly they will cook. We don’t want burnt-bottom cookies!
Bake for about 40 minutes, or until they firm up, and are no longer doughy. The time could be shorter or longer for you, depending on your stove. Keep an eye on them.
Add chicken broth, potatoes, and bay leaves. Season with salt and pepper. Bring to a boil. Then, reduce heat to medium low and cook until potatoes are tender.
While the soup is cooking, fry up the bacon, and set aside.
Once the potatoes are tender, add in the chicken, corn and heavy whipping cream. Simmer for 15 minutes or so, letting the flavors meld.
Serve soup topped with crumbled bacon, freshly squeezed lime, and cheddar cheese. Yum!
Adapted with some changes from Cooking Classy
This super simple recipe of guacamole loaded sweet potatoes is a great recipe for campervans everywhere. There is no requirement of an oven, and can all be cooked on a single stove. We all know this is ideal for vanlife. This meal is a great vegan main that can be served with a side salad, or reduce the portions and use it as a side.
Avocado’s are one of those things that seems to take forever to ripen and then suddenly it’s ready and then goes overripe! If you are looking for a recipe to use up ripe avocado then this is great as it uses a lot of ingredients you may already have in your van.
This recipe is a favourite of featured @happy_vagabonds you can read their feature right here. They took inspiration for this recipe from Food with feeling and made it vanlife friendly. We love this! You can still eat what you want when cooking in a campervan or any tiny home for that matter. Sometimes you may just need a little creativity and a few tweaks. That is one of the many exciting aspects of vanlife!
If you try this recipe be sure to rate it below and leave a comment.
I never would have thought of combining sweet potatoes and guacamole until I saw the idea on Pinterest! The flavors pair together really well, and we love this meal! It’s quick and easy to make on a week night after work. And it’s quite filling, especially with a salad. But, I will sometimes serve it with a side of quinoa, as well.
5 from 1 vote
10 Ingredients or less – 30 minute meal – One-pan – Stove top meal
Wash and chop up the sweet potatoes into 1 inch chunks, or so.
Place the sweet potatoes in a medium pan, cover them with water, and bring to a boil. Simmer for around 15 minutes
While the potatoes cook, make your guacamole. Chop up the onion and tomato, and mince the garlic.
In a medium bowl, mash up the avocados. Mix in the onion, tomato, garlic, and lime juice. Season with salt and pepper to taste.
When the sweet potatoes are fully cooked, spoon them onto plates, adding salt and pepper if you’d like. Then, top the sweet potatoes with the guacamole and black beans.
Garnish with cilantro, and voila! You’re ready to dig in!
This southwest salad with sweet and spicy chicken is a great vanlife recipe. It takes hardly any cooking, and if you use pre-cooked chicken it’s even quicker. A great way to use up leftovers.
I was playing with seasonings one night as I cooked chicken to put in a salad for dinner, and I loved the sweet and savoury heat it added to our salad! The tortilla chips and Ranch really compliment the flavors of this dish. You can modify this chicken salad to your own tastes! Perhaps you’re not a broccoli fan, or you hate black beans. That’s fine! The beauty of a salad is you can toss it together your own way! Play with it, and have fun! If you don’t have all of the ingredients, use what you do have! I often make a simplified version with no black beans, corn, tomato, or avocado-just a simple salad with chicken and tortilla chips on top.
Southwest Salad with Sweet and Spicy Chicken
happy_vagabonds
Meat Based
This has been a go-to meal for years for us, and it has translated really well into Vanlife.
Cook the chicken over medium heat with the avocado oil, seasoning to taste with the paprika, garlic powder, honey, red pepper flakes, salt, and pepper. The above measurements are estimates. I usually play with the amounts of spices and flavors, tasting as I go.
While the chicken is cooking, you can prep your salads. Chop up the romaine lettuce, kale, roma tomato, broccoli, cucumber, and avocado. We are big eaters, so I serve the salads in mixing bowls. I put half of the romaine lettuce, spinach, kale, cucumber, and broccoli in each bowl.
Top each salad with tomato, black beans, corn, avocado, the cooked chicken, and Ranch dressing. Here is a tip I often forget: To keep them crunchy, save the tortilla chips for last (after you add the dressing), and crush them over the tops of the salads.
Enjoy!
Notes
You can use pre-cooked chicken in this recipe to make it even quicker! If the chicken is already cooked (like a Rotisserie chicken), I still fry it up in the pan with the oil and the seasonings so it really takes on that sweet, spicy, savory flavor.
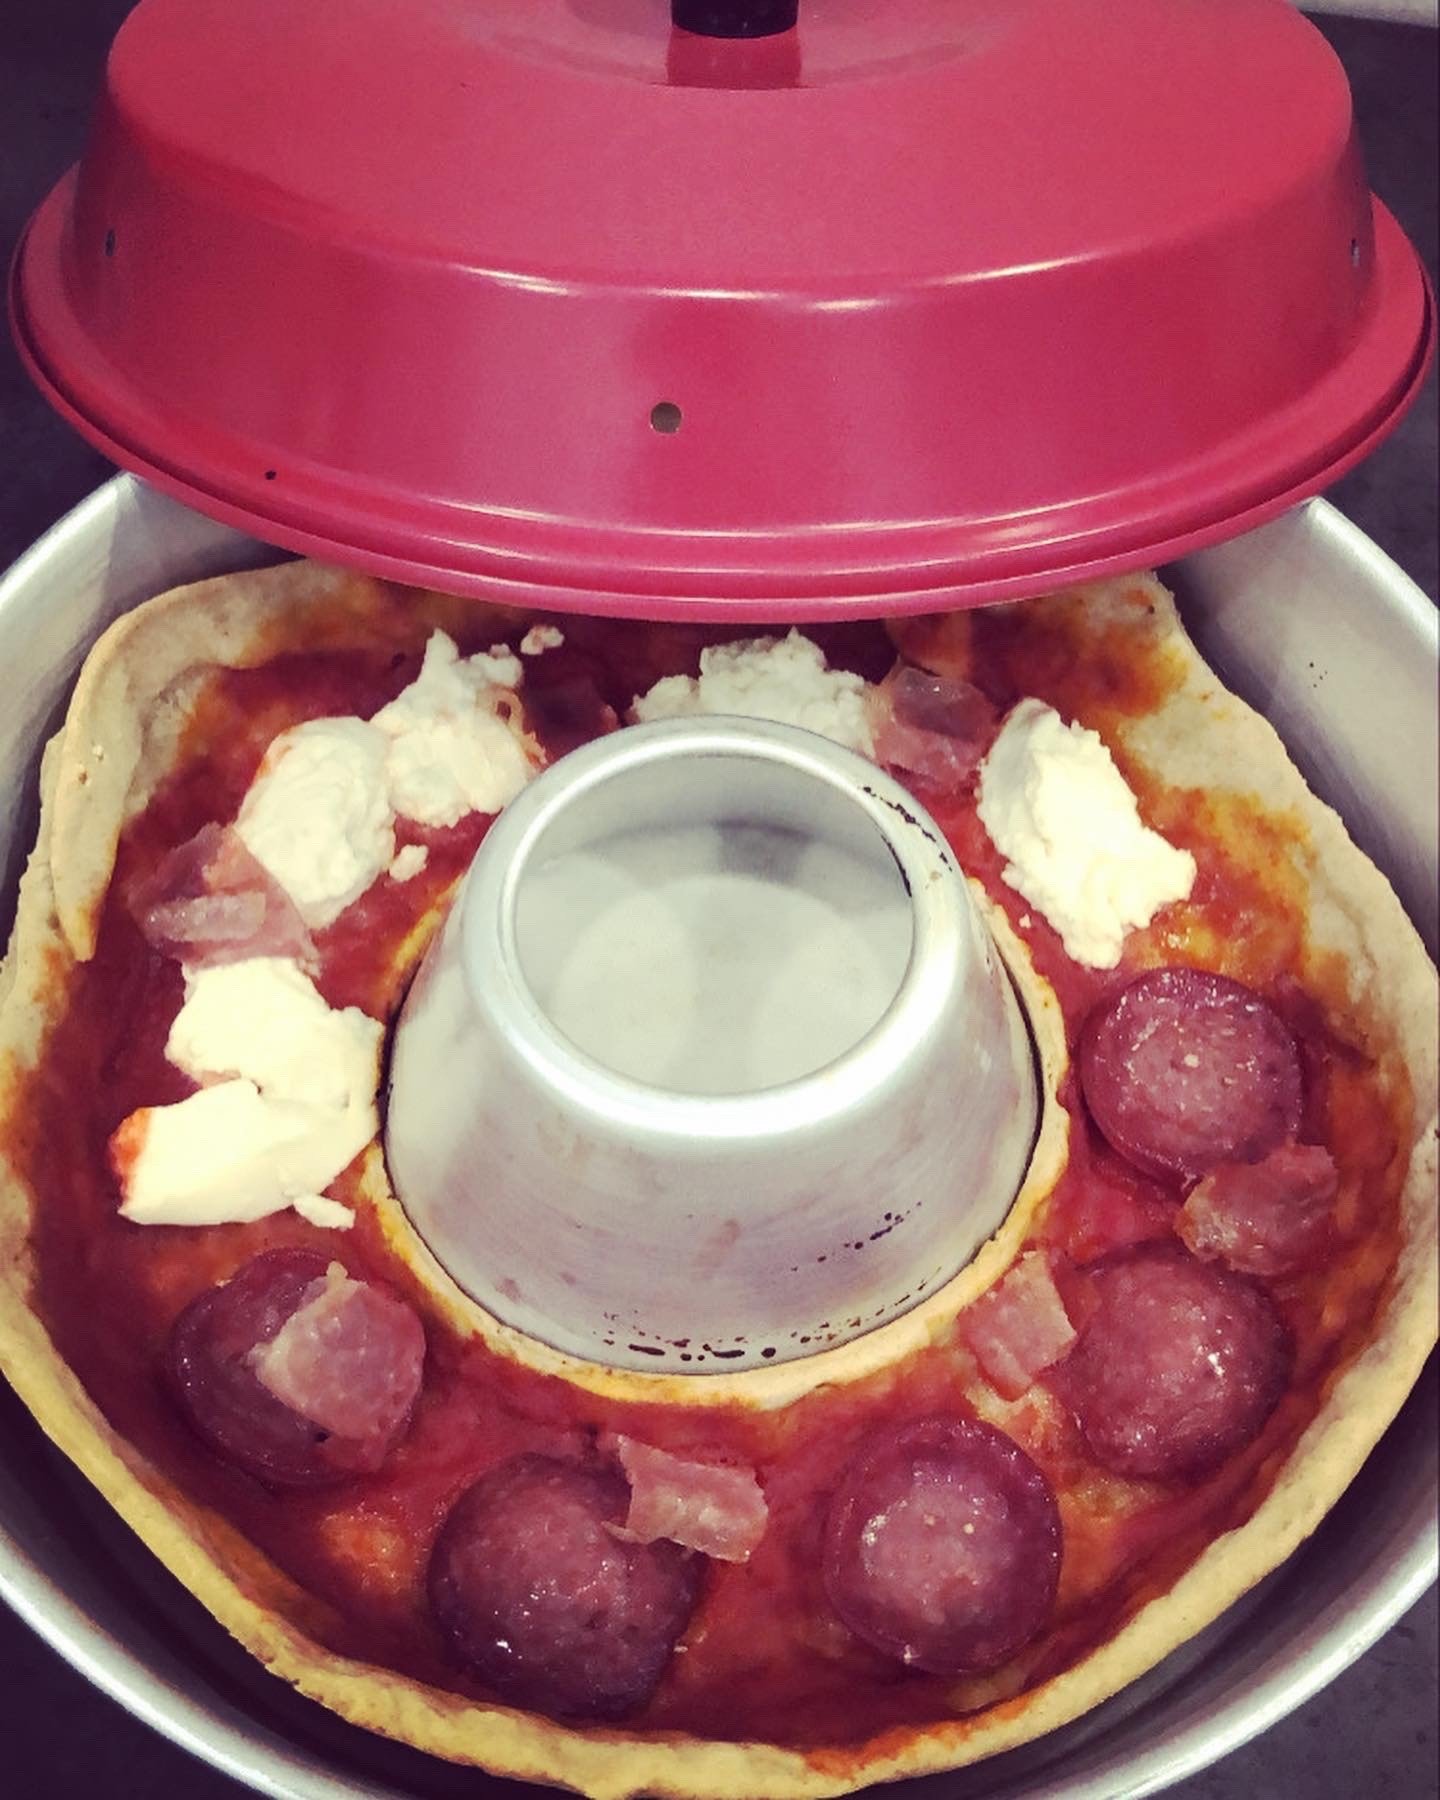
I have been using this pizza dough recipe for years! I’ve tried new dough recipes since, but I always come back to this one. It is so simple and always turns out great! Imagine my delight when I realized I could make homemade pizza on our propane stove top in the van! When I photographed this recipe, it was during the COVID-19 quarantine, so the grocery store was out of organic all-purpose flour. I tried making it with organic quinoa flour, instead. I didn’t realize quinoa flour is like a whole wheat flour. That’s why the crust has a darker color. I do NOT recommend using a non-white flour with this recipe! The quinoa flour made the dough difficult to work with, and the crust too crumbly. Plus, the flavor was blah at best. This recipe works best with white flour, and turns out ah-mazing every time with it!
3cupAll-purpose white flour (set aside 1/2 cup for kneading)
Instructions
Add the warm water to a mixing bowl. Next, add the baking soda, olive oil, and honey (in that exact order, if you want the ingredients to roll right off the measuring spoon well). Then, add the salt, and mix until well combined. Finally, add 2 ½ flour, and stir until it begins to form a ball of dough.
I usually knead the dough for a few minutes by hand, adding flour until it stops sticking to my fingers. This is when you will start adding in the ½ cup of flour that you set aside. You may not need the full ½ cup. Just add flour and keep kneading until the dough doesn’t stick to your fingers any more.
At this point, I usually split the dough in two, and save half of it for a second night of personal pizzas, since there are only two of us. ¼ of the dough will make one personal pan pizza.
Now is the time to add your sauce, cheese, and toppings. Let cook until the cheese melts, and the crust firms up on the bottom. If you like a crispier crust, you may want to turn up the flame a bit on the stove to crisp it.The pizza should slide right out of the pan and onto your plate. Slice it up and enjoy!Adapted from Life in the Lofthouse
We use cookies to ensure that we give you the best experience on our website. If you continue to use this site you are consenting to these cookies.OkPrivacy policy