Meet featured vanlifers Andy & Ayana of The Buslife Kitchen. Cookbook author, jeweller, chef to fellow nomads and living buslife full-time....
")
RidgeMonkey
BBQ & Fire
Cobb / CADAC
Slow Cooker
Air Fryer
One Pan
Meet featured vanlifers Andy & Ayana of The Buslife Kitchen. Cookbook author, jeweller, chef to fellow nomads and living buslife full-time....
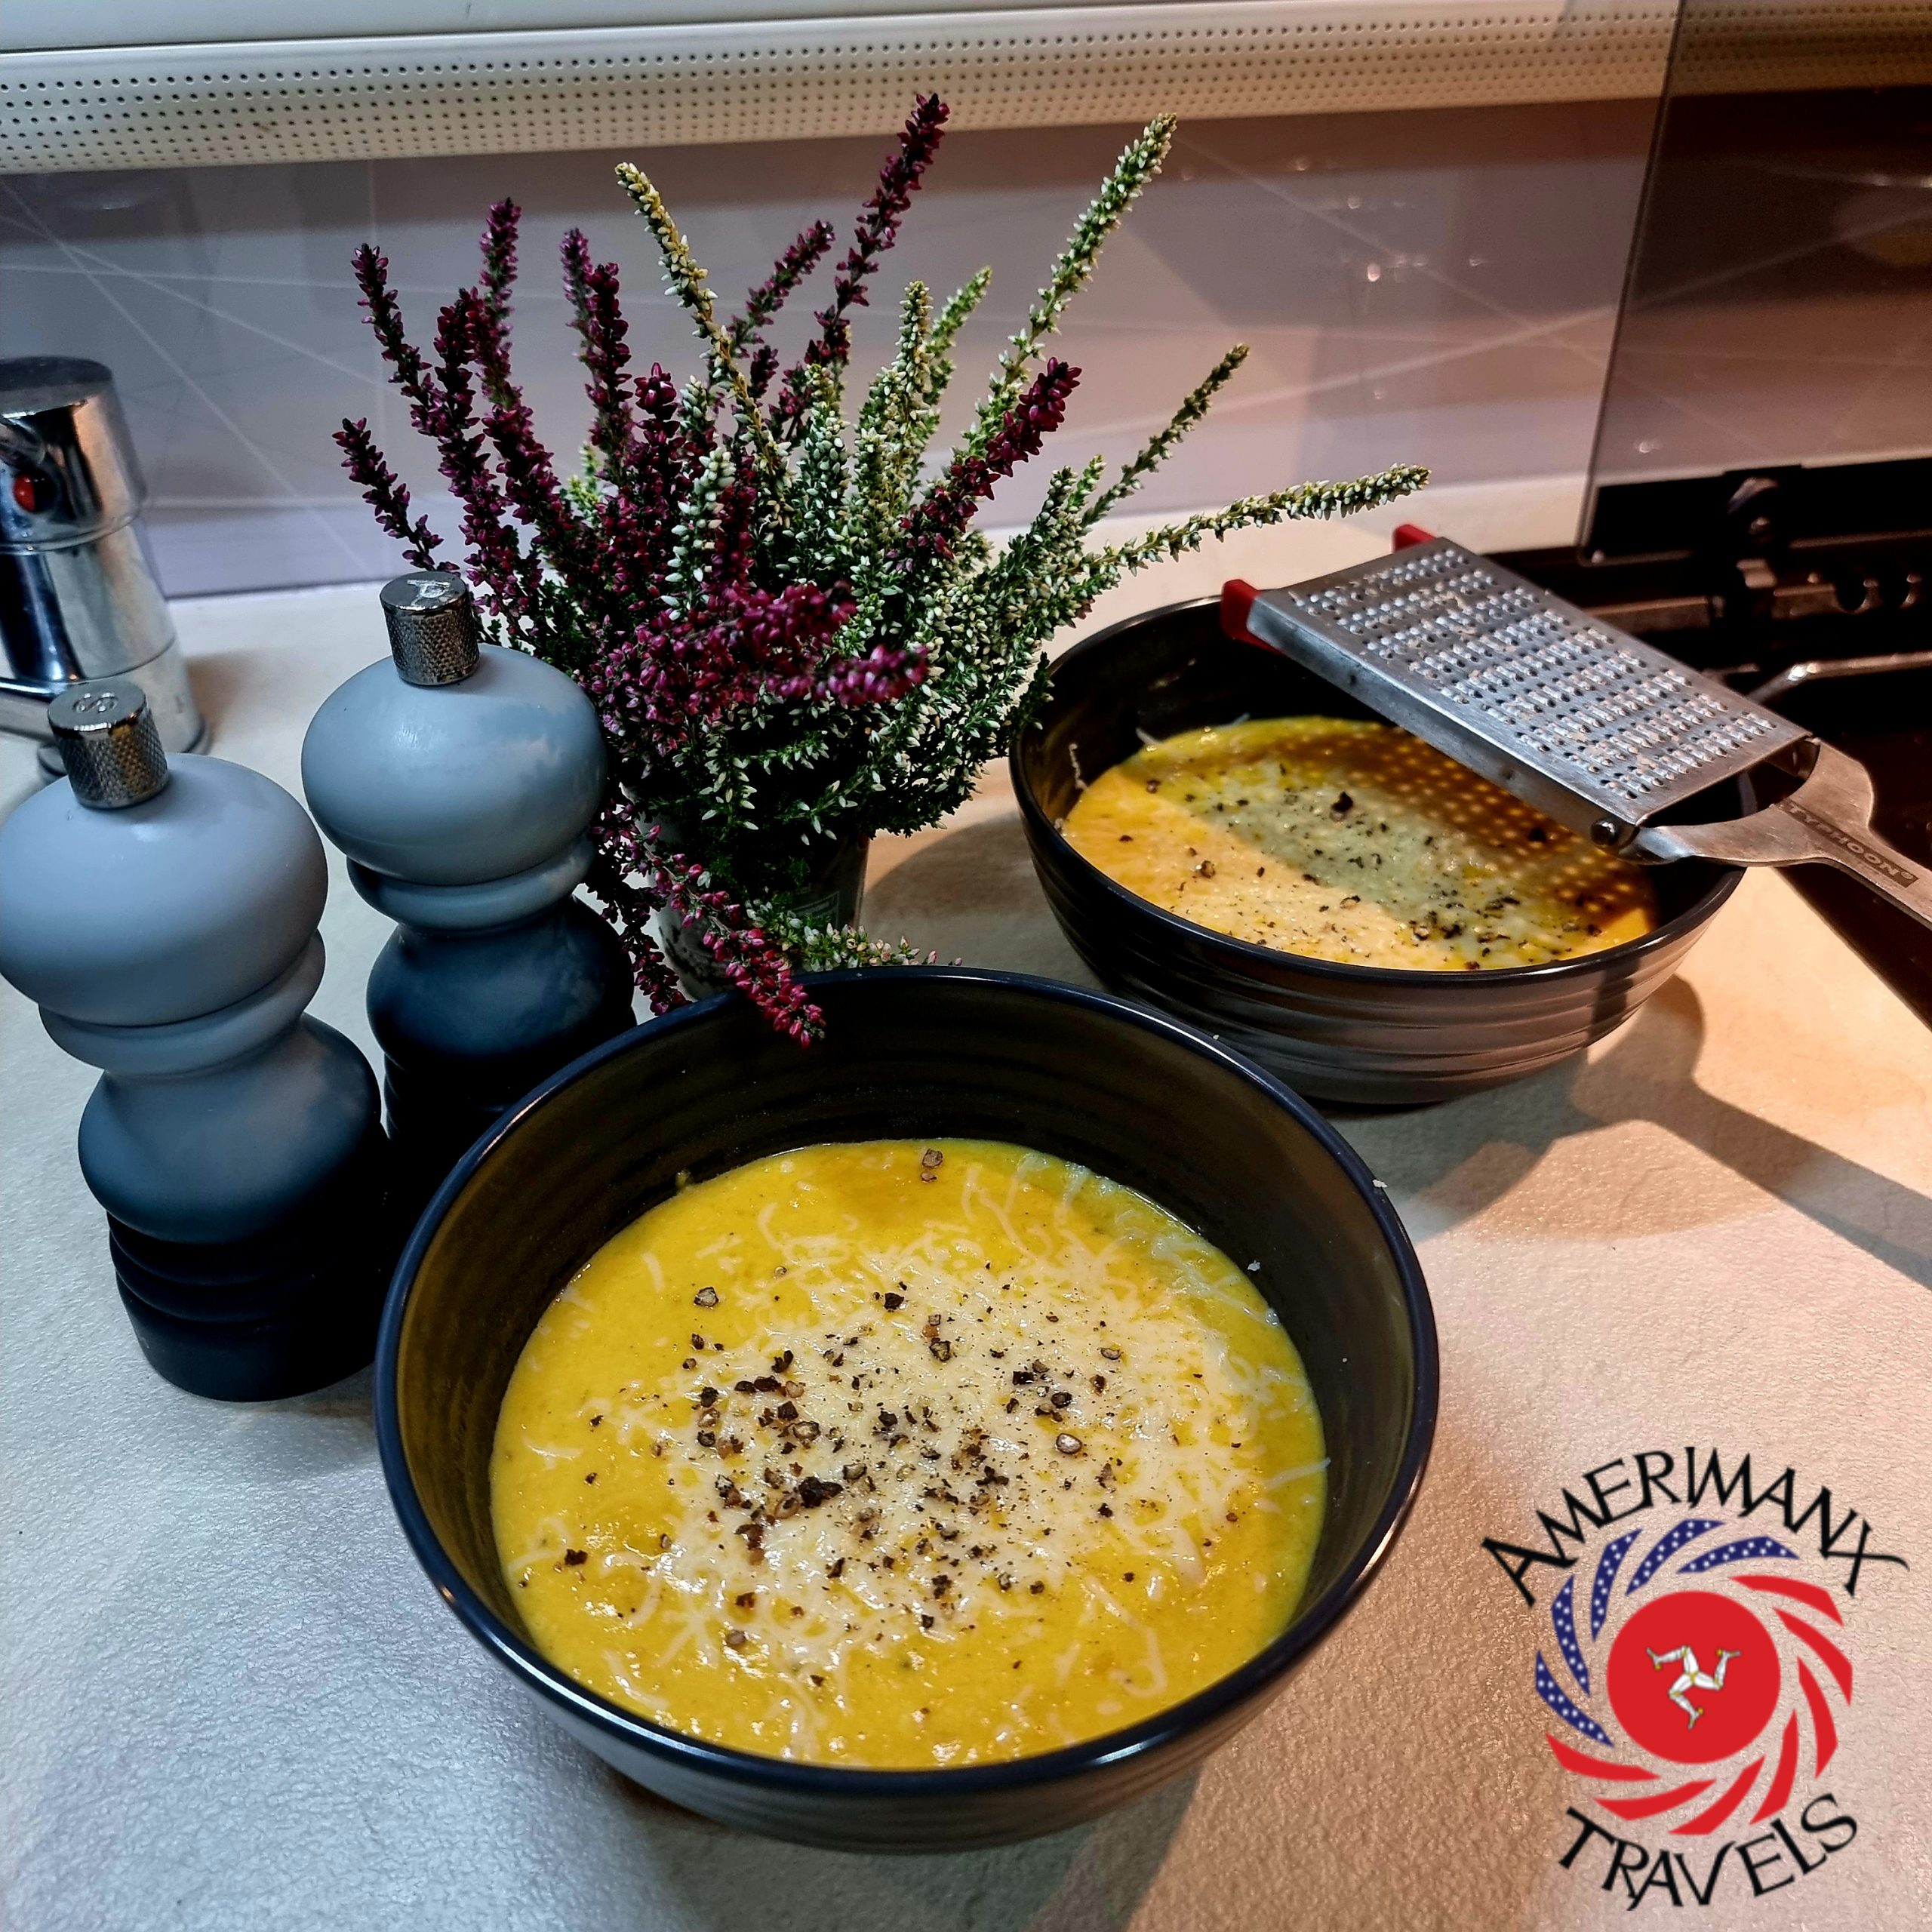
This Baked Pumpkin Soup was a well deserved winner for Halloween week on Van Bake off! Actually baking a pumpkin in your van and making soup is...
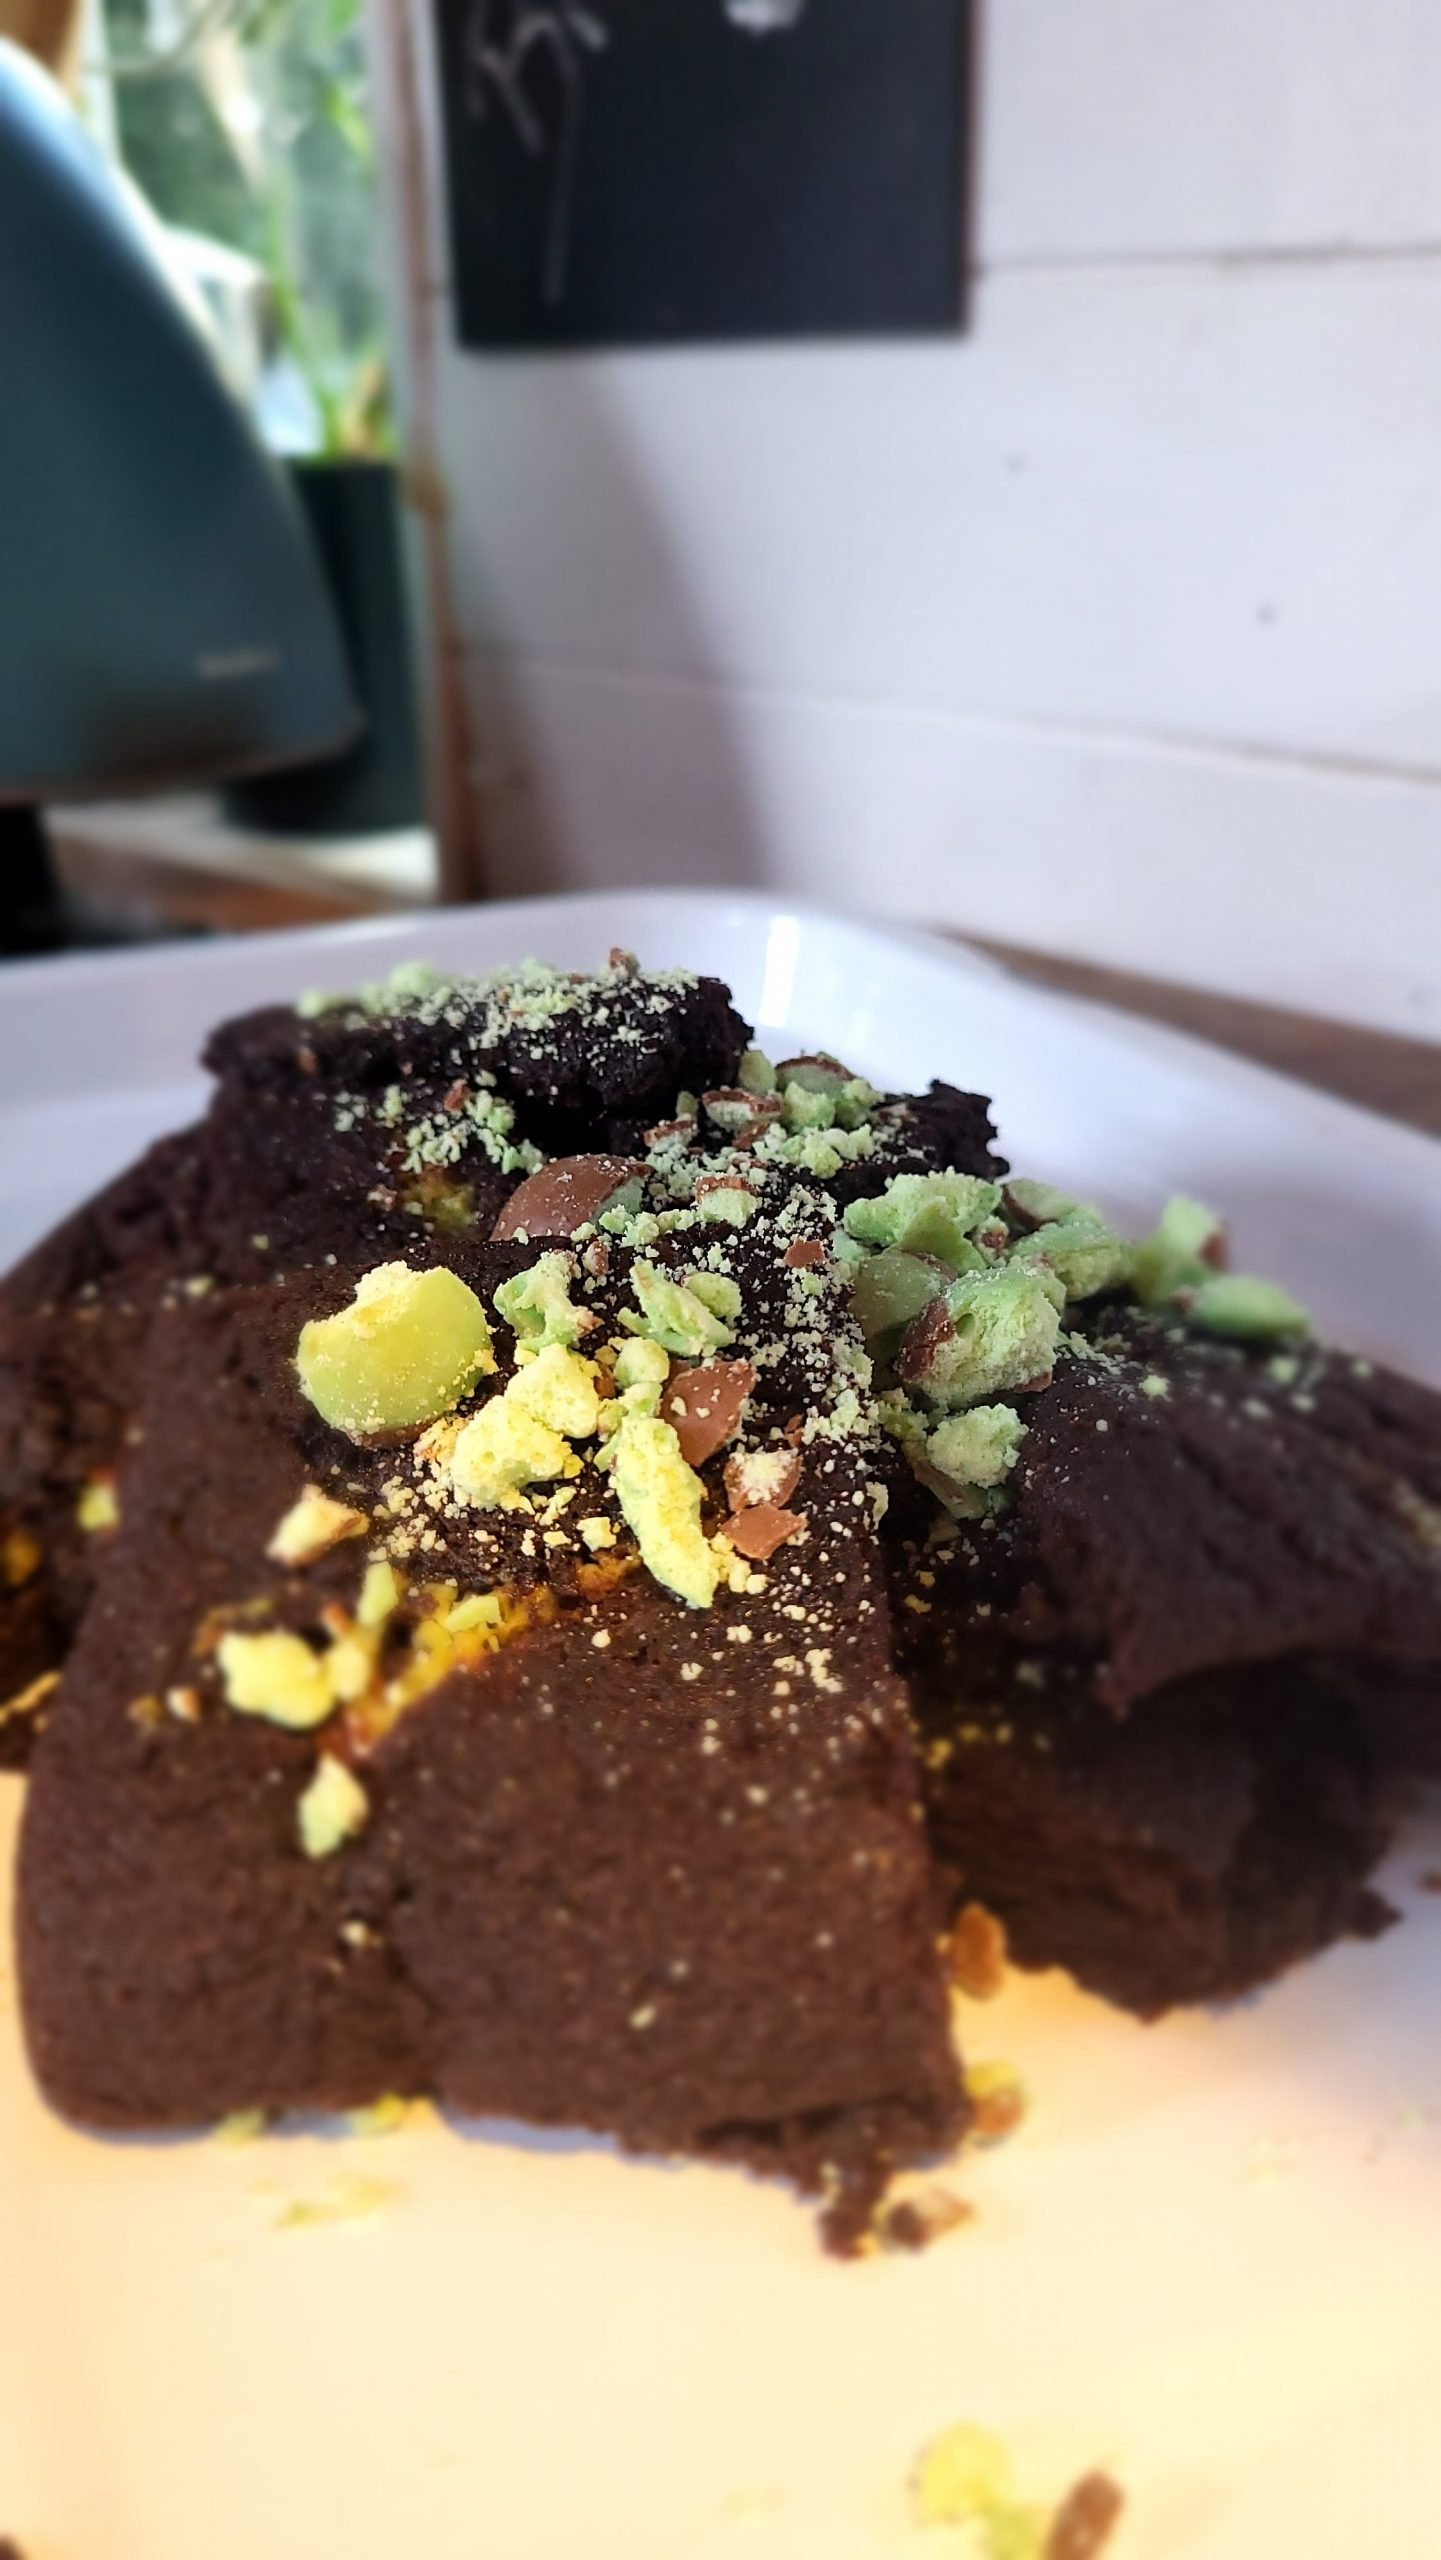
We love brownies, and we decided to add some of our favourite chocolate too to make Mint aero brownies. We really fancied brownies in the van,...
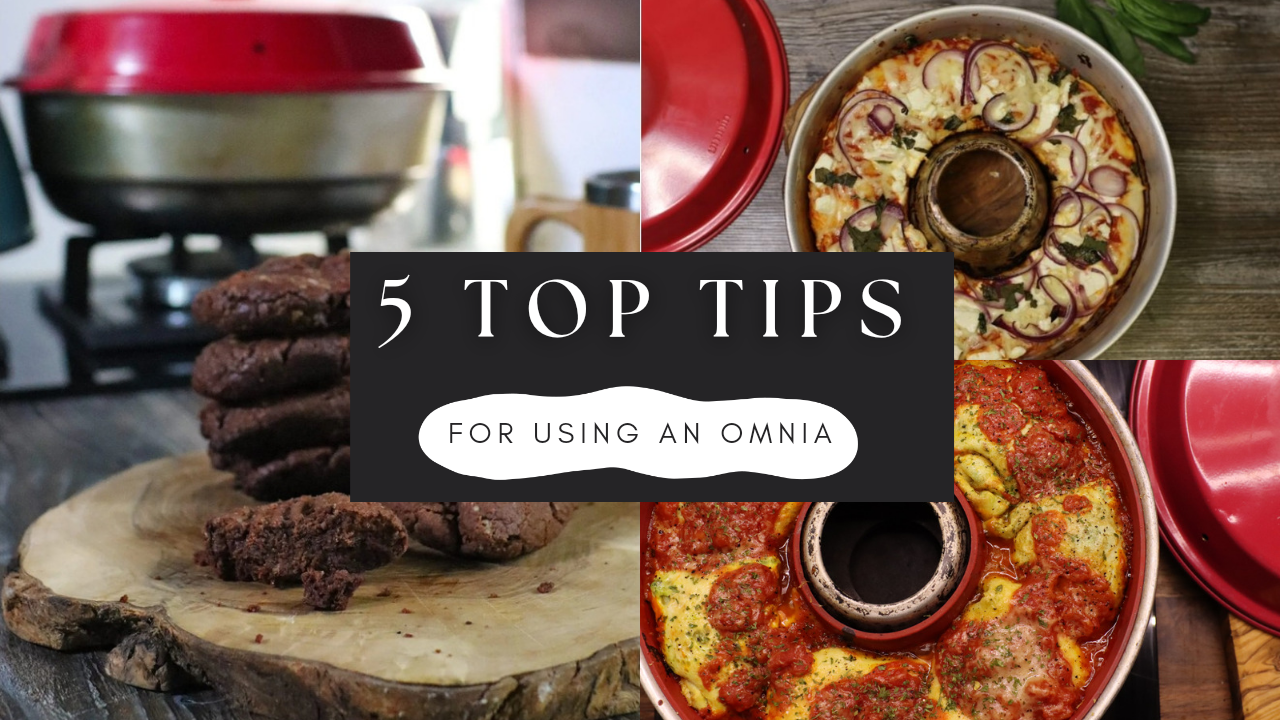
If you are the proud owner of an Omnia oven - you need to know these tips! We have had our Omnia for a while after seeing it on various vanlife...
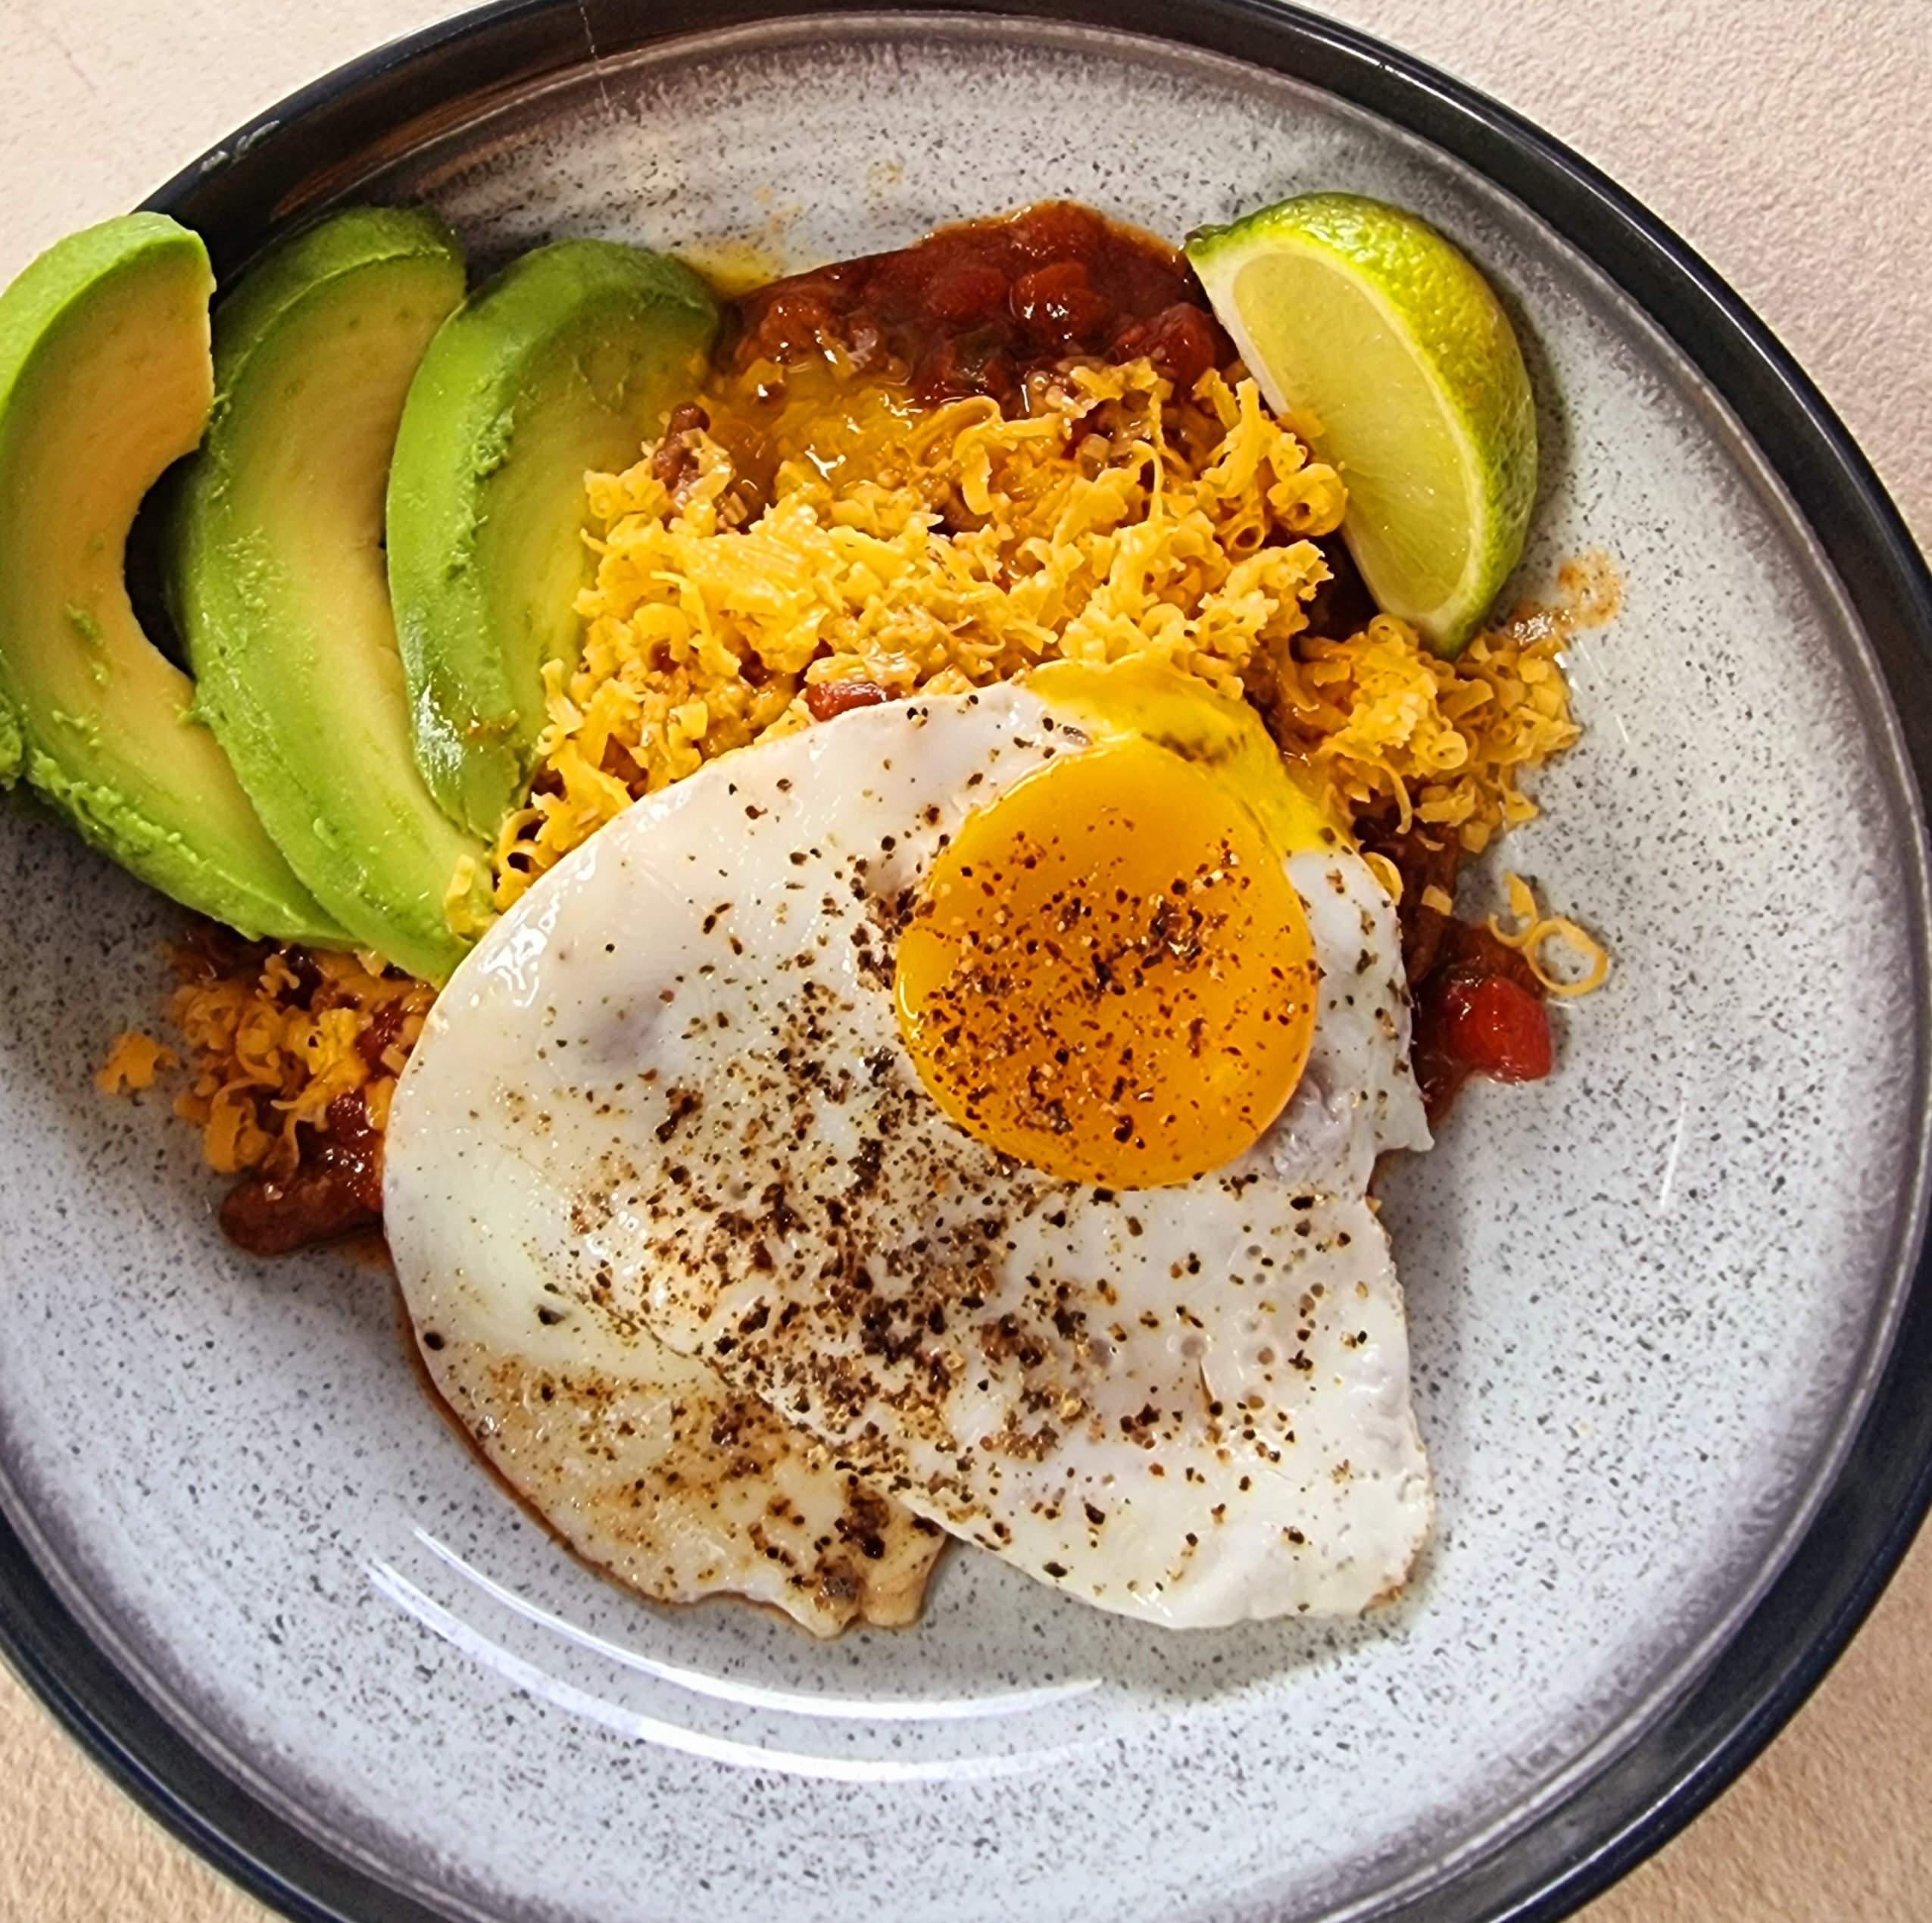
This delicious recipe of chilaquiles was our winner for Van Bake off's Mexican week. Chilaquiles is a great breakfast dish. Using pre-made...
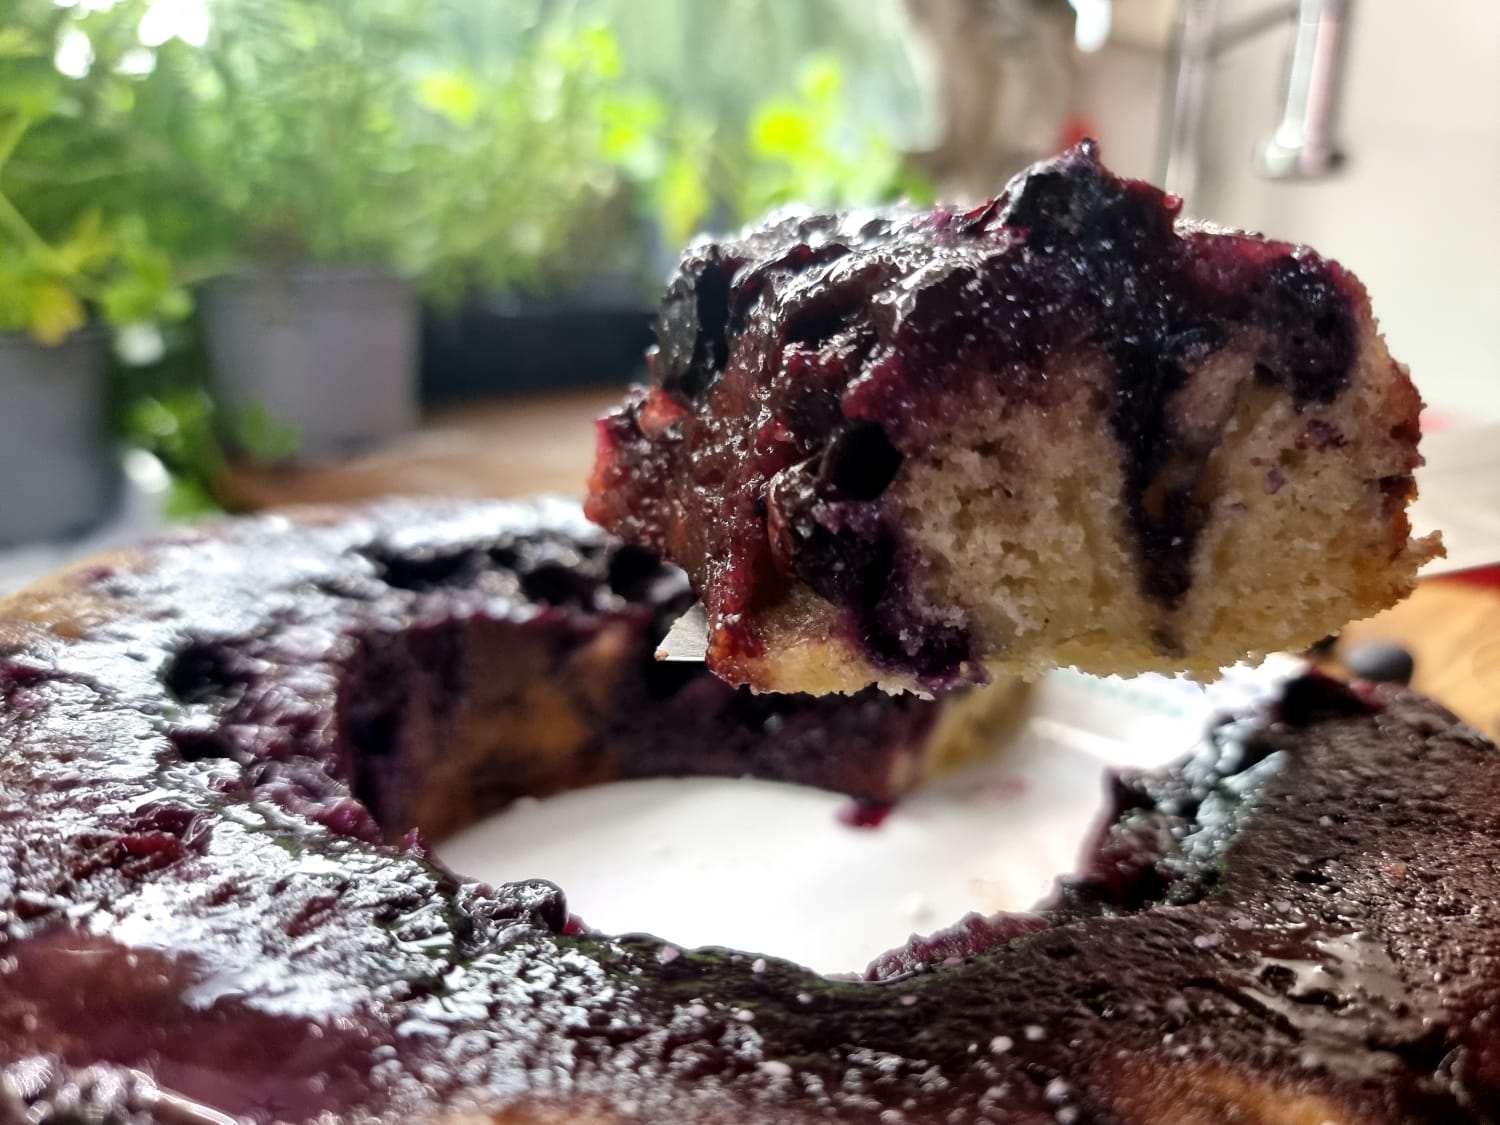
This Omnia blueberry cake went down an absolute treat in our campervan. This recipe is ideal if you are a blueberry fan, and a great recipe for...
This awesome pear and ginger mochi cake was crowned star baker in cake week in the Van Bake Off 2022. This creation was entered by Yarrow of...
Yoghurt flatbreads are a perfect vanlife recipe, and ideal for making in a campervan or any small kitchen! Ash Butler, author of The Small...
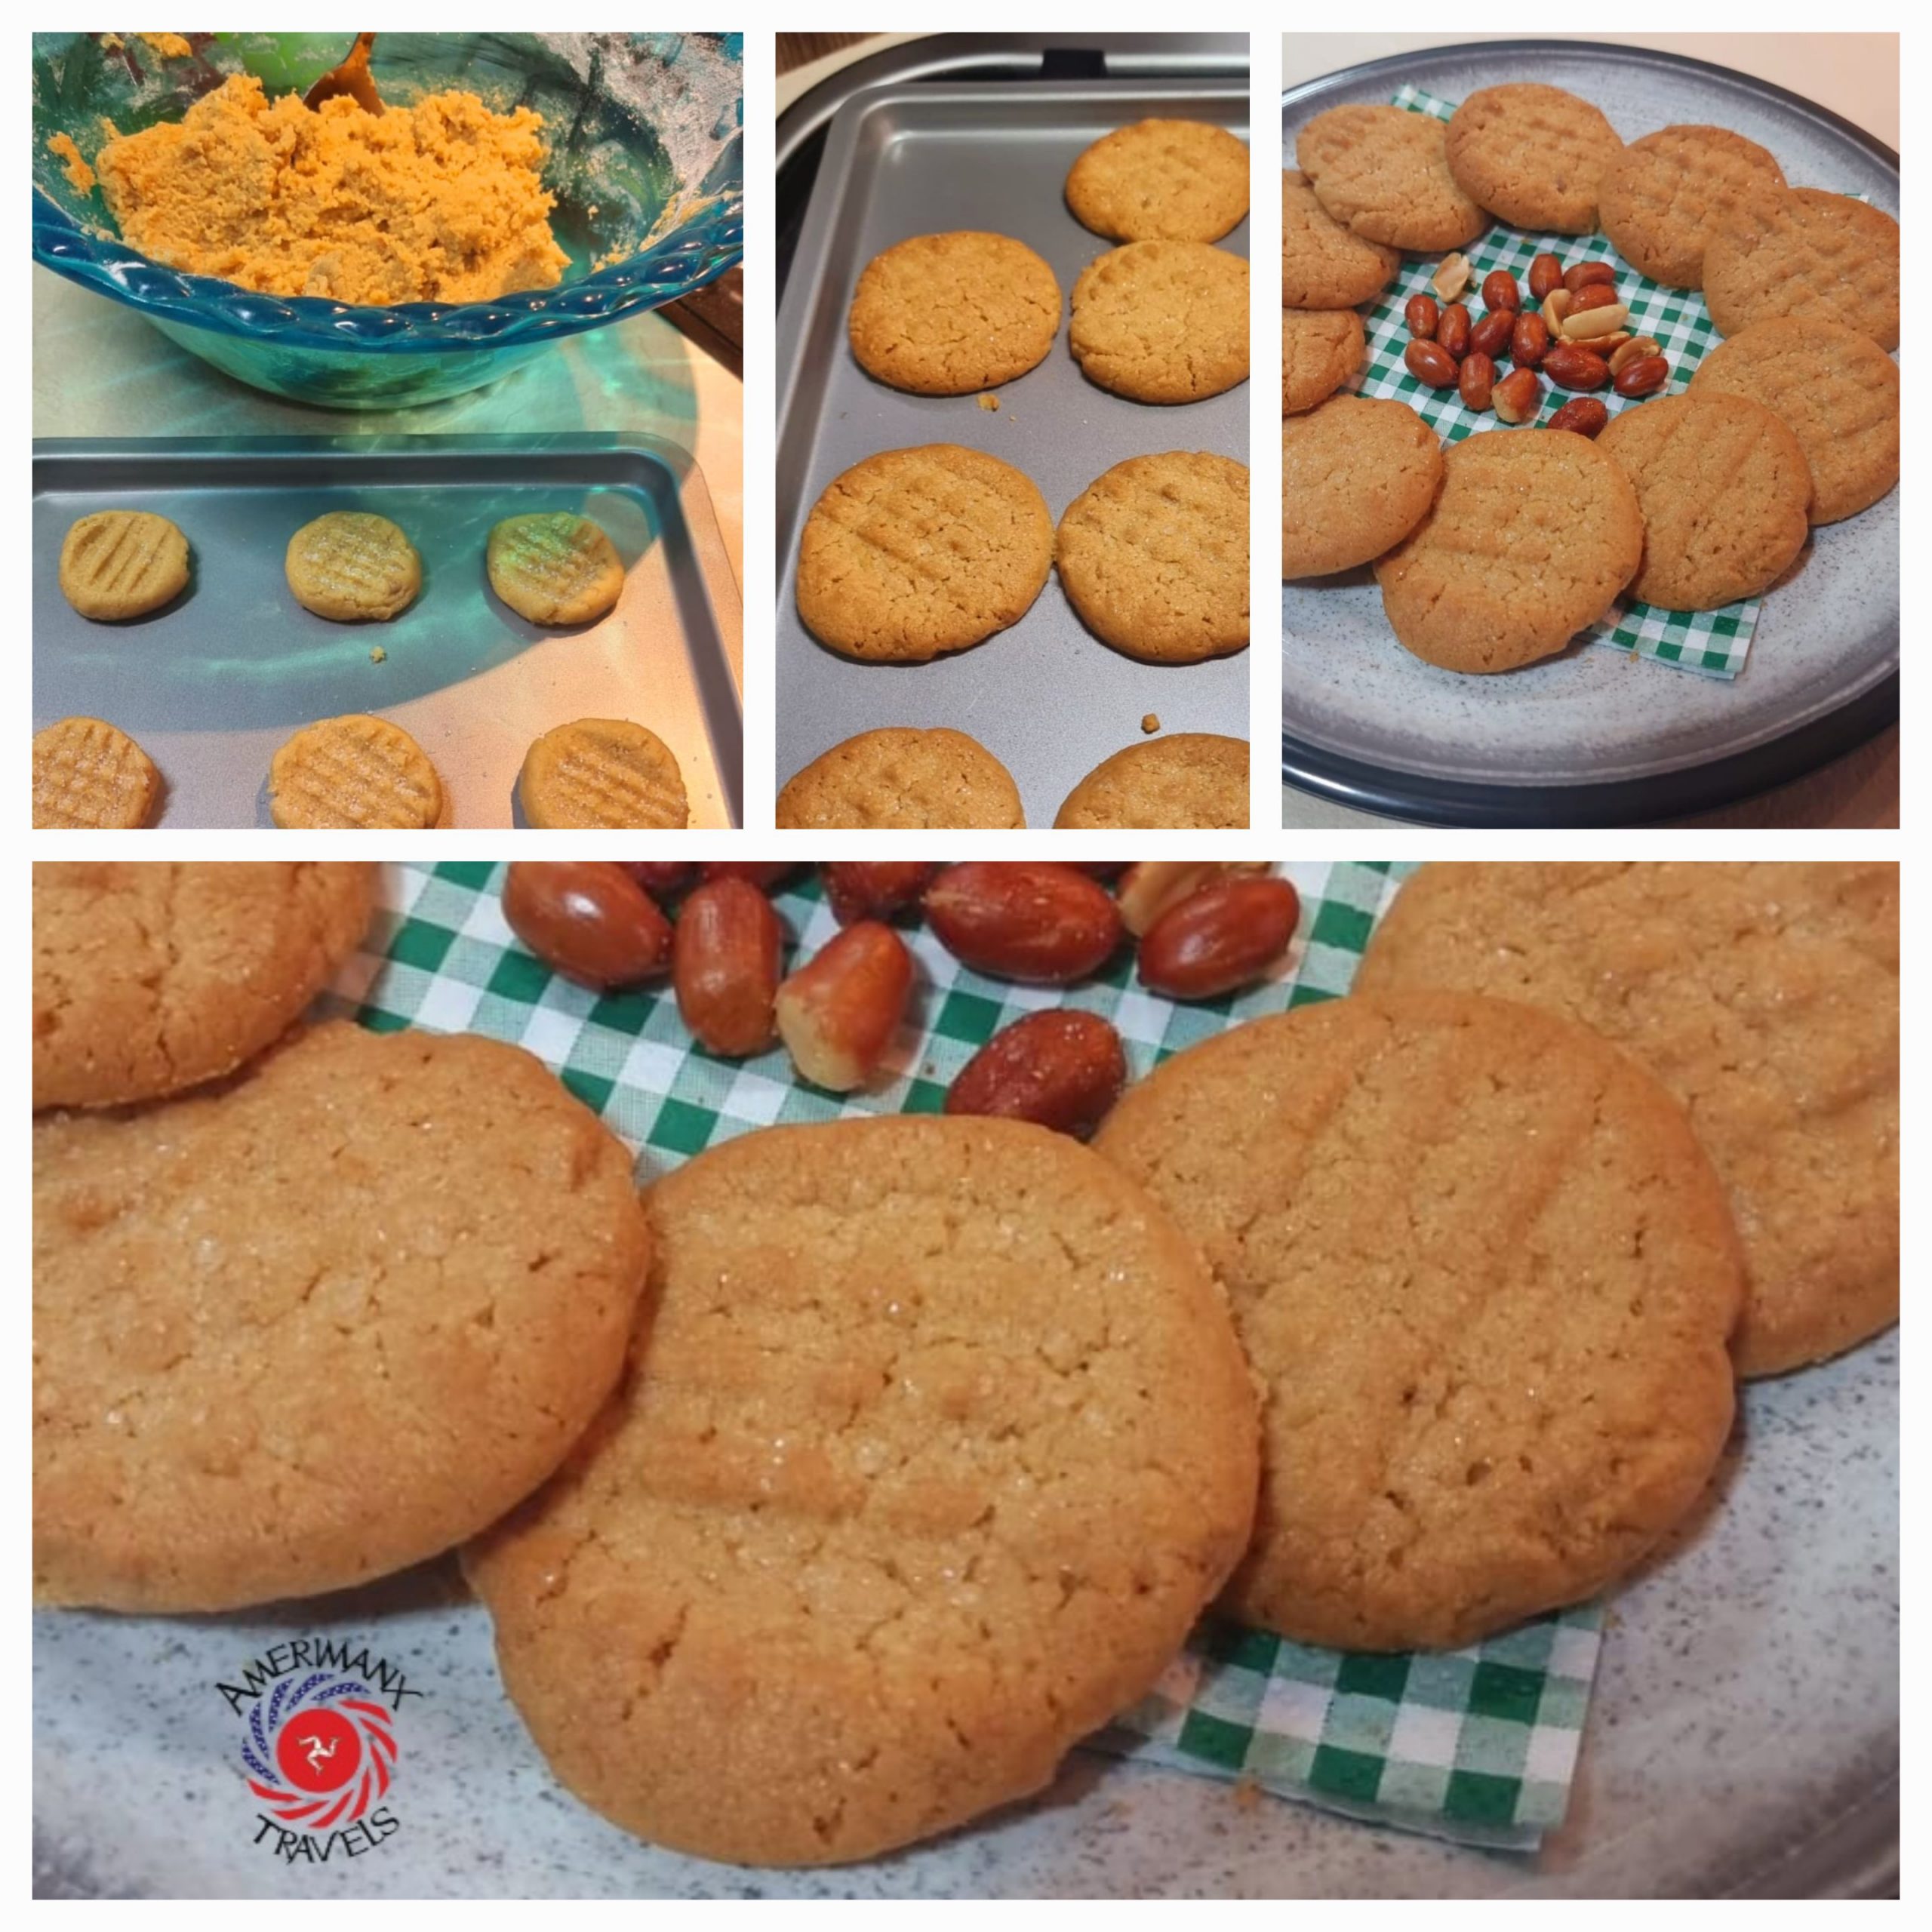
This Peanut Butter Cookie recipe was the star baker winner for biscuit week on Van Bake Off 22! Meshell of @americanx_travels is obviously on a...
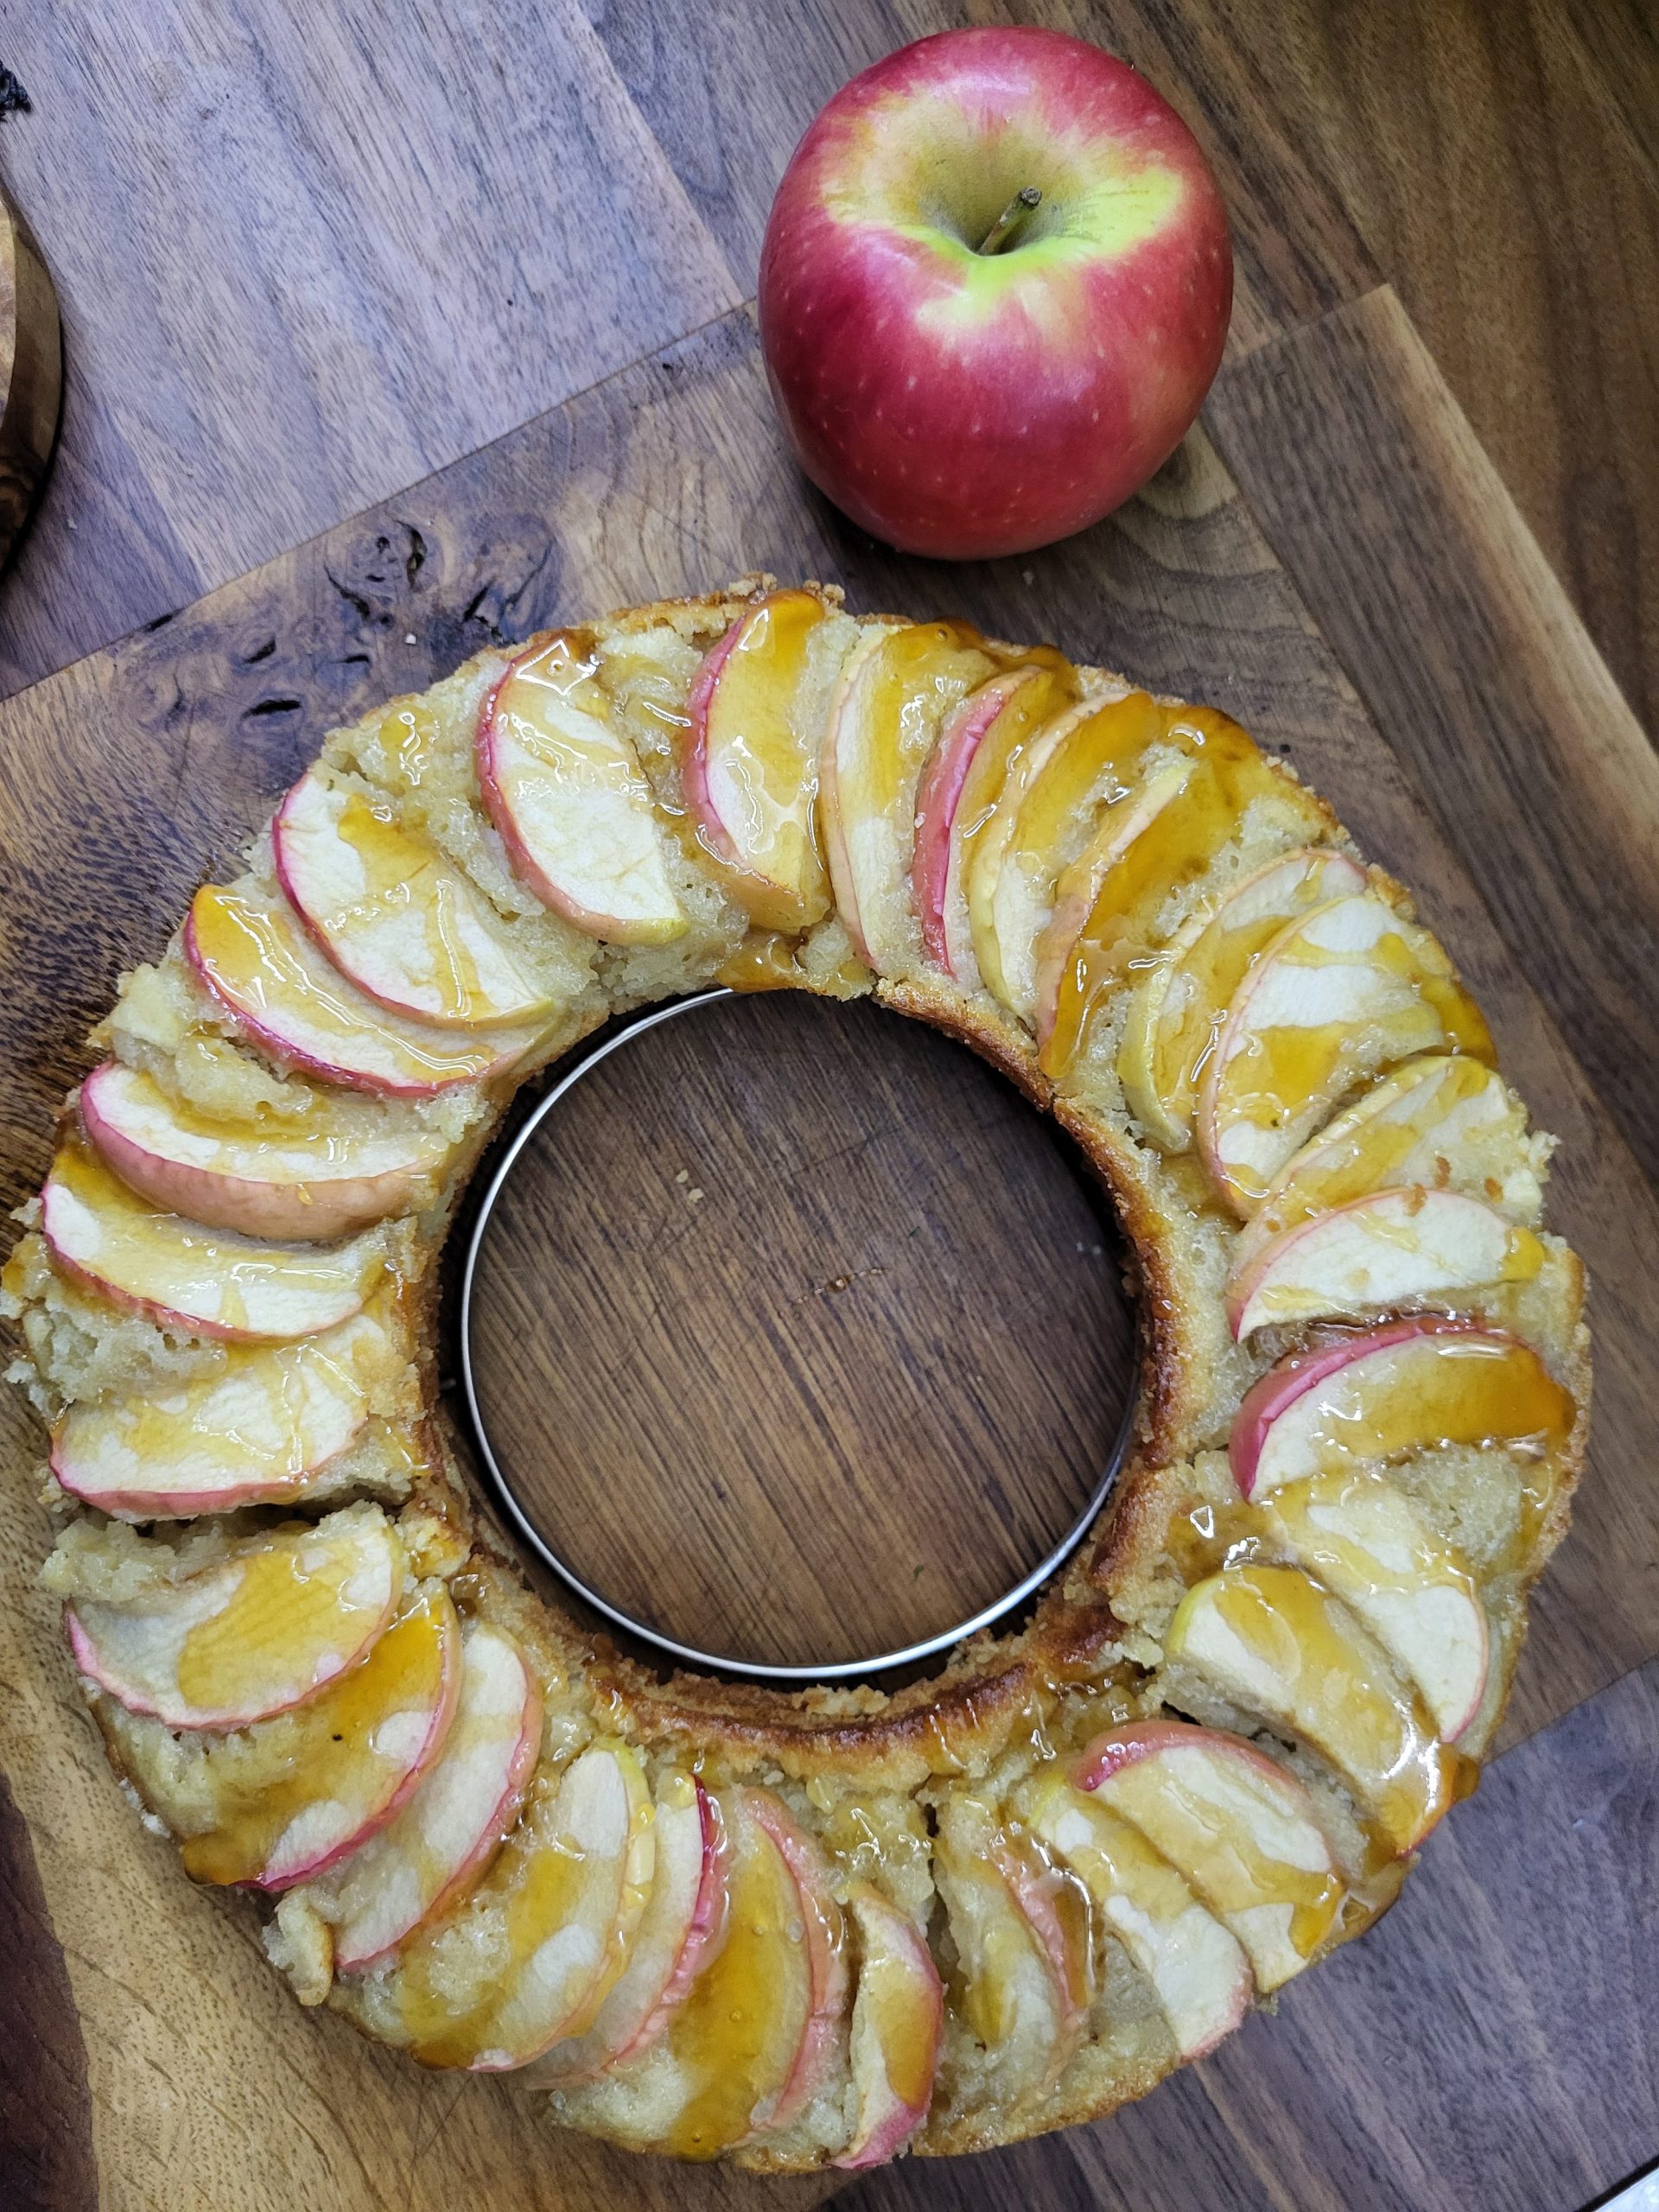
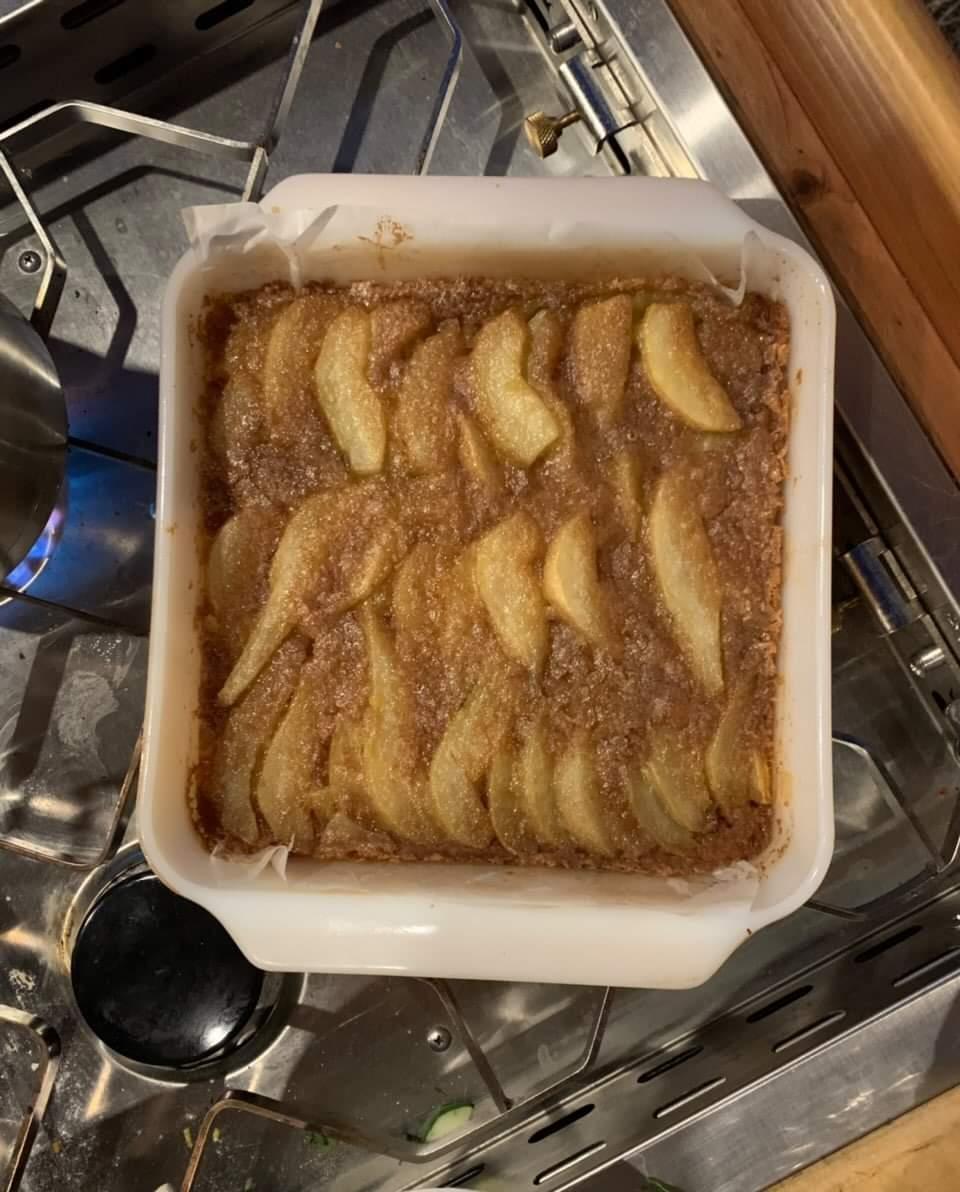
This apple and honey cake is perfect for the autumn. It's a cake with the taste of an apple crumble. We made this as our entry for the Van Bake...

A quick classic recipe to make in your campervan and its just bursting with flavour! In less than 30 minutes and with the use of just the one...

Packed with the flavours of Africa, a ton of veggies, a hint of chilli and the tang of lemon, this delicious bowl will just explode in your...
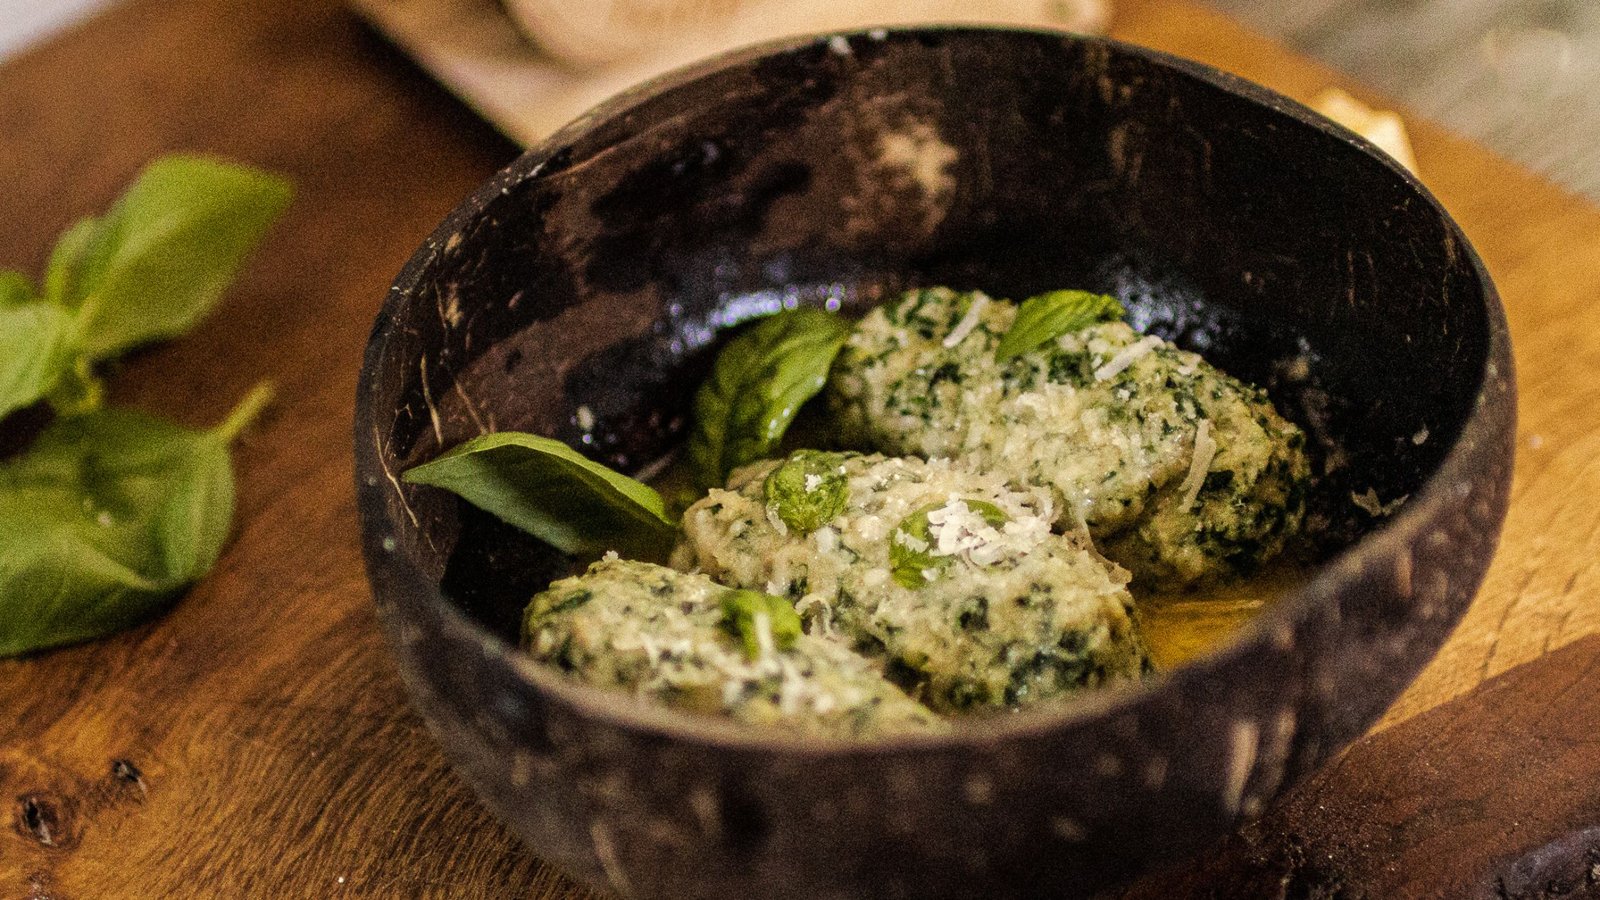
Originating from Tuscany, Italy these dumplings are incredibly delicious. Really quite easy to throw together and can be served in a buttery...

Break away from the standard fake meat vegan burgers and try our crispy onion bhaji burgers. The Piquanté chutney is just so morish! Bhaji...
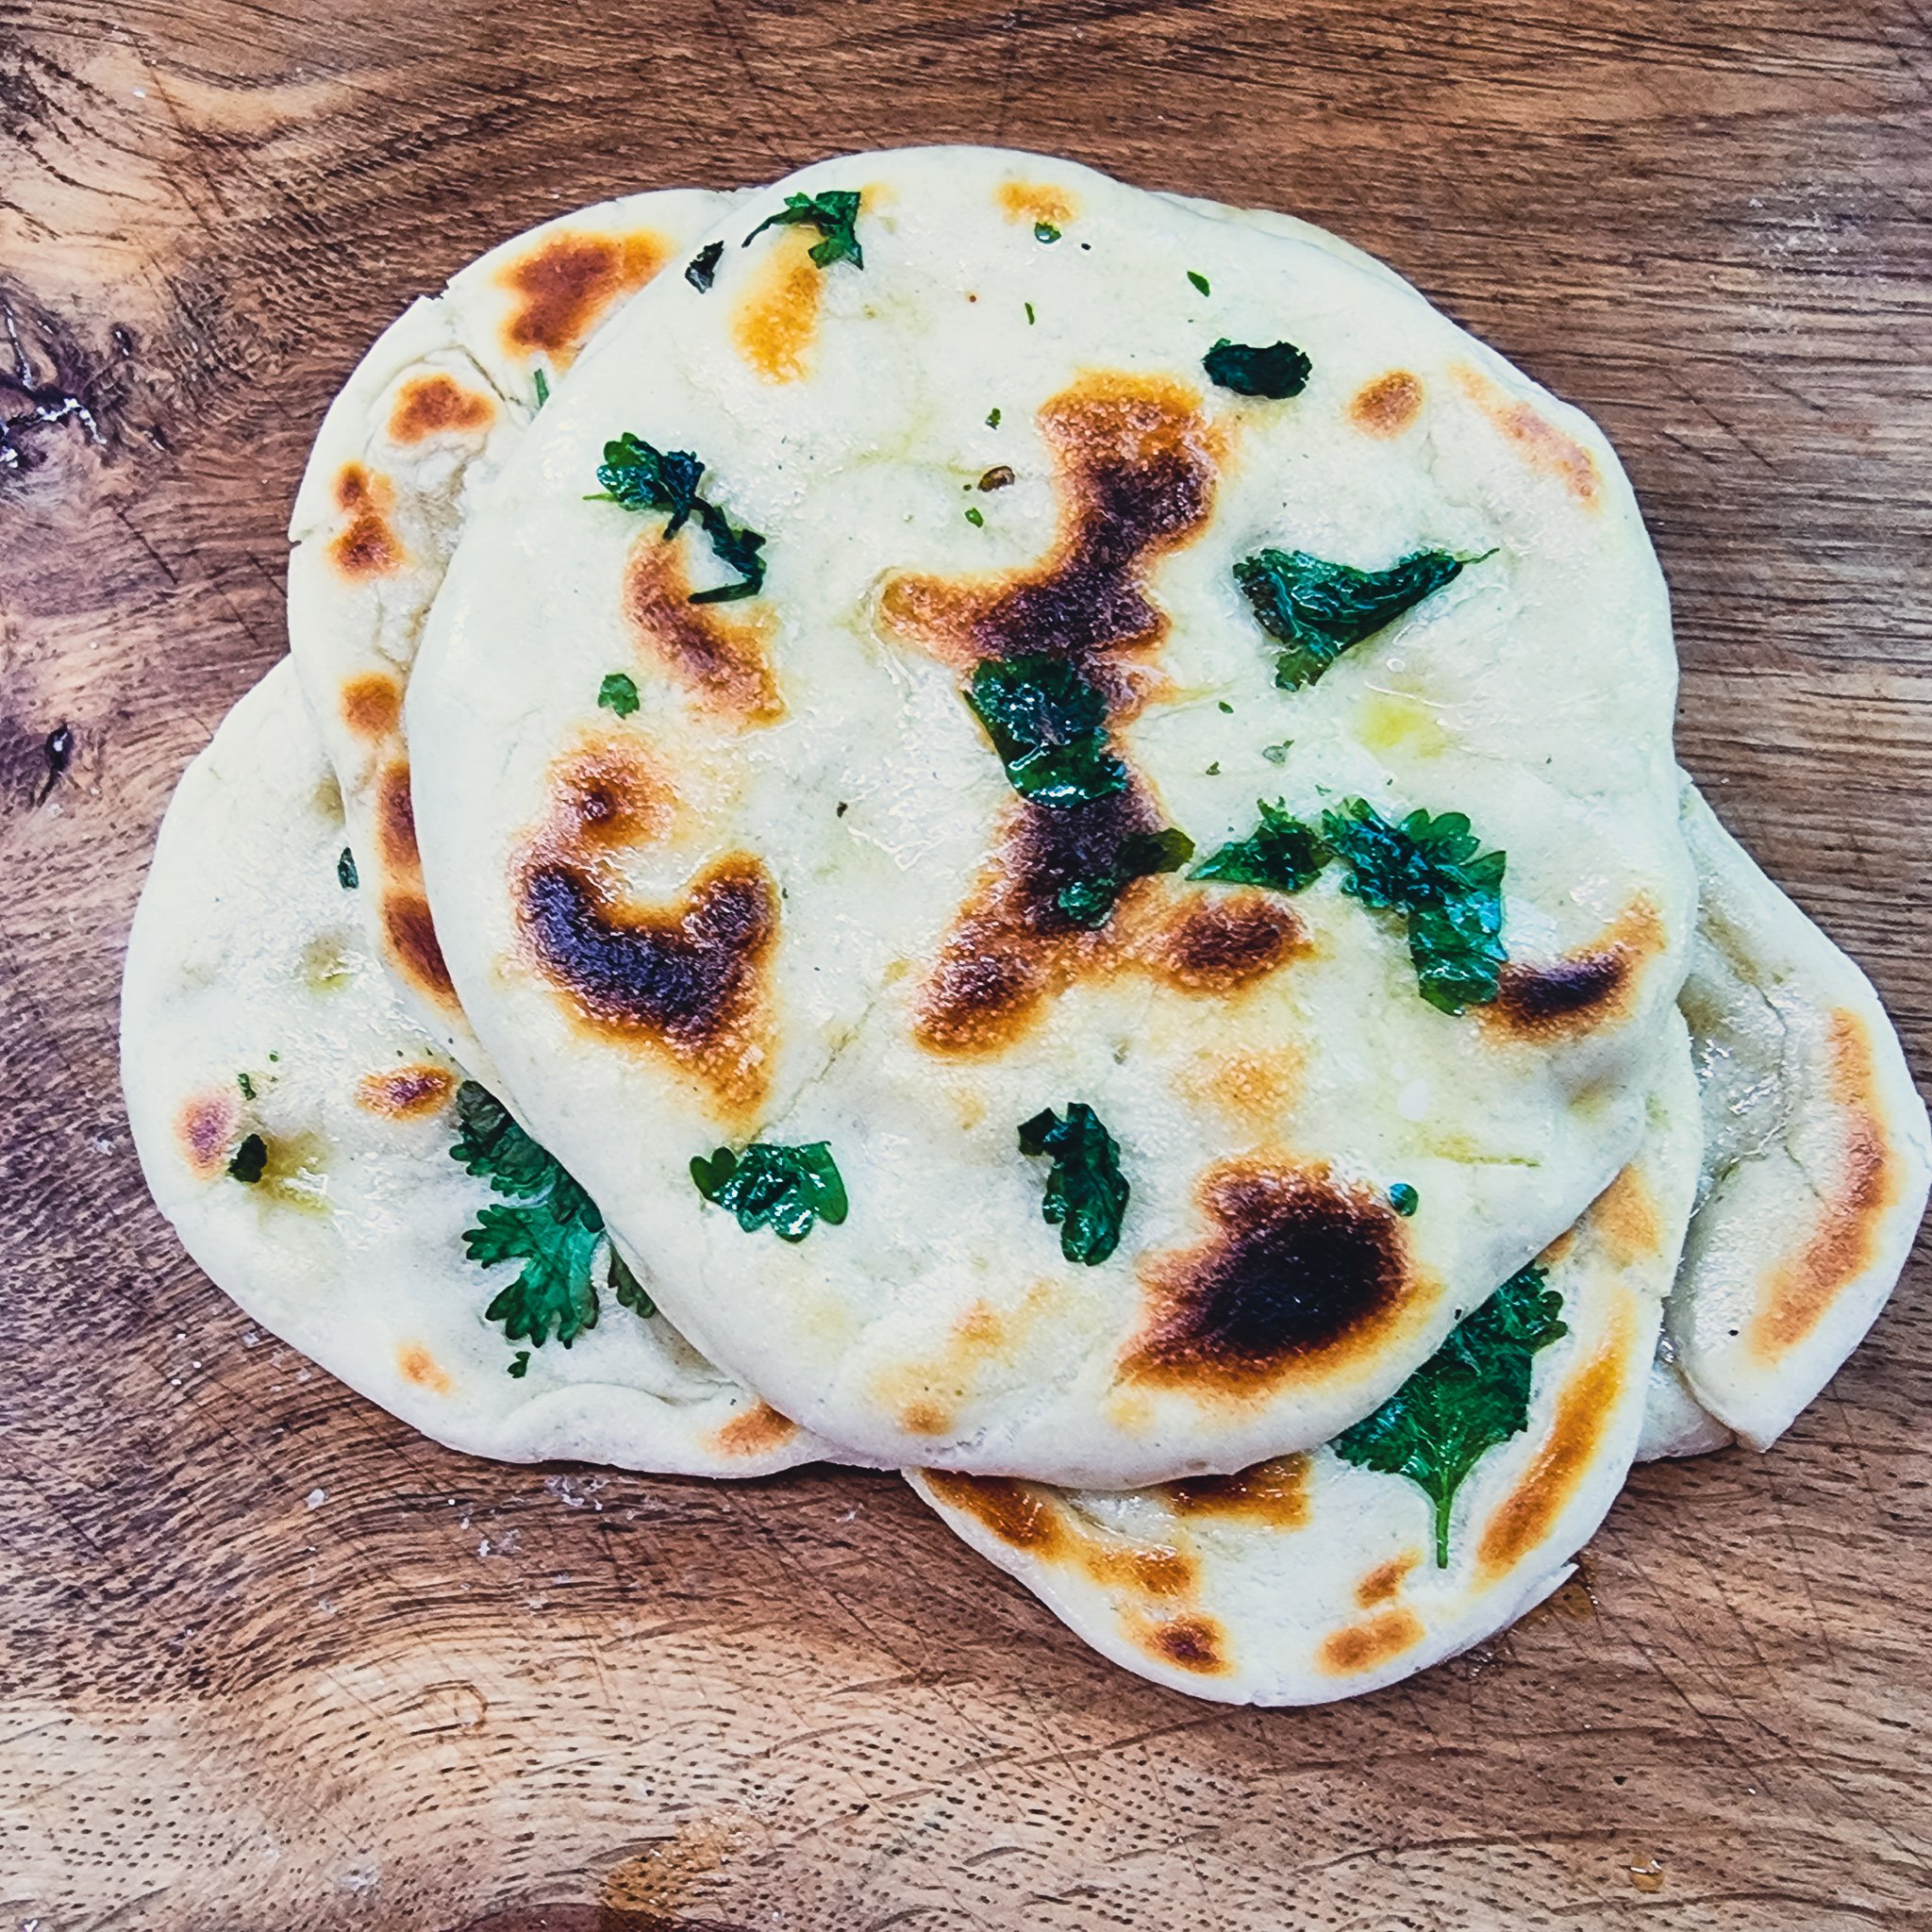
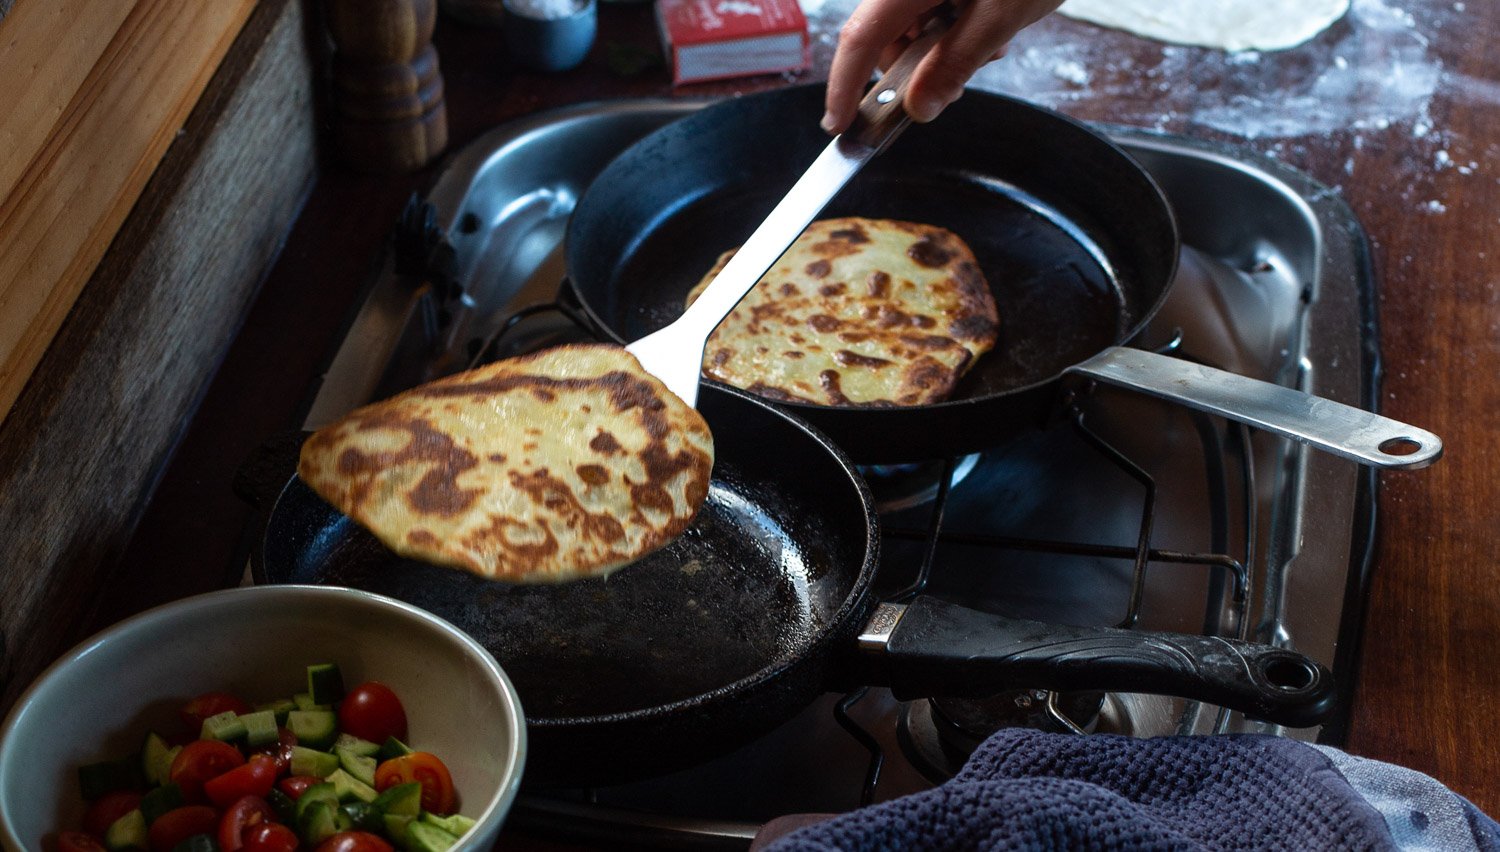
Here it is! The recipe for the flatbreads we made at Camp Quirky. We make these nearly every day in van. It only take a s few minutes to knock...
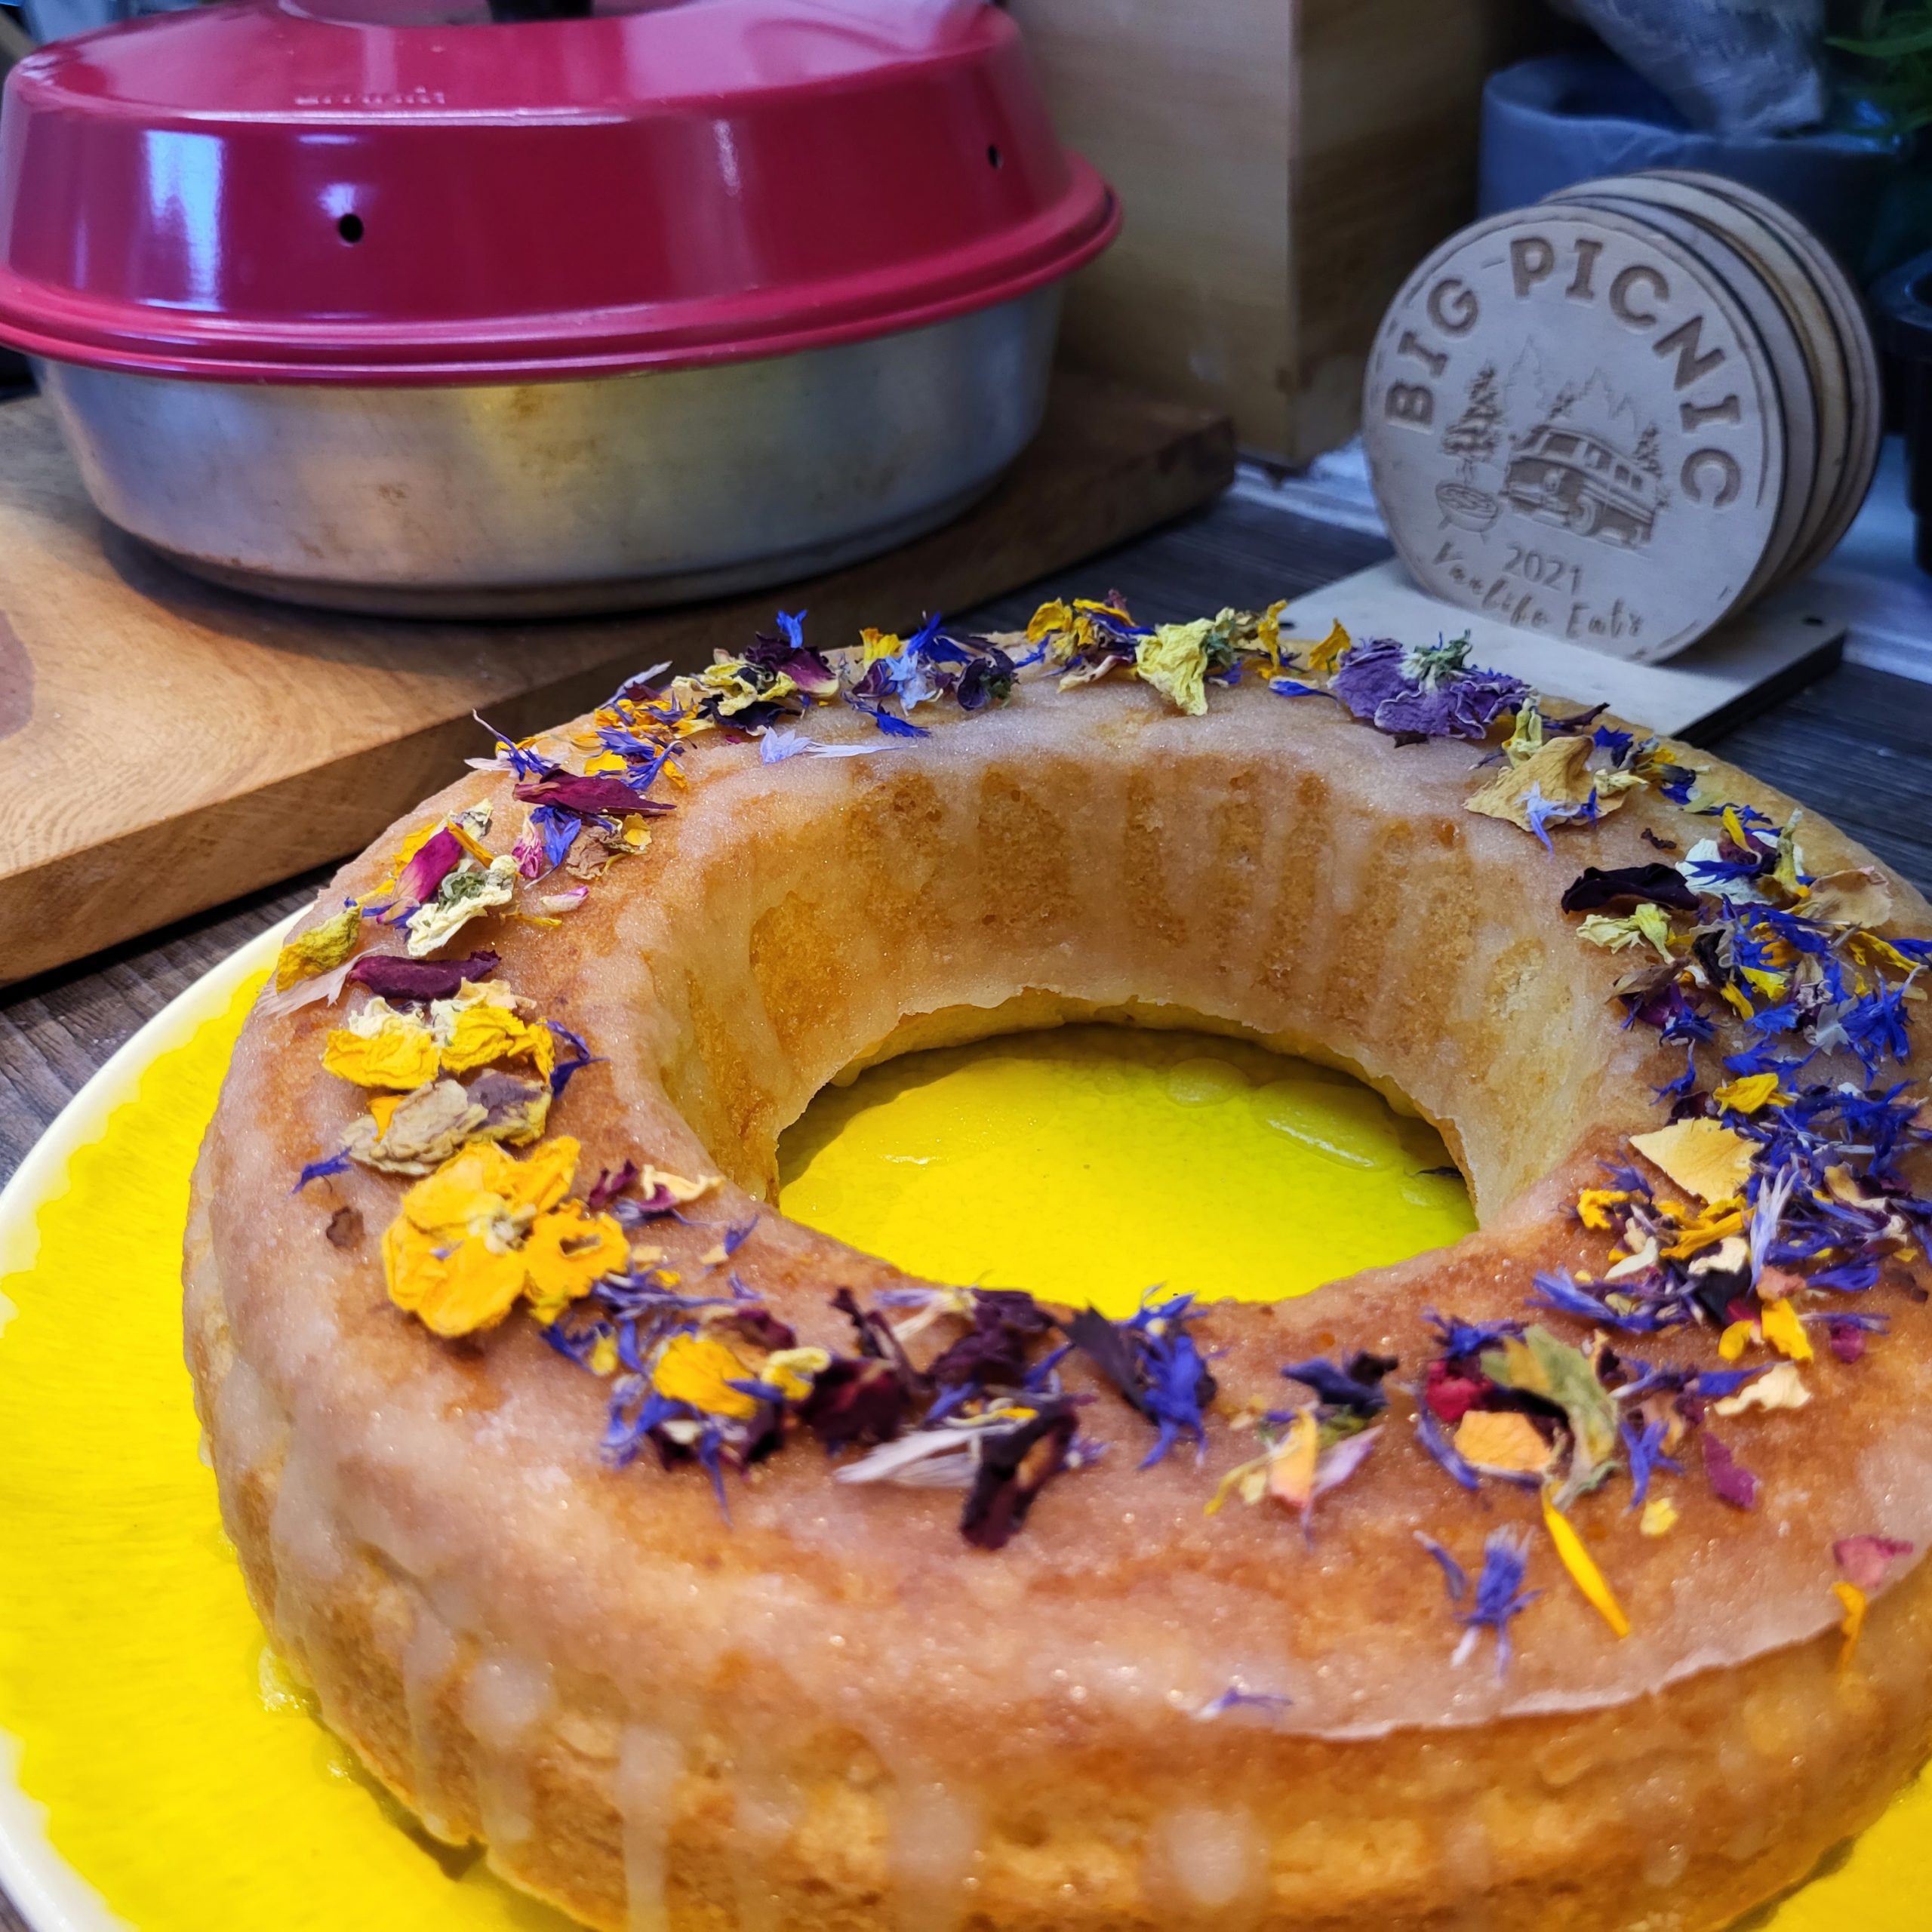
This lemon drizzle cake baked in an Omnia oven, looks beautiful at any meet-up. It's ideal with a cup of tea & it's hard to only eat 1...
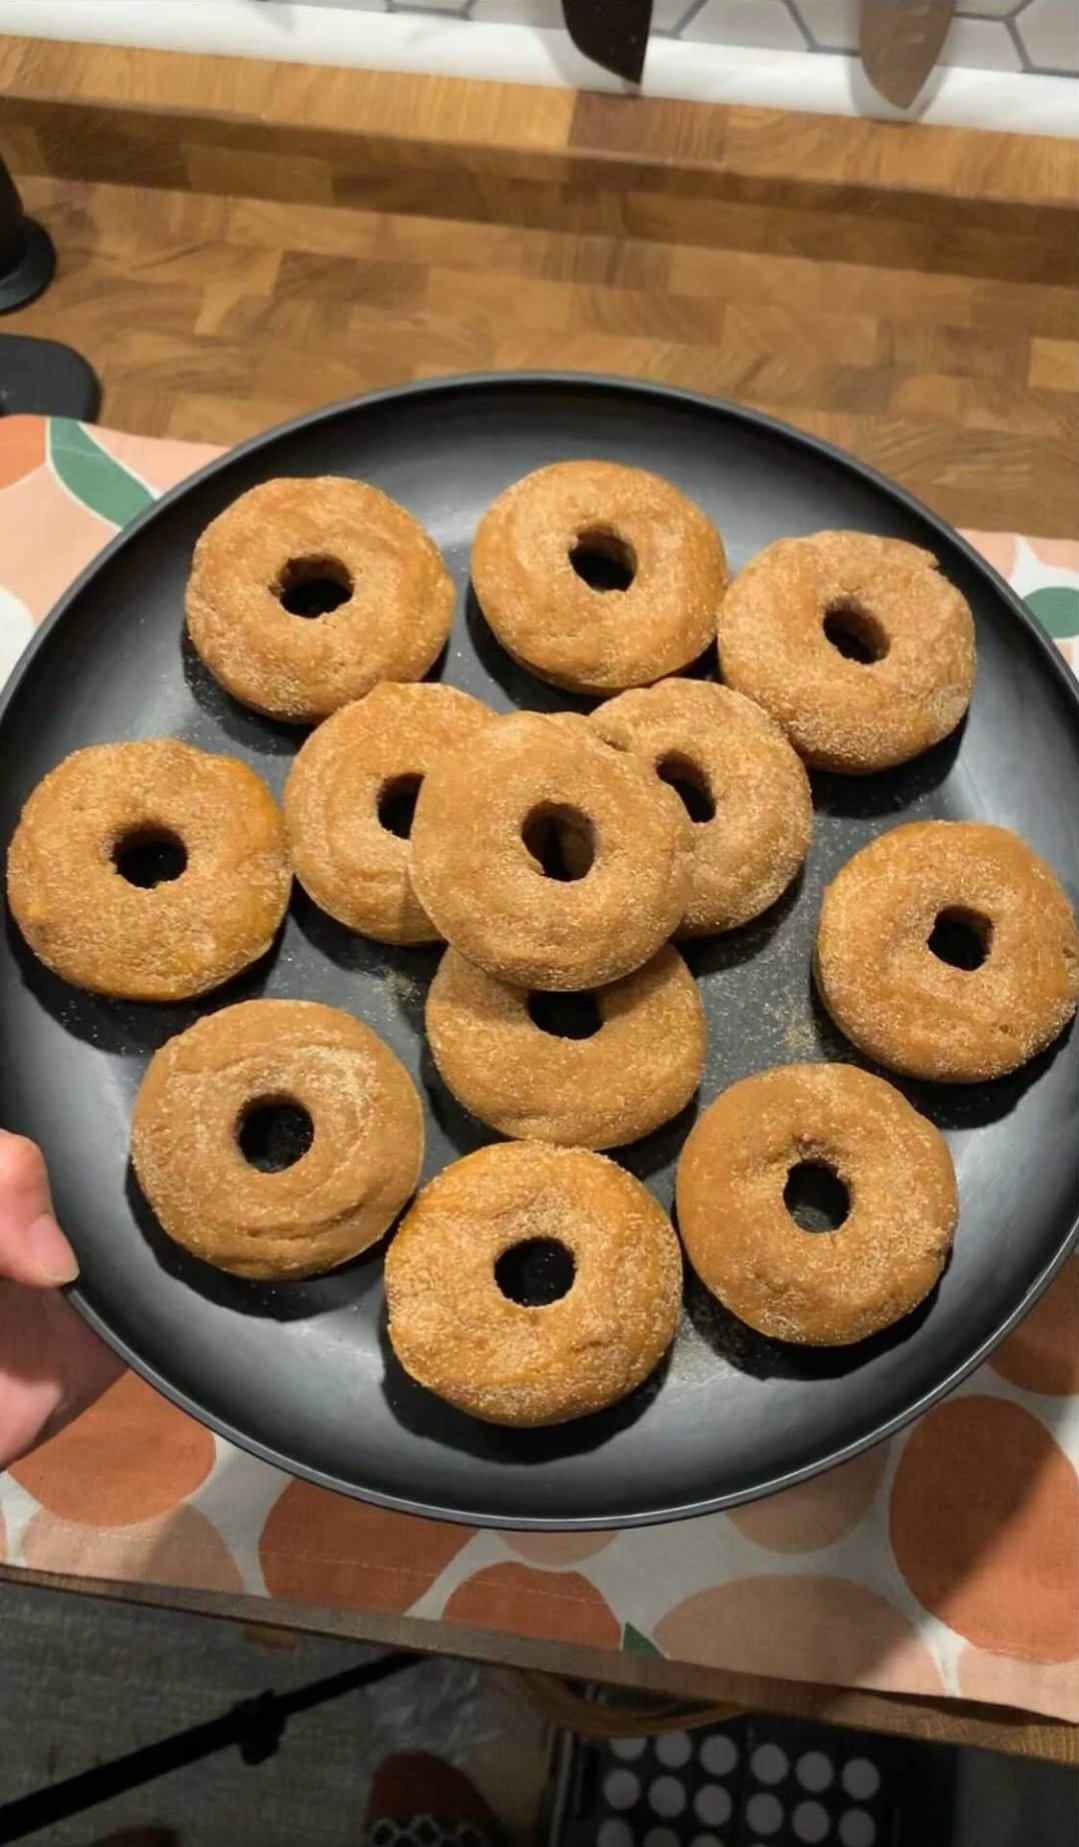
When we saw @thedornstroms had made pumpkin donuts in their van, we knew we HAD to have the recipe on our website. As if donuts weren't good...

Us vanlifers love a one pan recipe. It's handy if you only have one hob, and it also saves on washing up. What's not to love? This recipe of...
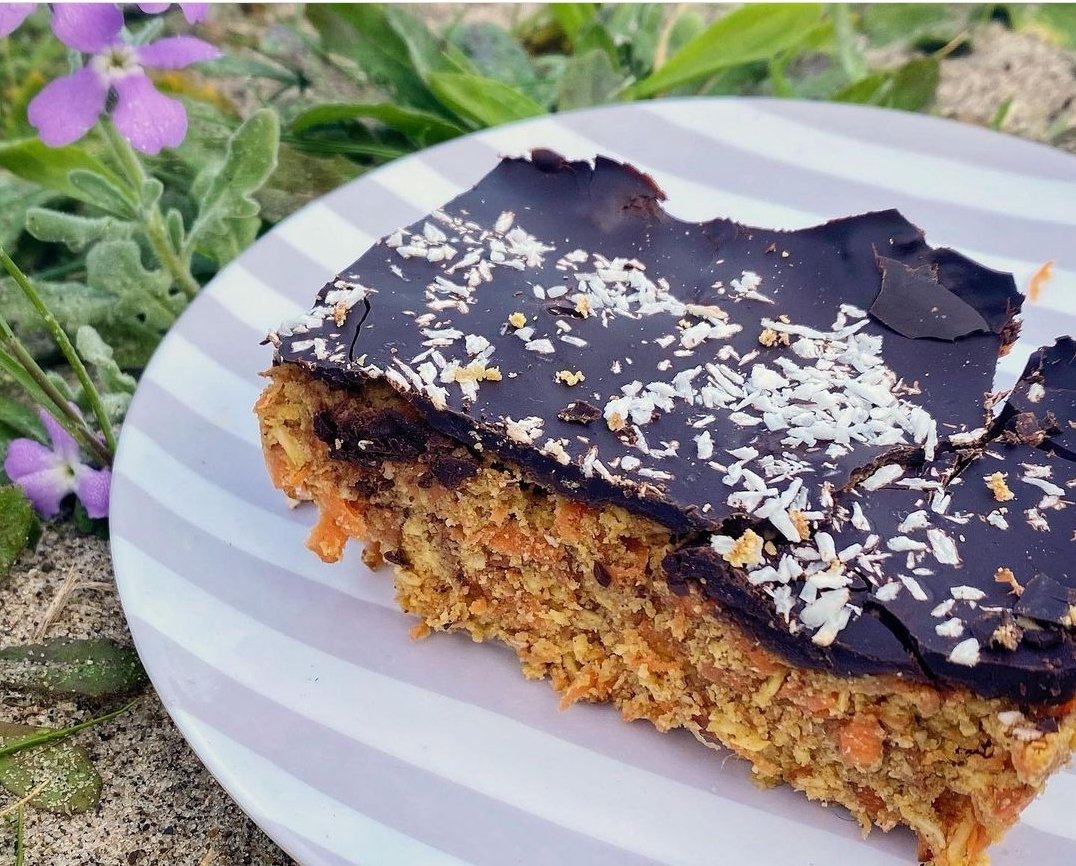
This recipe is vegan, and requires zero cooking! Great option for those looking for a sweet treat with limited cooking facilities. A super...
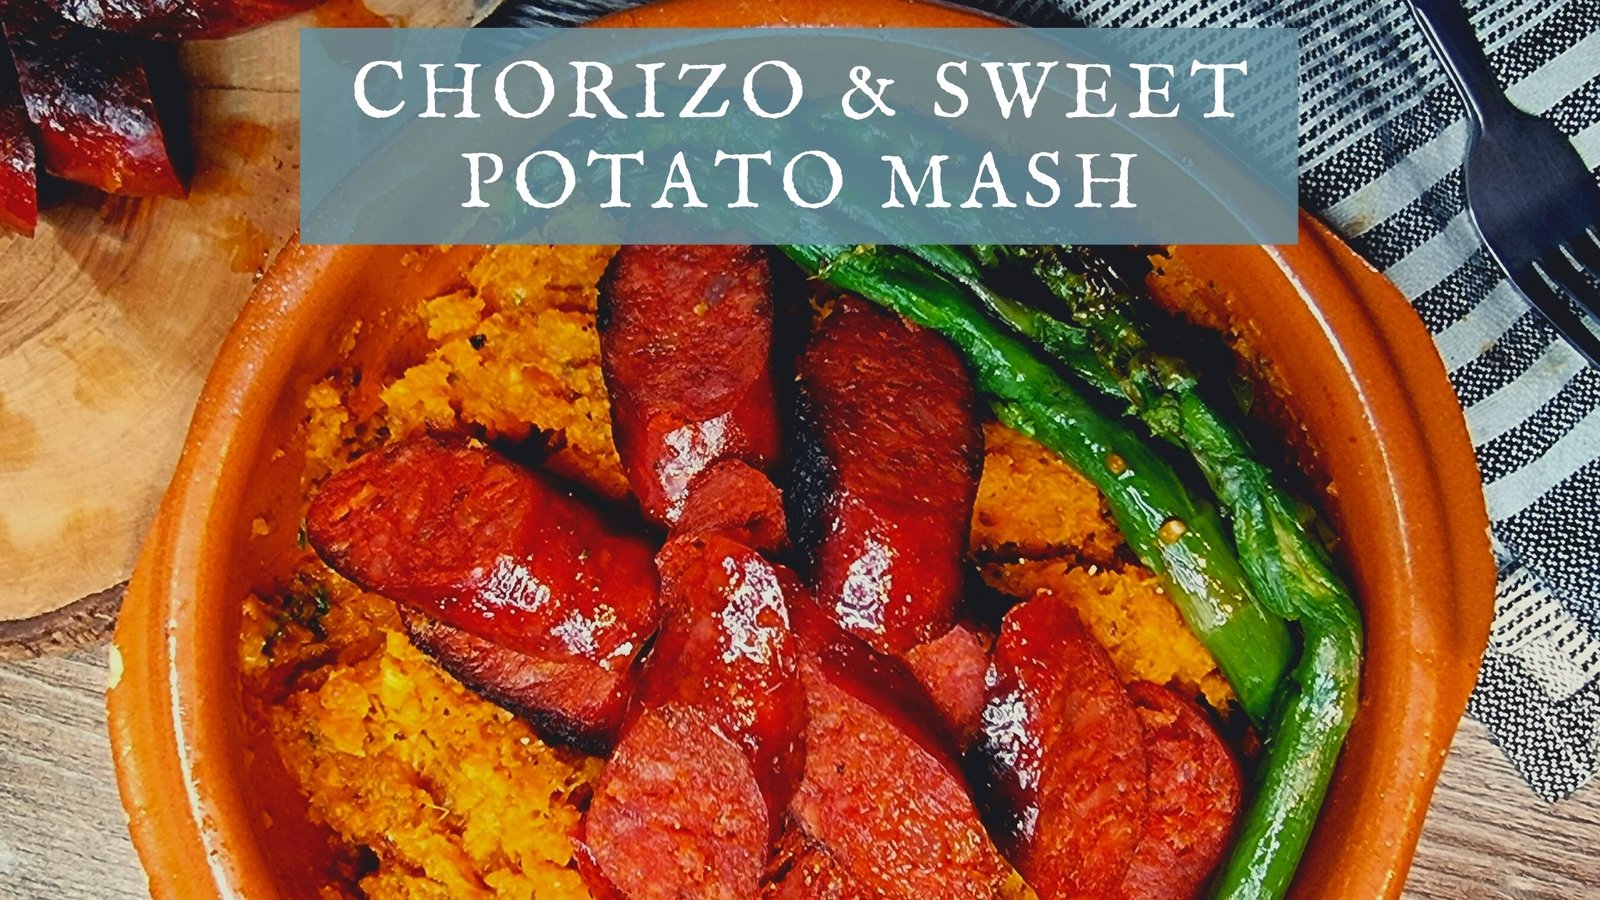
A quick and easy recipe to cook in your campervan and so delicious! You’ll love how the Chorizo sausage leaks all the flavour into the mash...
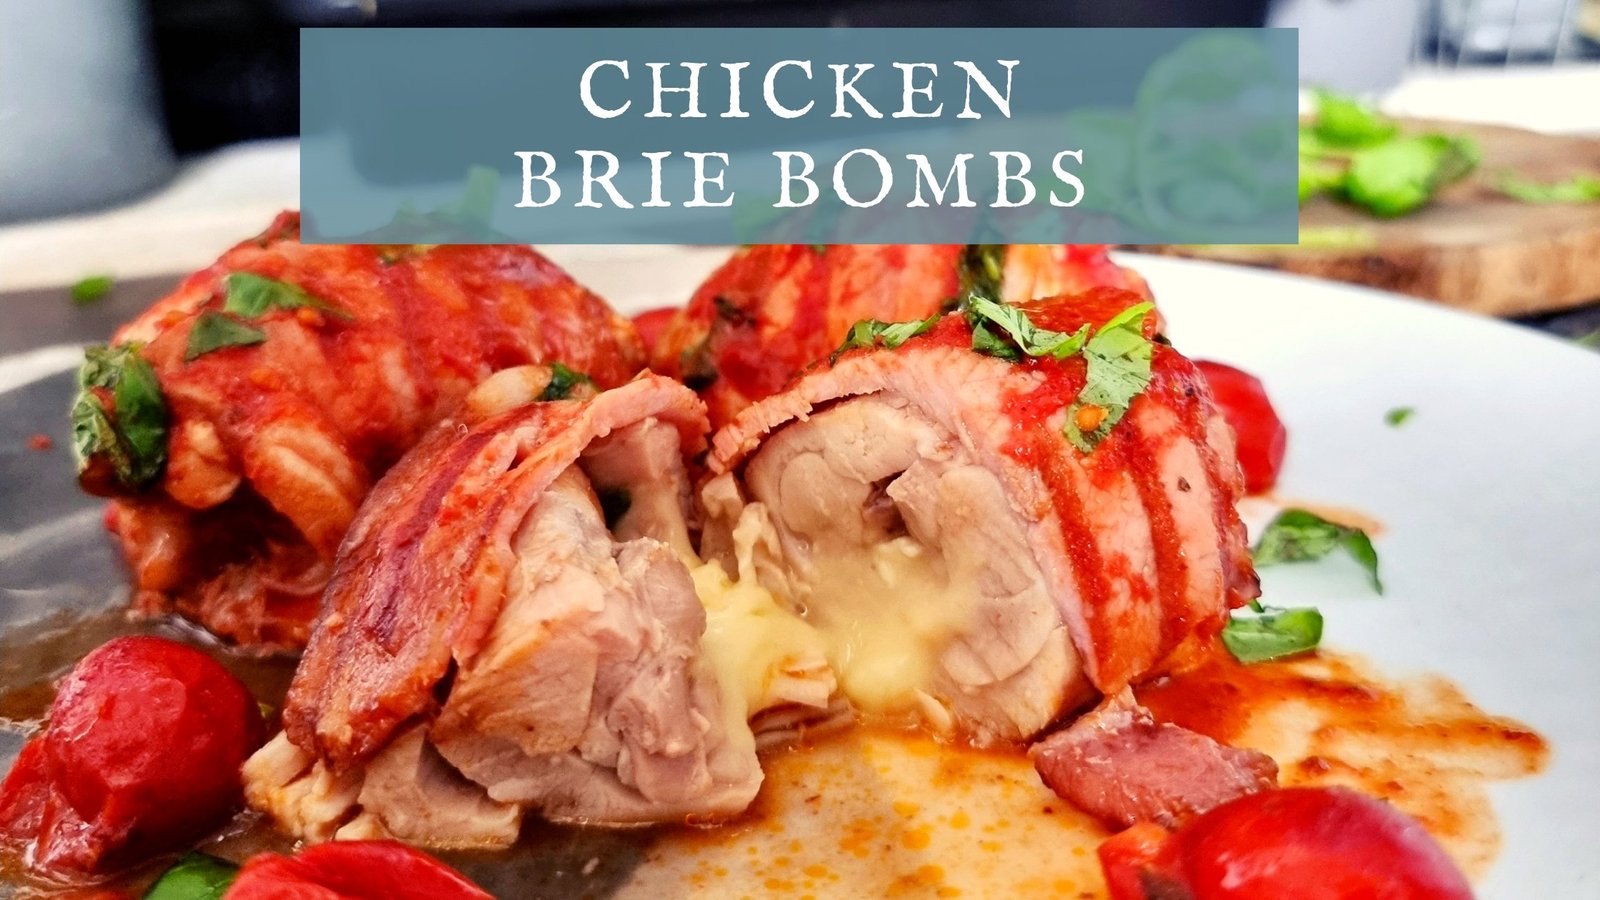
A campervan chicken recipe that explodes in your mouth with flavour and ooze a delicious creamy brie sauce! Chicken Brie Bombs These...
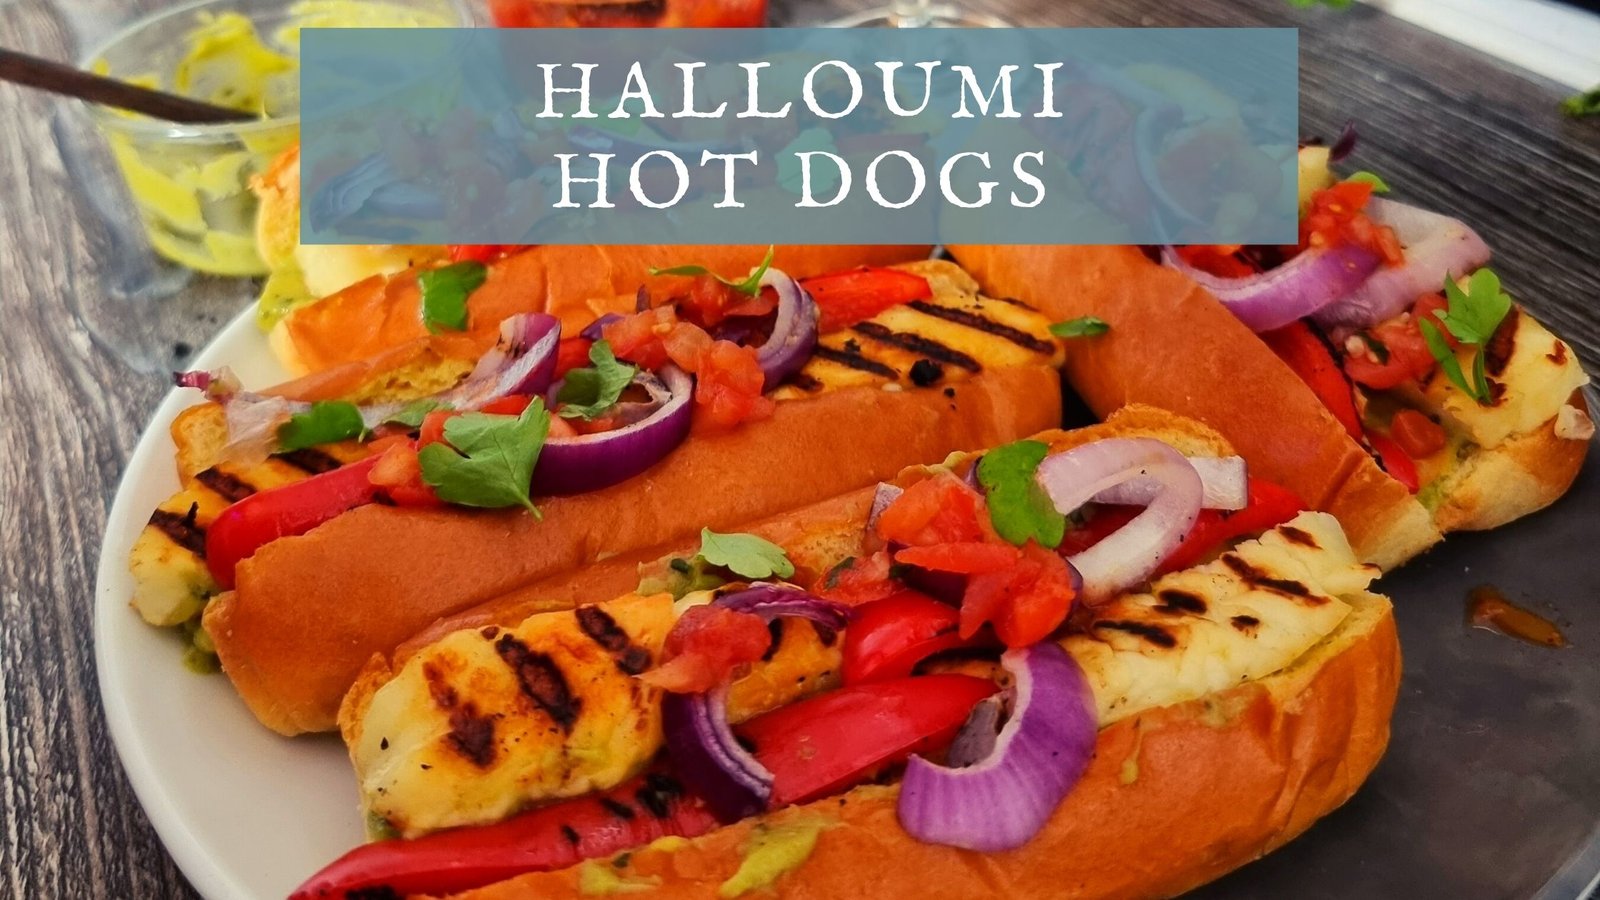
Who doesn't love Halloumi? Well we LOVE it! This is a quick and easy campervan recipe for hot dogs, an amazing vanlife lunch. The recipe makes...
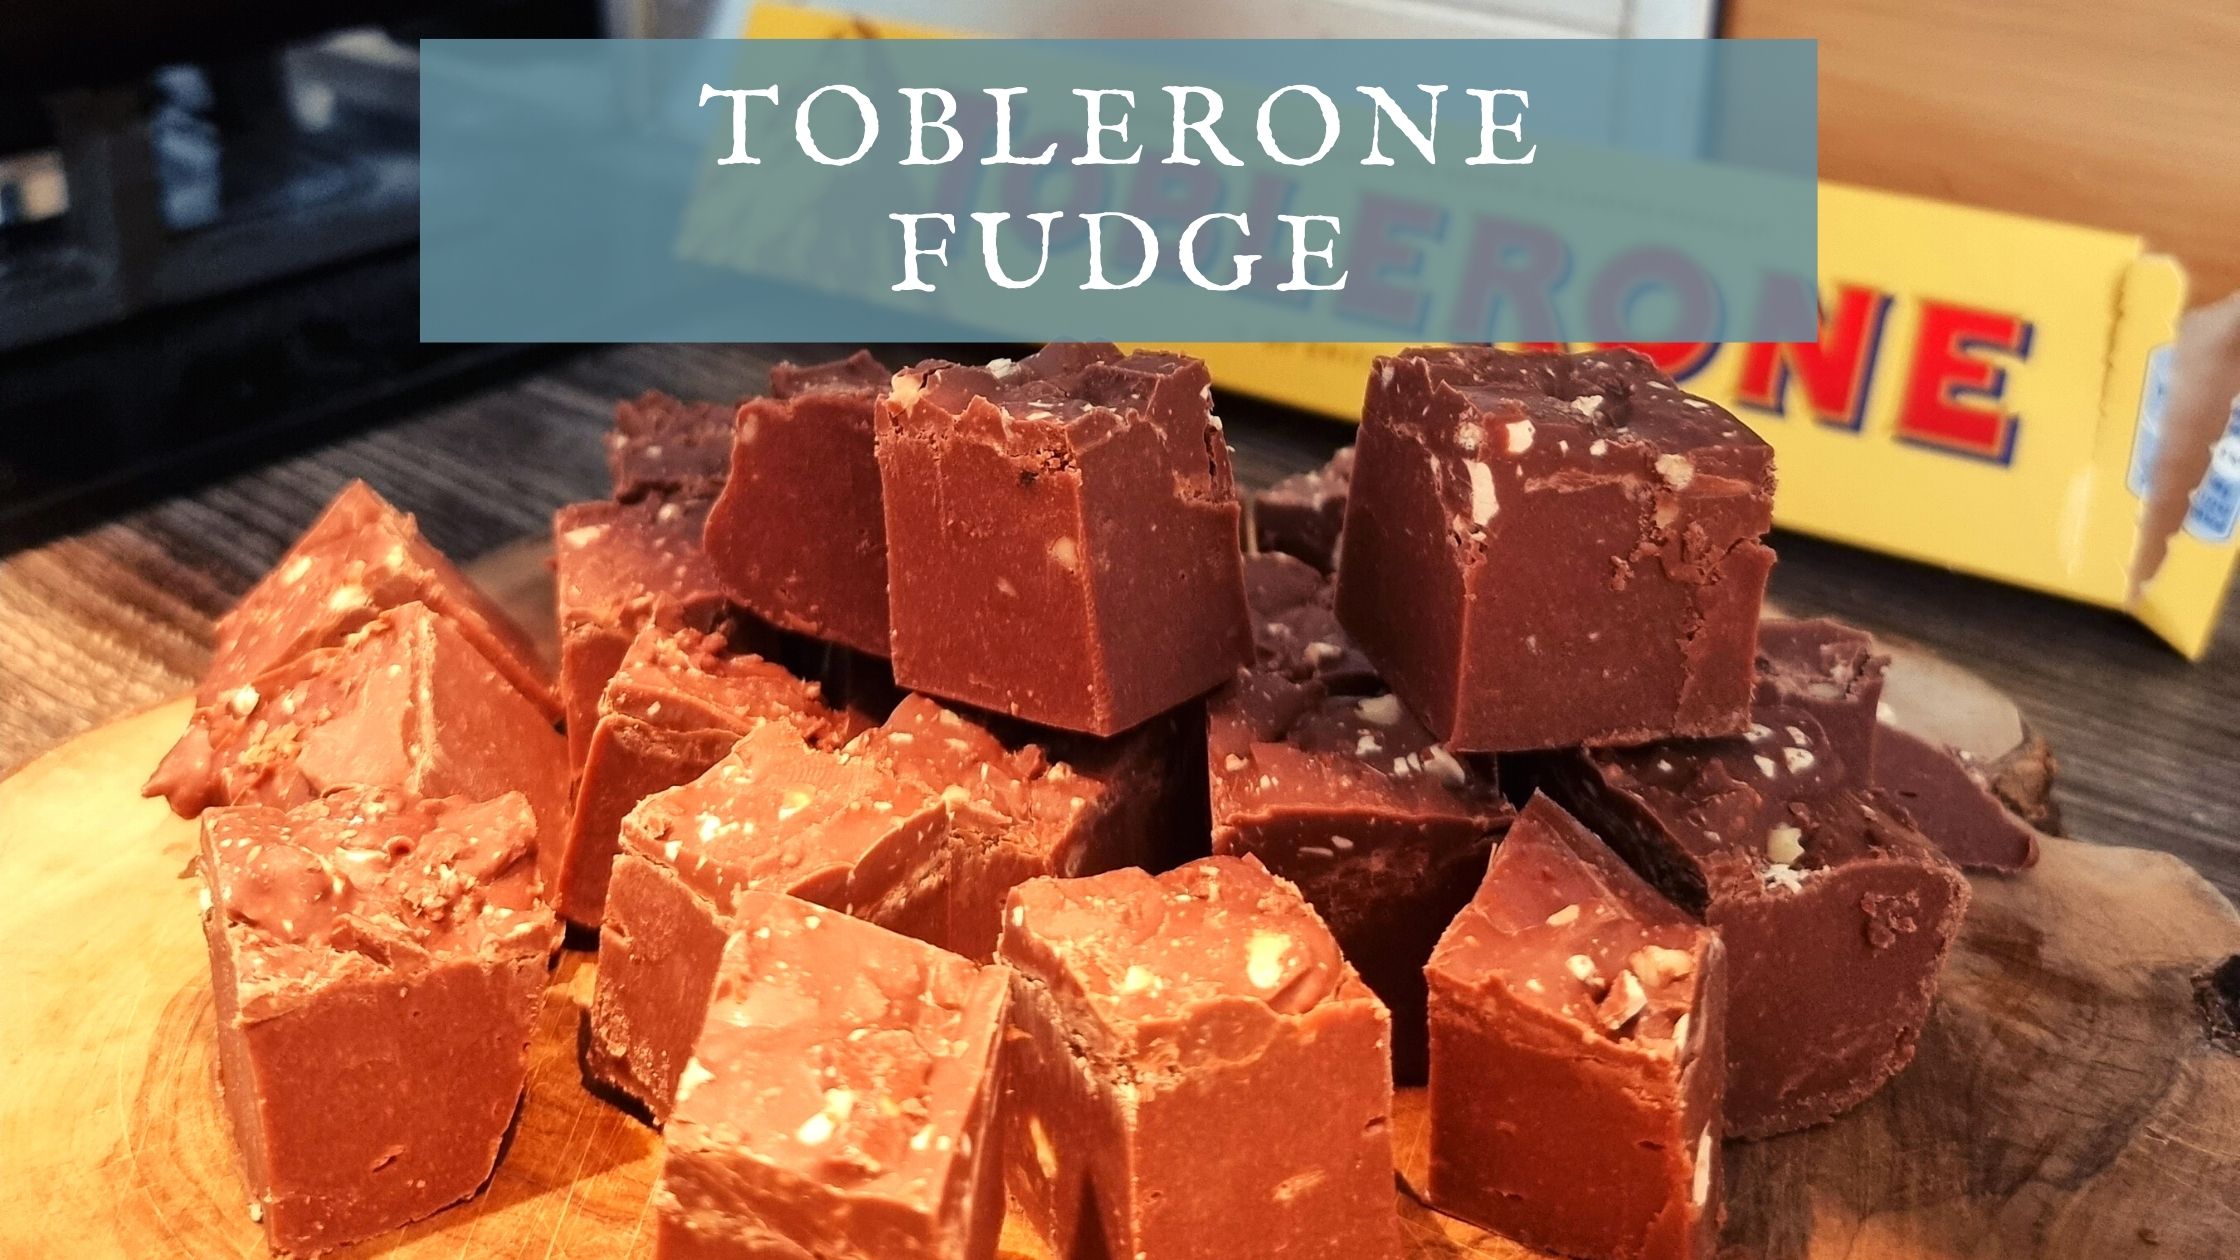
A chocolate lovers dream treat! We made this in the campervan for a perfect movie night treat. The chocolate is so smooth and velvety but with...
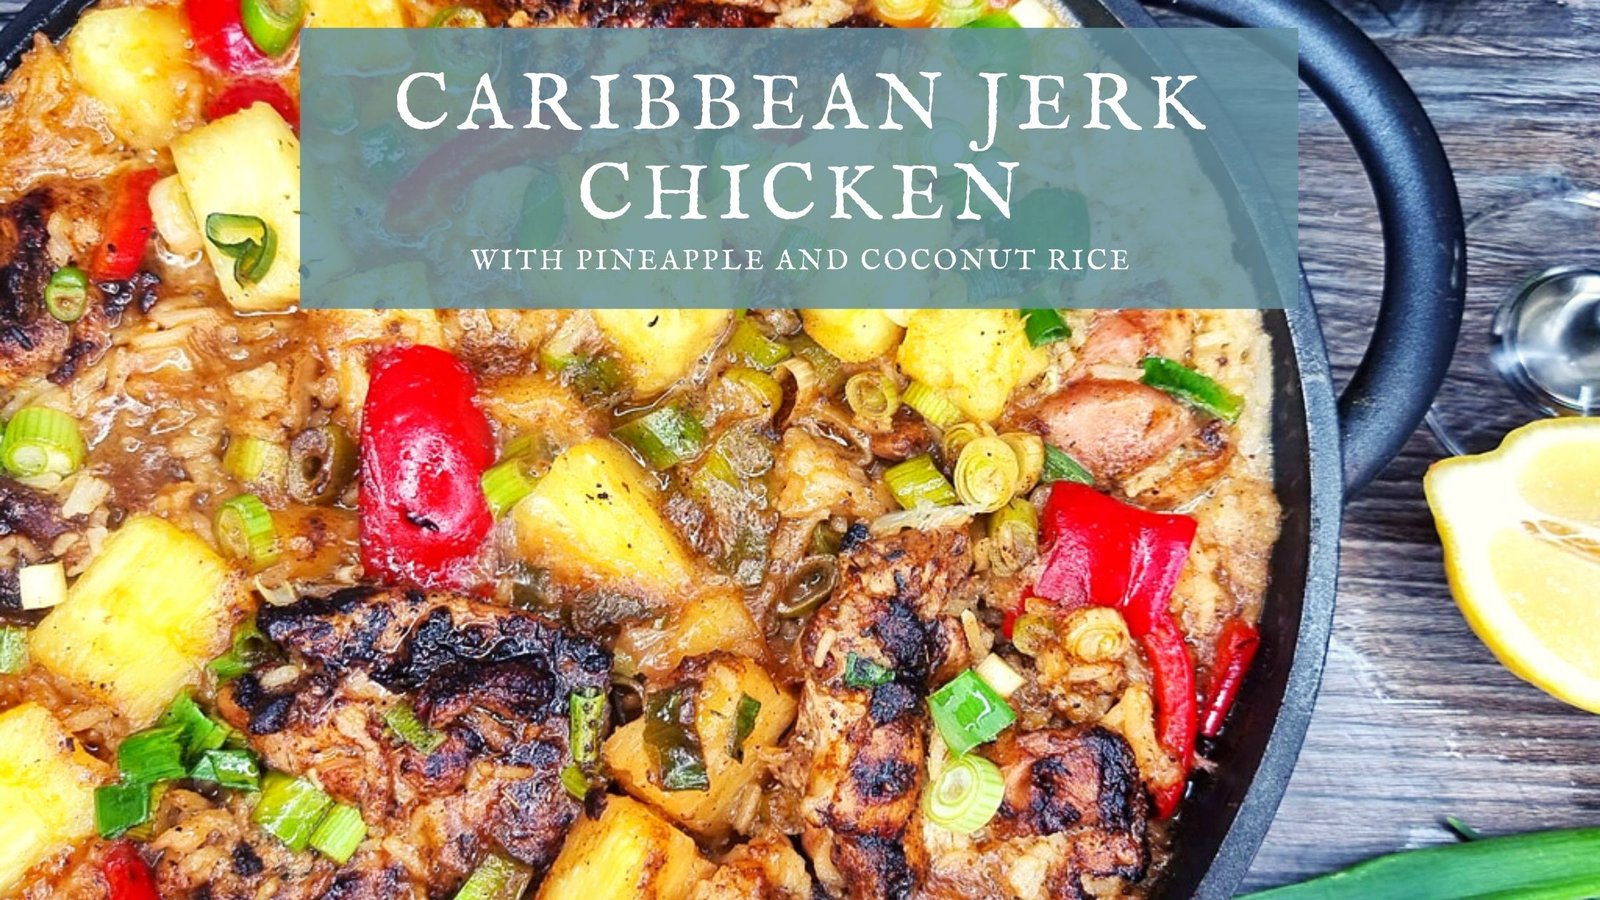
It was a cold, dreary and rainy evening in the campervan and we wanted something hearty for dinner. Something filling with a little heat (but...
