Lightweight die-cast aluminium pansFluoropolymer non-stick coatingRidged exterior for even heat transferCool touch removable handles with...
")
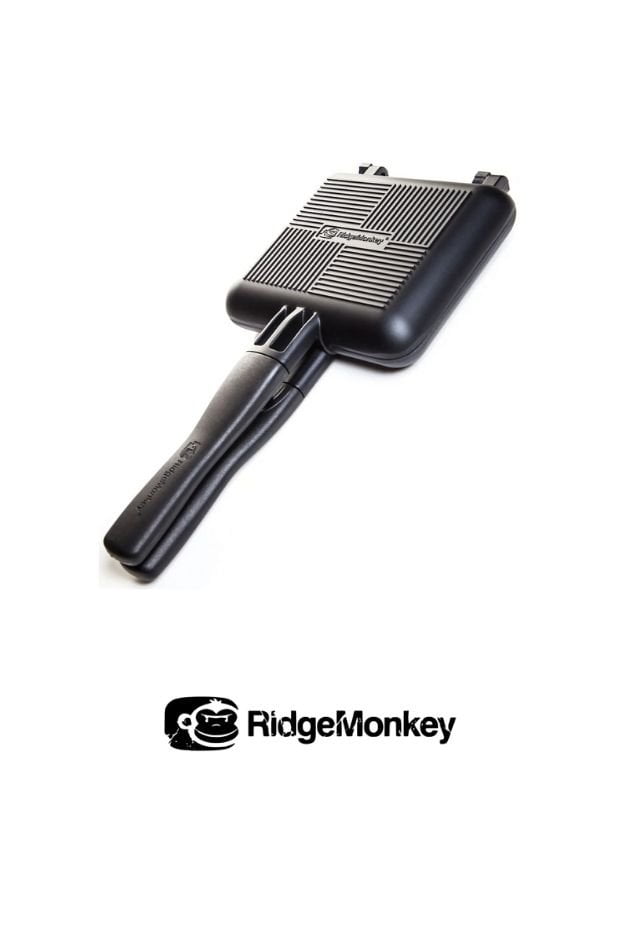
RidgeMonkey
BBQ & Fire
Cobb / CADAC
Slow Cooker
Air Fryer
One Pan
Lightweight die-cast aluminium pansFluoropolymer non-stick coatingRidged exterior for even heat transferCool touch removable handles with...
Enjoy slow-cooked meals in your van with this non-electric slow cooker. No electricity requiredEco friendlyCooks for up to 12 hoursCharitable...
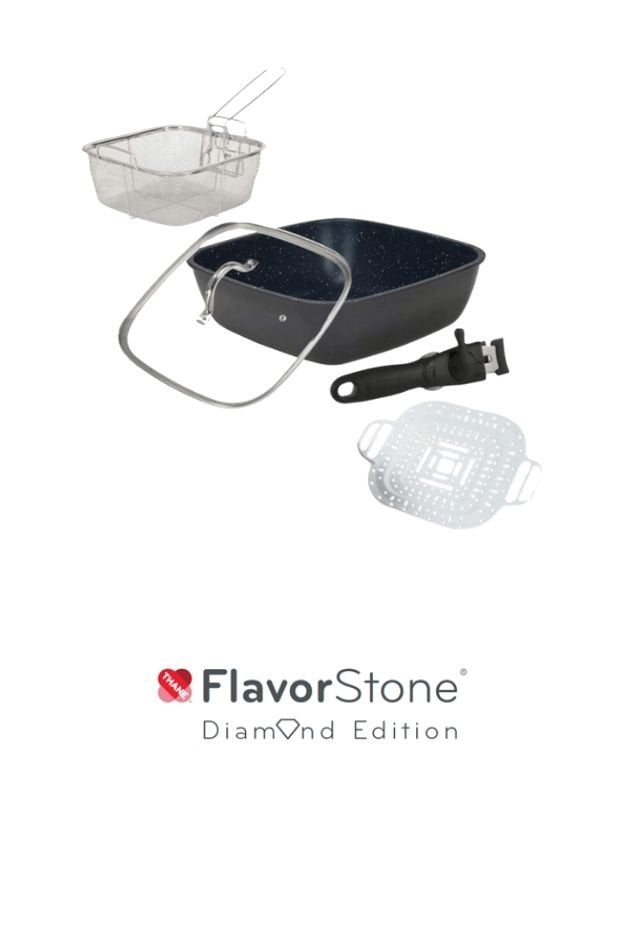
Chosing the right pan for your van is really important. When we discovered the FlavorStone we were blown away with just how versitile it is....
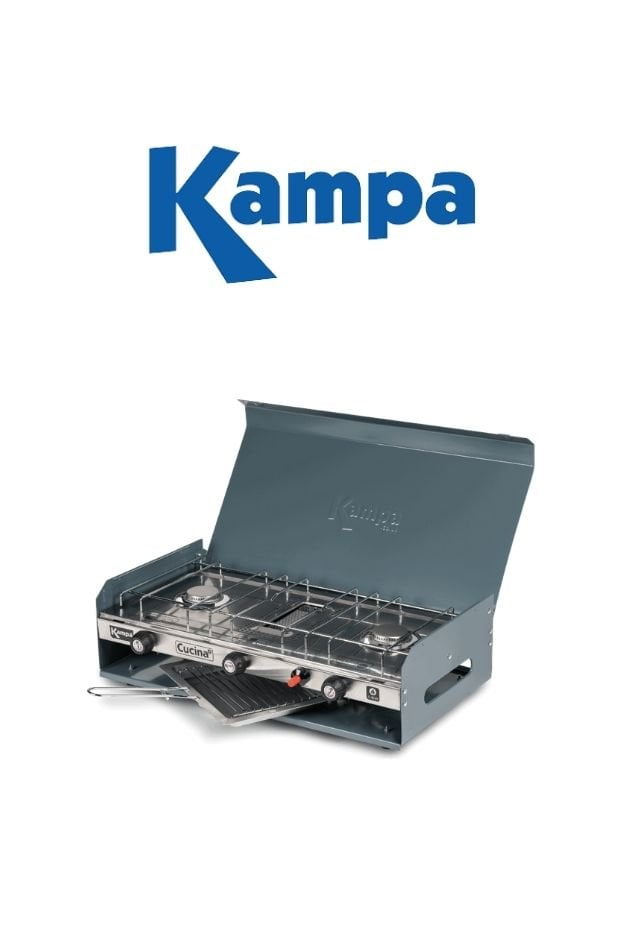
A simple twin stove top and grill that is suitable for just about any cooking in your van. Its our stove top of choice and you’ll see us using...

Do you bake in your van? We do quite often and these portable scales by Joseph and Joseph have been a space saving luxury. They fold up neatly...
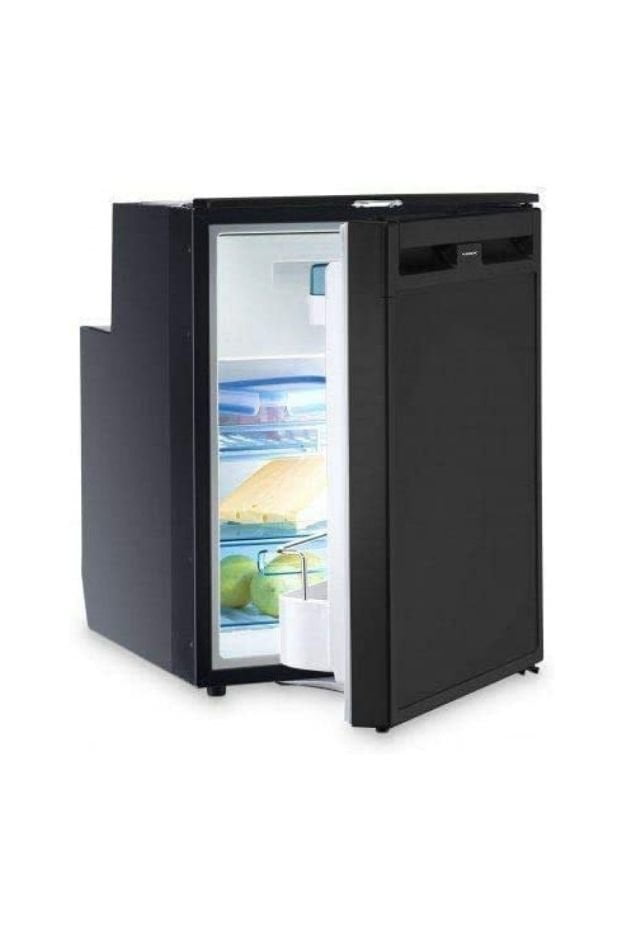
As featured in all our recipes, videos and images. Overall Size: Height 53.4 x Width 38 x Depth 50 cmsProvides a 3-in-1 solution: refrigerator,...
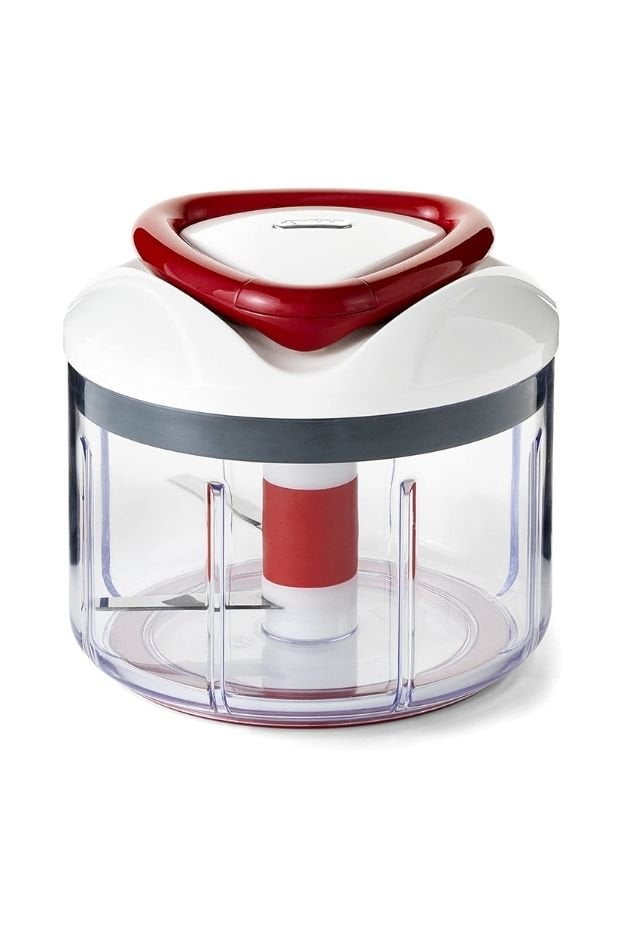
Manual food processor mixes, chops, blends and purees food by simply pulling the handle; pull 3-5 times for a coarse chop and 8-10 for a fine...
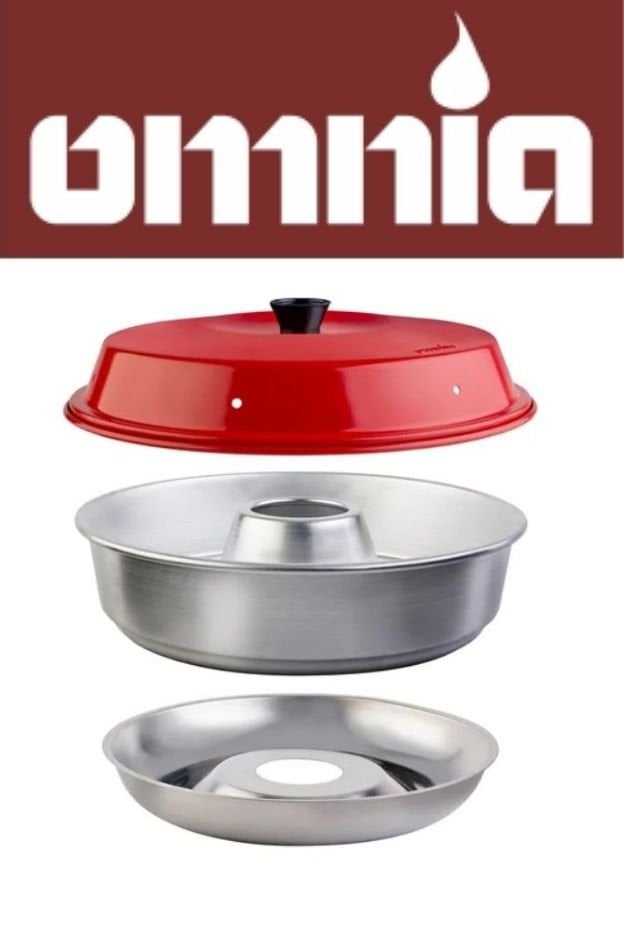
Introducing the legendary Omnia stove top oven! Know as being the best campervan stove top oven. Bake on a single hob in your van. Cakes, roast...

Meet Vanlife Eats featured vanlifers Alfred's Rolling Kitchen Our latest featured vanlifers Alfred's Rolling Kitchen are made up of Anne,...
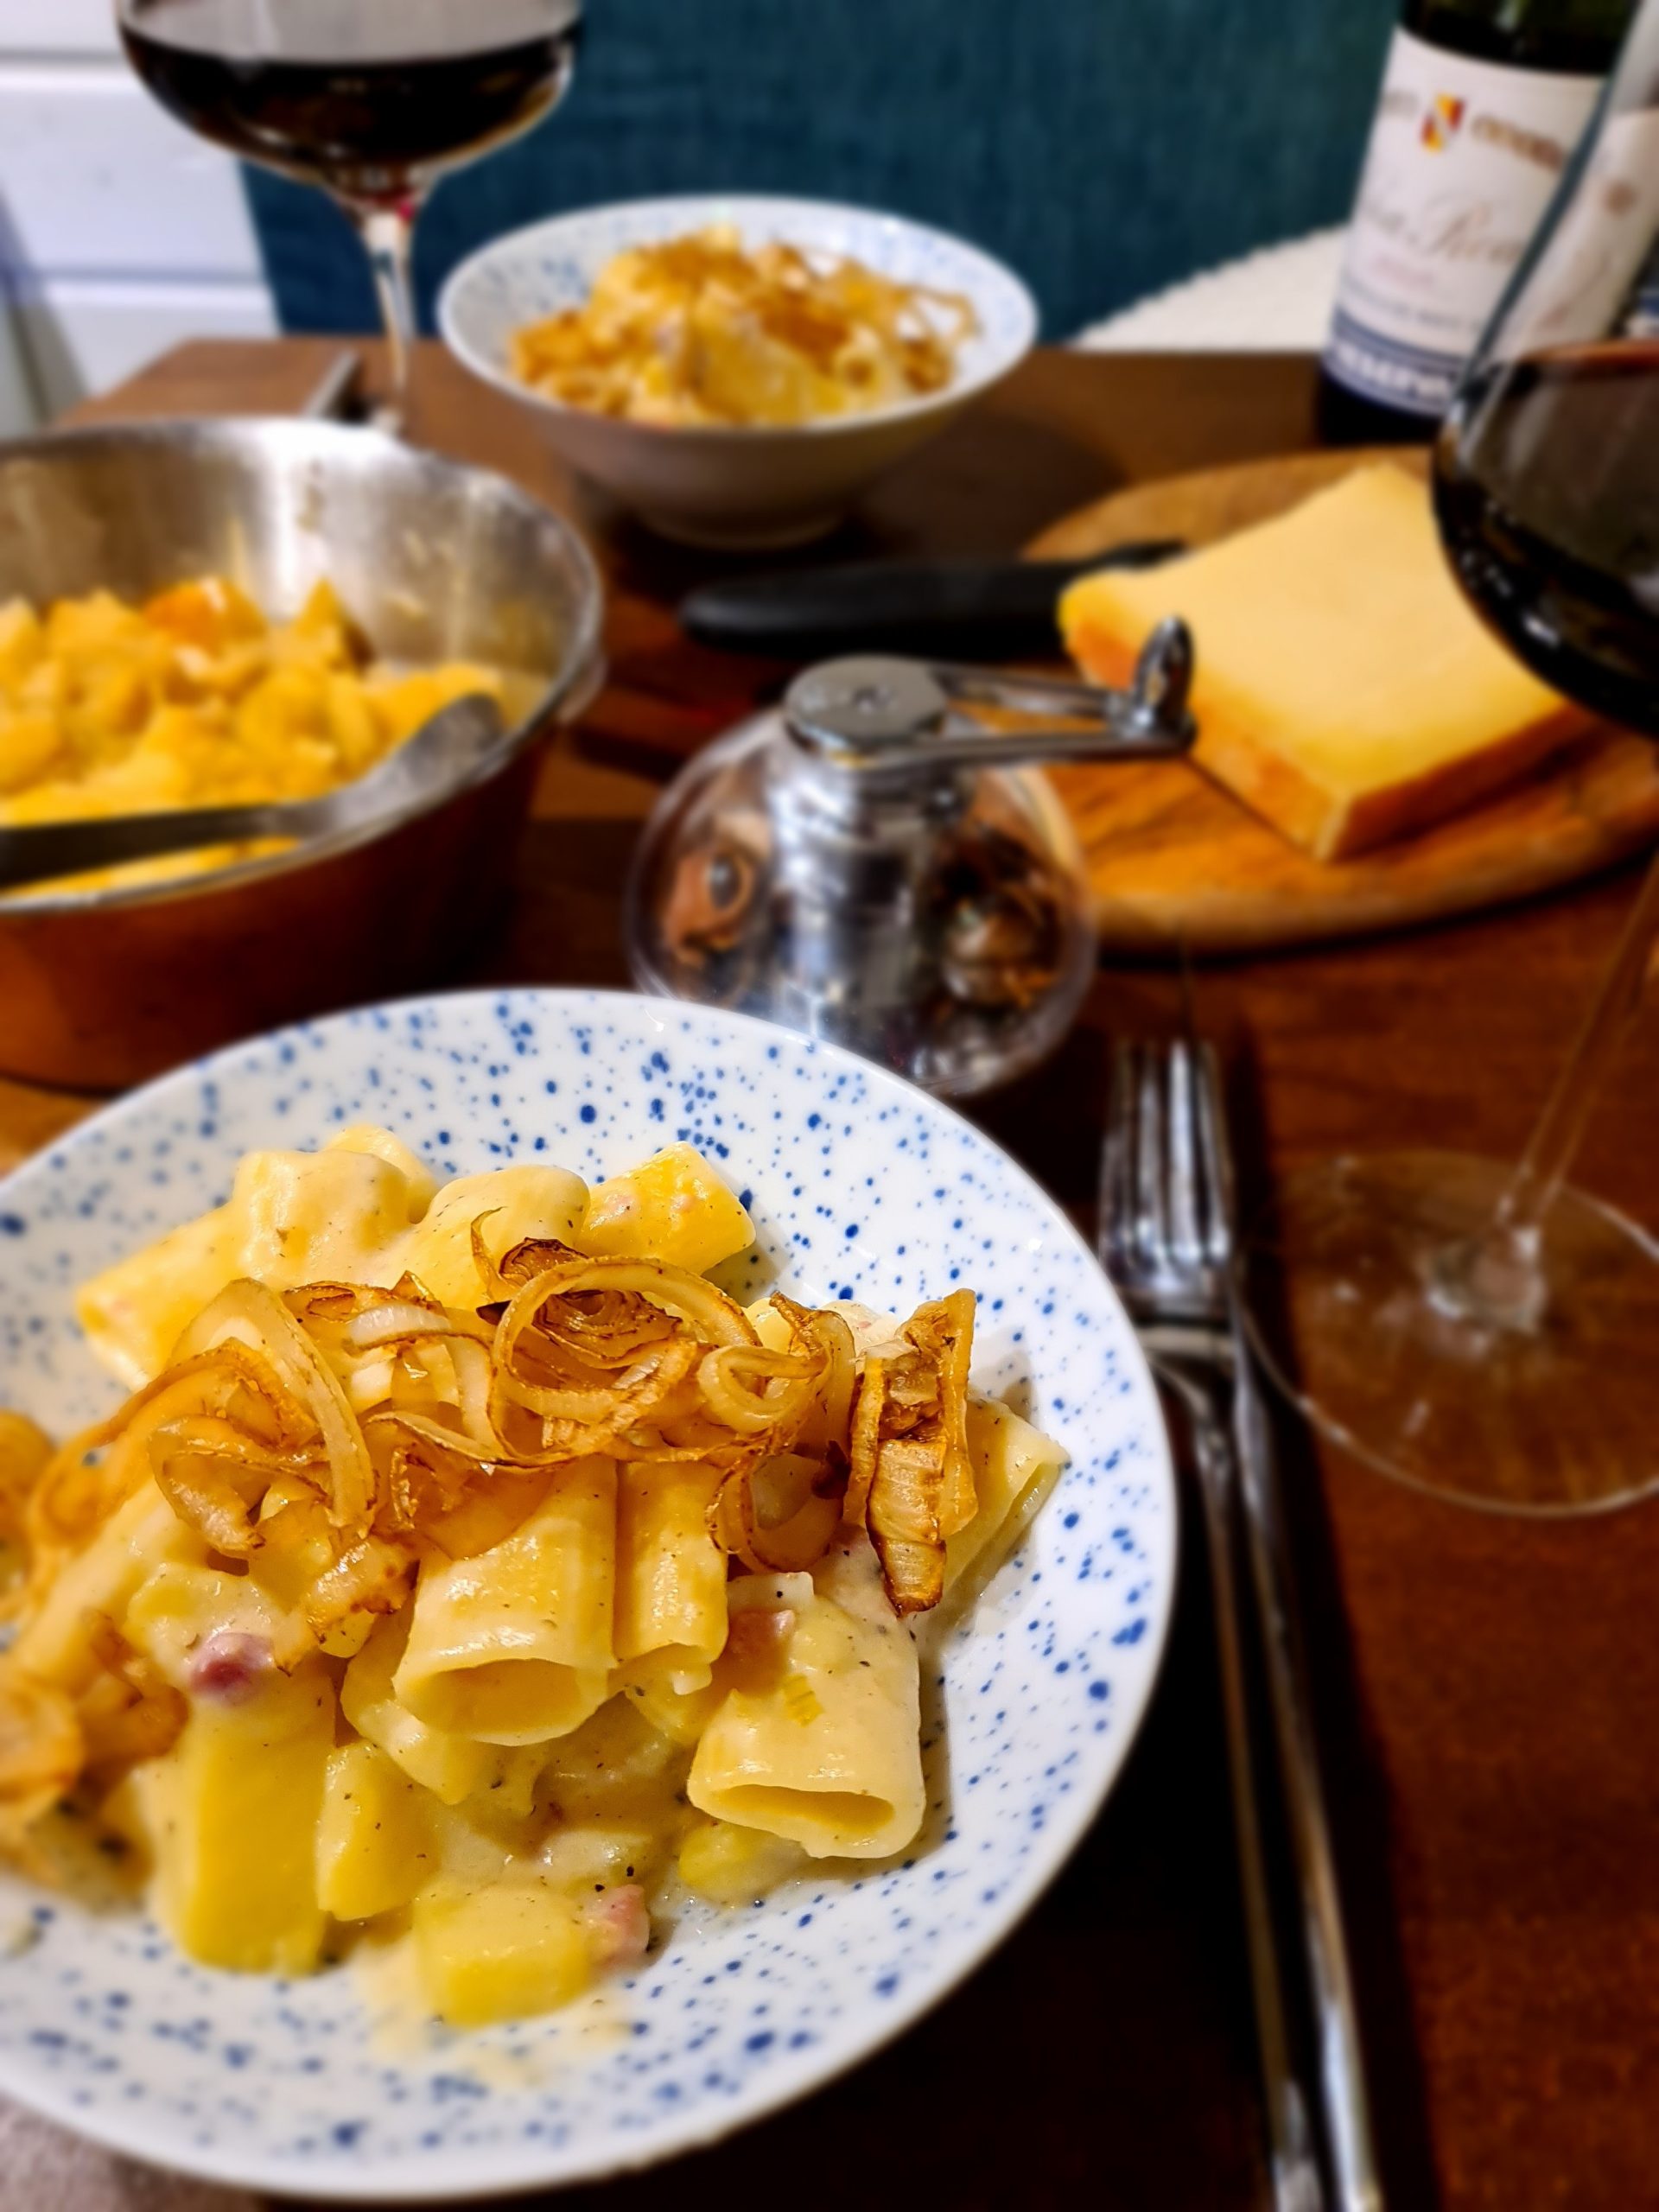
Älpler macaroni à la Alfred This recipe is a firm favourite of featured vanlifers @alfredsrollingkitchen. Anne & Pascal are big fans of...
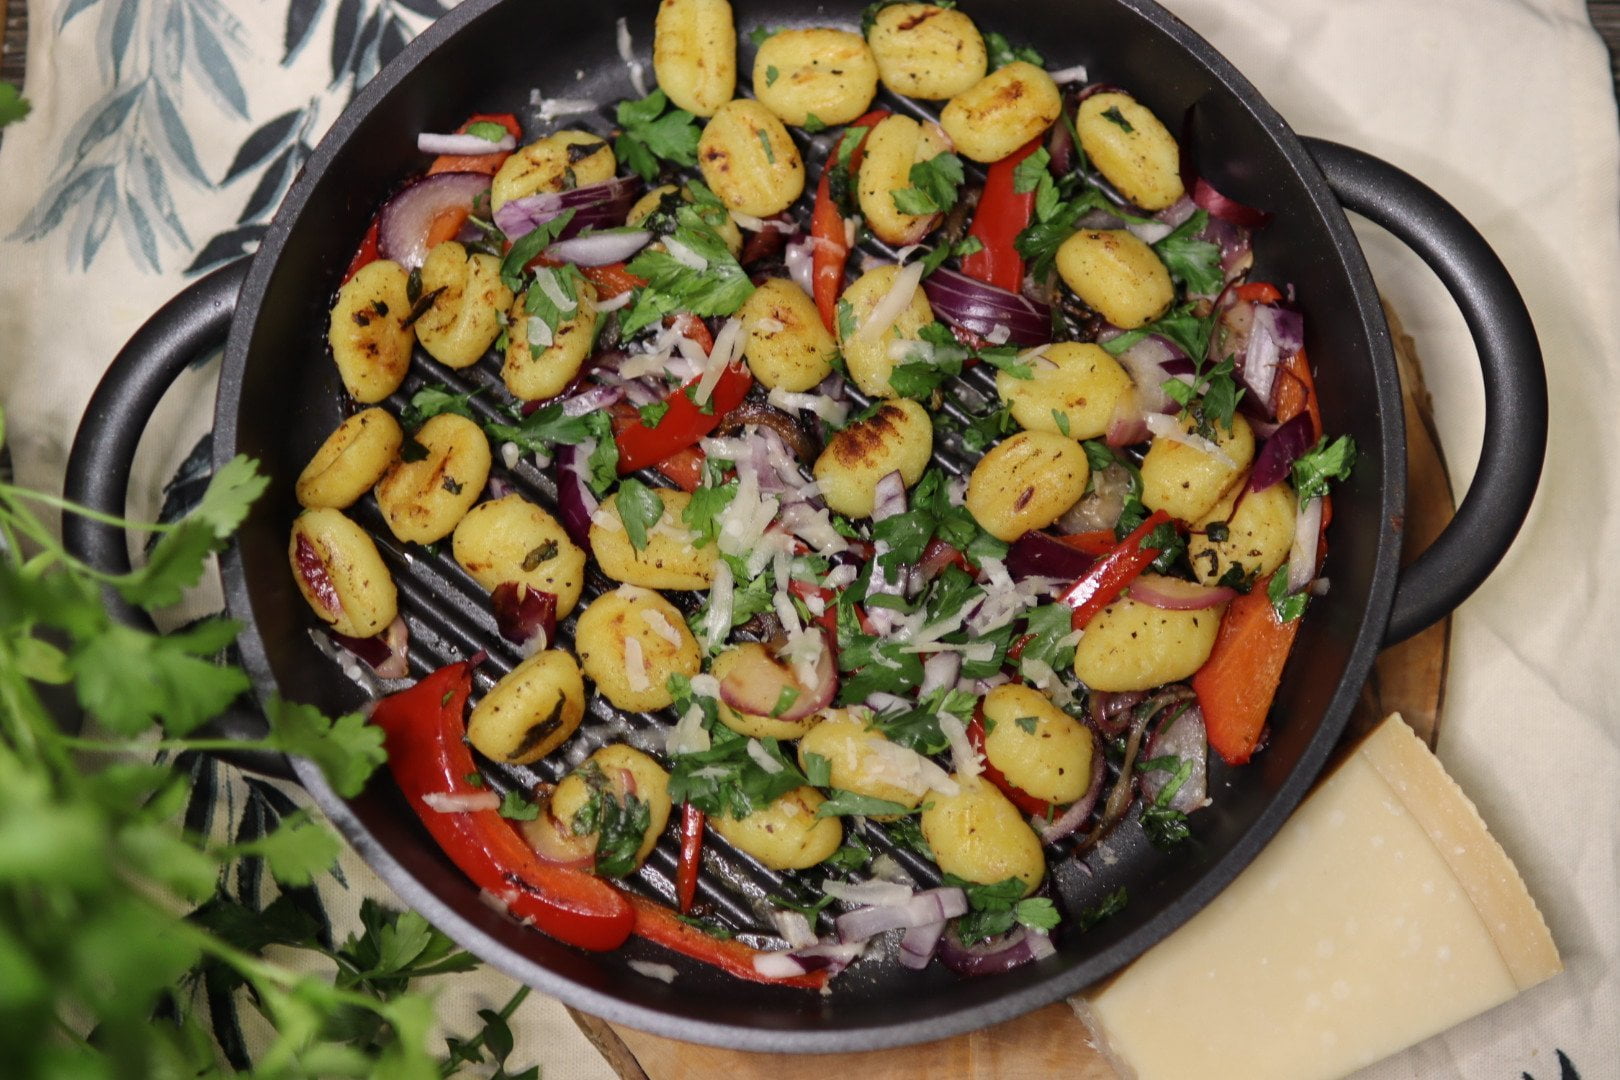
Crispy Pan Fried Gnocchi with a Sweet Bell and Onion Salad These little crispy dumplings are just the tastiest thing to gnoc up (sorry...
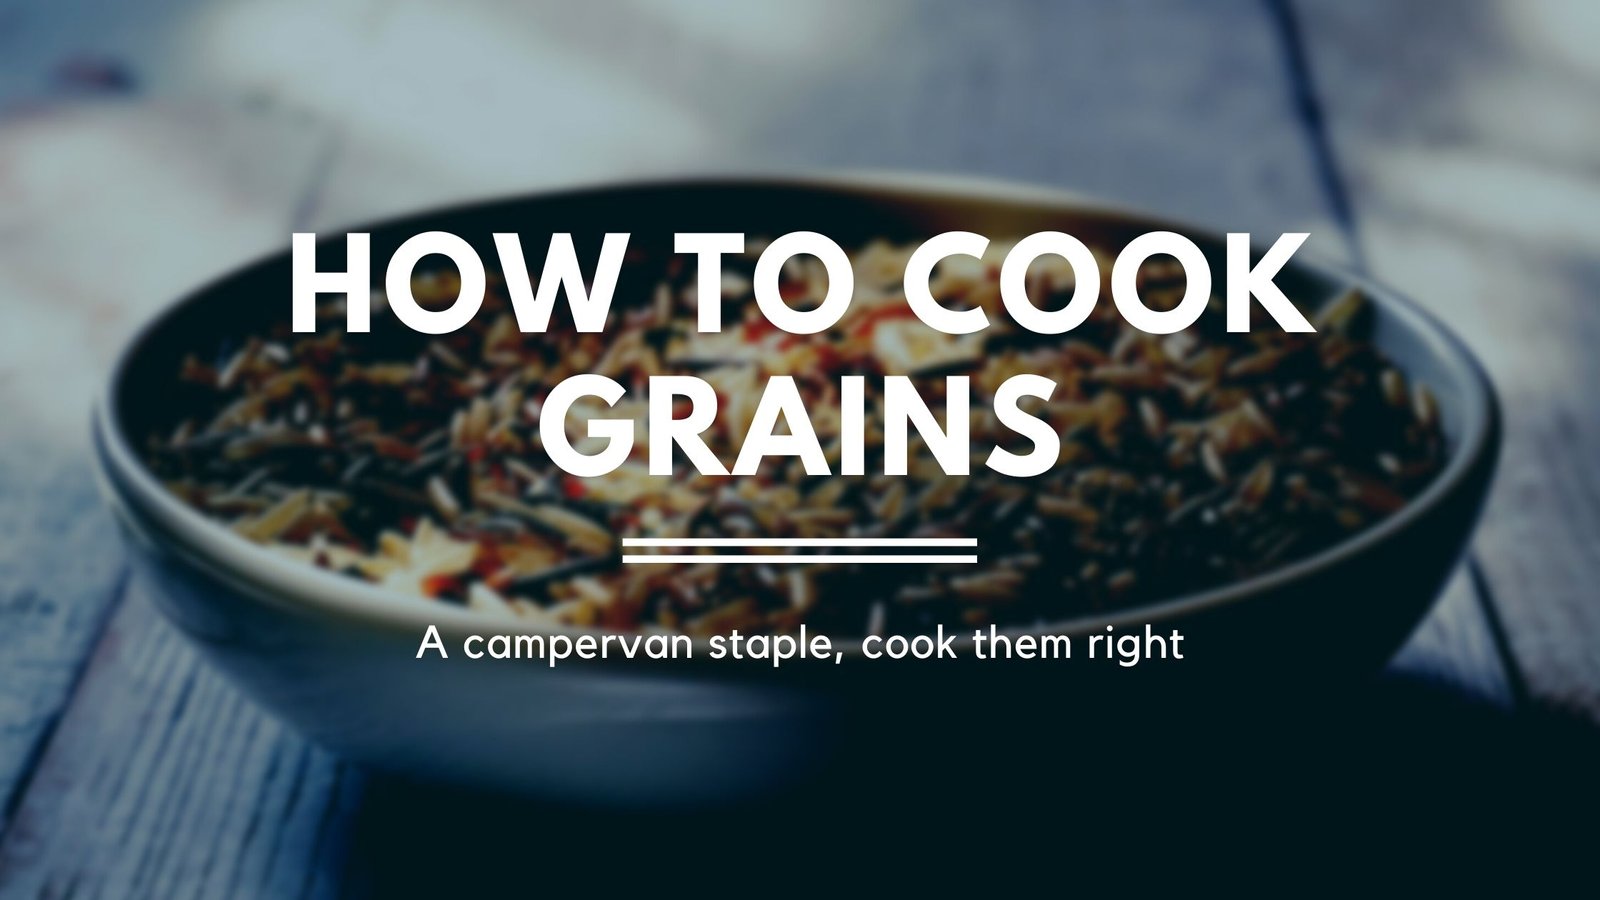
When it comes to campervan cooking, no matter what meals you dish up, you need a balanced meal. Grains are the perfect staple that round things...
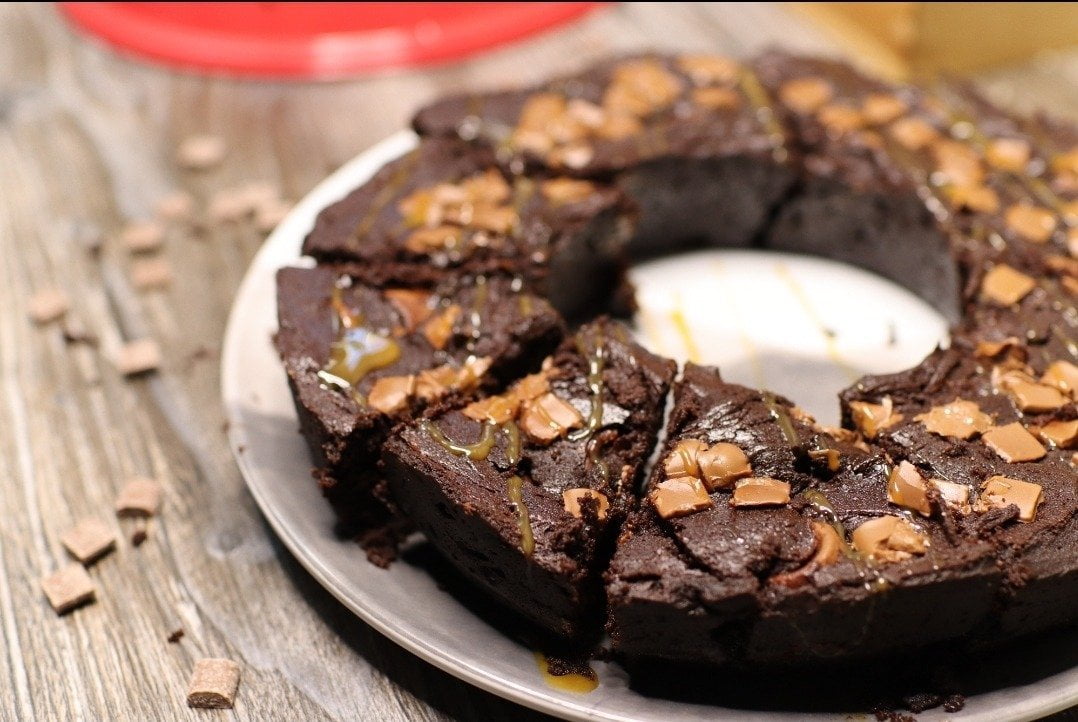
After giving up chocolate for lent I knew I wanted to bake something super indulgent super chocolatey for Easter
Hence the Omnia style rolo brownies were born. As if a chocolate brownie wasn’t indulgent enough this is jam packed full of rolos and covered in a delicious toffee sauce.
Dark chocolate gives this recipe a real richness so even if you are not a fan of dark chocolate, don’t substitute as you won’t get the same result and it doesn’t taste of dark chocolate.
*Please note you will need a freezer for this recipe*
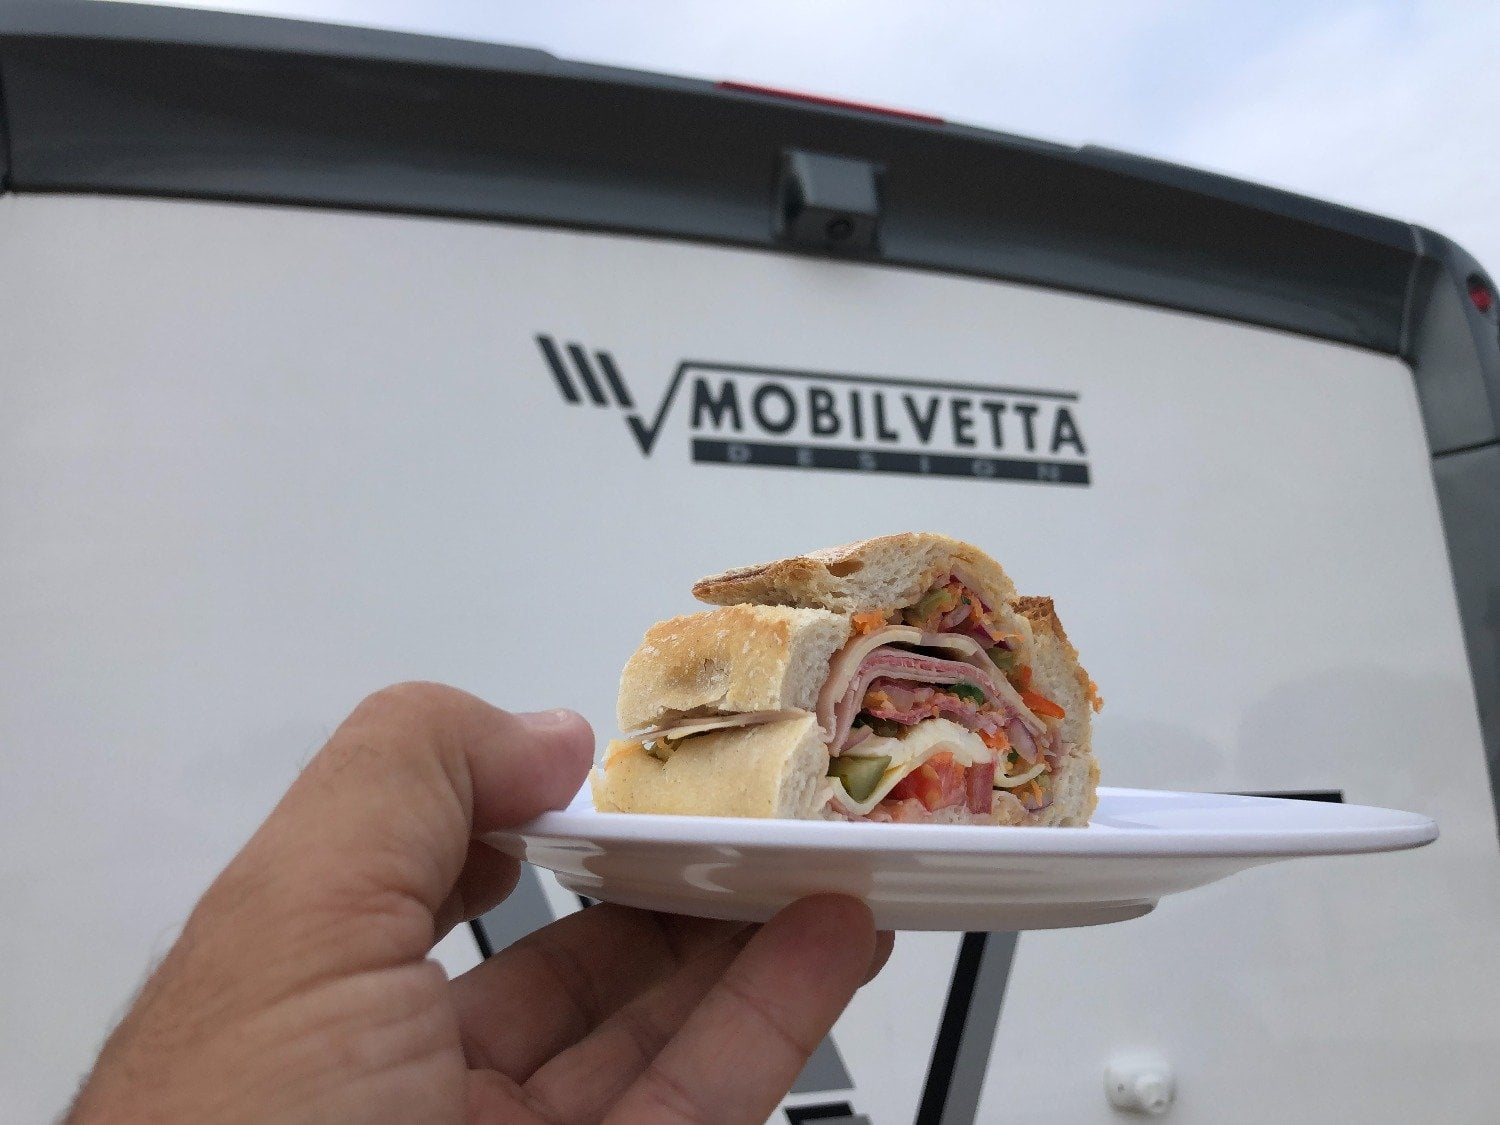
The best Deli Sandwich this side of New Orleans.
Named after our Italian Motorhome.
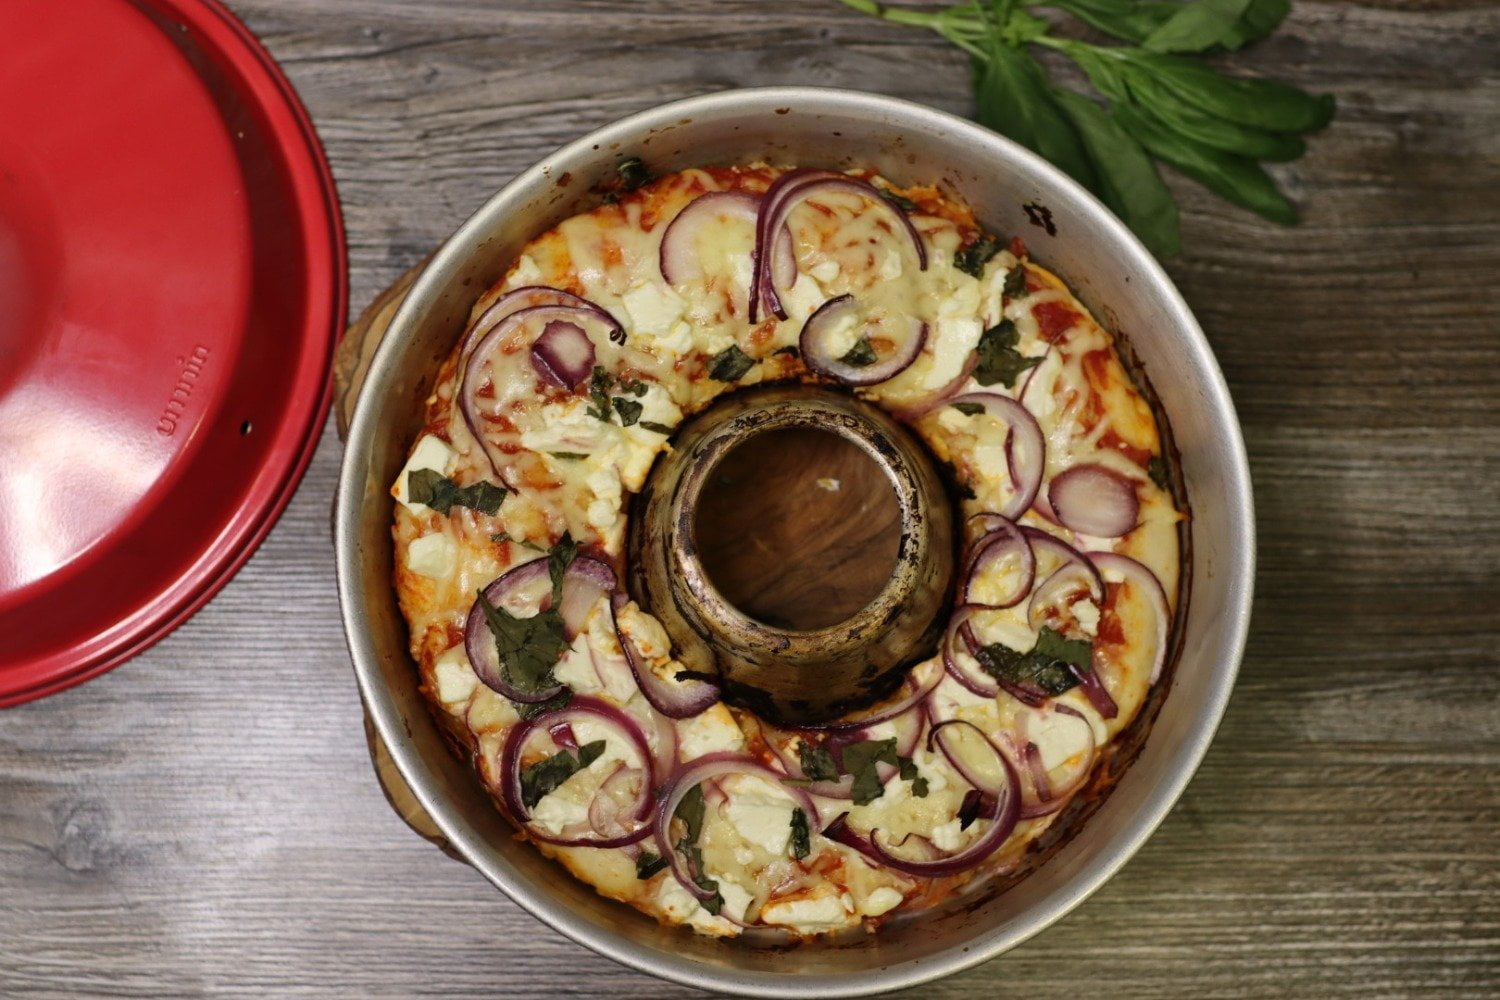
After a lot of trial and error we have perfected the best Omnia pizza. It’s a deep pan edition and works perfectly with Nonna’s classic tomato sauce to soak into the doughy base.
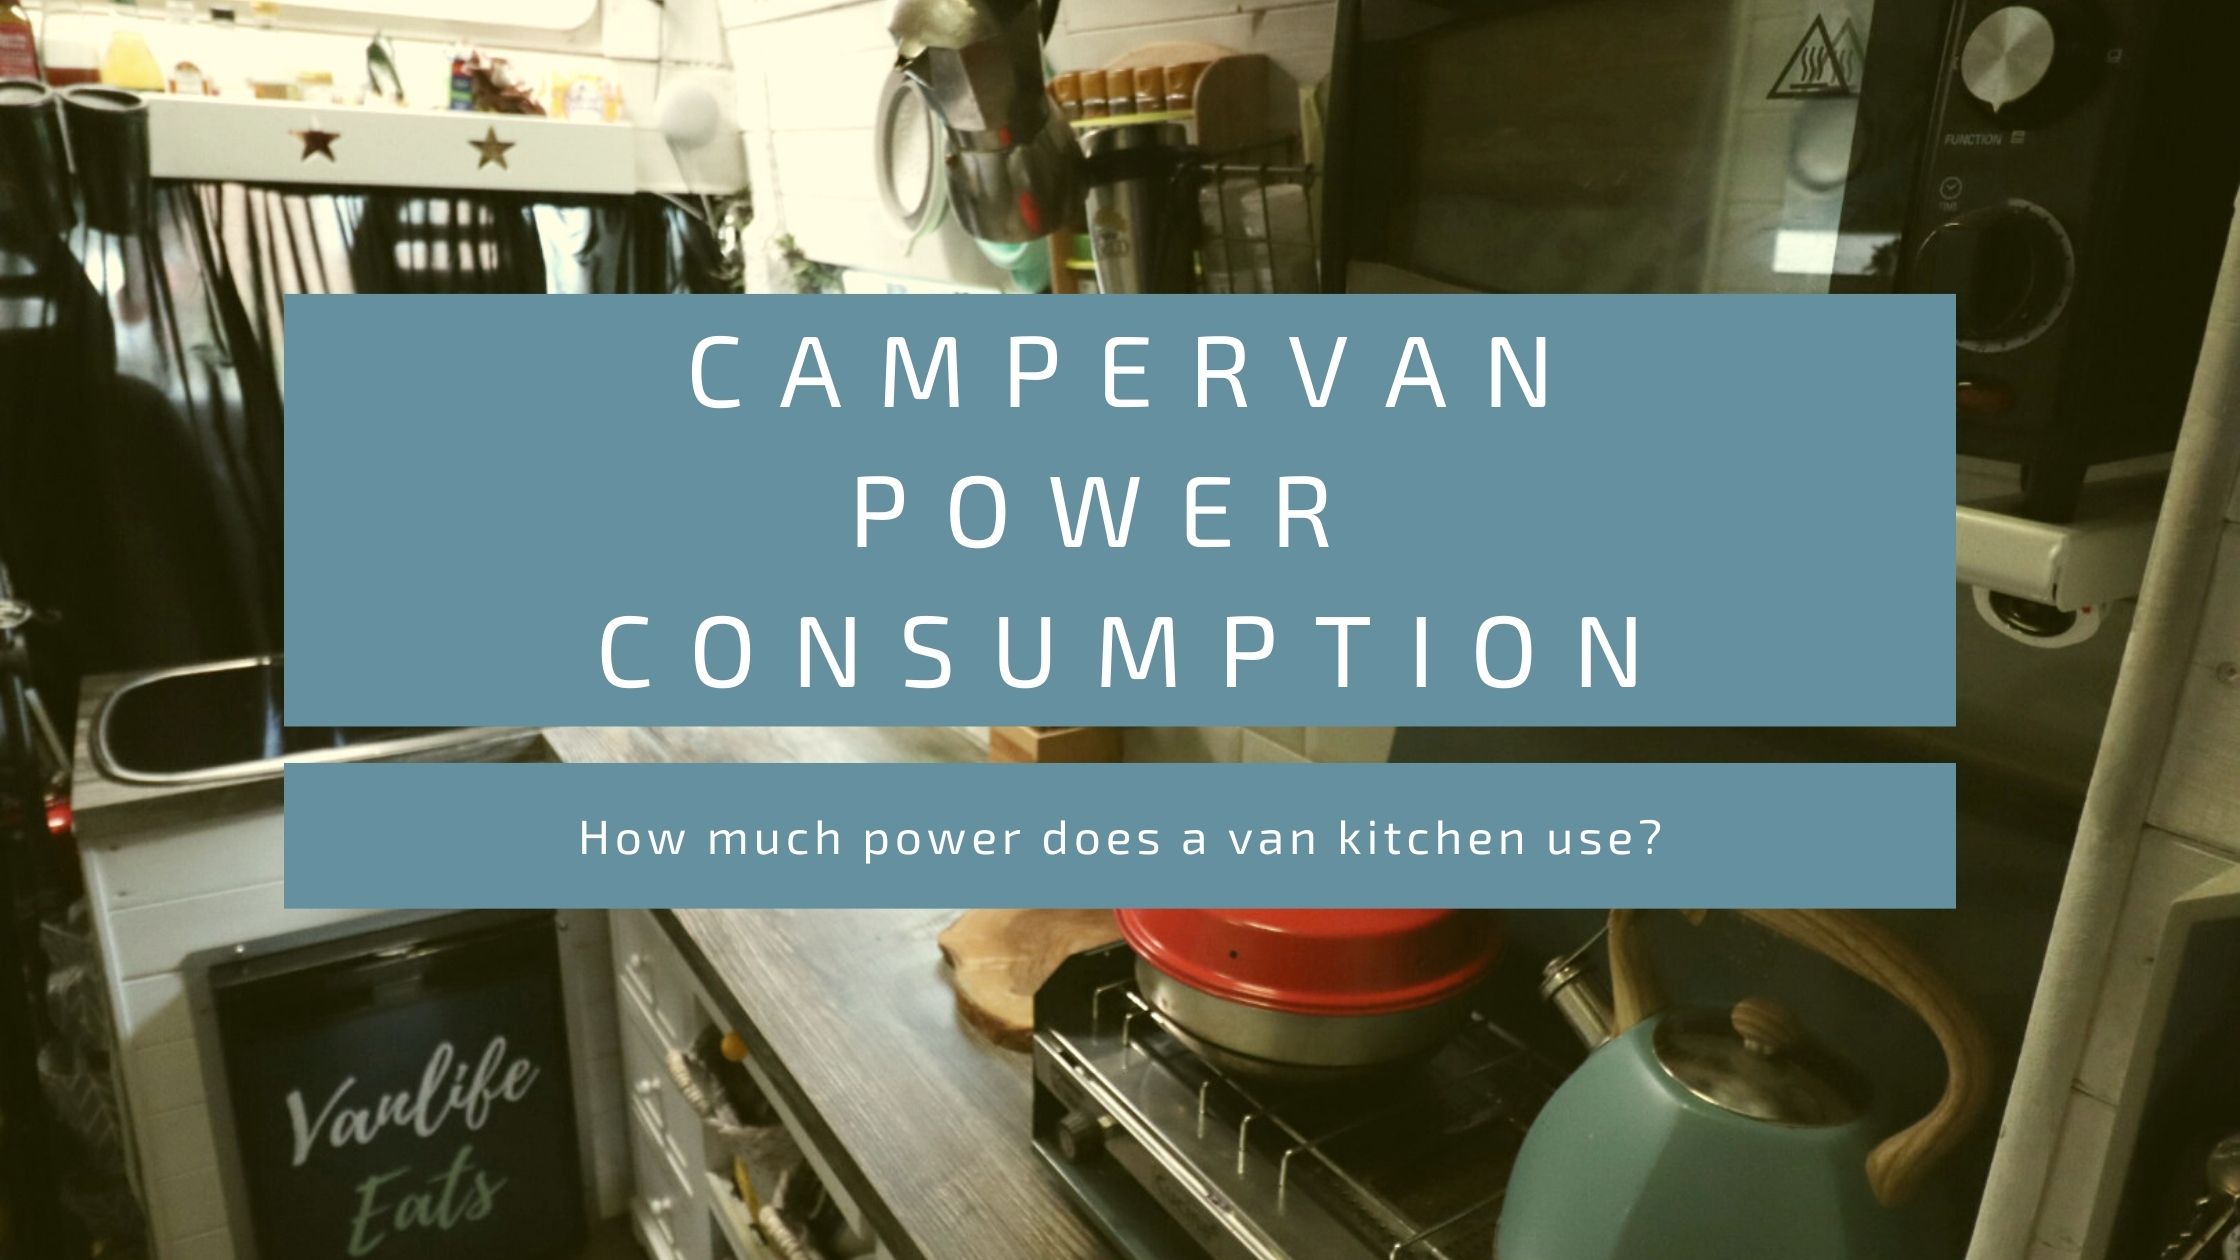
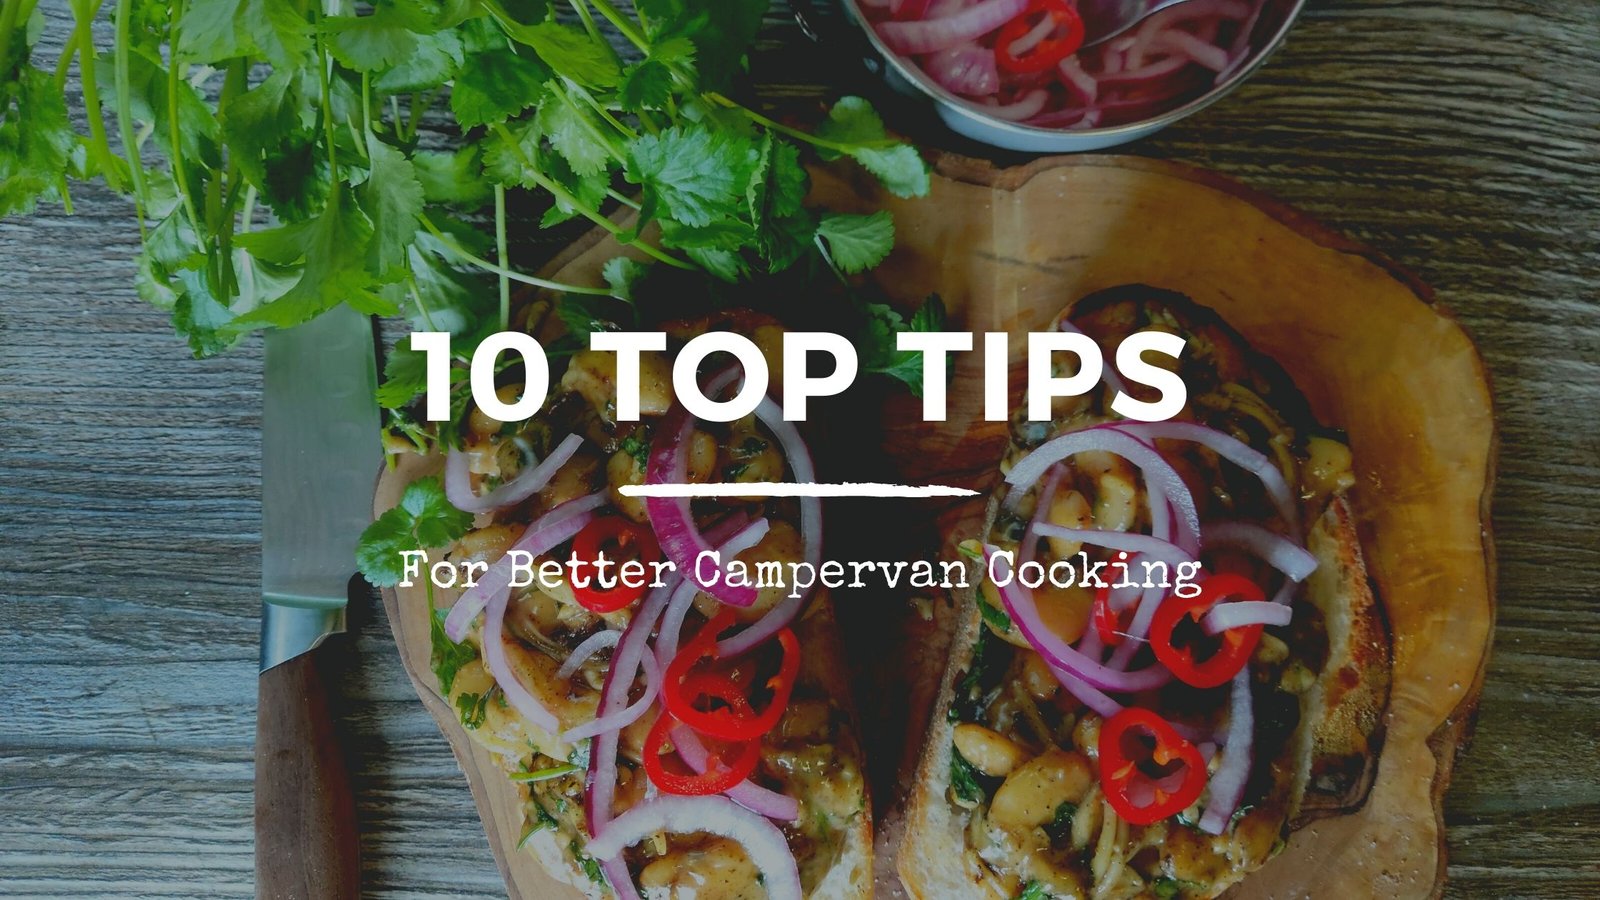
Treating your campervan as a tiny home in todays modern world will entice you to bring a variety of electrical gadgets and appliances that we...
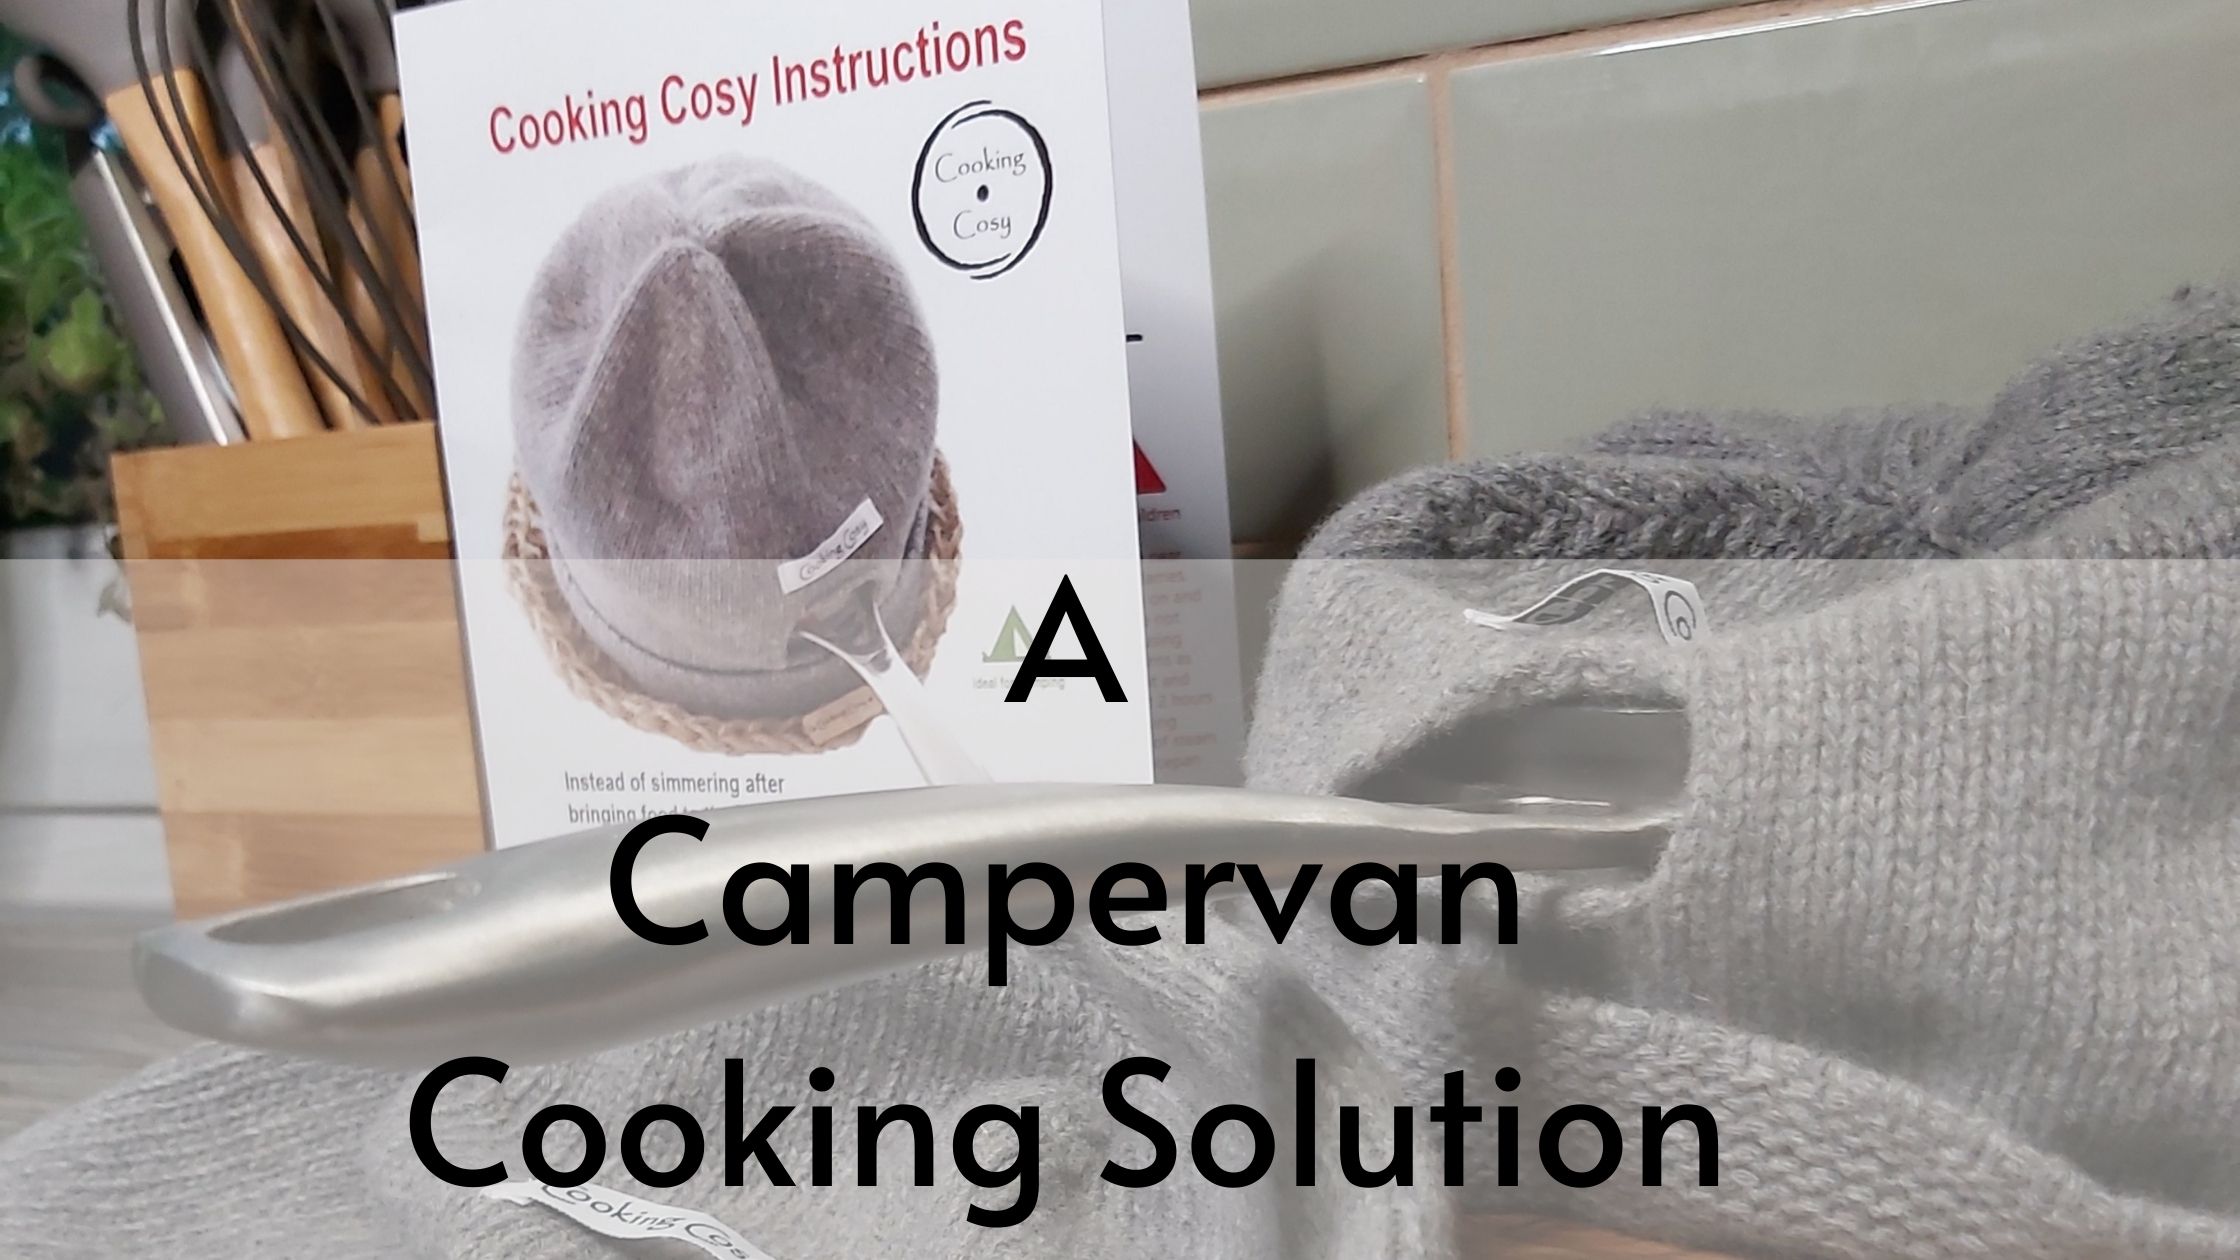
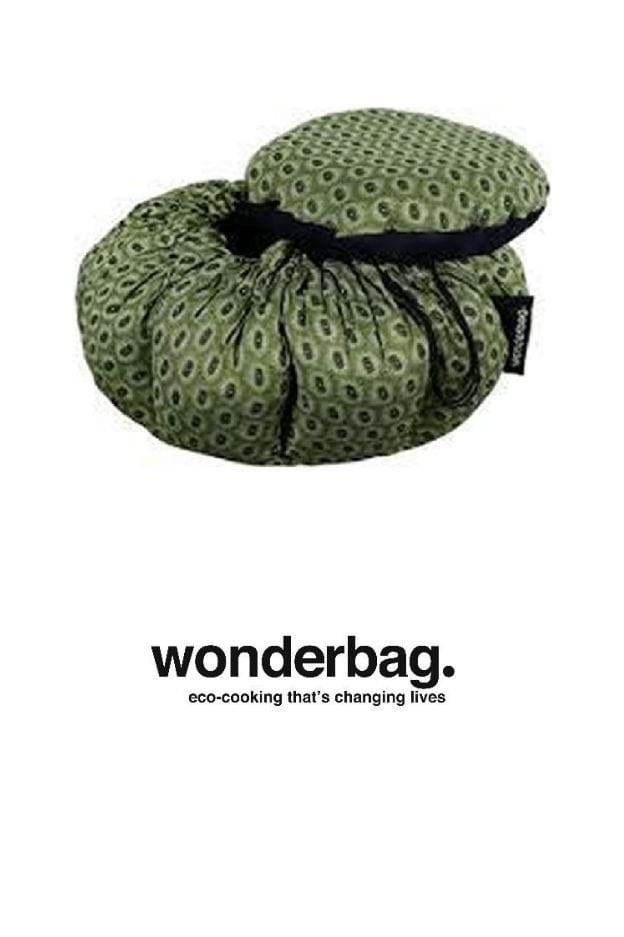
The Cooking Cosy provides a cooking solution for every campervan. It helps save energy, is environmentally friendly and super cute! Find out...
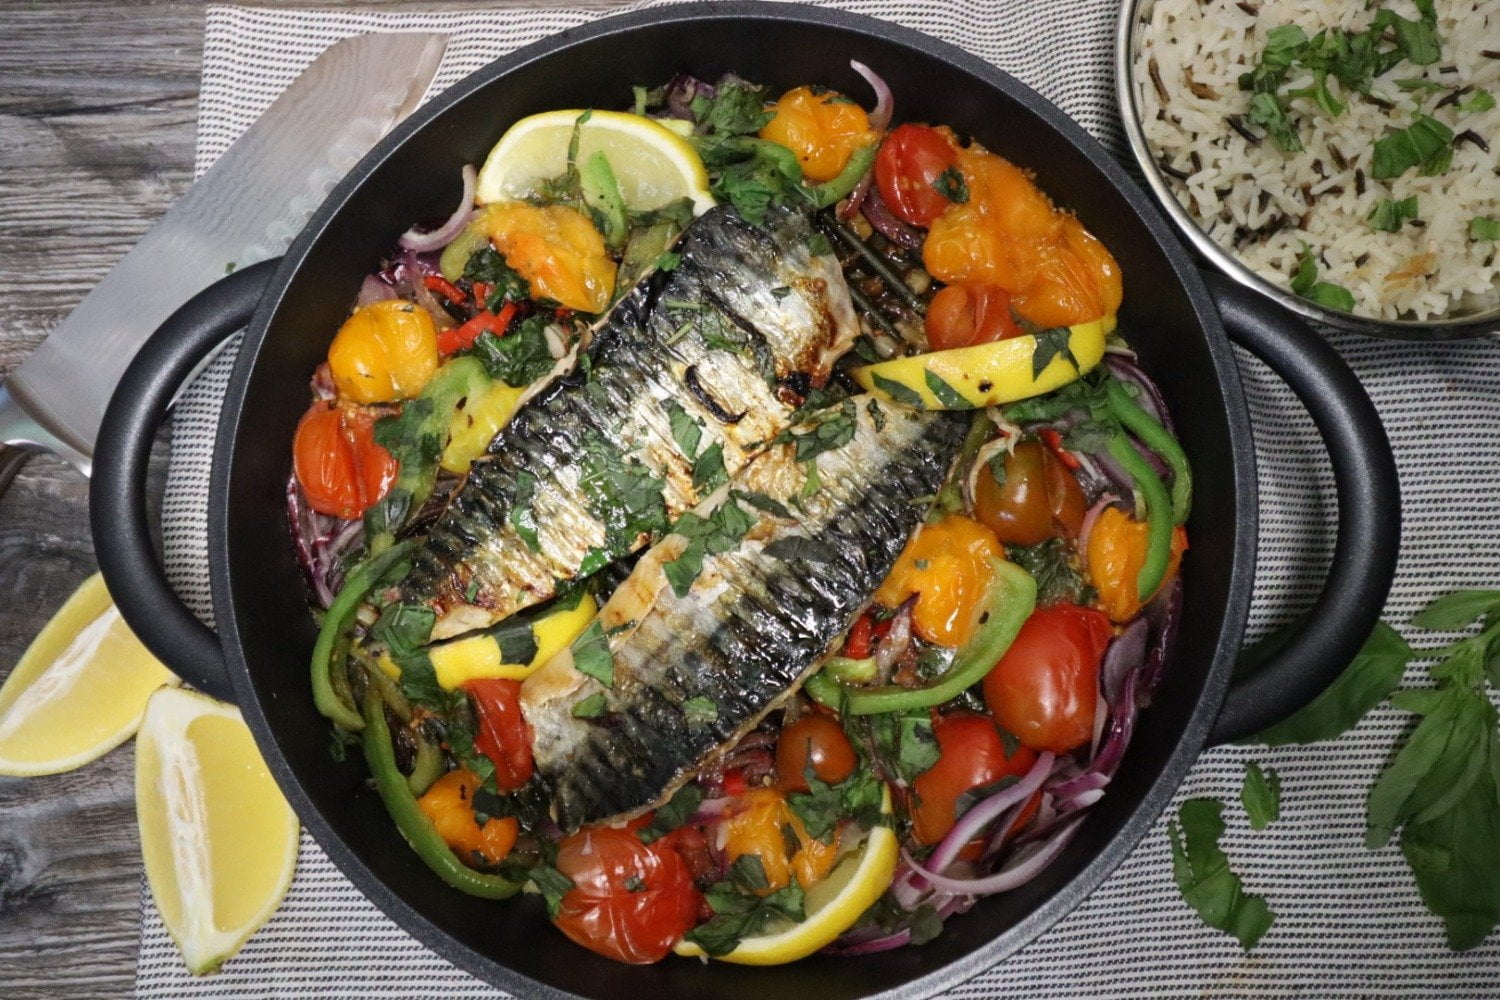
A Mediterranean style dish with a very British Mackerel. Mackerel is one of the tastiest fishes whilst being surrounded by a spicy-sweet and zingy tomato salad.
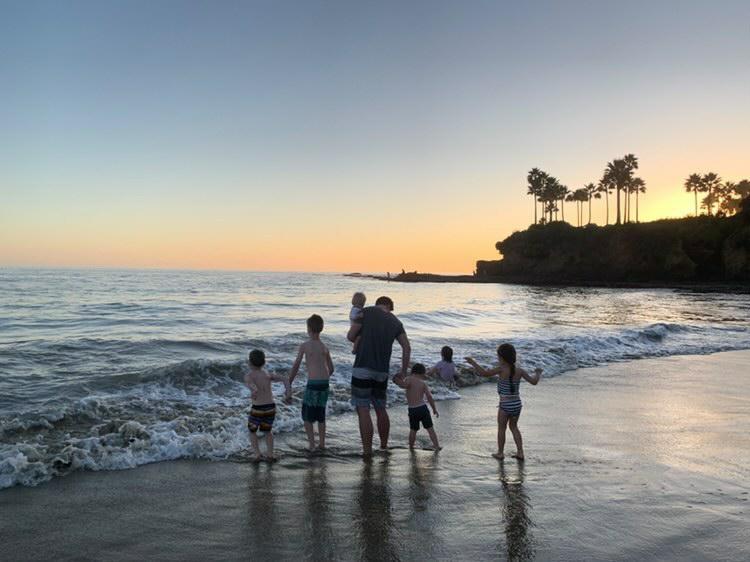
Featured vanlifers Joseph and Devin share their experiences as a family of 8 as Ephin Life. They enjoy family travels in their van Panda...
This is the perfect indulgent meal whilst following a keto diet. Full of flavour and easy to prepare in a campervan kitchen.
Being brought up in a close British Italian family it's no surprise that I spent most of my life cooking alongside my Nonna and learning the...

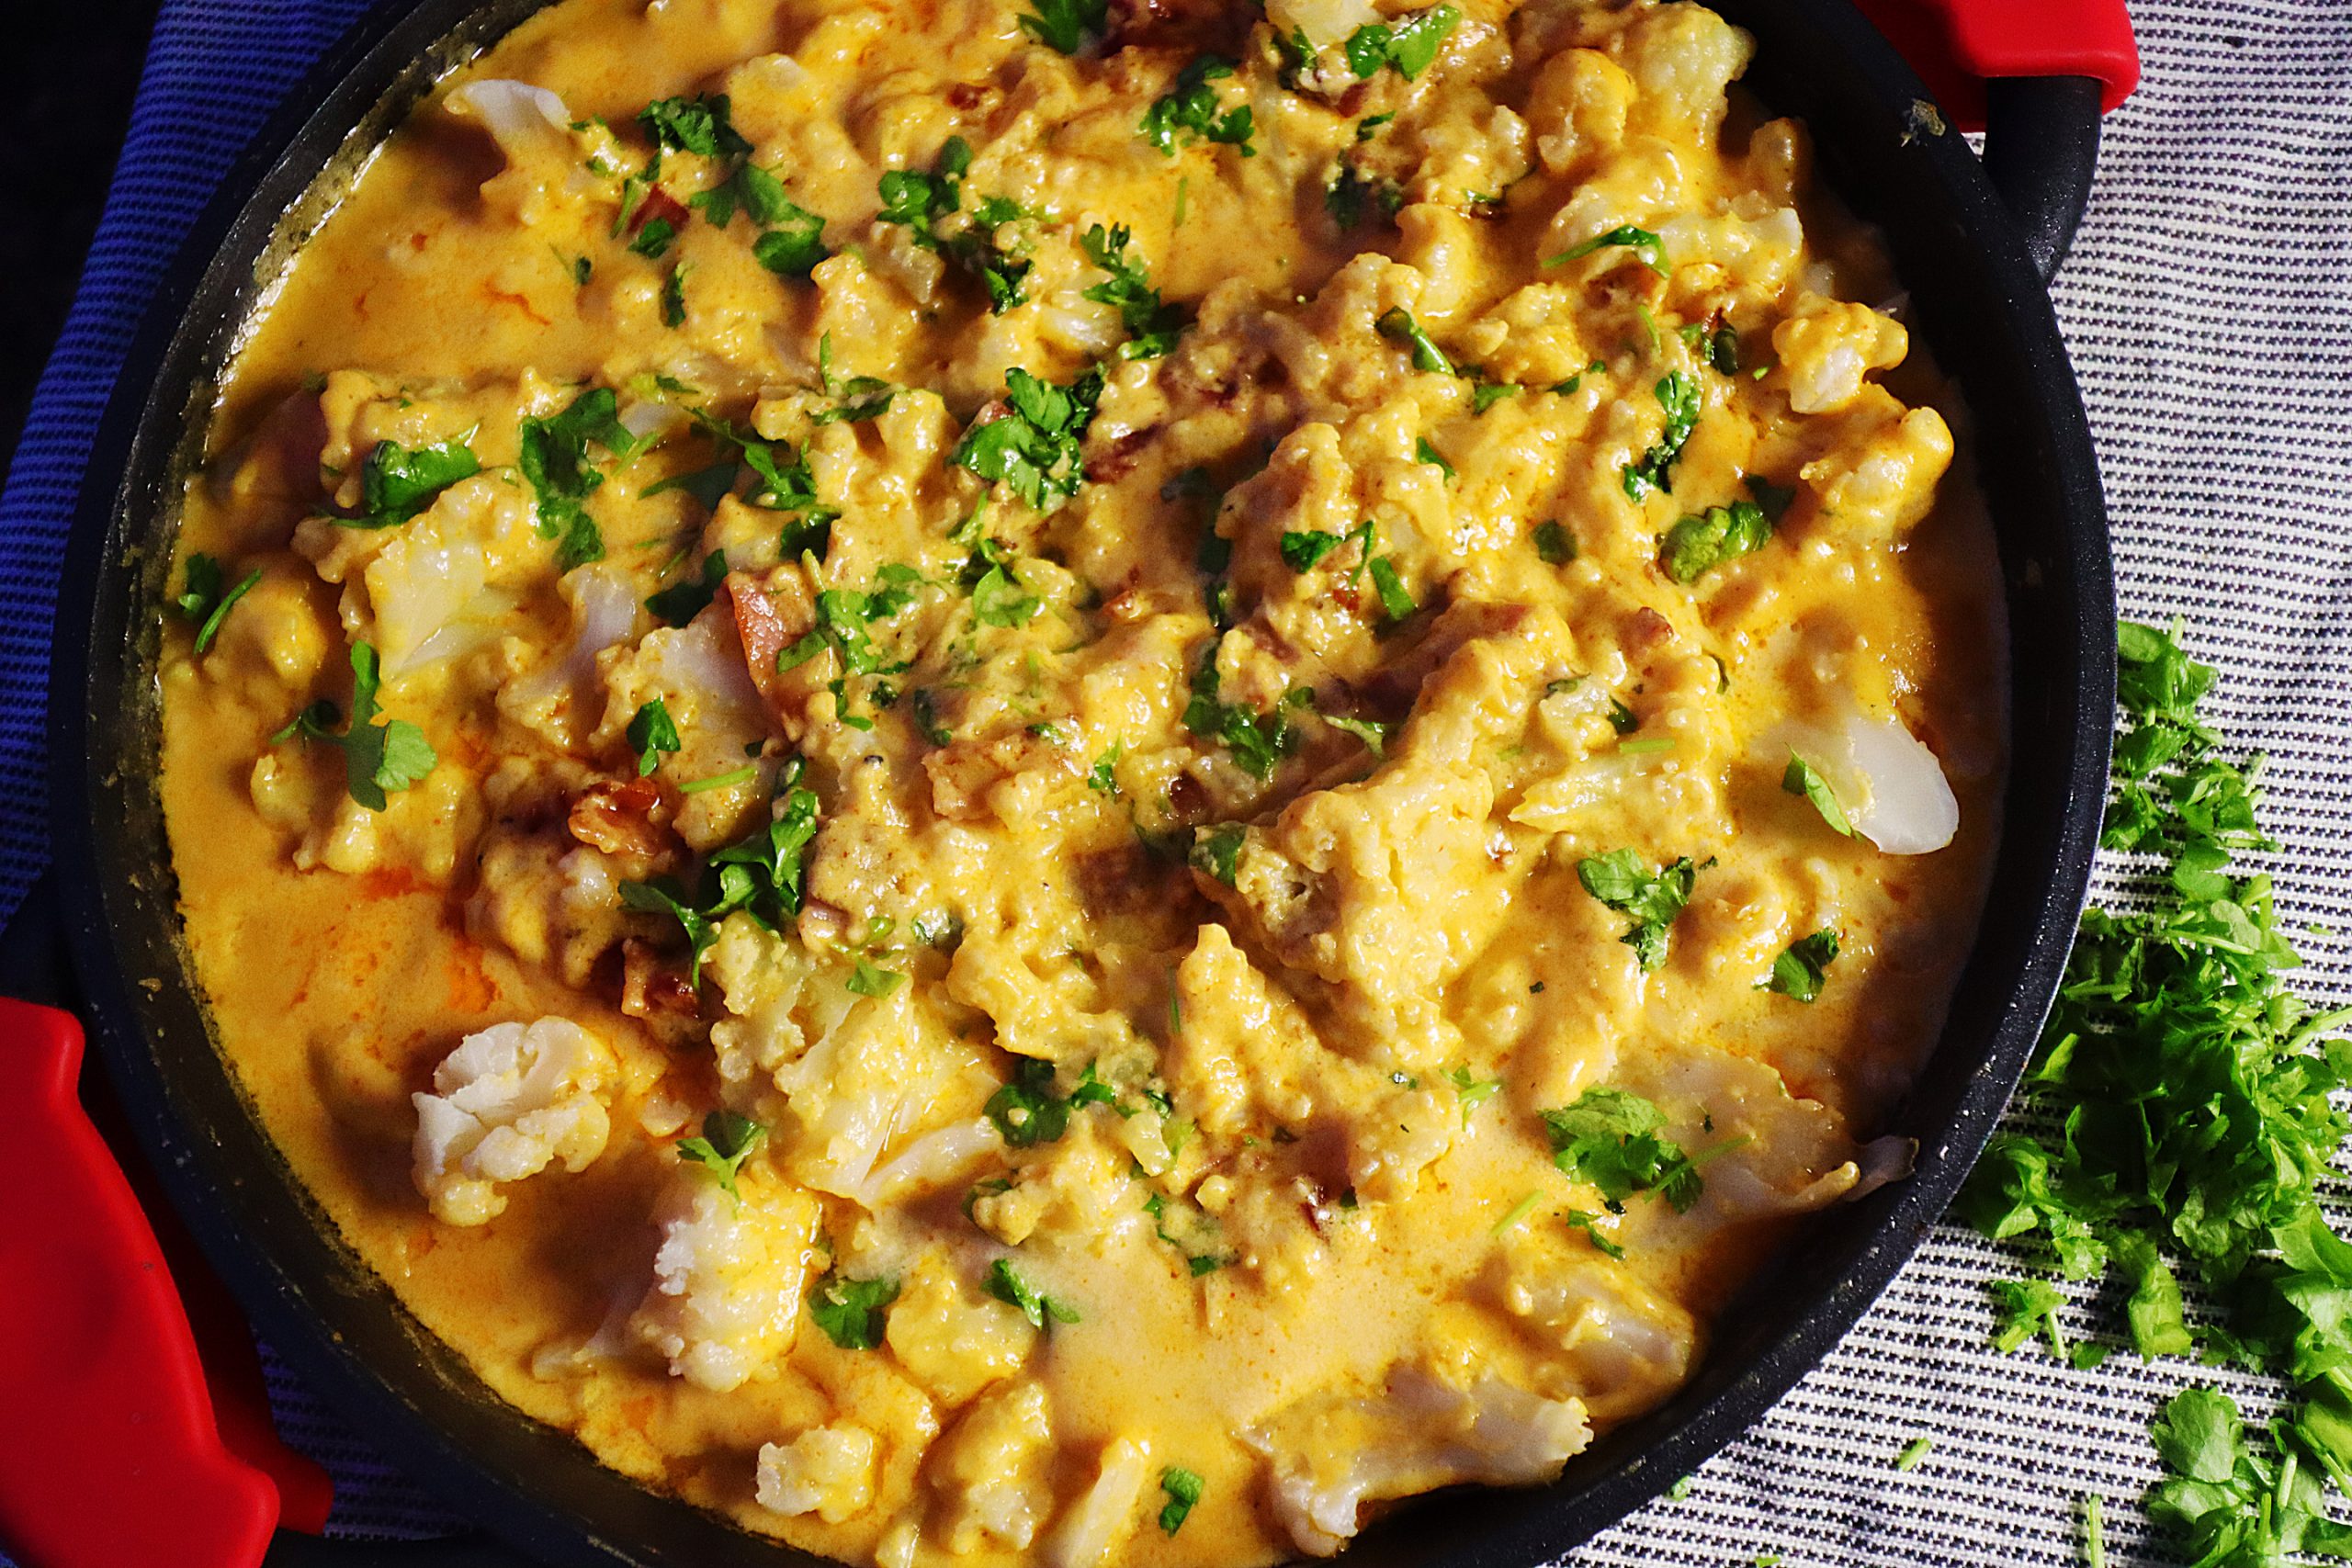
Who needs a pre-made paste! This Thai Green Curry recipe was cooked in our campervan and devoured on a romantic date night. It’s delicious!
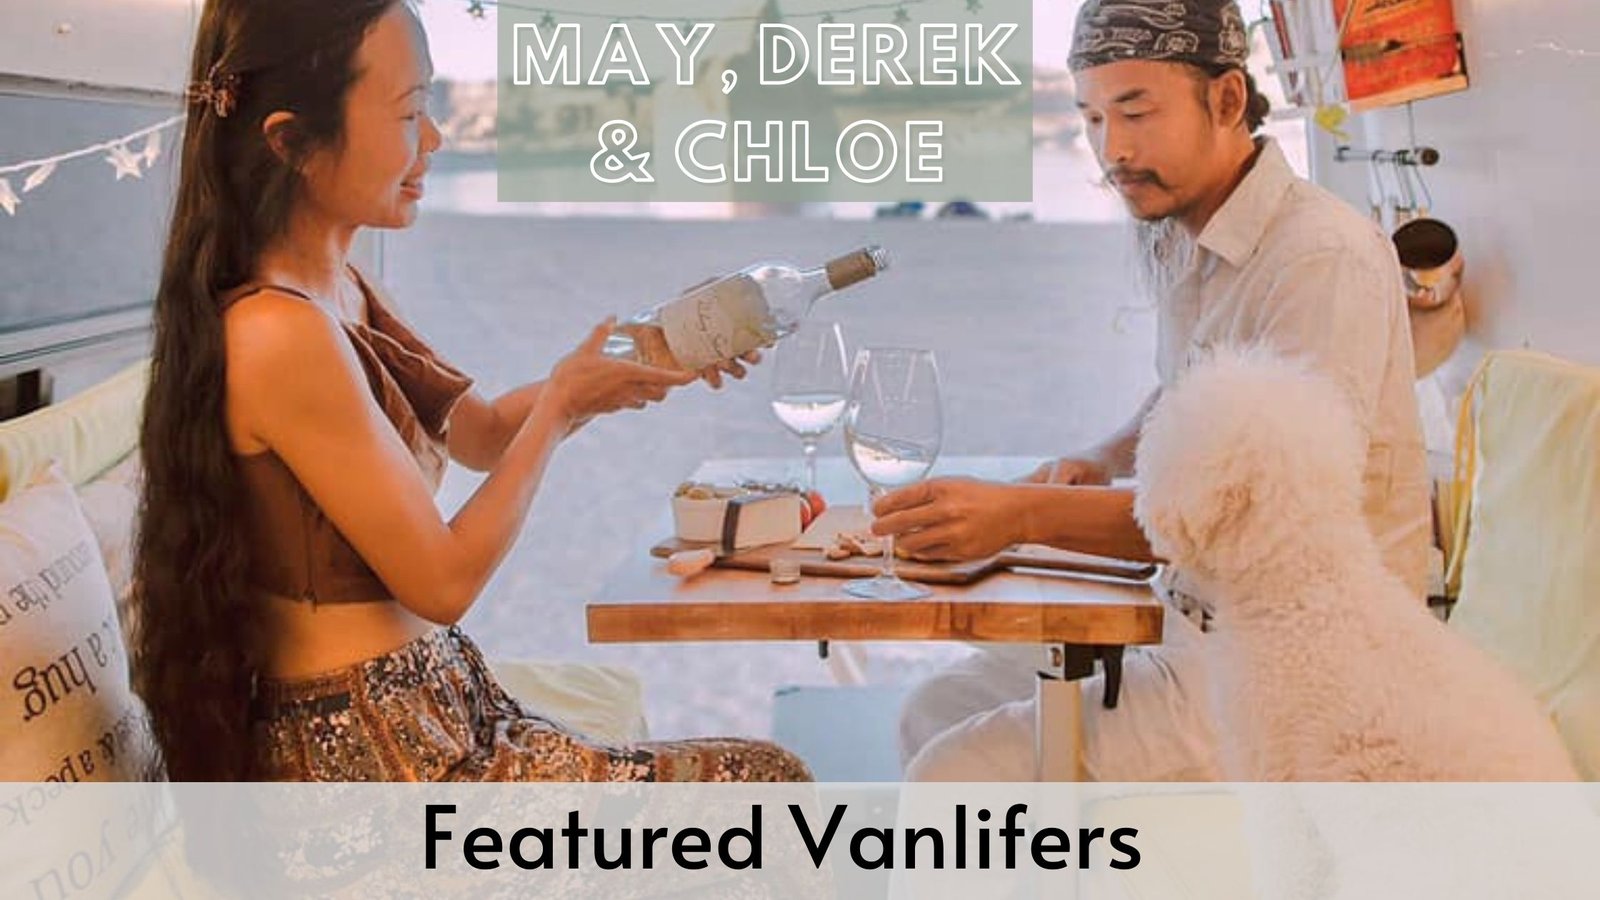
Featured Vanlifers May, Derek & Chloe share their vanlife experiences with you. Find out what this married couple like to do & eat...
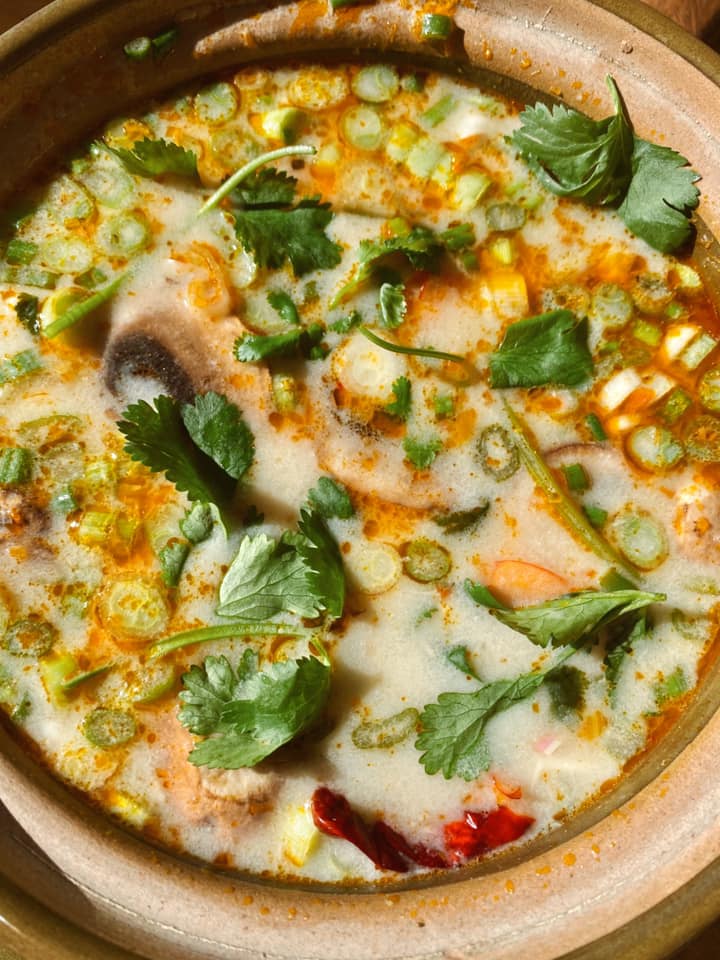
Tom Kha Soup with Shrimp
