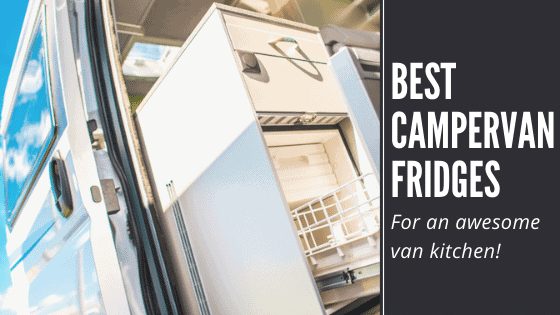
For those living or travelling around in a van, fridges are a hot topic and something that can be considered very important. It’s nice and...
")
RidgeMonkey
BBQ & Fire
Cobb / CADAC
Slow Cooker
Air Fryer
One Pan
For those living or travelling around in a van, fridges are a hot topic and something that can be considered very important. It’s nice and...
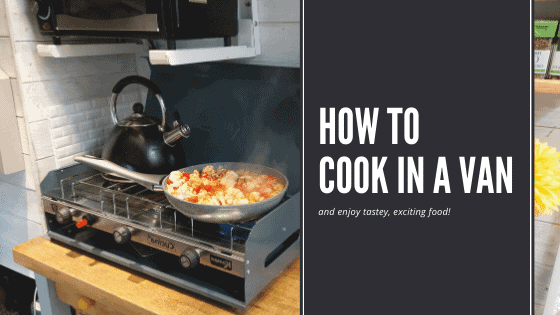
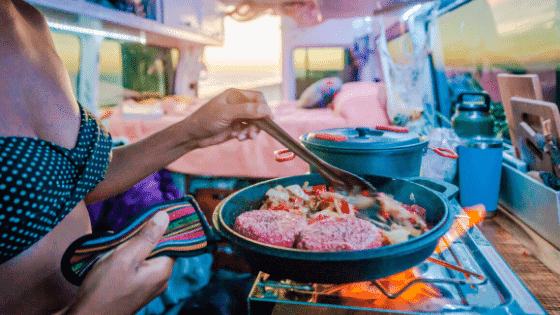
Cooking inside your campervan can be incredibly similar to that of cooking inside a regular full sized home and with the right setup you can...

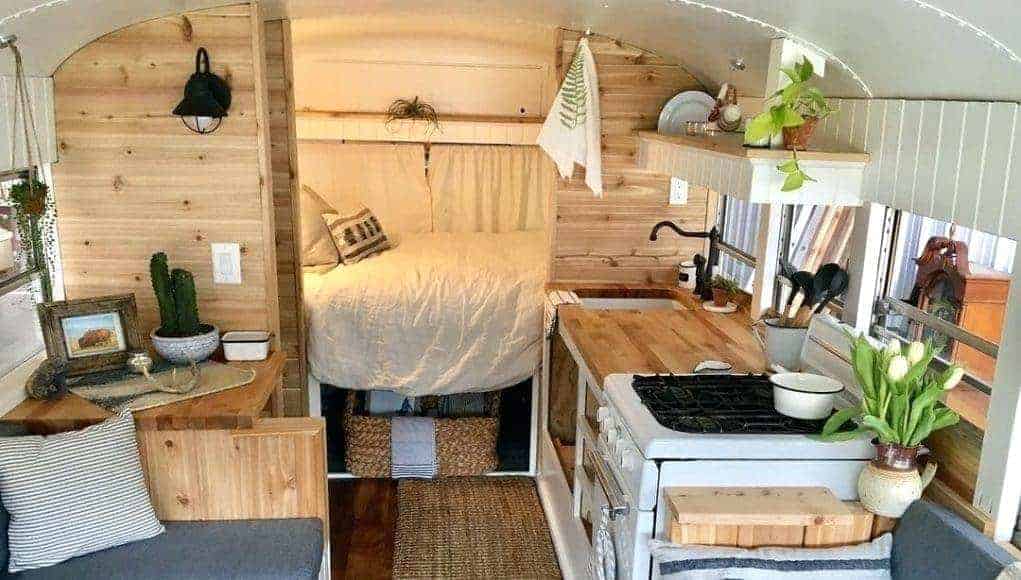
We are proud to introduce our first featured vanlifers, Chris & Shelby, travelling full time in their 1989 Dodge B250 van Luna and not...
The best campervan kitchen gadgets are space-saving, practical and lightweight. Here is our finely selected van life kitchen gadget checklist....

When travelling and living in a van, it's important to maintain a high level of health and a strong immune system. Here is our guide on how to...
Considering Van Life? Here is some information on how much money van life costs to start up and to sustain. Van life costs can vary depending...
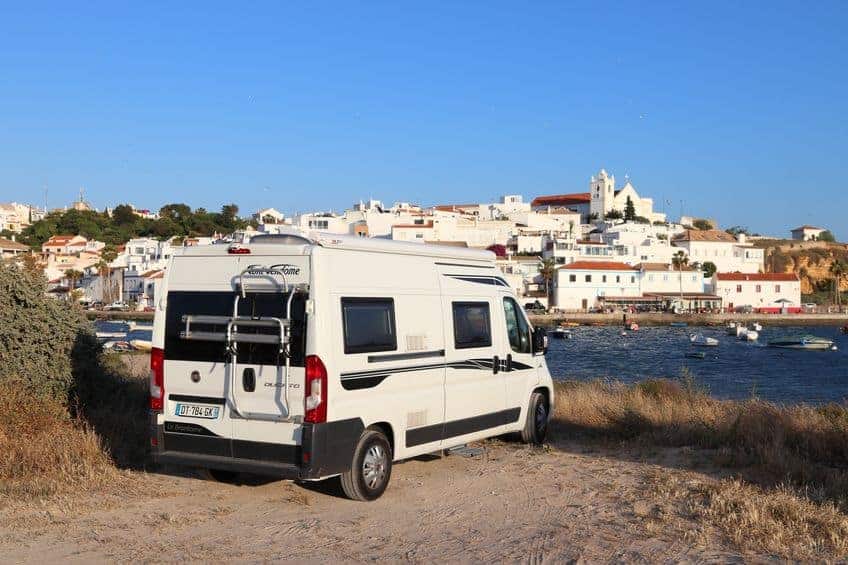
Looking for a place to park up for night? Here is my first hand experience to the last few years of Van Life and where to park for the night. I...

So after living several years in a van now I believe that I have a bit of knowledge to be able to advise people on what van life is really...
