")
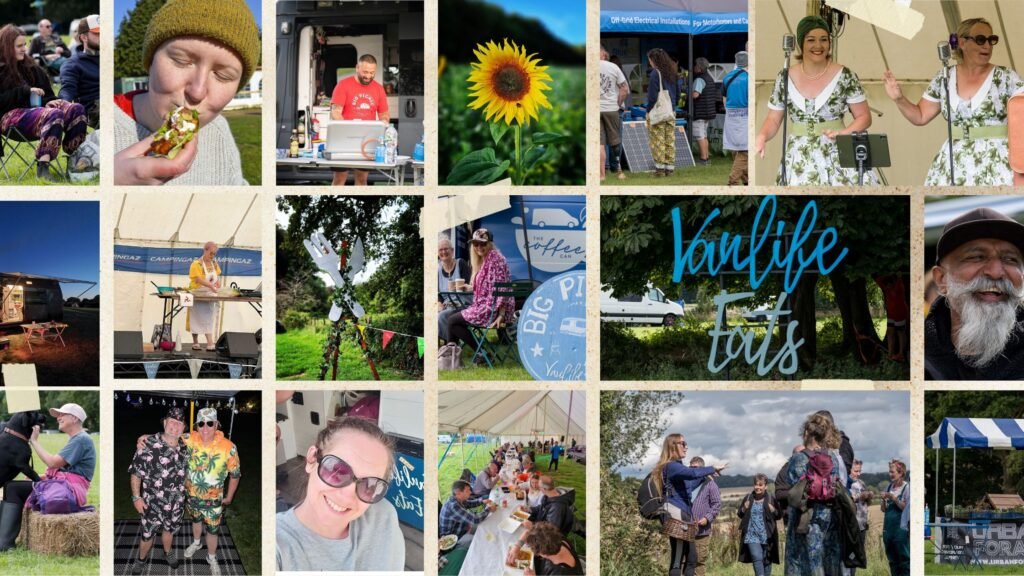
Vanlife Eats 2025 Photo Gallery
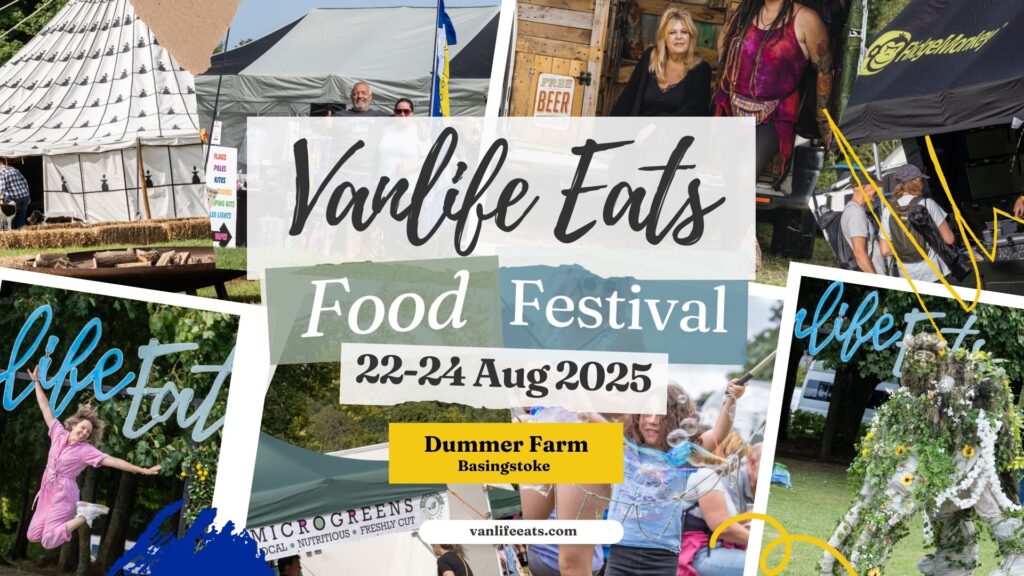
3 days of Vanlife activities and 3 Nights camping across four stunning fields in the heart of Hampshire on a beautiful quaint farm. The atmsophere of the event is uncomparable to any other event!
Vanlife Eats Festival 2025 was so good! Check out what happened!

Here it is! The 2025 Schedule!
Everyones Favourite Vanlife Event
Ask around… sold out 4 years in a row and everyone has loved their experience at Vanlife Eats and as we grow the event it just get better and better!
There is so much included in your ticket price……
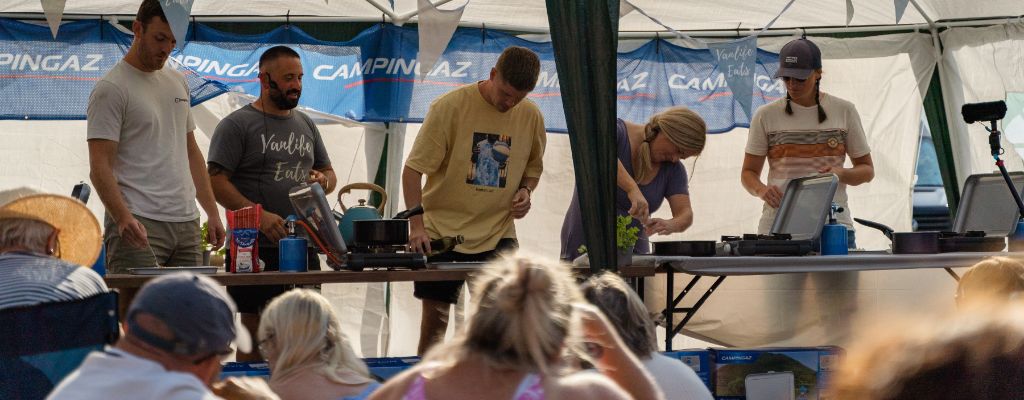
Cooking Demos
Join in with our interactive cooking demos and watch as your favourite Youtuber makes a culinary mess on stage!
From celebrity chefs to passionate vanlife cooks we showcase just whats possible to create in a tiny kitchen like that of a campervan.
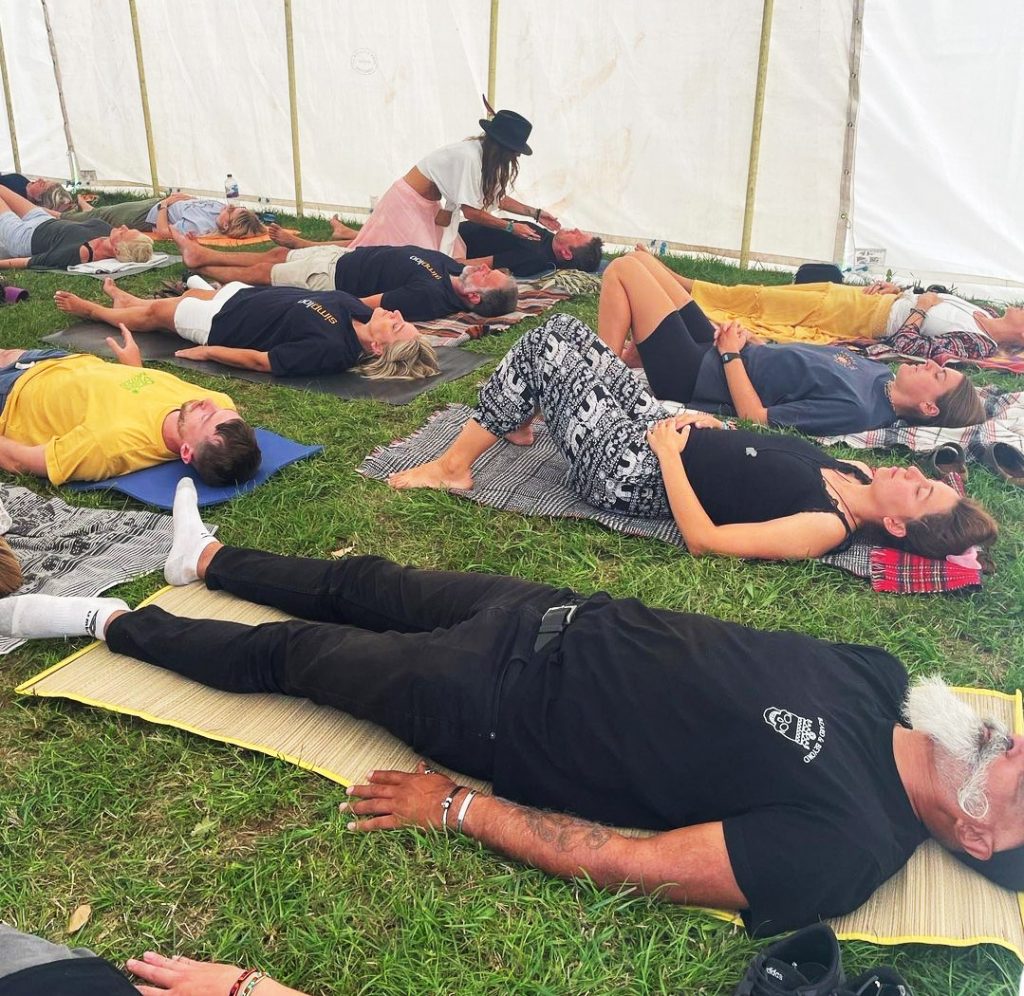
Health & Wellbeing
Yoga, breath work, self defence are but a few of the health and wellbeing activities we host at Vanlife Eats.
You are what you eat after all!
Vanlife Workshops & Talks
Sharing tales of adventure as well as advice on van building there will no doubt be a talk for you!
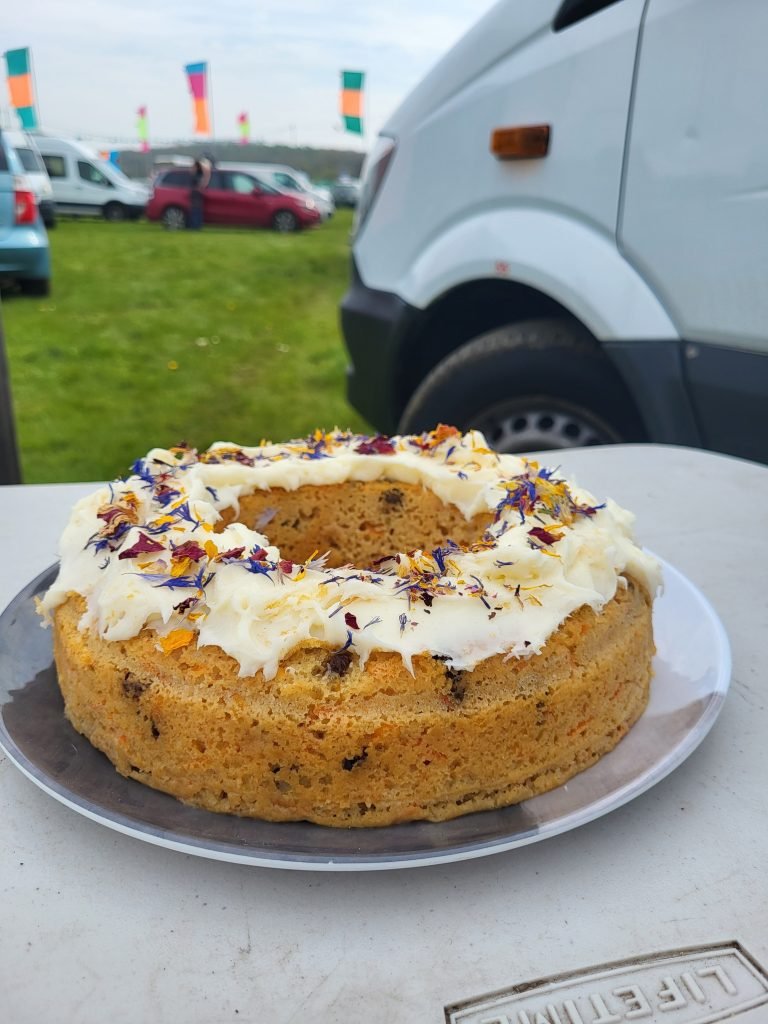
Van Bake Off!
Possibly one of our favourite events at Vanlife Eats and that may be because we get to sample all your delicious cake!!
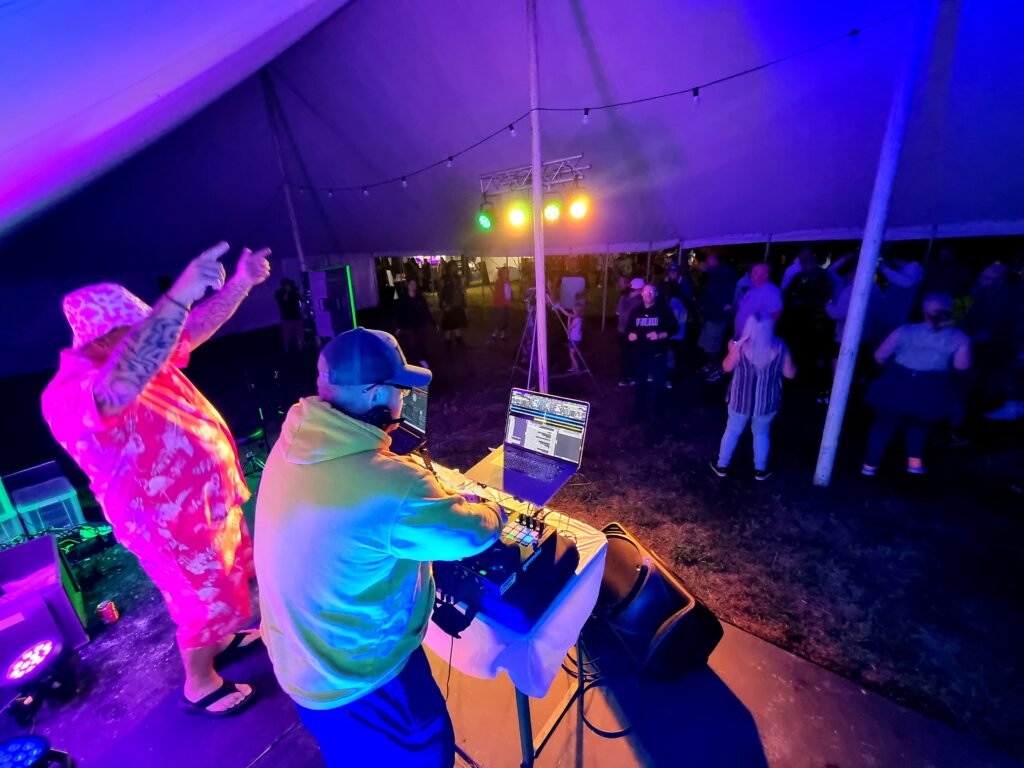
Live Bands & DJ’s
We’ve had some amazing bands over the years and every year we go huntinng the very best live entertainment. We make a real point of promoting Vanlifers who perform so if you play… get in touch!
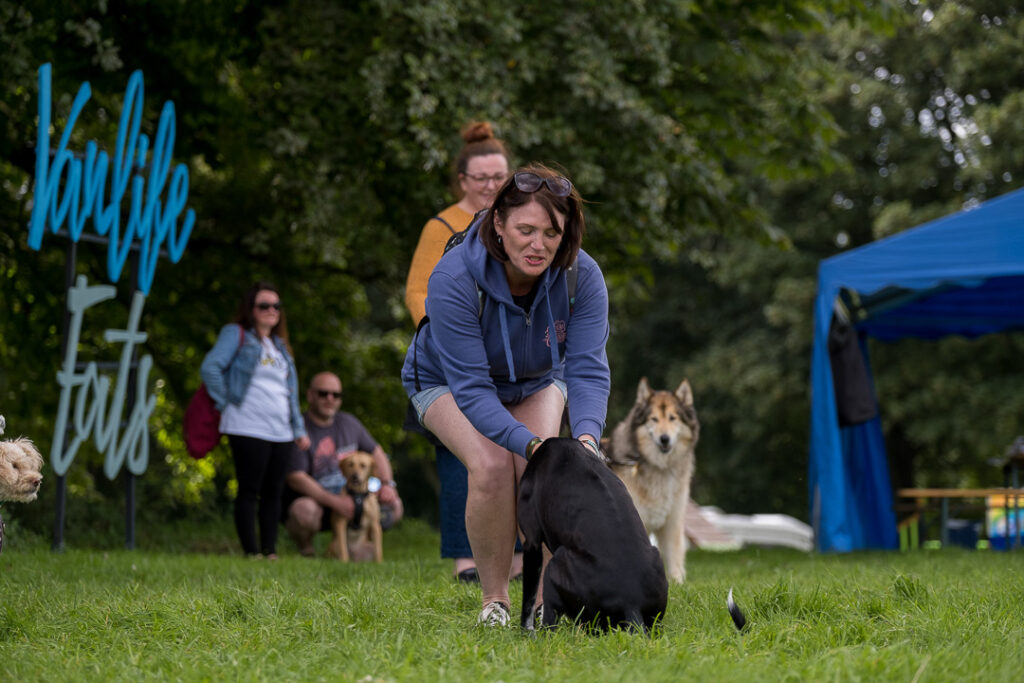
Dog Show & Agility
Lets not forget about your fury co-pilots! We have a managed agility course along with the most incredible landscape to roam!
Dont forget to enter your dog into the pet show!
The Big Picnic & Banquet
The largest Vanlife picnic in histroy! We’ve even created the largest Vanlife banquet in history! Enjoy our social gatherings complete with live music and entertainment.

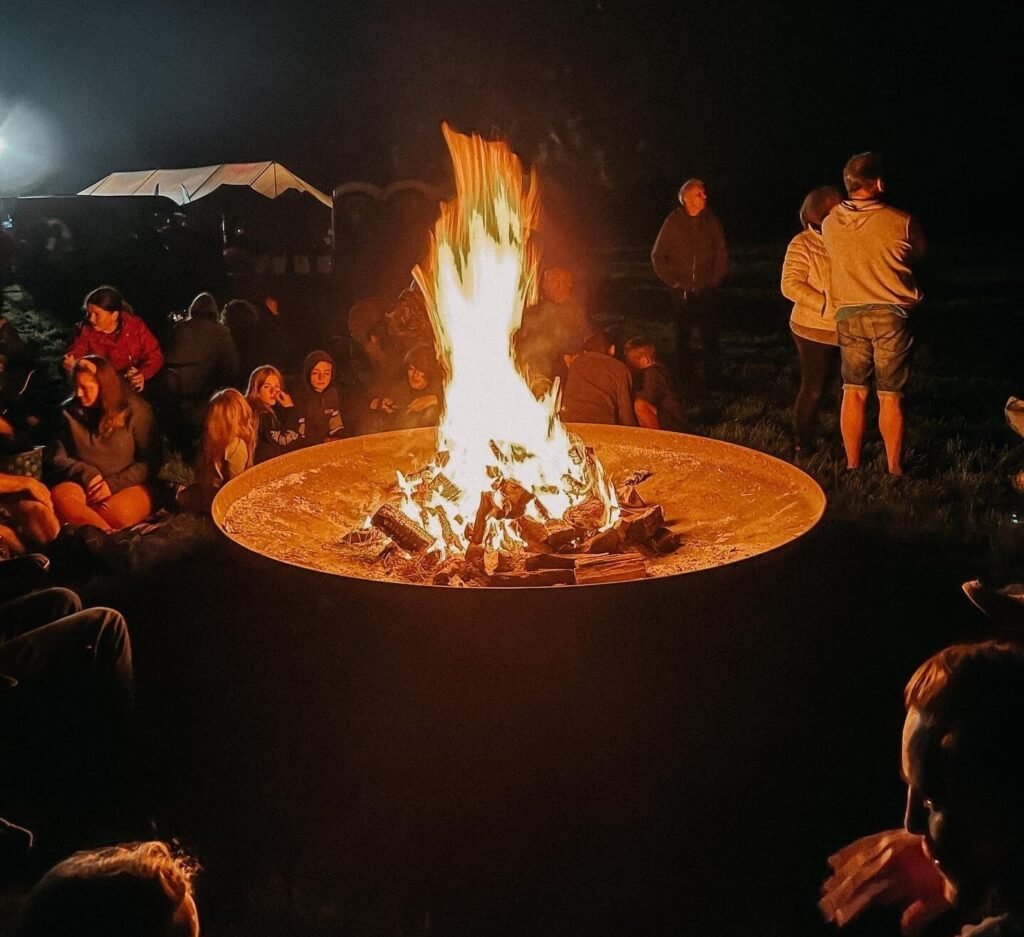
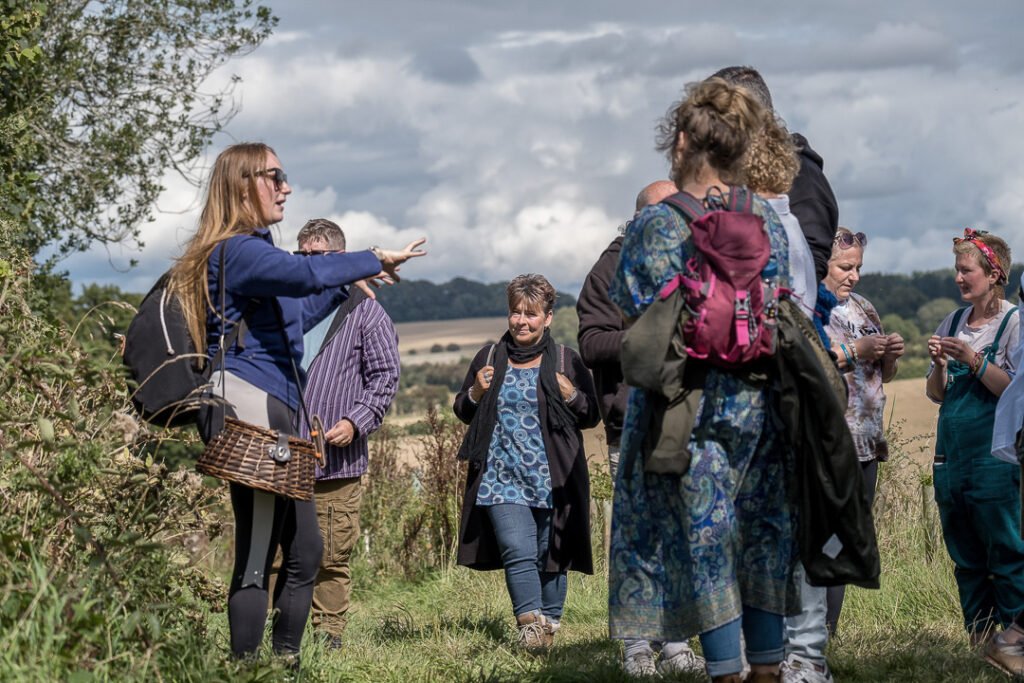
Bushcraft & Survival
All things woodland in a natural environmnet such as the stunning rolling hills of Hampshire. Adults and kids can learn foraging, bushcrafting, stargazing and learn to cord or carve utensils around the epic firepit!
Plus so much more being planned!
Watch this space as we start releasing the confirmed events, activities and experiences at Vanlife Eats 2024!
Lots of Love
Sophie & Mark
X
Terms and Conditions and FAQ’s
Vehicle Registration
Vehicle registration must match your ticket. Please inform us as soon as possible if you change your registration. Vehicles that do not match the registration on the ticket will be refused entry.
Ticket Swap
During the dates of July 1st 2025 to July 14th 2025 we will be able to help you sell on your ticket. We will help you find a buyer for your tickets and process the tickets in the new holders name. We are unable to process ticket exchanges other than during this time.
Tickets can only be purchased through vanlifeeats.com Please be aware there may be scams out there selling fake tickets. Fake tickets will be noticed upon entry and will be rejected.
Ticket Refunds
We are unable to refund your ticket in any situation other than if we are moved into a nationwide or regional lockdown.
If the event has to be cancelled due to Covid then we will issue you with a full refund with the exception of any transaction fees – these fees will be made clear when booking.
Tickets can only be purchased through vanlifeeats.com Please be aware there may be scams out there selling fake tickets. Fake tickets will be noticed upon entry and will be rejected.
Campervan Pitches
Our campervan pitches are approximately 8m x 5m and we have options of parking up near the action or further away for a more peaceful night.
We will do our best to park you up on as flat ground as possible.
Will there be a picnic?
Oh yes! We are planning to hold a group picnic in a designated area at a designated time, so bring a picnic blanket and plenty of food and drink.
If you don’t want to cook in your van then there will be plenty of food vendors to supply you with some delicious food.
Tent Pitches
You dont have to have a campervan to attend the event. Tents are welcomed and there are plenty of pitches for you to choose from.
There is also room for you to park alongside your tent.
On Foot
Your pass will give you full access to event on both Saturday and Sunday so you are more than welcome to either stay at accomodation nearby or if you are local enough you could go back home for night.
Will there be food and drink available?
As this is a Big Picnic we are encouraging you to bring your own food and cook on-site. However, we will have catering outlets at the event. Serving delicious food that we have hand picked ourselves to attend the event. You wont be going hungry at the festival.
Are there going to be showers and toilets on-site?
We wont be having any showers at the event but for those who dont have a loo in their vans we will provide an adequate amount of portable toilets.
Will there be any electrical hook-ups?
The event is being held on private farmland and there will be no access to any power points. The event attractions will have both lighting and power.
Is there a family camping area?
Yes, we have ensured that there is an area suitable for families who want a more peaceful nights sleep.
Can I bring my pets?
Absolutely! There is plenty of room to walk your dog and get some exercise away from the crowds. I know it need not be mentioned but please make sure you clean up after your pets.
Can I bring an extra vehicle?
Yes, you can bring an additional vehicle to park up next to your friends vans or tents but in order to guarentee a parkup next to your friends you will need to travel into the event together. We can not pre allocate pitches.
Are motorhomes allowed?
Yes, we allow almost any home on wheels.
Can I pre-book a pitch?
No, we are afraid you can not pre pick your pitch. If you would like to park up amongst friends you should arrange to enter the site at the same time where stewards will locate you together.
Will there be drinking water?
Yes, we have two locations either side of the event to be able to fill up with fresh drinking water
Will there be somewhere to empty a toilet?
Yes, we will be providing an elsan point for you to empty your van toilet.
Can we park in groups?
Yes, we will do our very best to park you up alongside your friends. Please arrive in a convoy and request parking alongside one another when you arrive.
Can I leave during the event?
Once parked up in a camping zone it will be very difficult to maneuver. For this reason we request that you do not leave site unless in an emergency. In this case you must liaise with an event steward to be escorted safely out of the camping area.
Once you leave you may not be able to park in the same spot.
Is the event wheelchair friendly?
The event is on a farm and as such the ground is uneven and grassy which may make it difficult for wheelchairs.