")

The Story of Our Ambulance Conversion: "Florence the Ambulance"
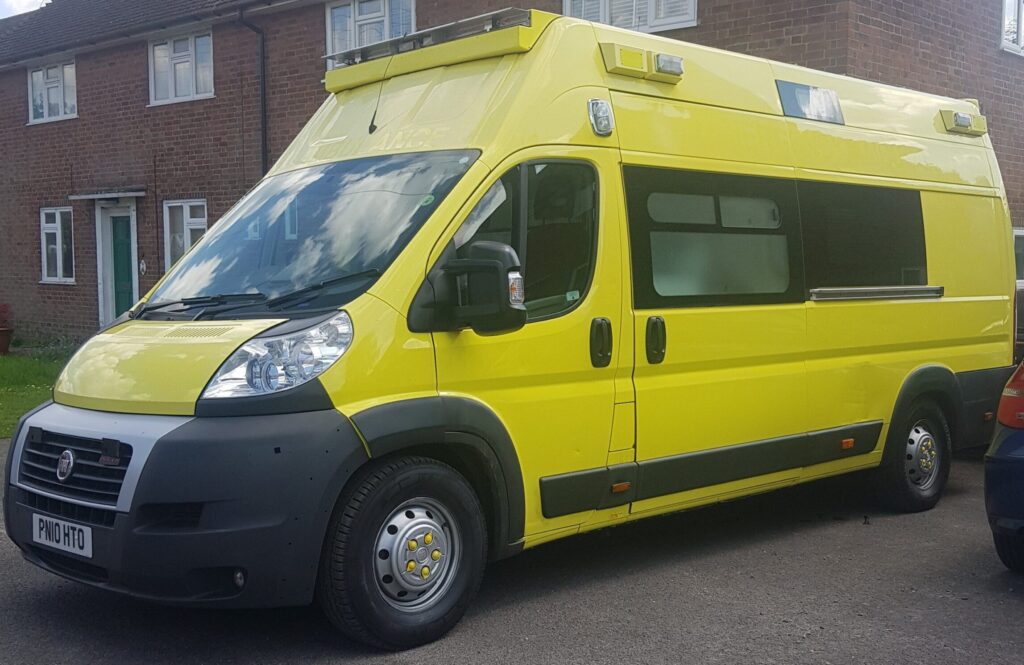
In 2019, we realised that our beloved VW T4 just wasn’t big enough for our ever-growing vanlife adventures. We needed something roomier, more practical, and better suited for long-term travel. After considering numerous options, one particular vehicle caught our attention—a retired Fiat Ducato ambulance!
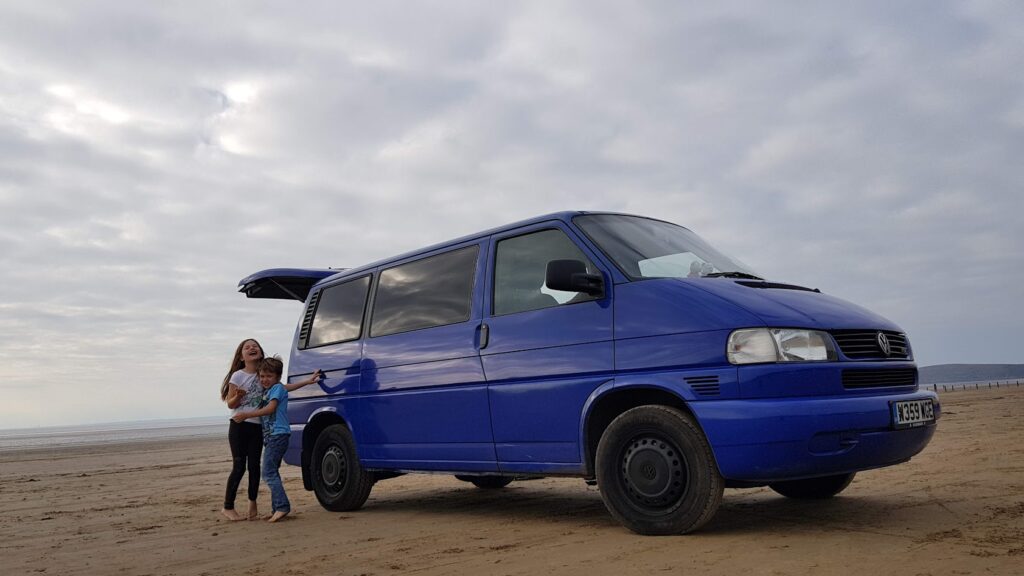
It wasn’t just the size; we saw personality in this van. Knowing the heroic duties it had performed, we felt compelled to give "Flo" a well-deserved second life filled with adventure and exploration.
Why an Ambulance Conversion?
Flo is an H3 L4 model, meaning she has a long wheelbase and a high roof—perfect for standing room and extra space. While she had clocked 225,000 miles, we weren’t deterred. Many ambulances at auction had over 400,000 miles, and since emergency vehicles undergo rigorous maintenance schedules, we felt confident she had been well cared for.
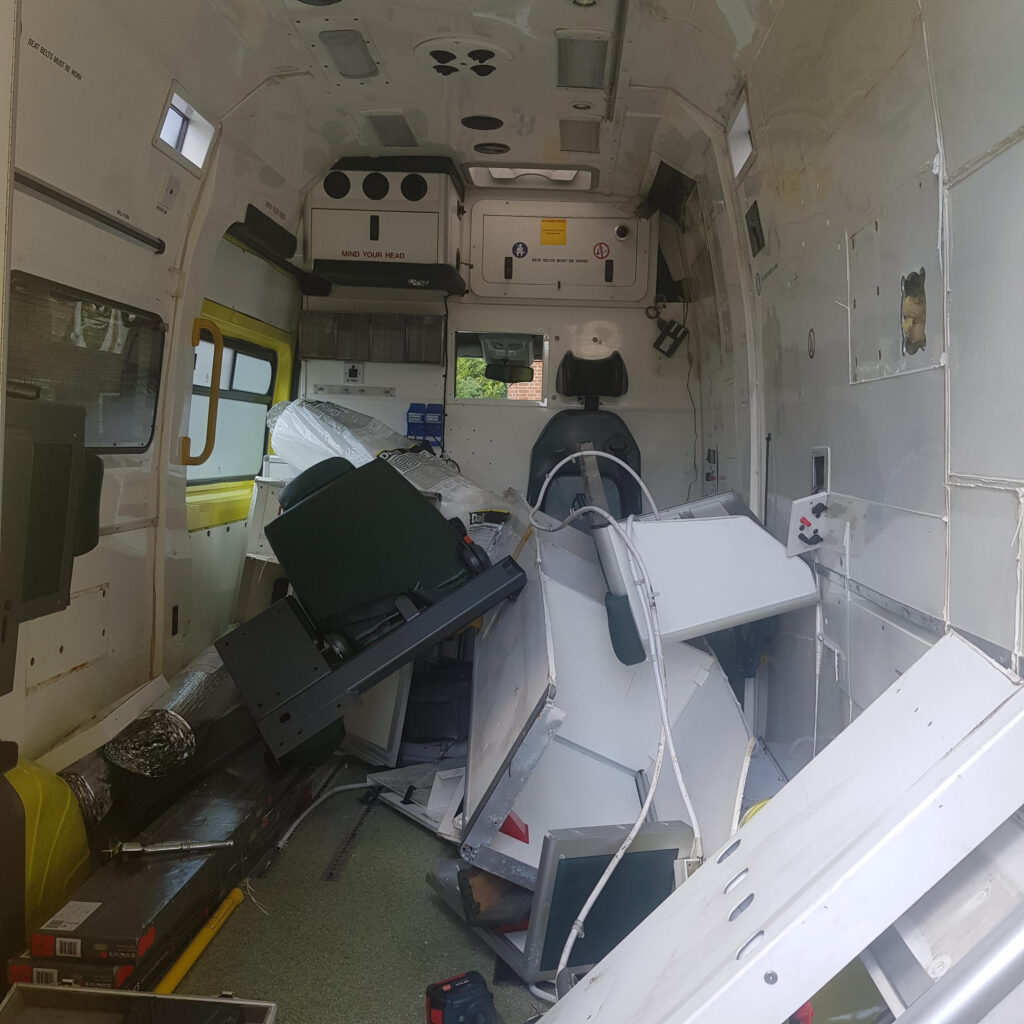
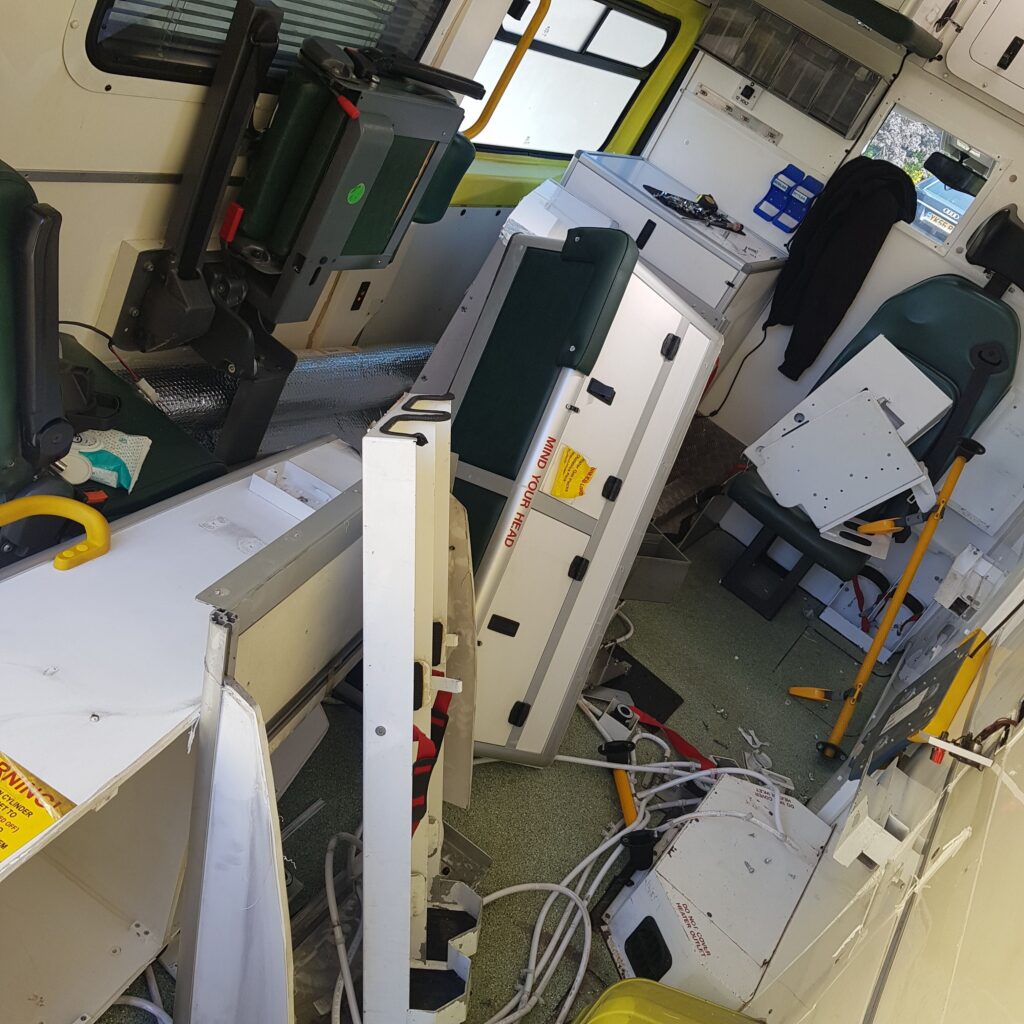
The van was in excellent condition but still fully kitted out for medical emergencies, complete with cupboards labeled "Body Bags" and an overwhelming array of gadgets! I must confess, I have a soft spot for techy gadgets, so rather than stripping everything out, we decided to retain as many of the original features as possible.
Planning the Layout
We used SketchUp to map out the perfect van layout. It had to be versatile—it would be my full-time home, a weekend space for children, and a comfortable base for Sophie and me on our frequent travels.

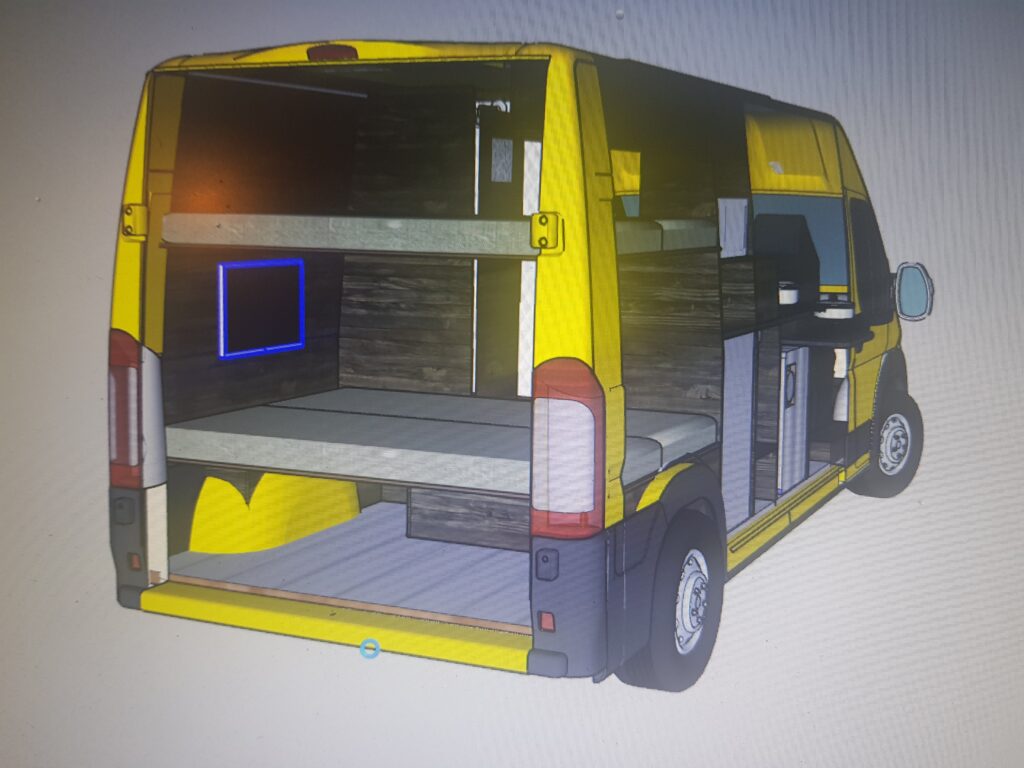
We later discover "Van Space" which we now use for designing our layout. Its an incredible program!
Since we were working with a tight budget, we aimed to repurpose as many materials as possible. We salvaged unwanted furniture from friends and family, scoured online marketplaces, and collected any useful discarded items we could find.

The Conversion Process
The first step was a deep clean. While the ambulance was already in decent condition, we wanted to make absolutely sure that every surface had been disinfected.
Then came the strip-down. We removed the ambulance furnishings, including the plastic wall linings, to access the inner cavities for insulation improvements. A word of advice for anyone converting an ex-ambulance—don’t rely on the existing insulation; it needs upgrading!
The flooring was another challenge. Many of the floor bolts were corroded, making removal a nightmare. However, once we got it up, we added extra insulation and replaced it with durable, hard-wearing vinyl flooring.
For the walls, we opted for ply cladding, and we repurposed the overhead ambulance cabinets—sturdy aluminum units that added a clean, modern touch.

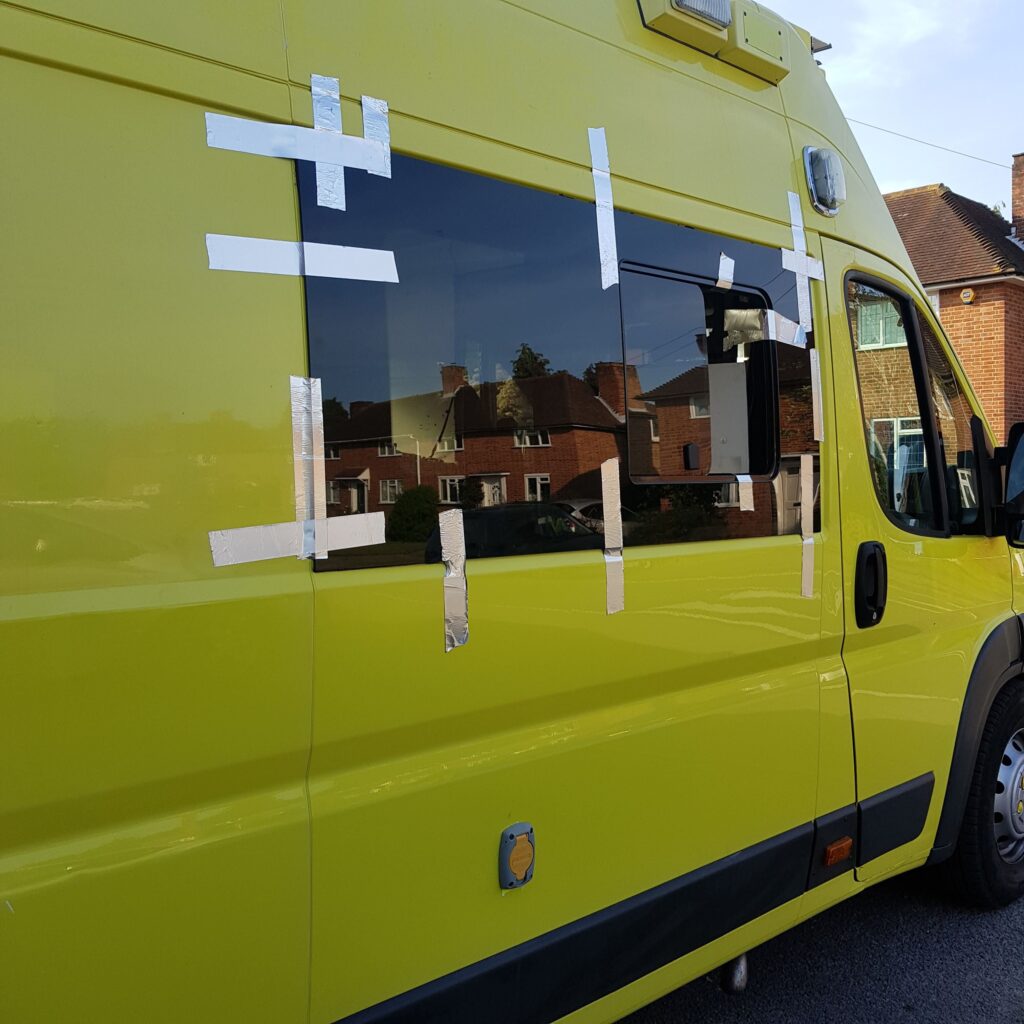
Windows and Ventilation
Luckily, the ambulance already had several additional windows, but we decided to install another on the side and one more at the rear. With our limited tools, let’s just say there was some bodging involved! Cutting into the van was one of the most nerve-wracking moments of the build—nothing quite prepares you for slicing into your home-on-wheels.
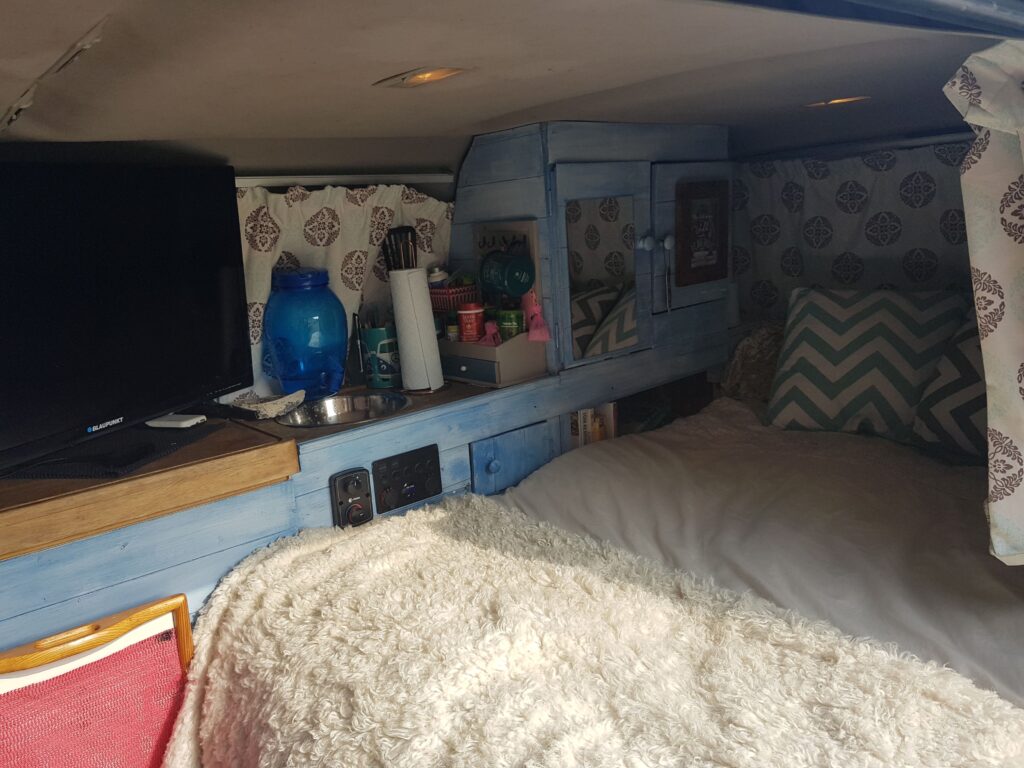
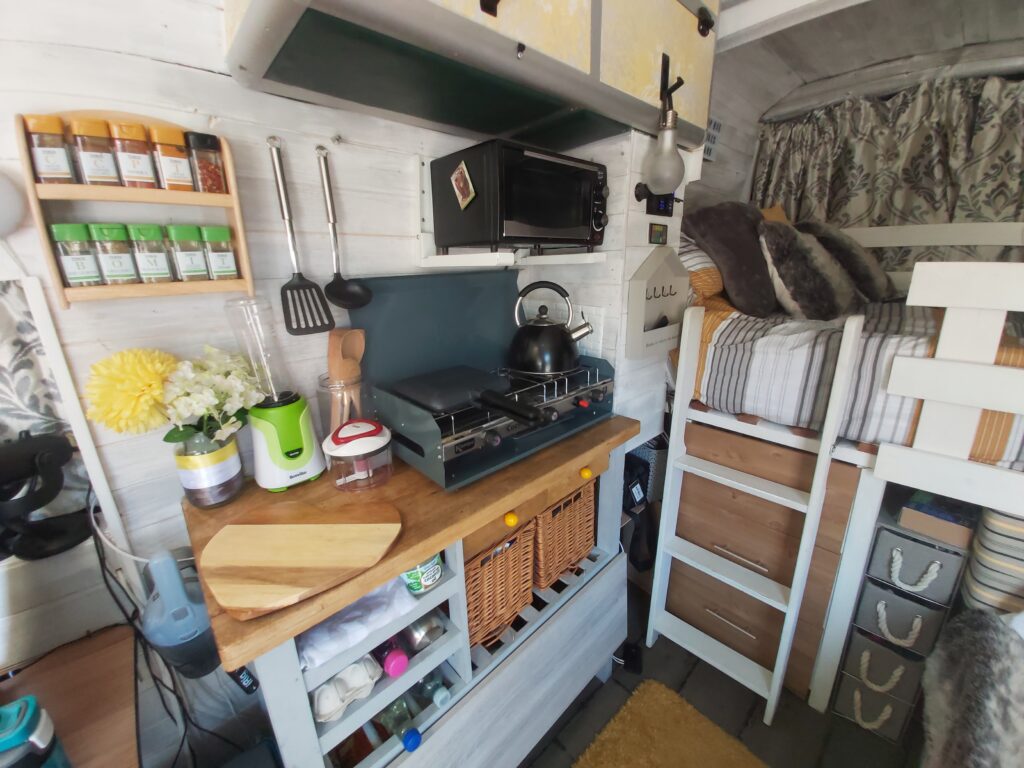
Building the Bed and Kitchen
For the bed, we got creative by repurposing an old bunk bed that was being thrown out. After some clever modifications, it became a lightweight yet sturdy double bed, complete with small steps for easy access.
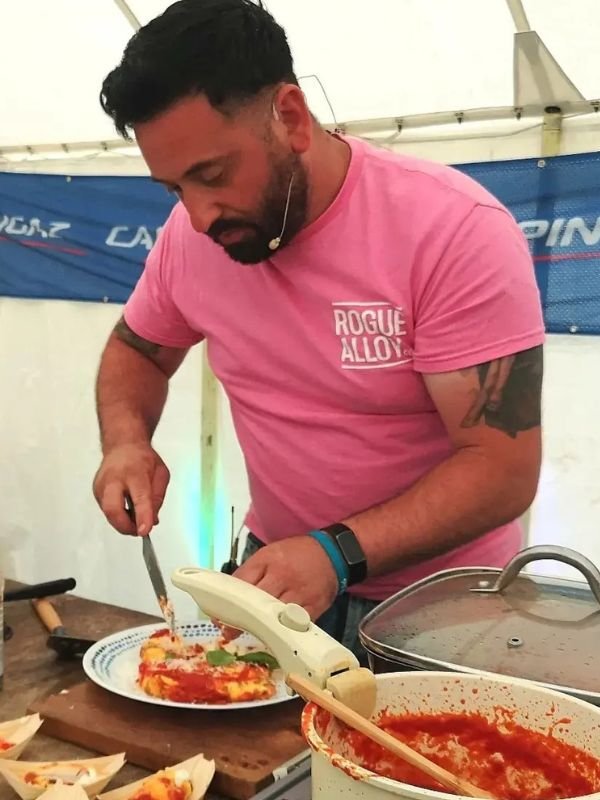
Since we’re both huge foodies, the kitchen was a priority. Our first iteration was an upcycled wooden butcher’s block, which served us well for a while. Later, we upgraded to a larger worktop for more cooking space and storage.
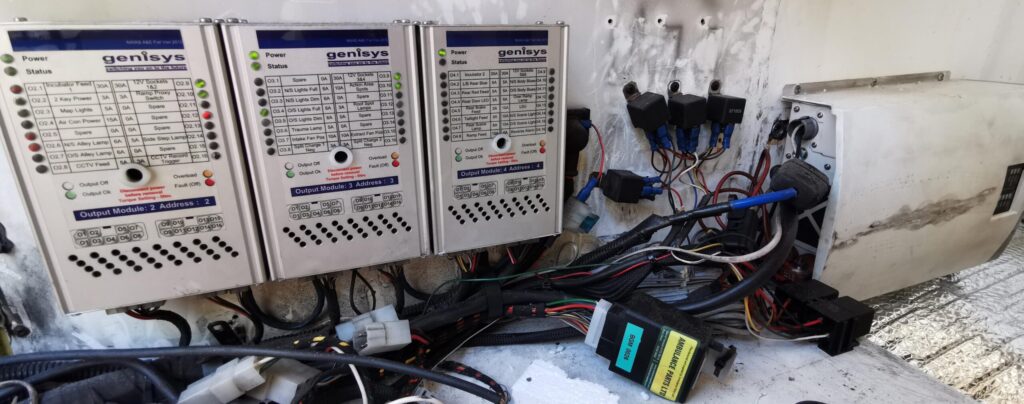
Tackling the Electrics
The electrics proved to be one of the biggest headaches. Ambulances use a system called "Genesis," which controls everything. Figuring out how to bypass it was a painstaking process, but eventually, we got the wiring functioning like a standard campervan.
We installed two 100W solar panels with a budget-friendly controller and a split charge relay to keep our leisure batteries charged while driving. While it was a basic setup, it provided all the power we needed for our daily vanlife essentials.
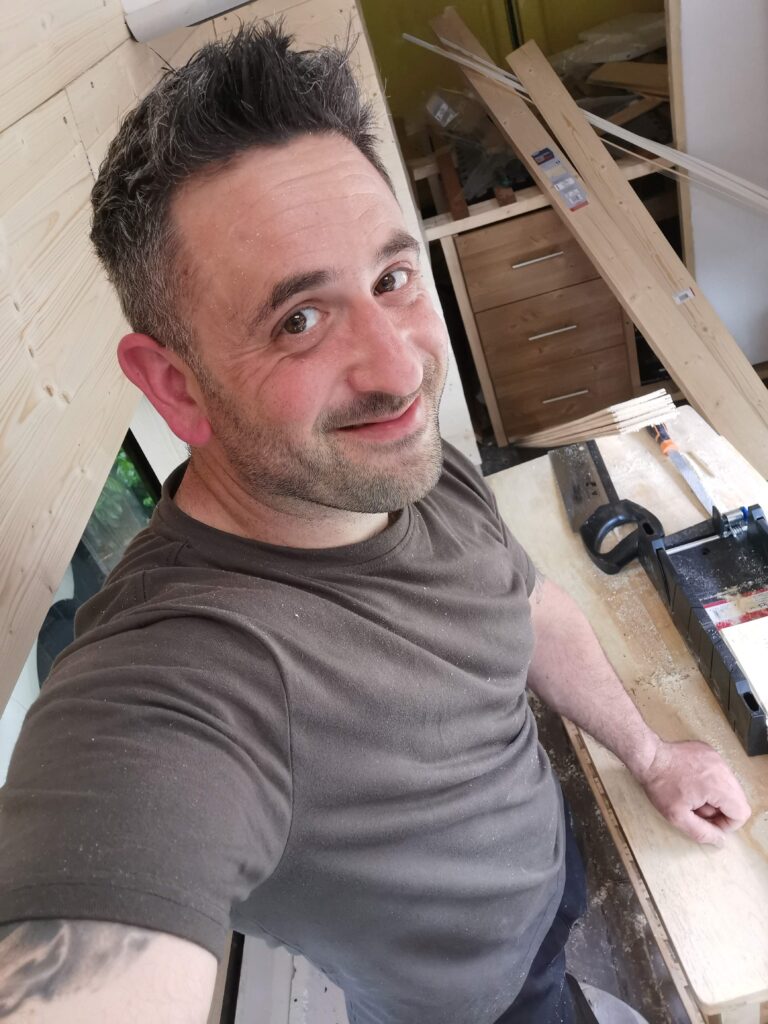
Living Through the Build
I had to live in the van throughout the conversion, which made things even trickier. Imagine constantly working around construction materials, dust, and half-finished projects while also dealing with the occasional minor injury from clambering over tools and debris. But after just a few weeks of hard work, Flo was at a point where we could finally start enjoying some adventures.
A Major Setback
Just as we thought we were ready to hit the road, we encountered a massive problem—our newly converted home was officially registered as a 4-tonne vehicle! Most long-wheelbase vans are 3.5 tonnes, which would have been fine for my standard license. But at 4 tonnes, I wasn’t legally allowed to drive it.
Downgrading the weight wasn’t a feasible option, so the best solution was to upgrade my driving license. This involved weeks of HGV lessons, a theory test, and a practical exam. For months, we were stuck, unable to drive Flo anywhere!
Cost Breakdown
The van itself cost £4,000, and the initial conversion came to another £3,000, bringing the total to £7,000—a fantastic achievement considering what we built. Of course, as time went on, we made more improvements, adding a shower, upgrading the electrics, and tweaking the layout. You wouldn’t believe how many times we installed and removed the shower before getting it just right!
Follow Our Journey
Florence the Ambulance has taken us on incredible adventures, and her story is far from over. We’d love for you to check out our van tour and follow our progress. Van conversions aren’t just about creating a home on wheels; they’re about building a lifestyle of freedom, adventure, and creativity.
If you’re considering your own van conversion, whether it’s an ambulance or another type of van, we hope our experience inspires and helps you along the way. Watch our tour and conversion videos for more insights and inspiration!
[flow_categories current="true"]


0 Comments