Shrove tuesday can only mean one thing - pancakes! Or vancakes may be a better name for them! Here are 5 pancake recipes perfect for pancake...

")
RidgeMonkey
BBQ & Fire
Cobb / CADAC
Slow Cooker
Air Fryer
One Pan
Shrove tuesday can only mean one thing - pancakes! Or vancakes may be a better name for them! Here are 5 pancake recipes perfect for pancake...

Get ready for an incredible year of events! We’re taking Vanlife Eats on the road, and we’ll be cooking up a storm at some of the biggest...
Ok so we did it! We finally found a campervan air fryer thats worthy of space in the Vanlife Eats tiny kitchen! Cooking in a campervan is all...

Here is the definitive list of Campervan Essentials that you will find in the Vanlife Eats campervan Kitchen. Cooking in a campervan can be an...

Need some campervan recipe inspiration? Did you know you can join our amazing community of vanlife cooks? If you've ever tried to whip up a...

The Perfect Blend of Frights and Bites This Halloween Halloween season is upon us, and if you're anything like me, you love a good ghost story...

Egg Bhurji, also known as Anda Bhurji, is an Indian take on scrambled eggs with spices and herbs. This dish has origins as a quick and...
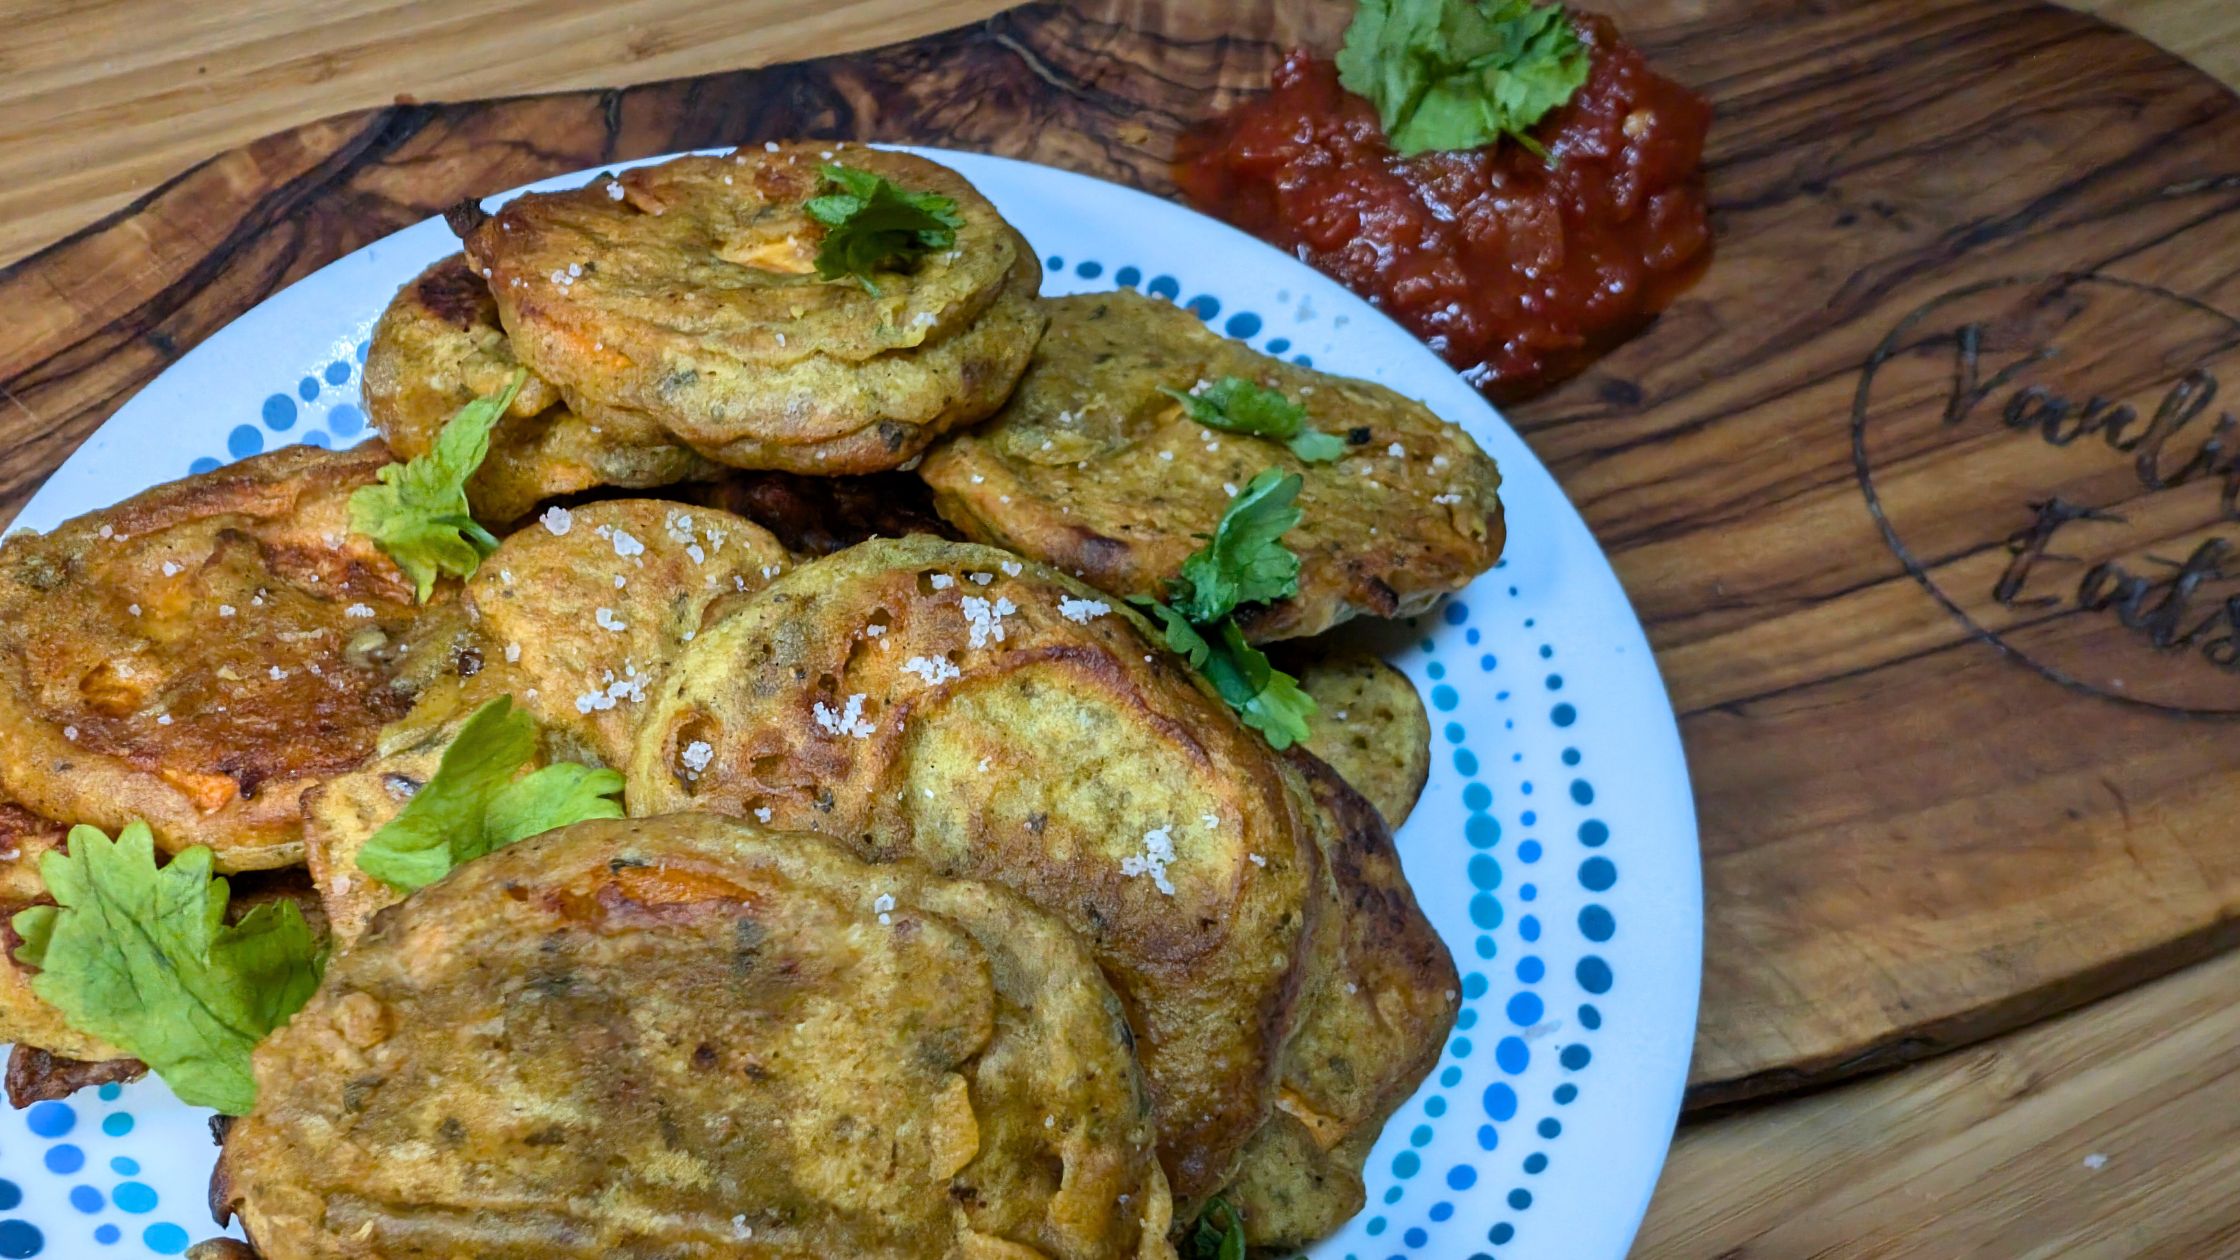
This delicious sweet potato pakora recipe is one of the most moreish recipes ever. They are crunchy, flavourful, salty and best of all they are...

This is a tradtional Shakshuka recipe that originates from North Africa. Made with a warming tomato, onion and pepper base with soft eggs...
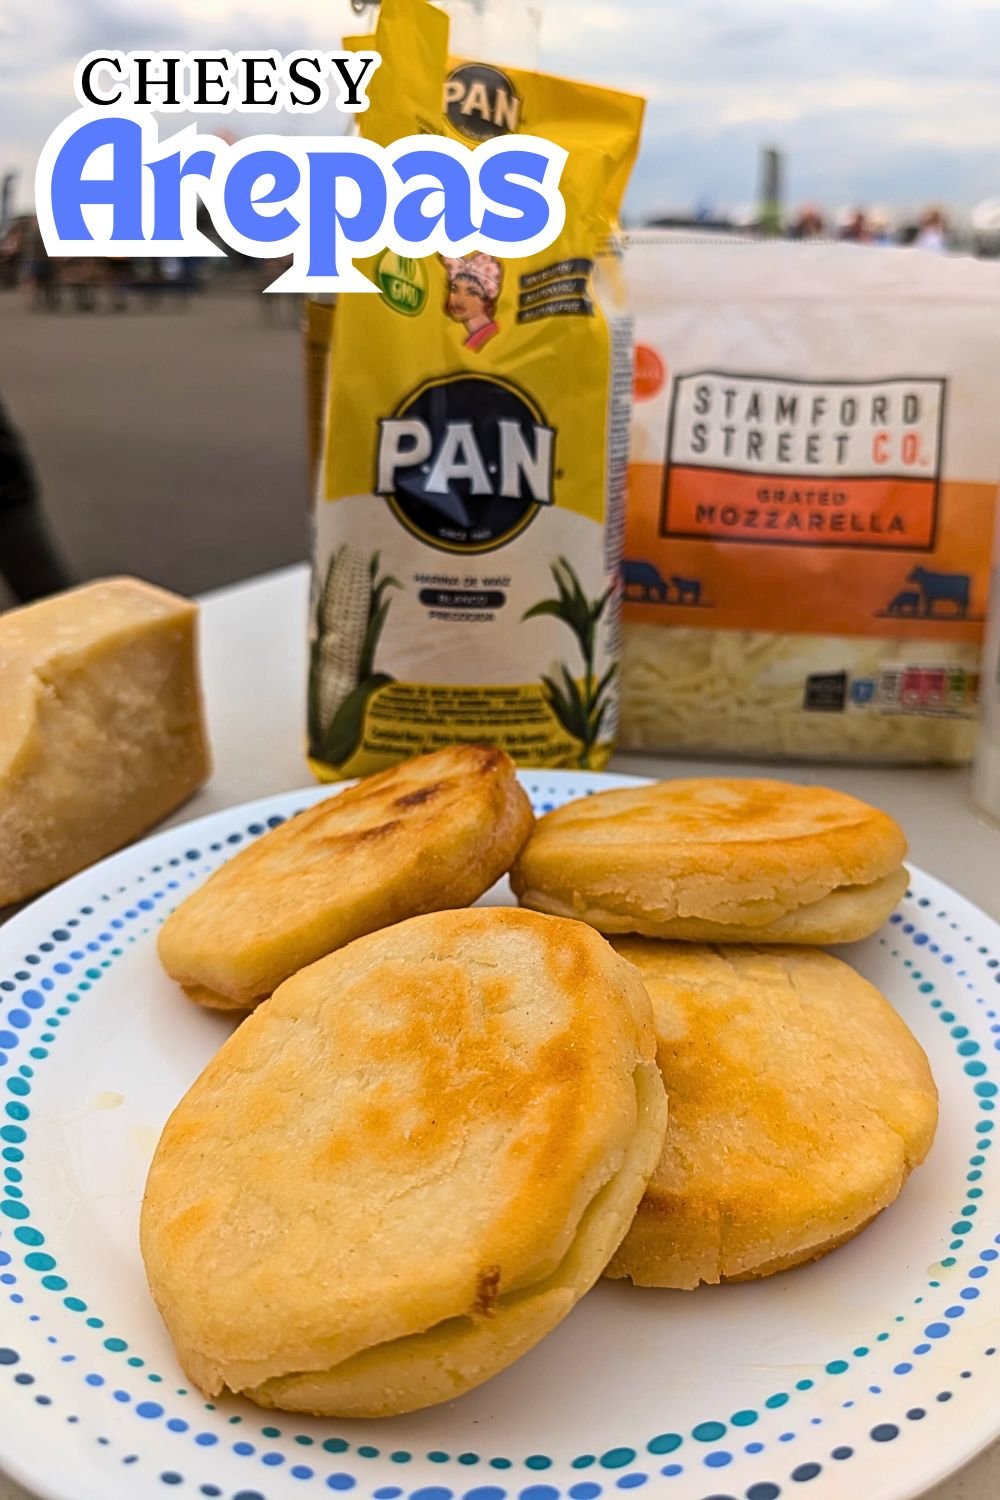
What are Arepas Arepas are a traditional dish that originates from the regions of Venezuela and Colombia. These little treats are so versatile,...
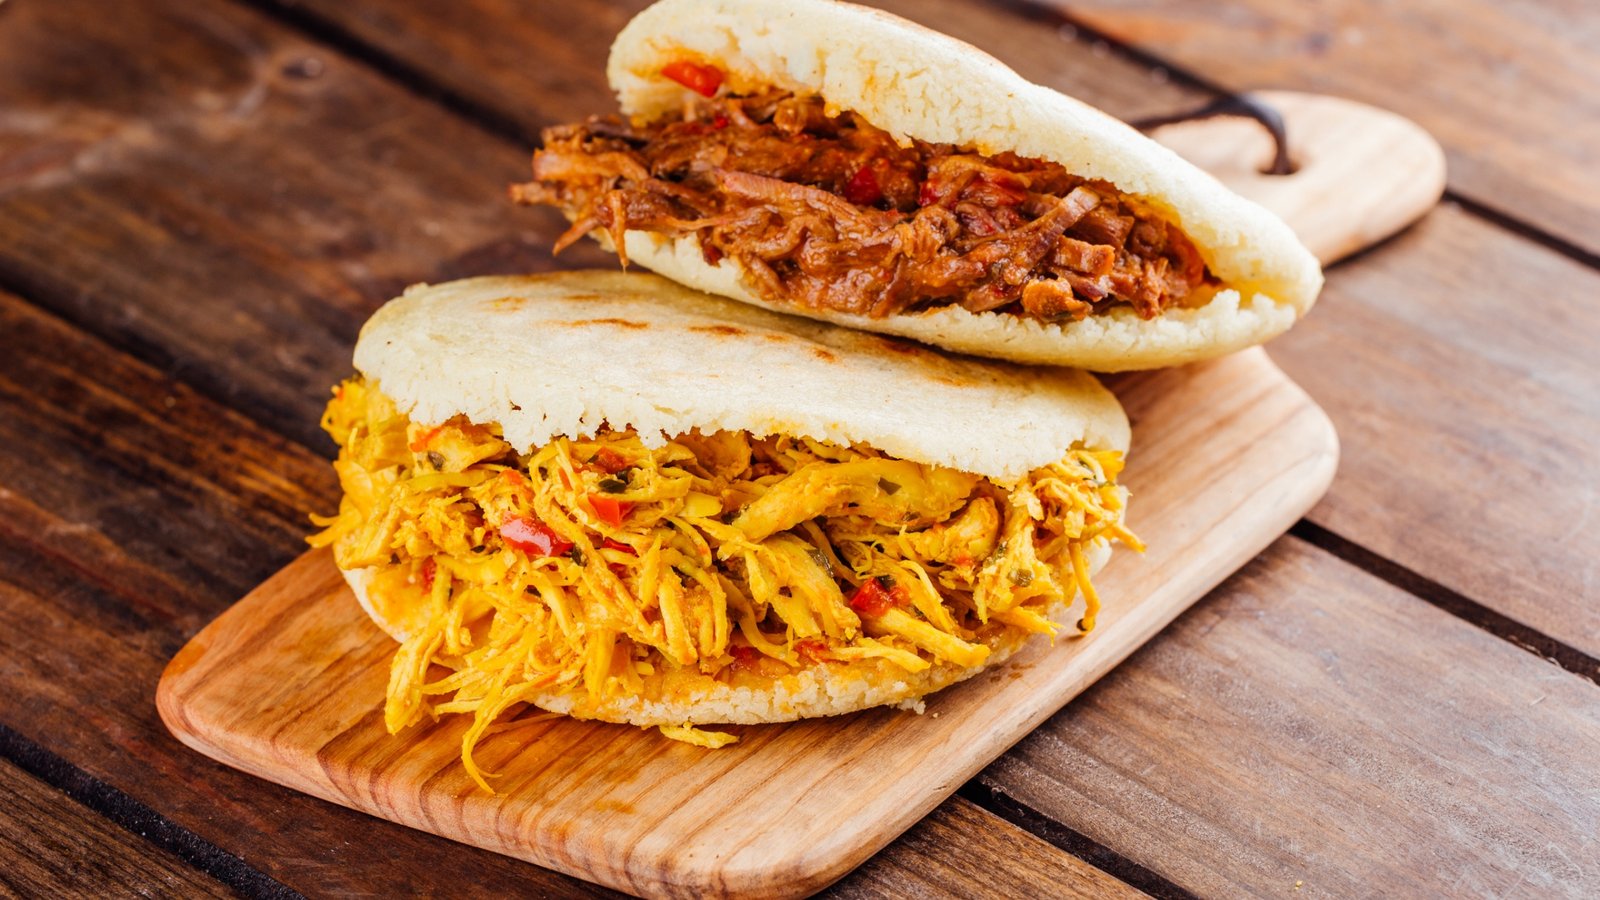
What are Arepas and What is the Origin of This Street Food? Arepas are versatile corn flour patties that can be eaten plain, stuffed or...
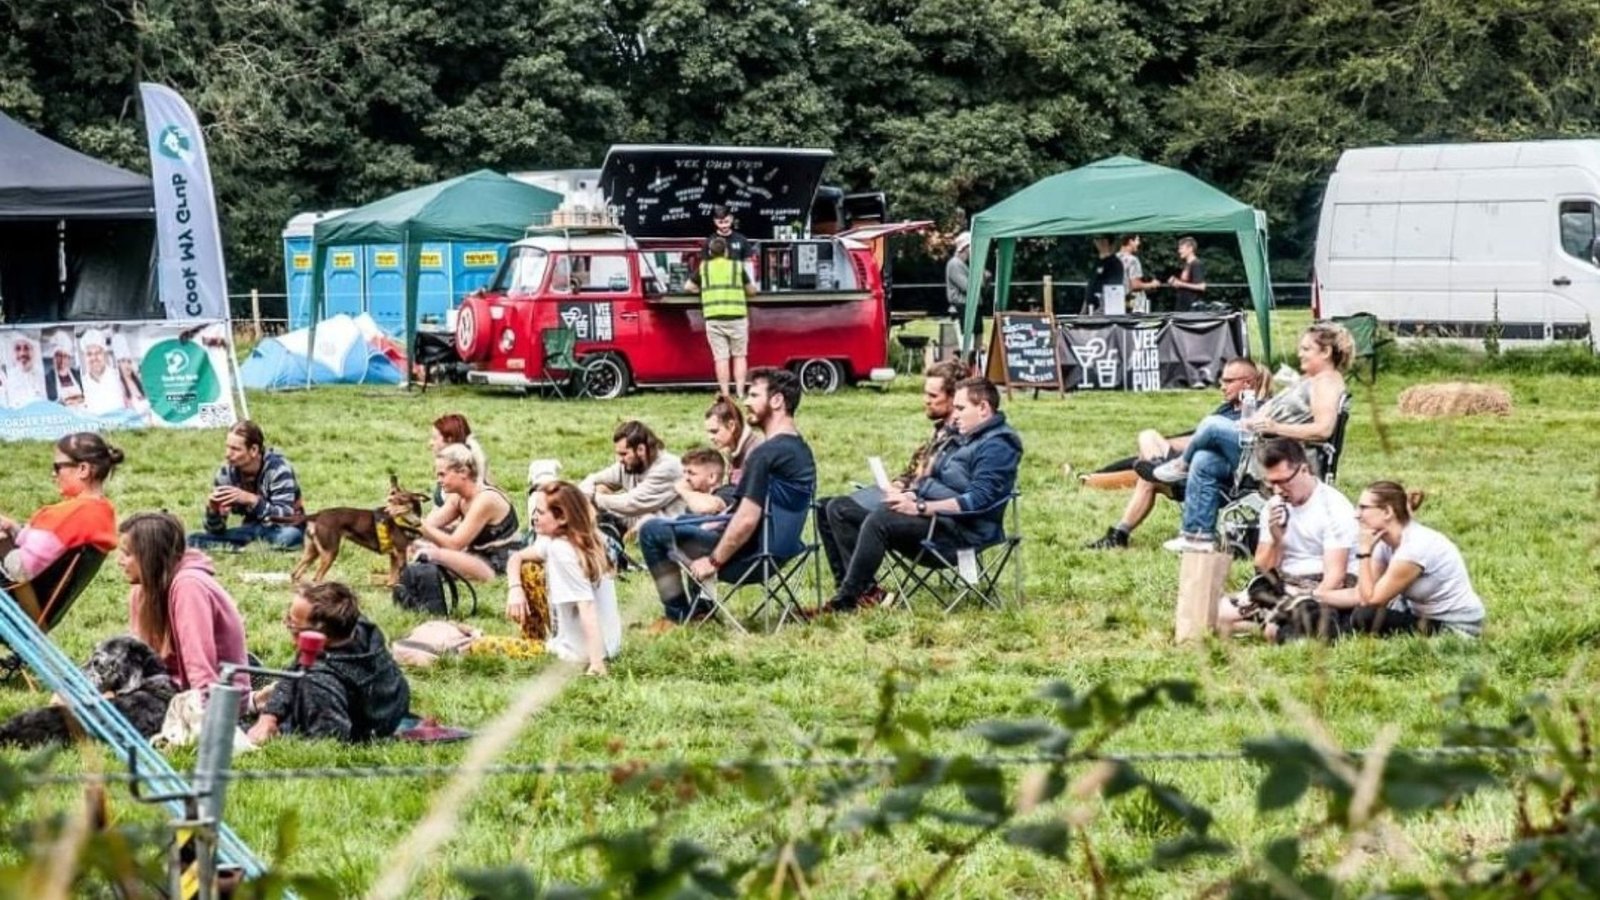
There is an amazing variety of Vanlife festivals to attend this year. If you are interested in Vanlife, campervans, motorhomes, overlanders,...
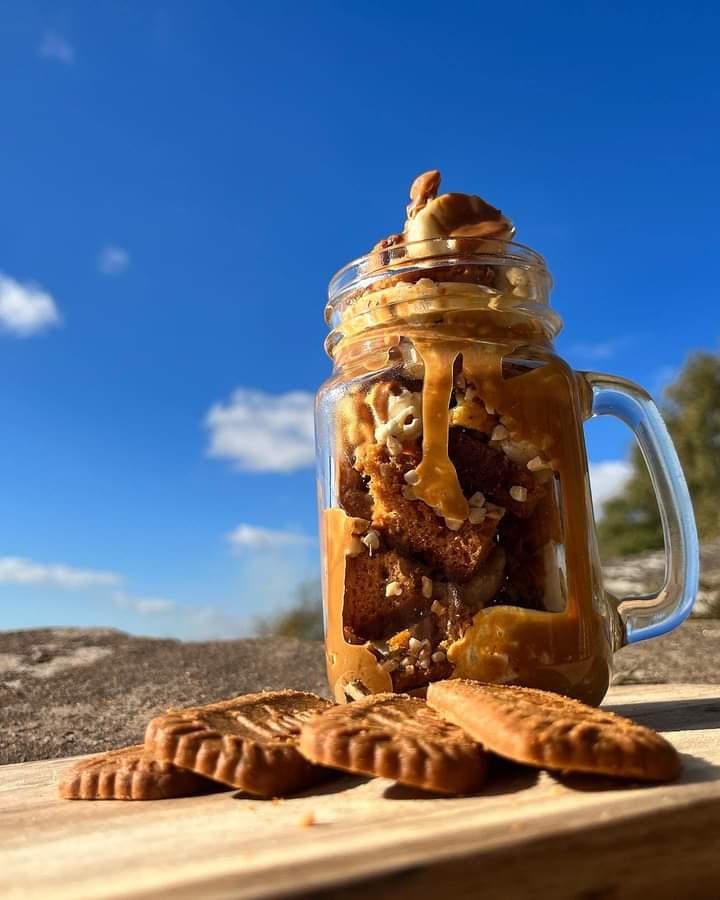
This Biscoff pudding jar just needs to be eaten...NOW! , It's made for every occasion at any time of the year at any point of the day. Don't...
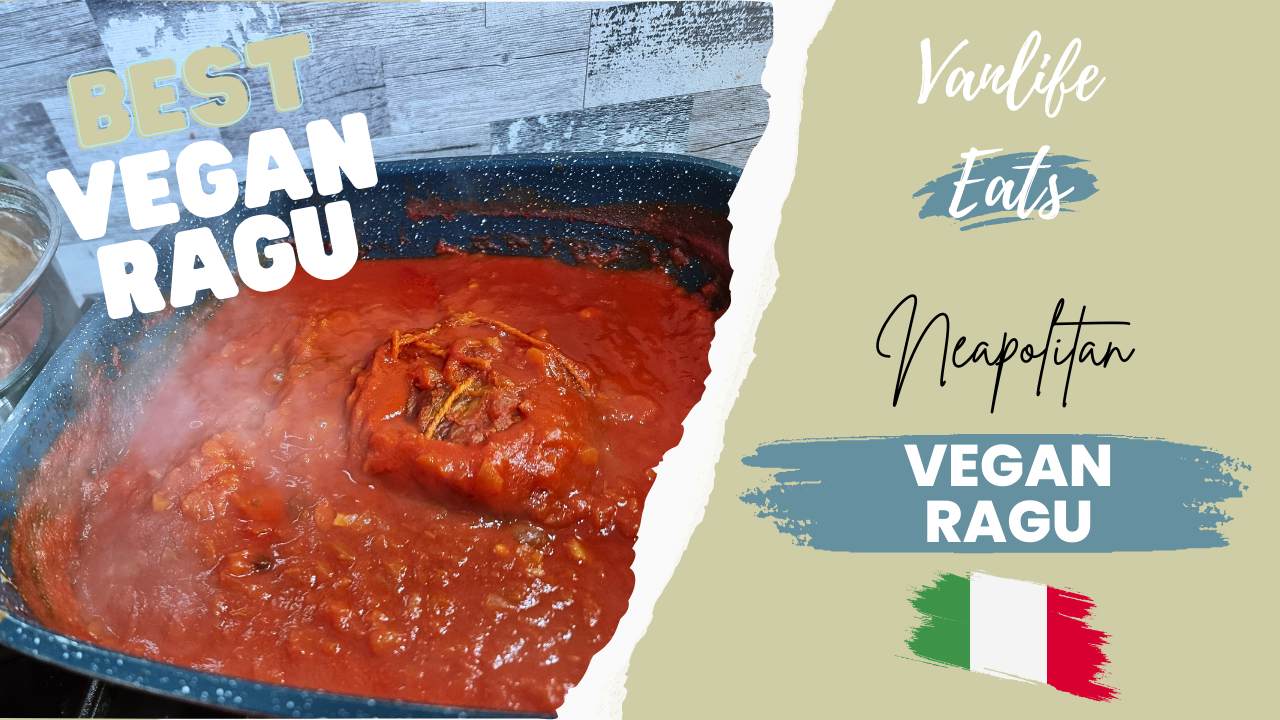
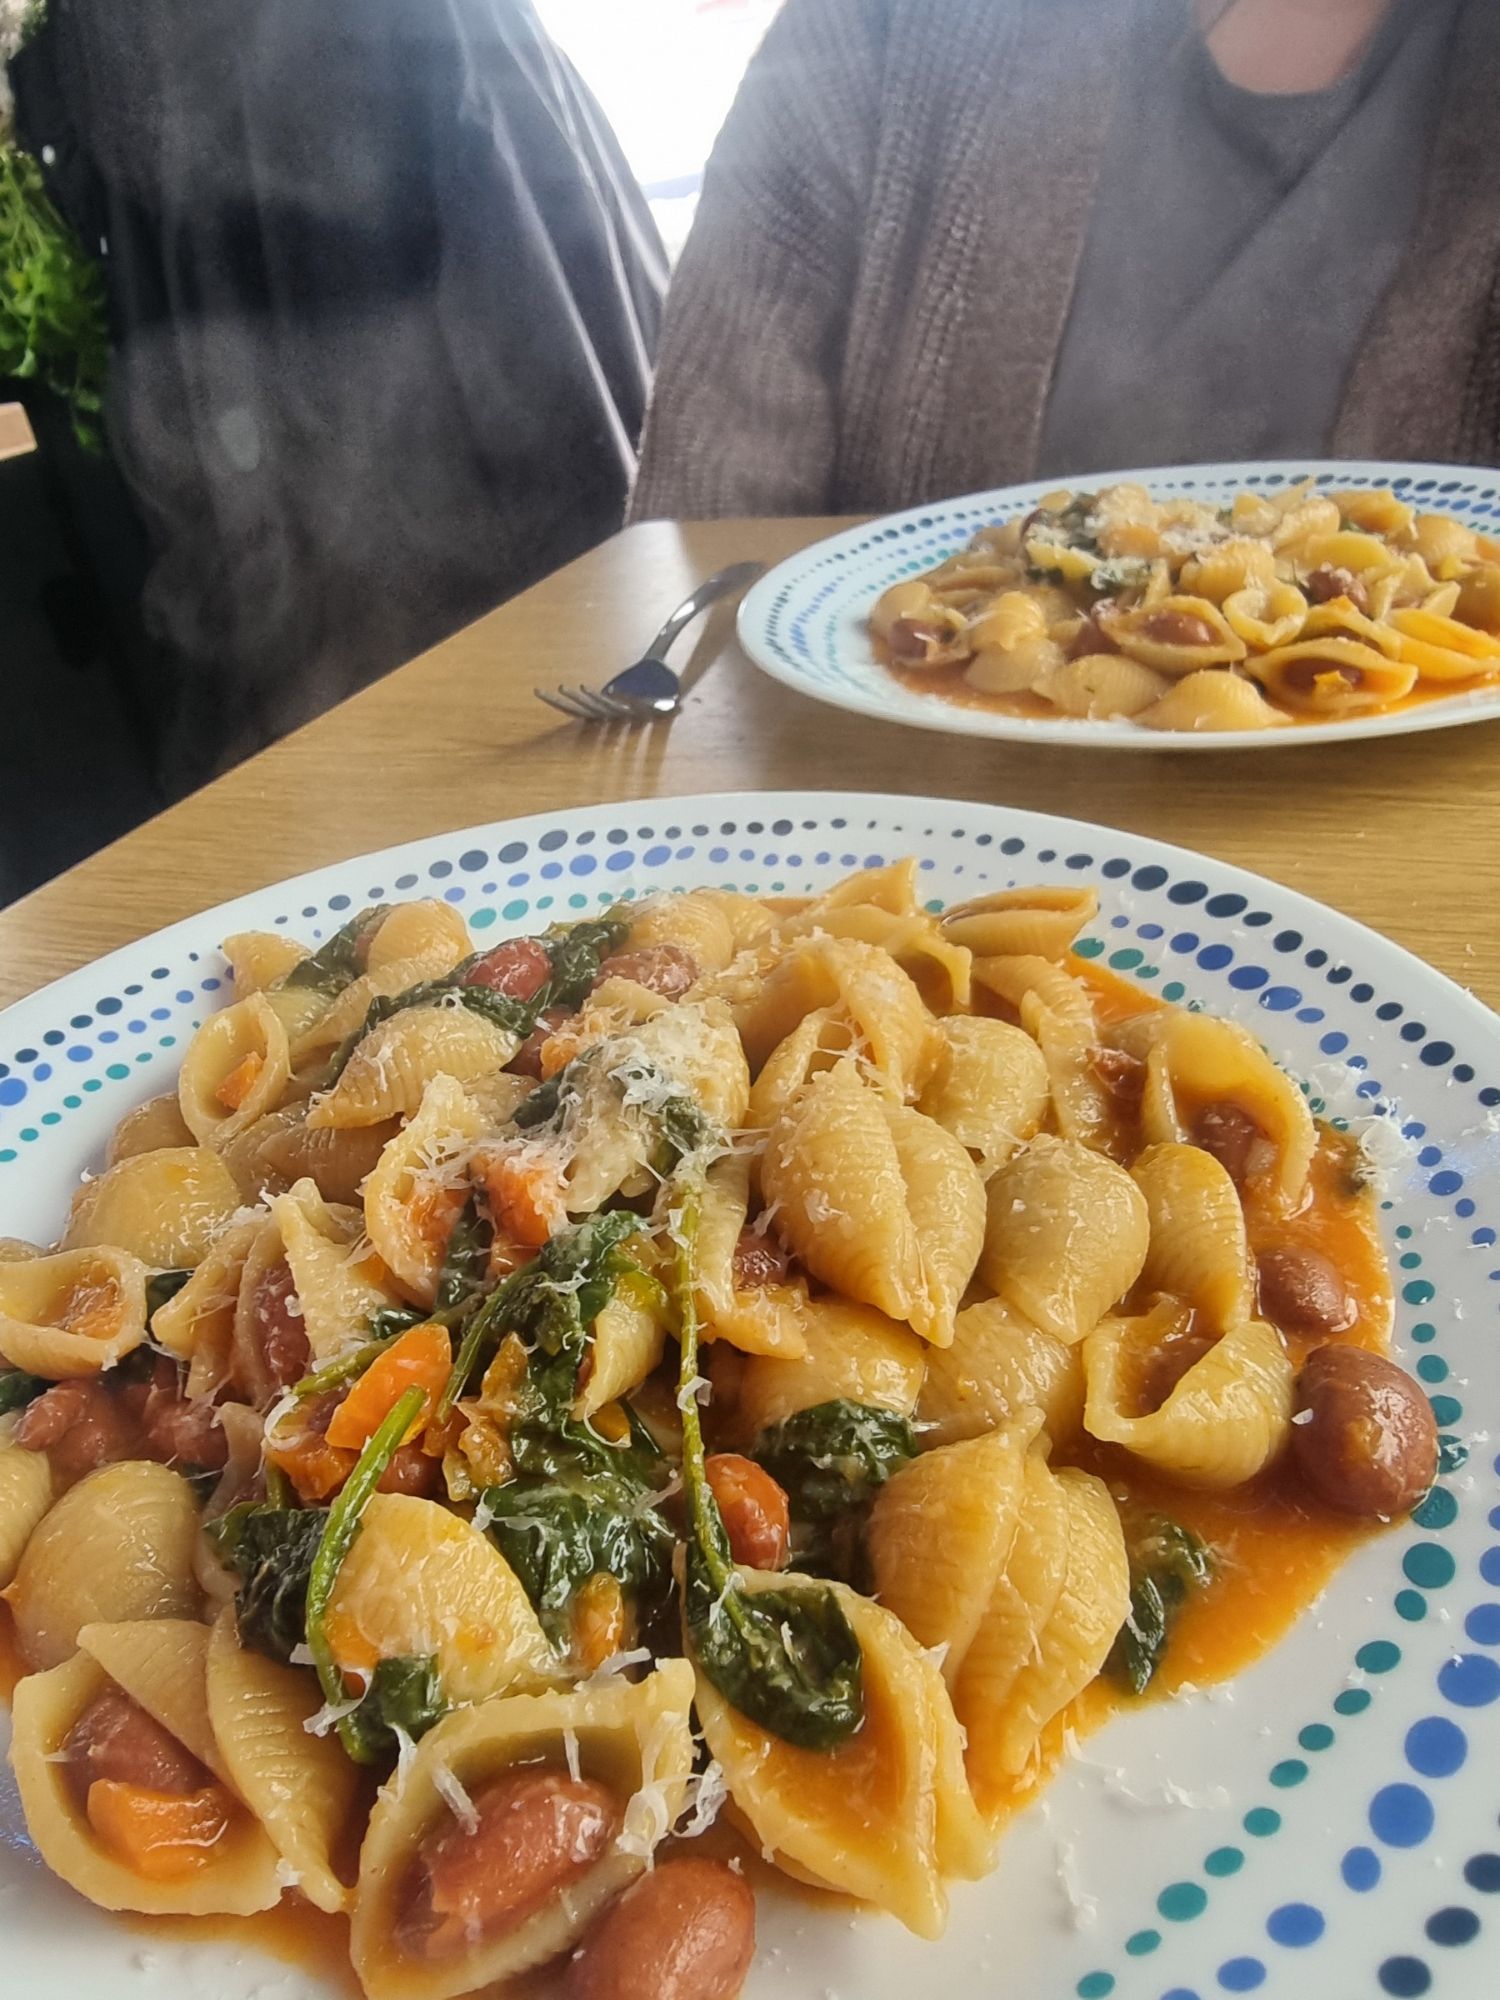
This is the best vegan ragu recipe, adapted from our family authentic Neapolitan style of adding a little parcel full of flavour that erupts...
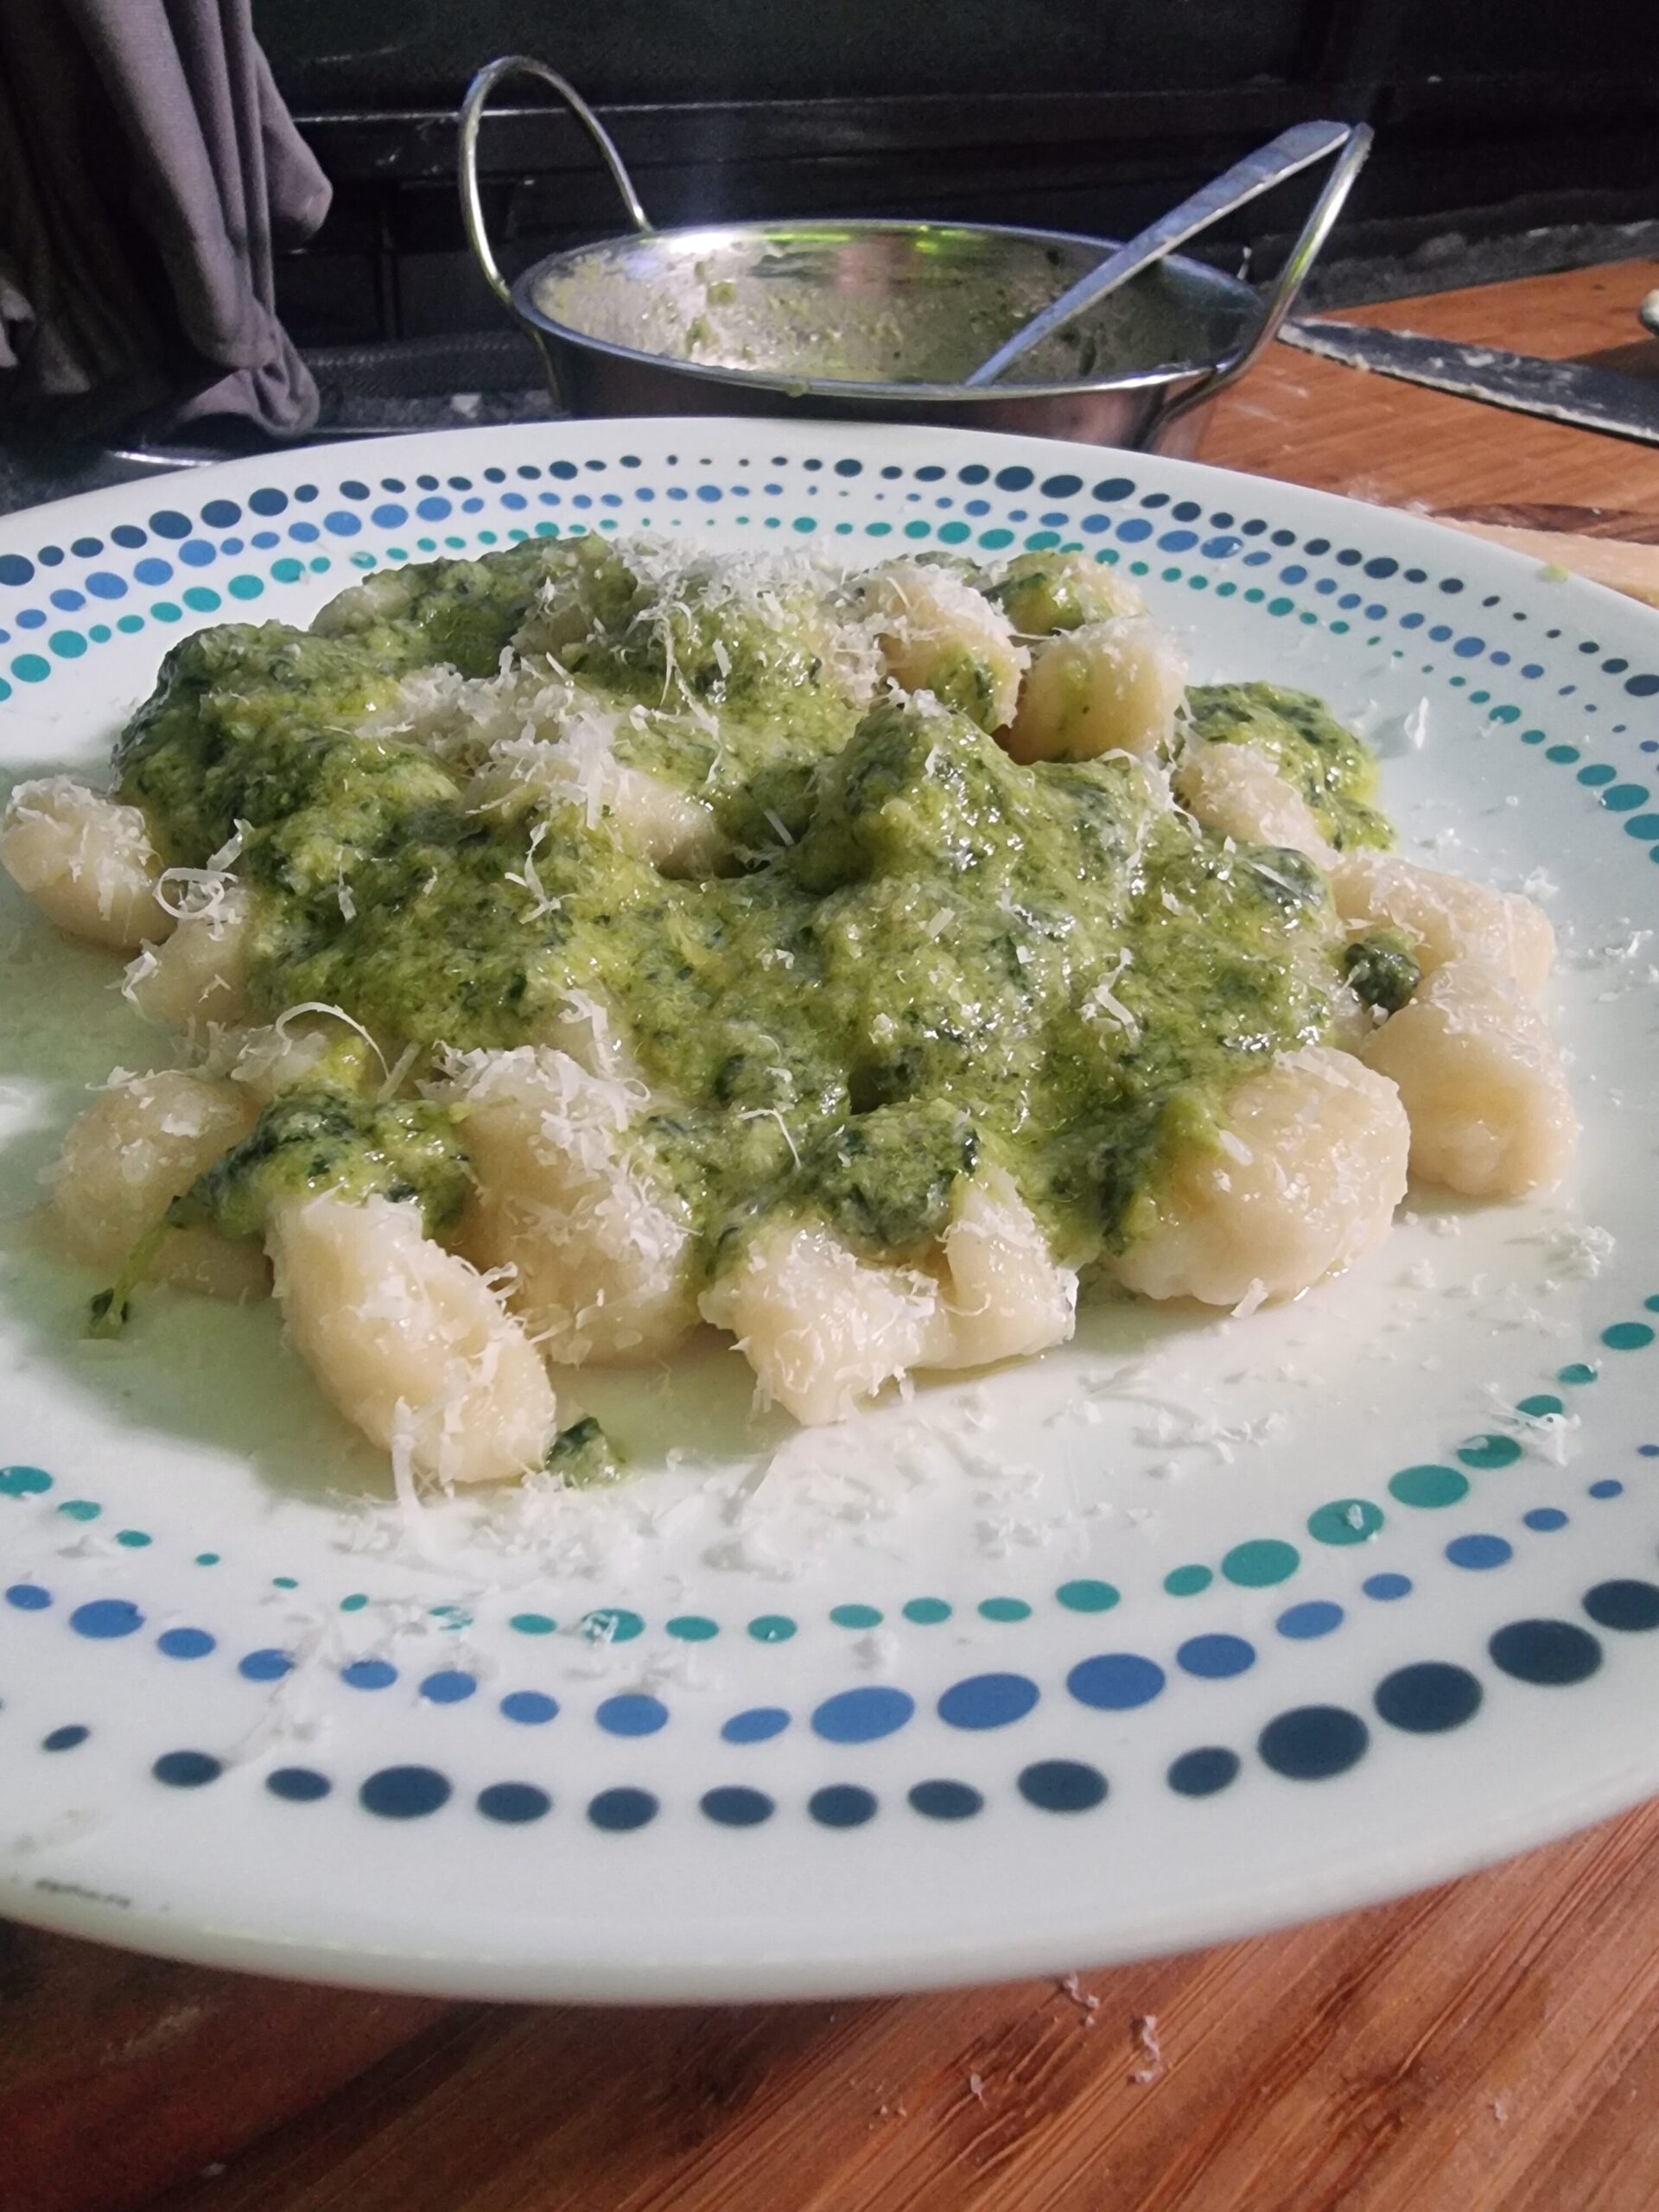
This Potato Gnocchi recipe is a total game changer! If you thought the store bought stuff was good then this will be a reality check for you. I...
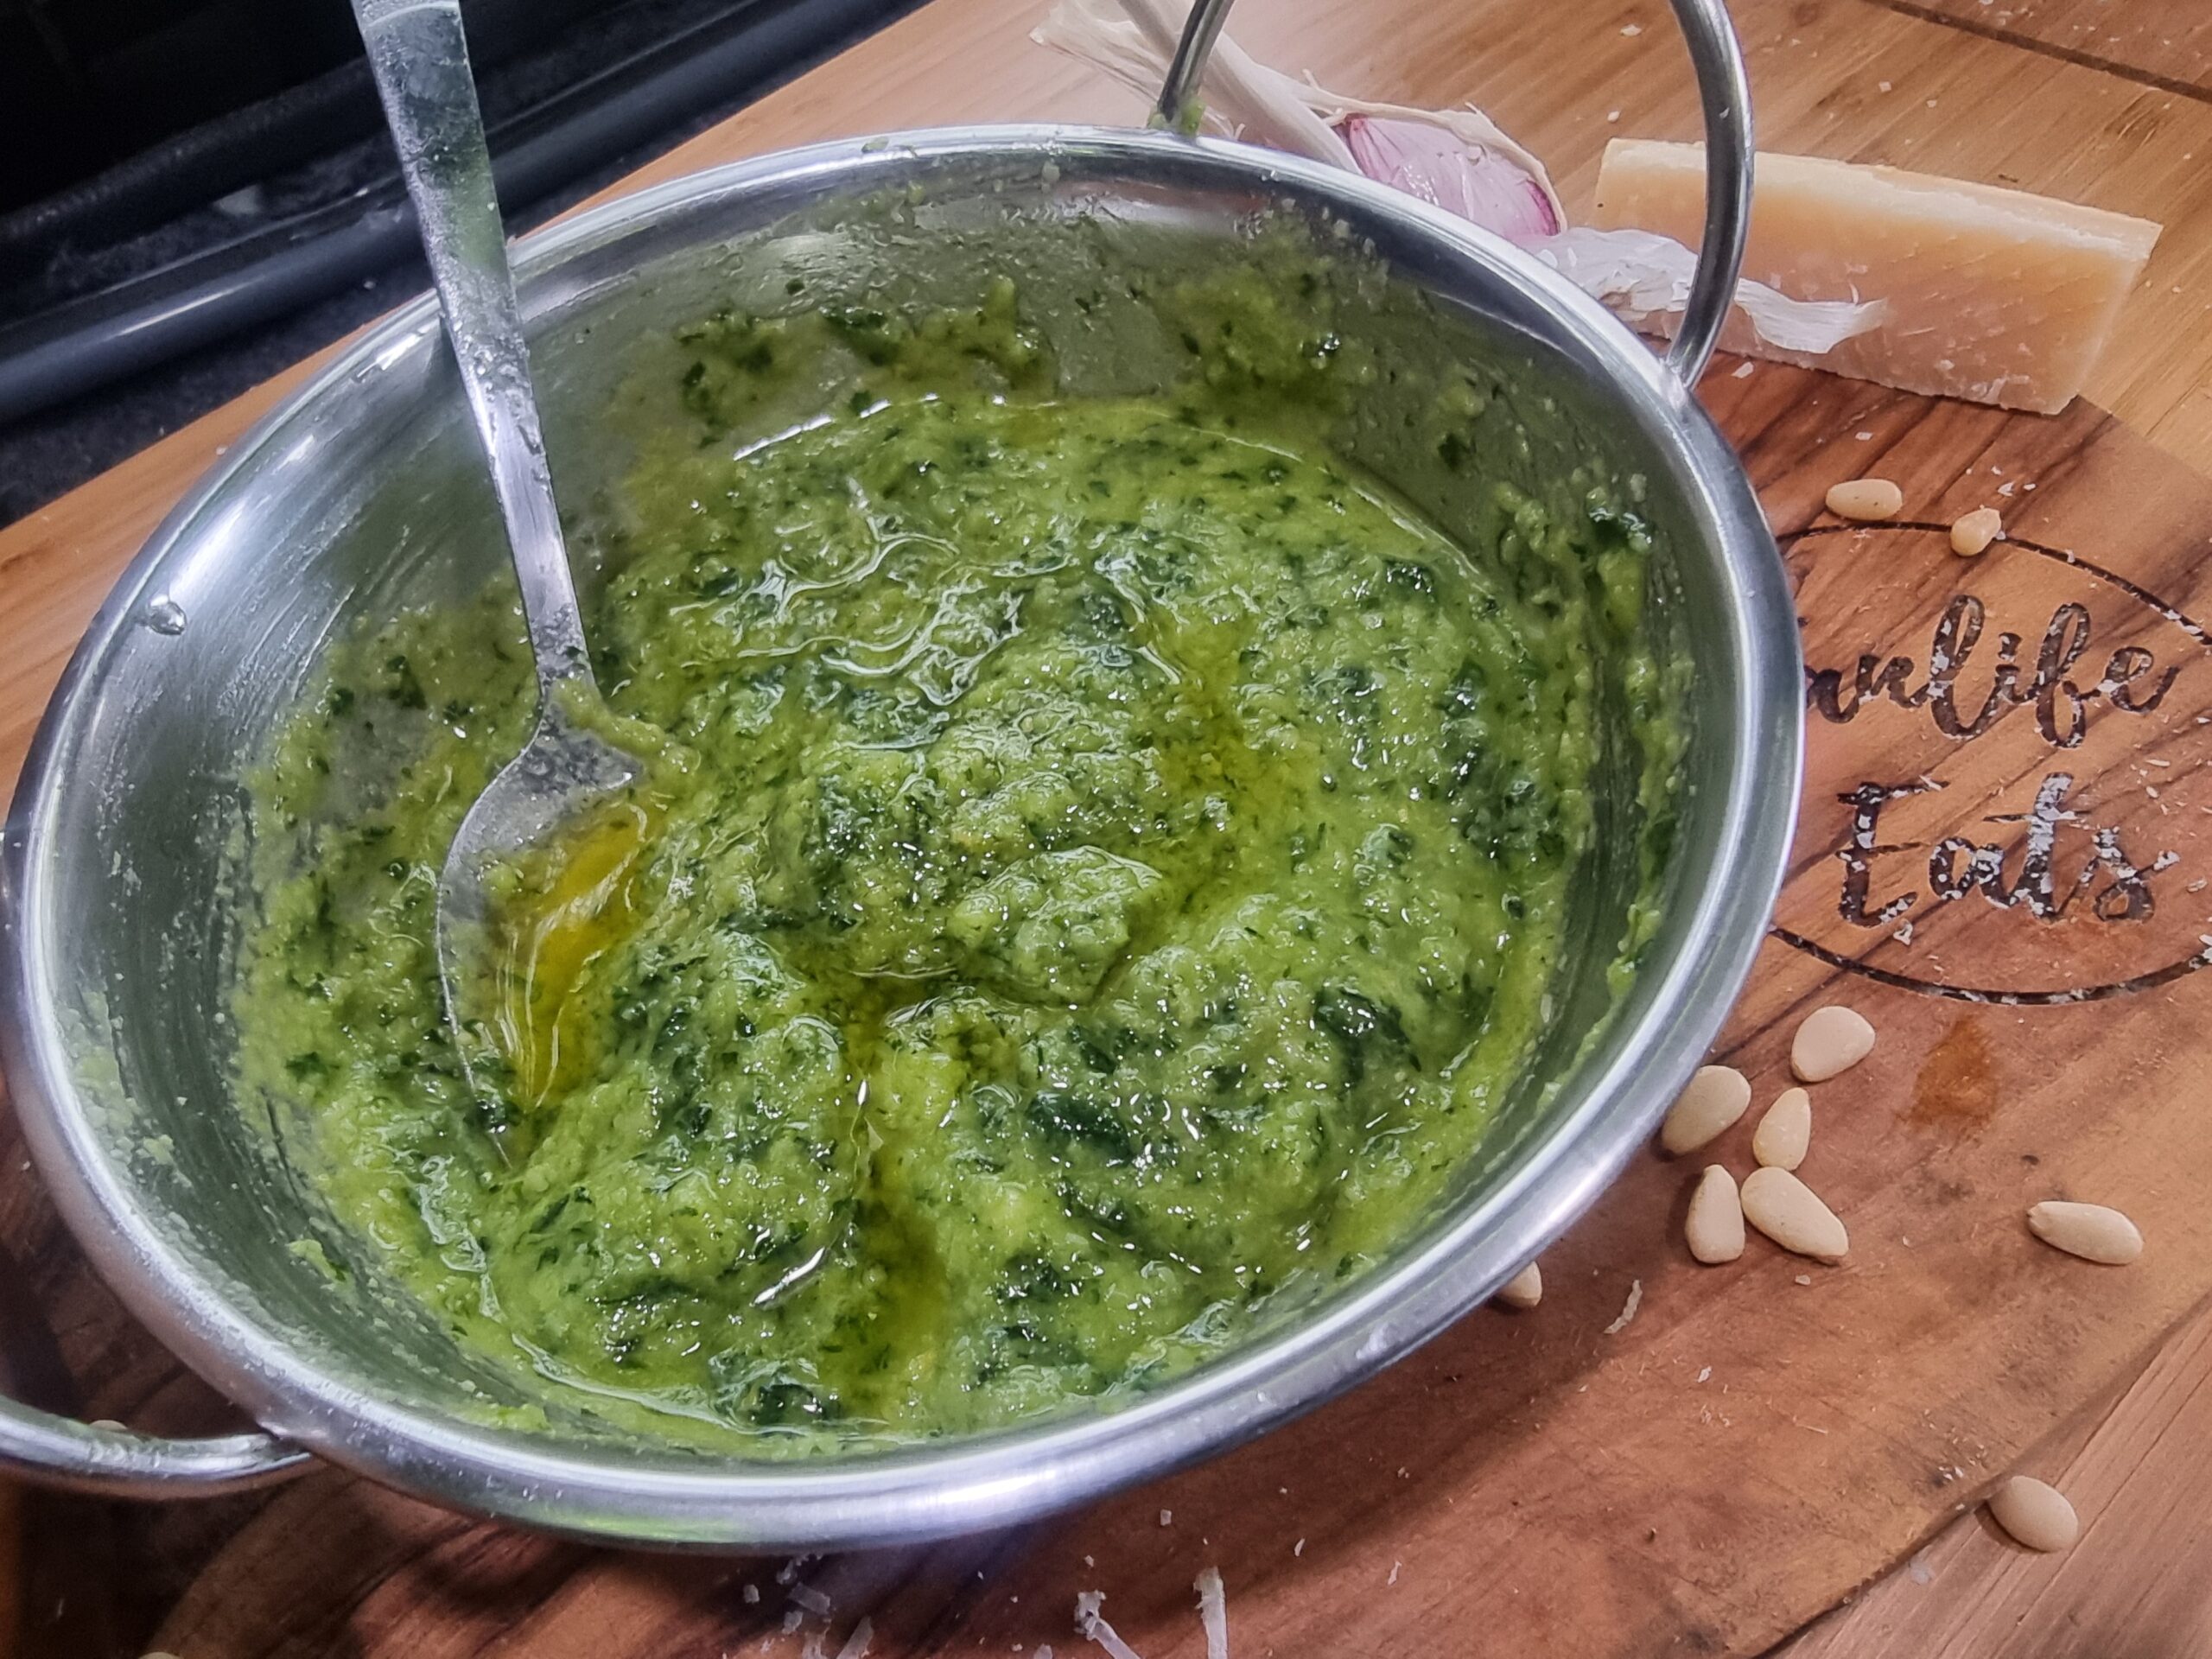
The popular and delightful sauce known as Pesto alla Genovese comes from Genoa in Italy and has found a cherished place in the heart of Italian...
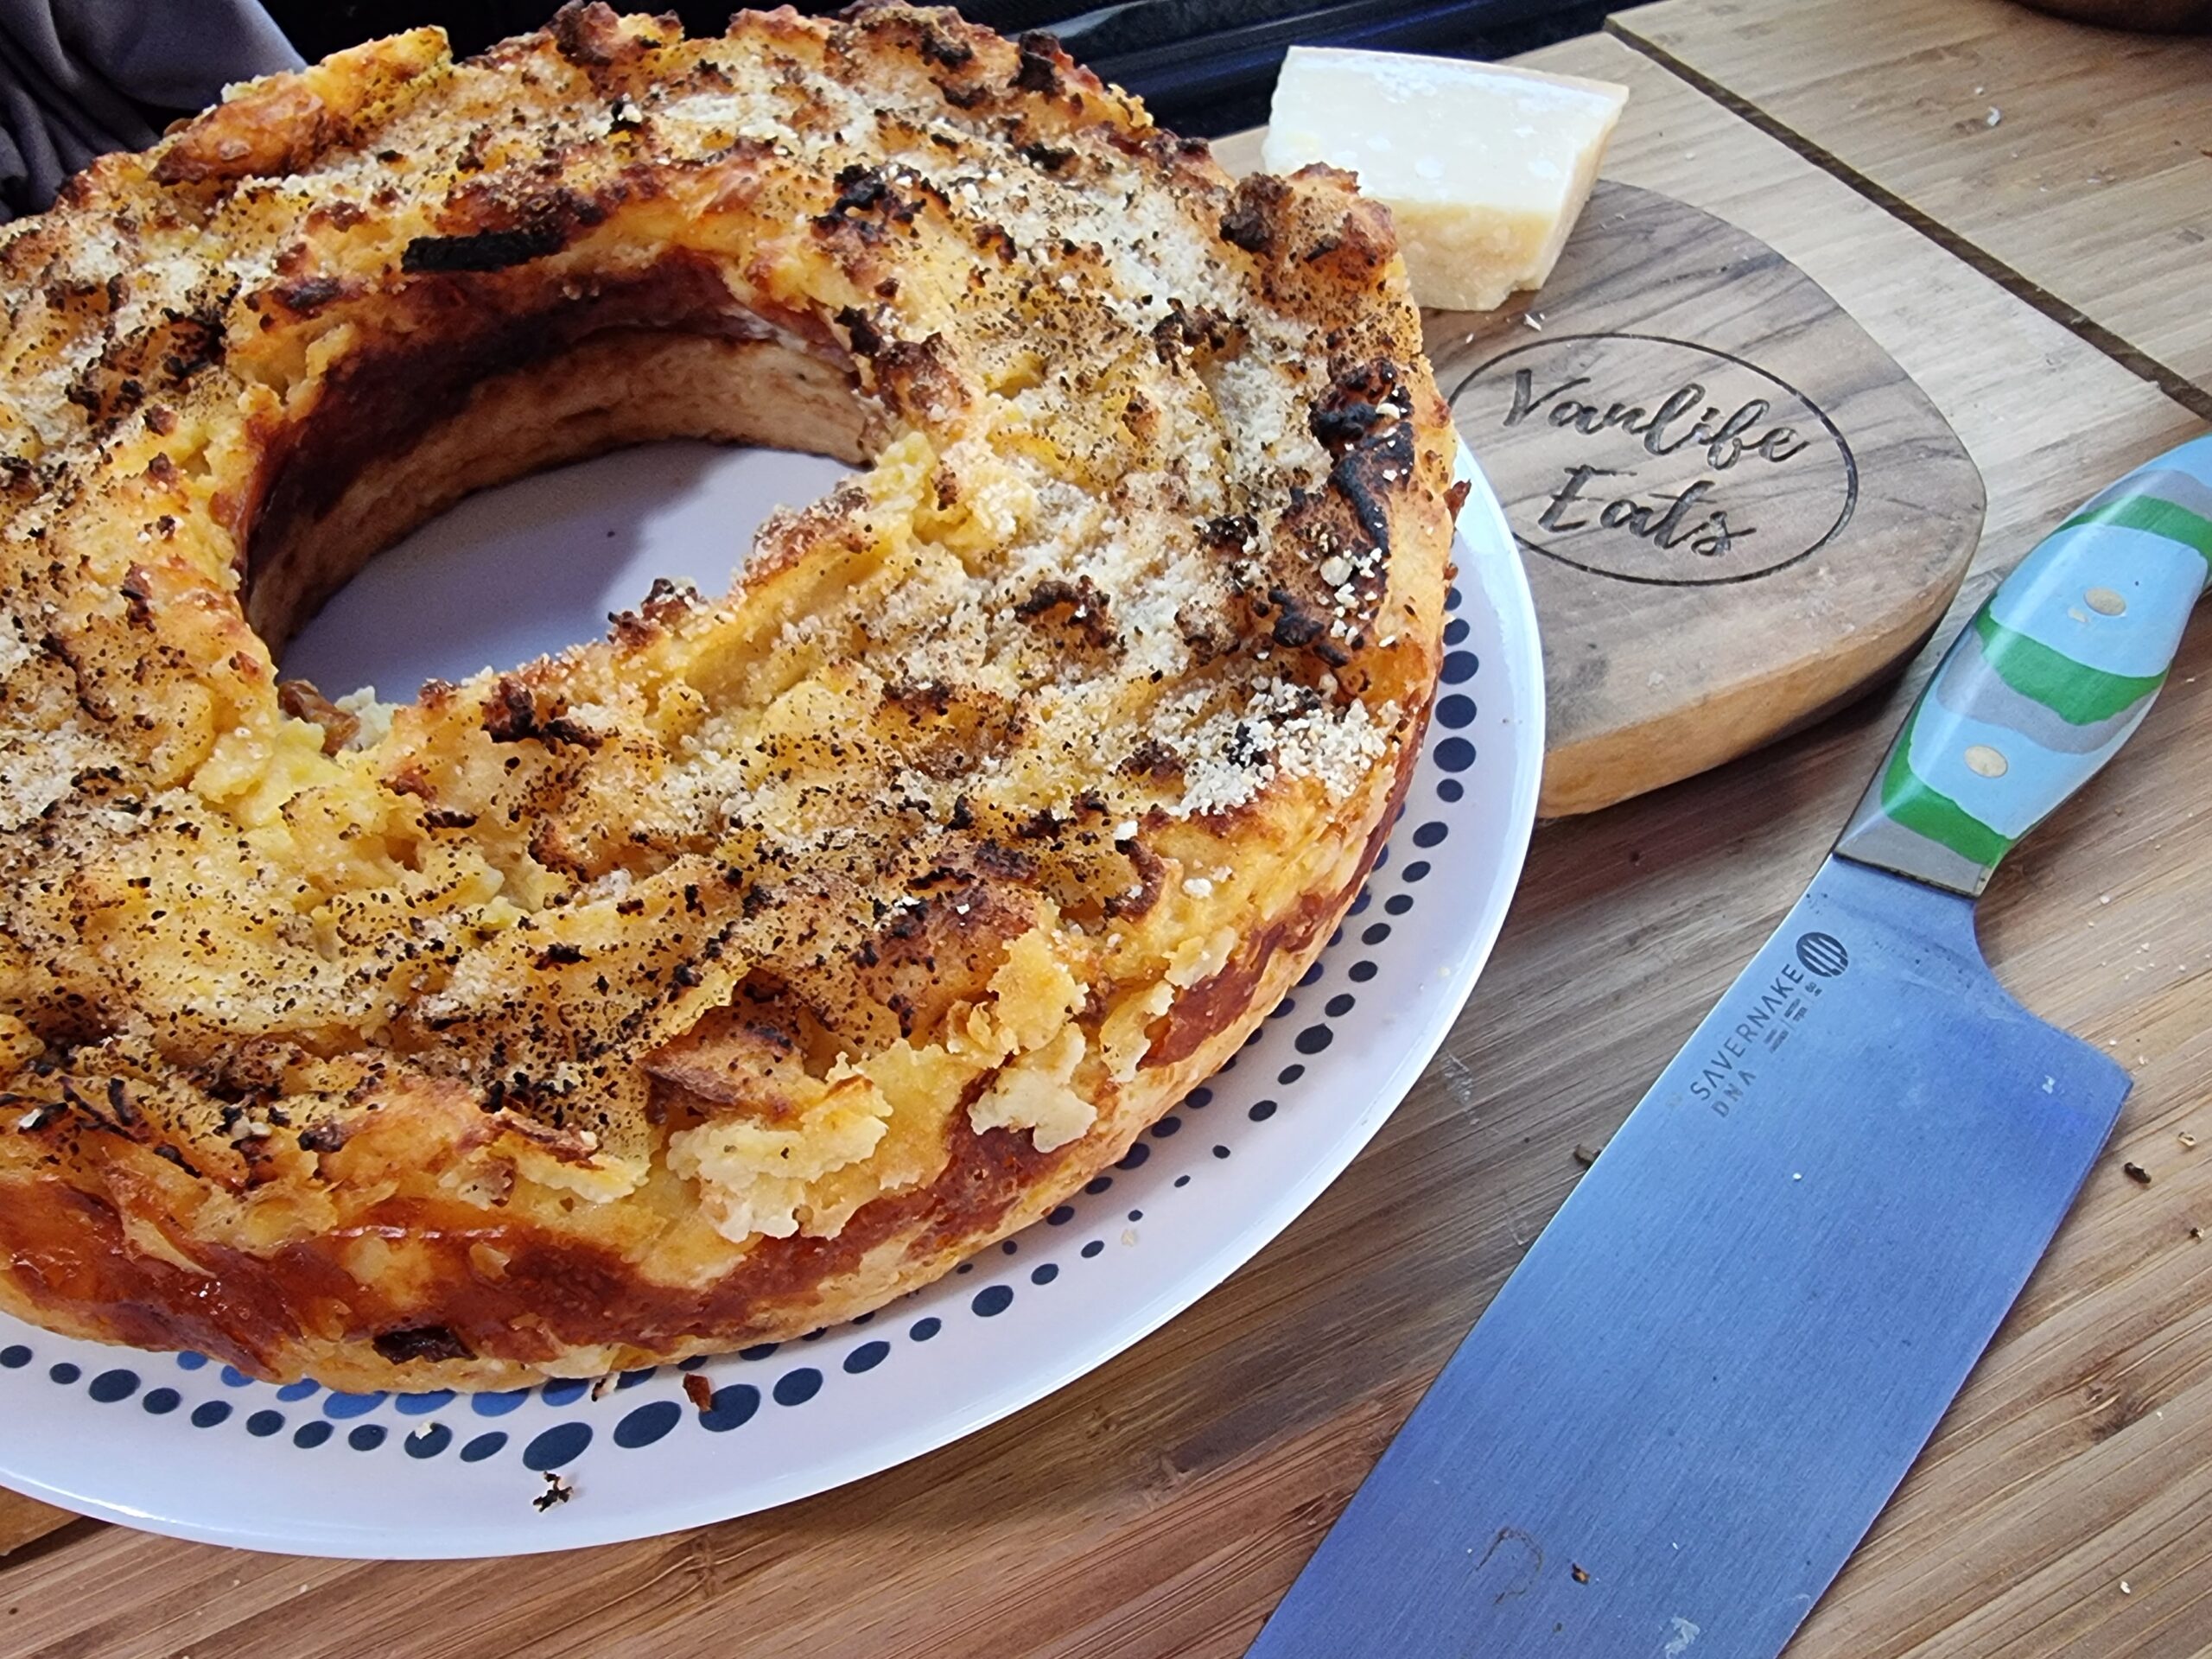
When I said I was going to make a cake in the Omnia, everyone was shocked! However, my cakes are not quite the same.. trust me. I chose to make...
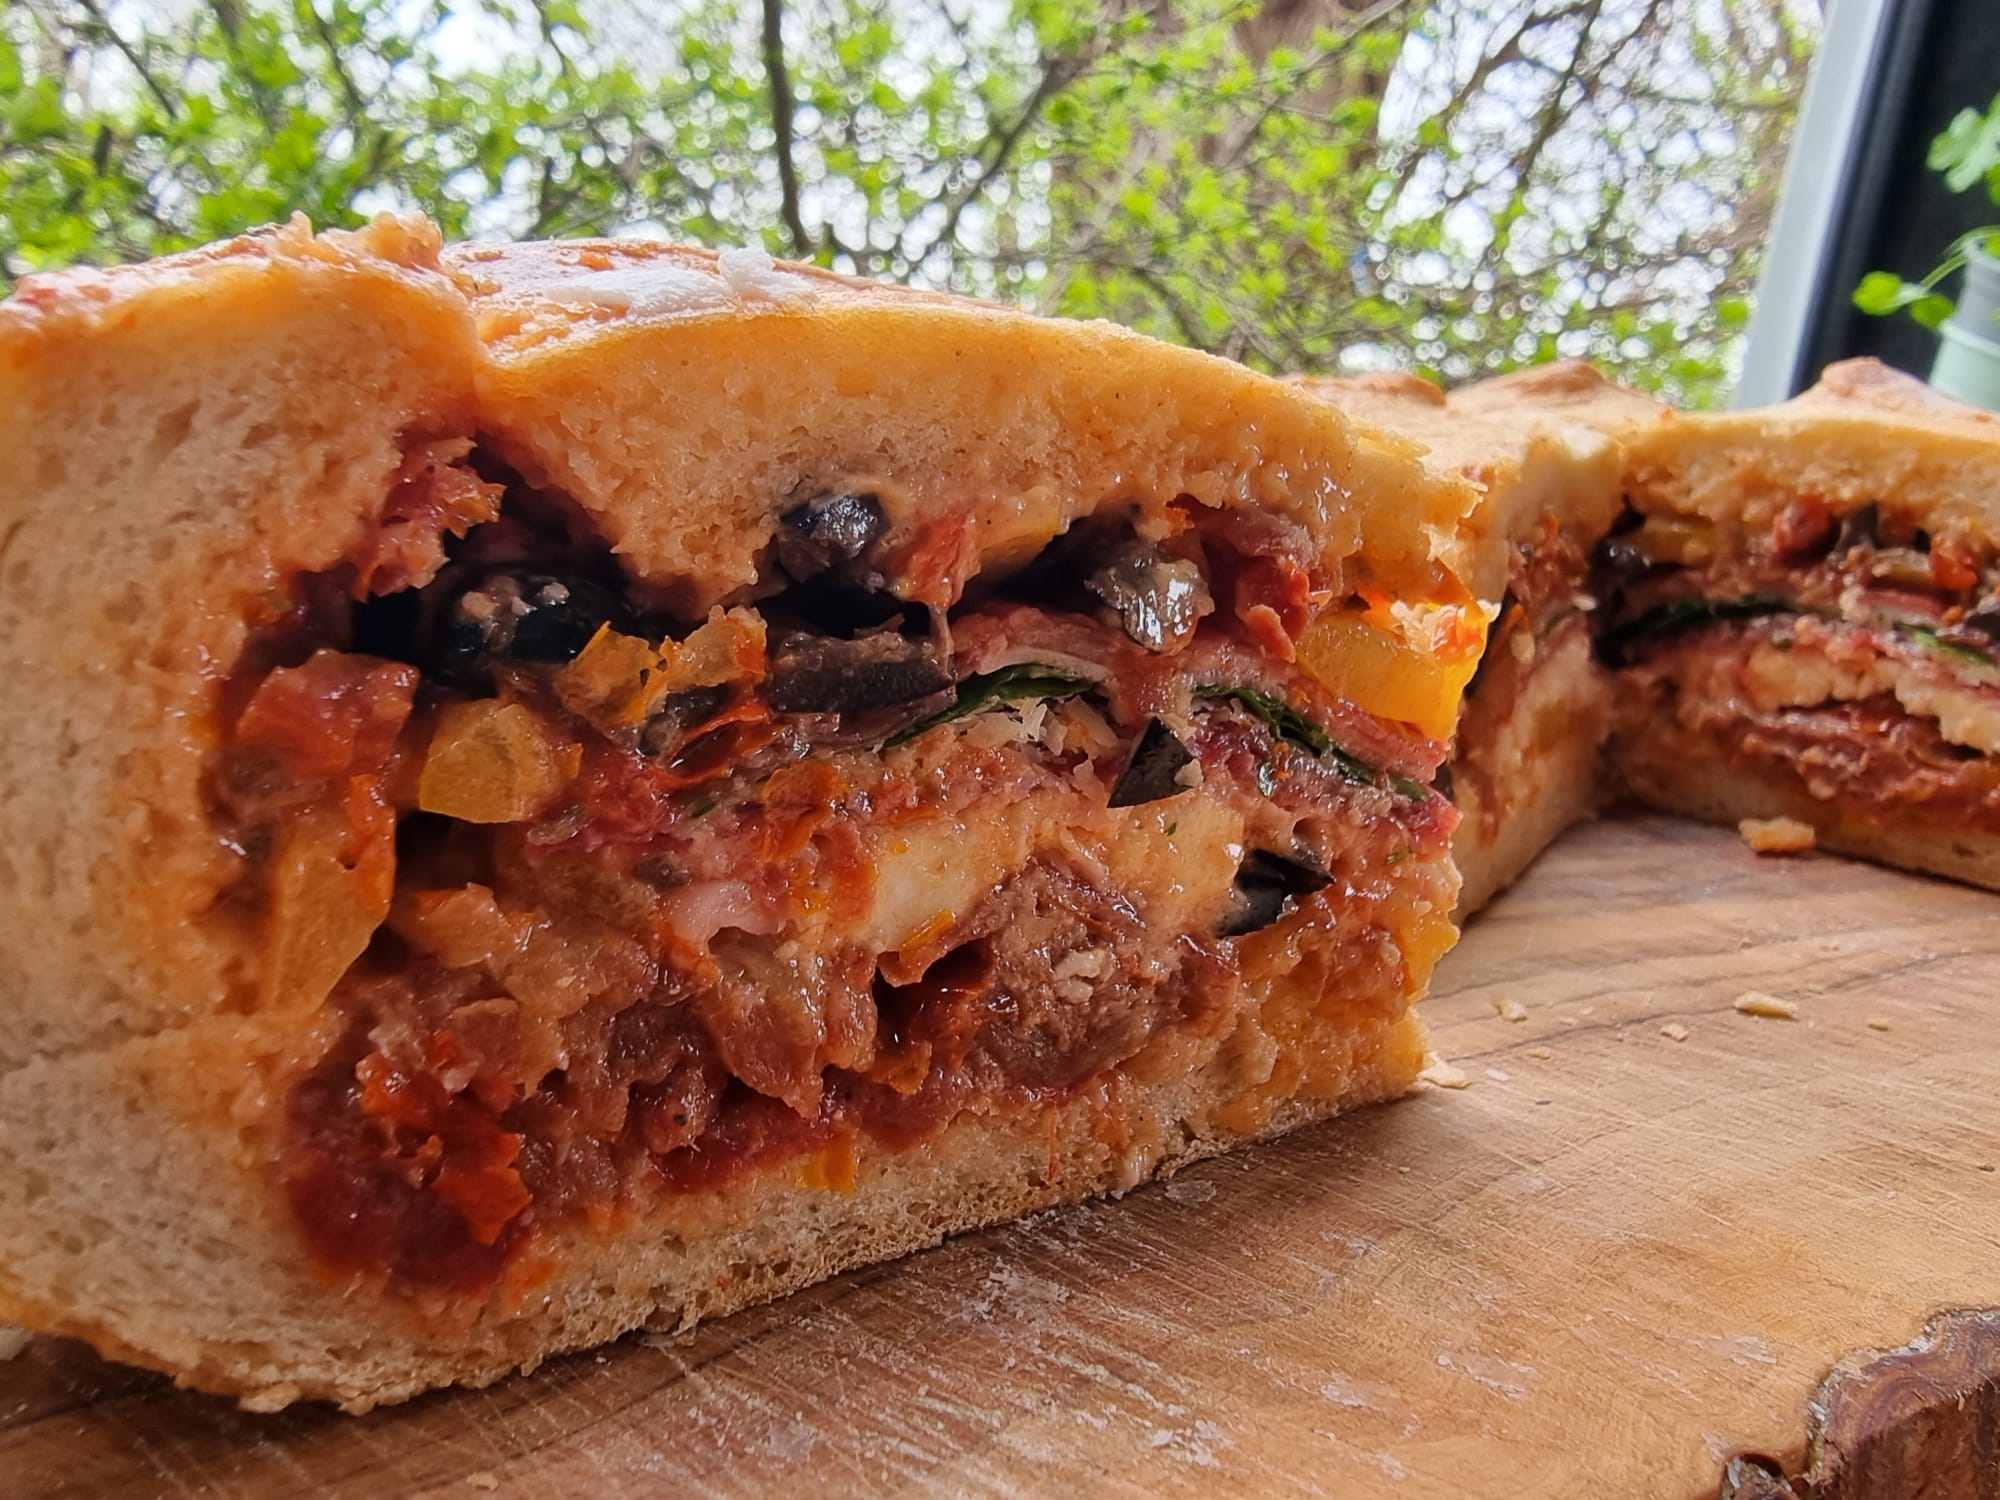
Try a stuffed cob with your favourite fillings. Ours is a take on a popular stuffed bread from the region of Calabra Italy. The perfect lunch...
On February 22nd 2024, we were lucky enough to be presenting at Vanlife summit about vanlife cooking tips and hacks. For any of you that tuned...
When we were asked to do a cooking demo for Vanlife Summit 2024 we were over the moon! However, I have to confess, I was just as excited to...
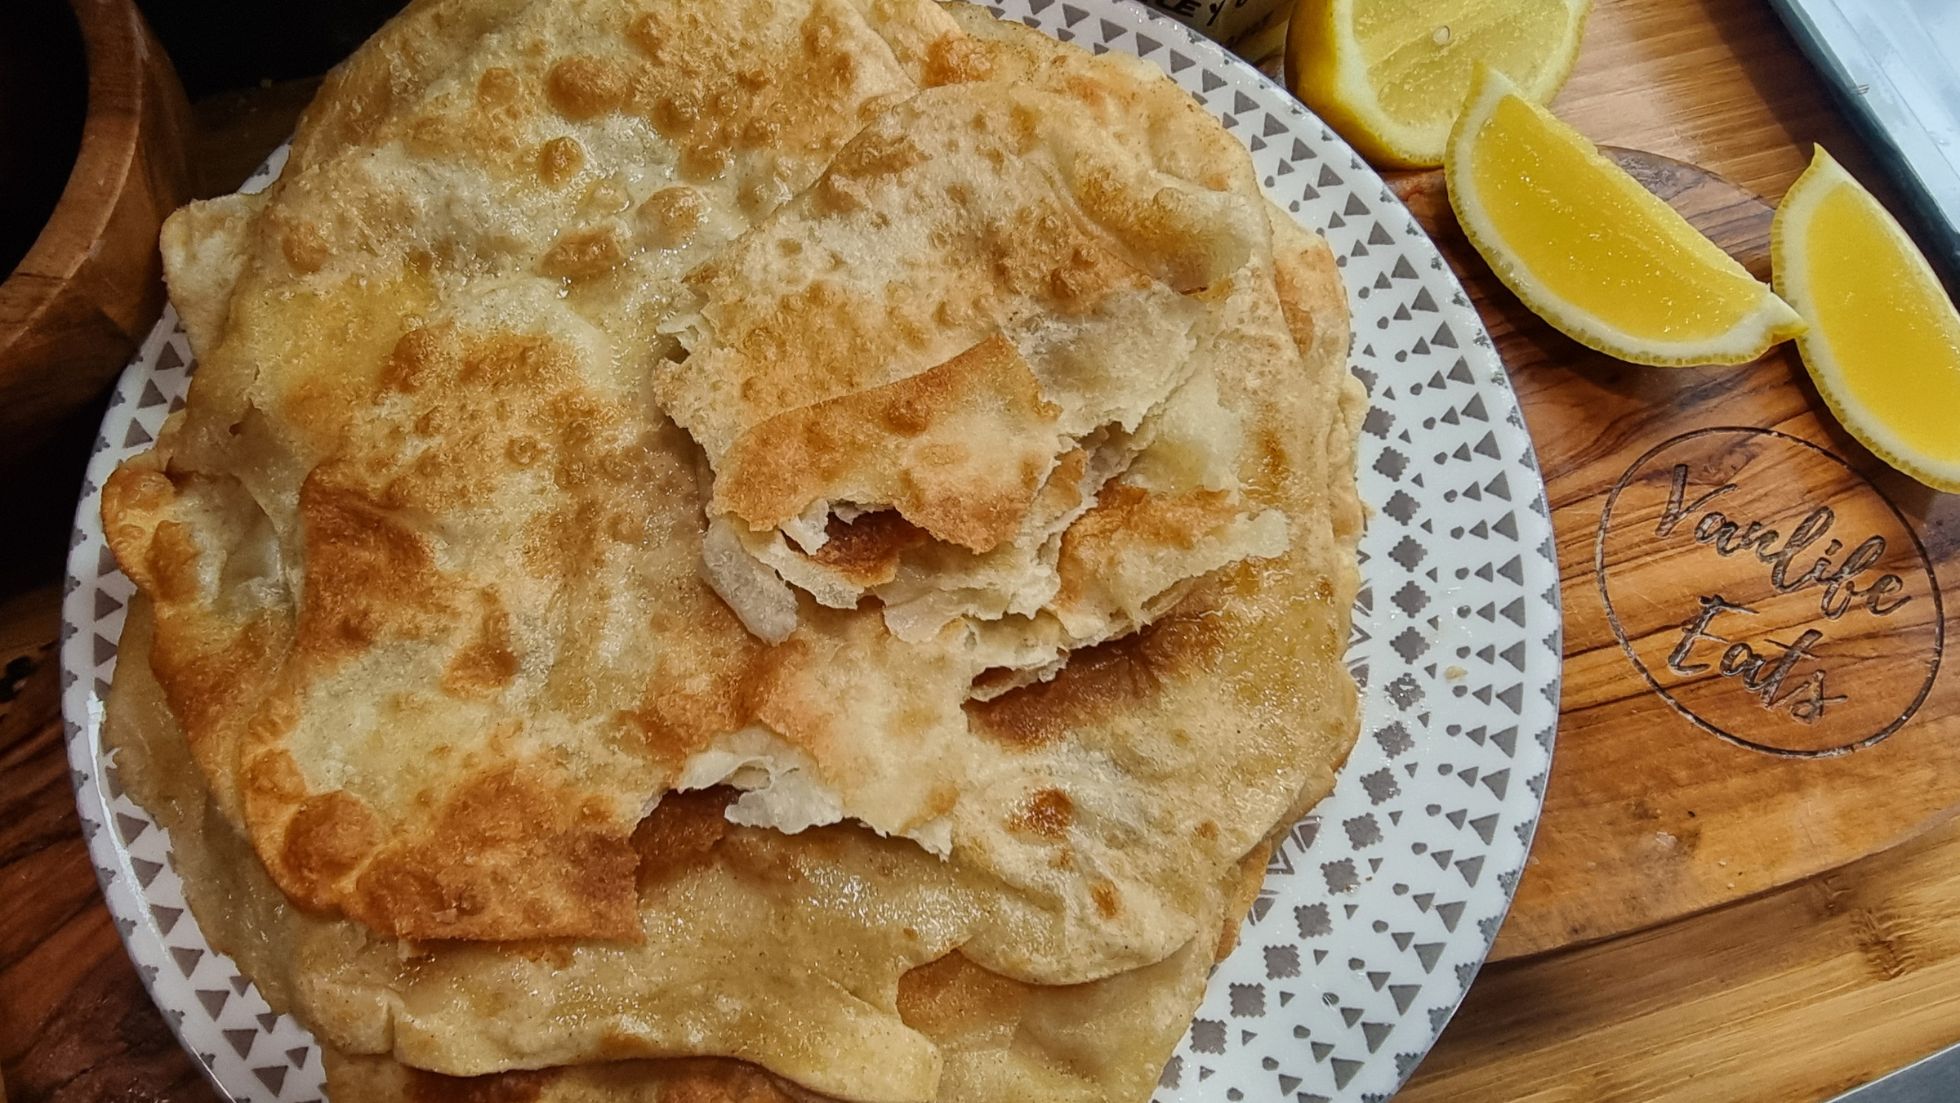
Transport yourself to Northern Africa and make yourself some Moroccan Msemen Flaky Pancakes. These flaky, golden pancakes are a perfect...
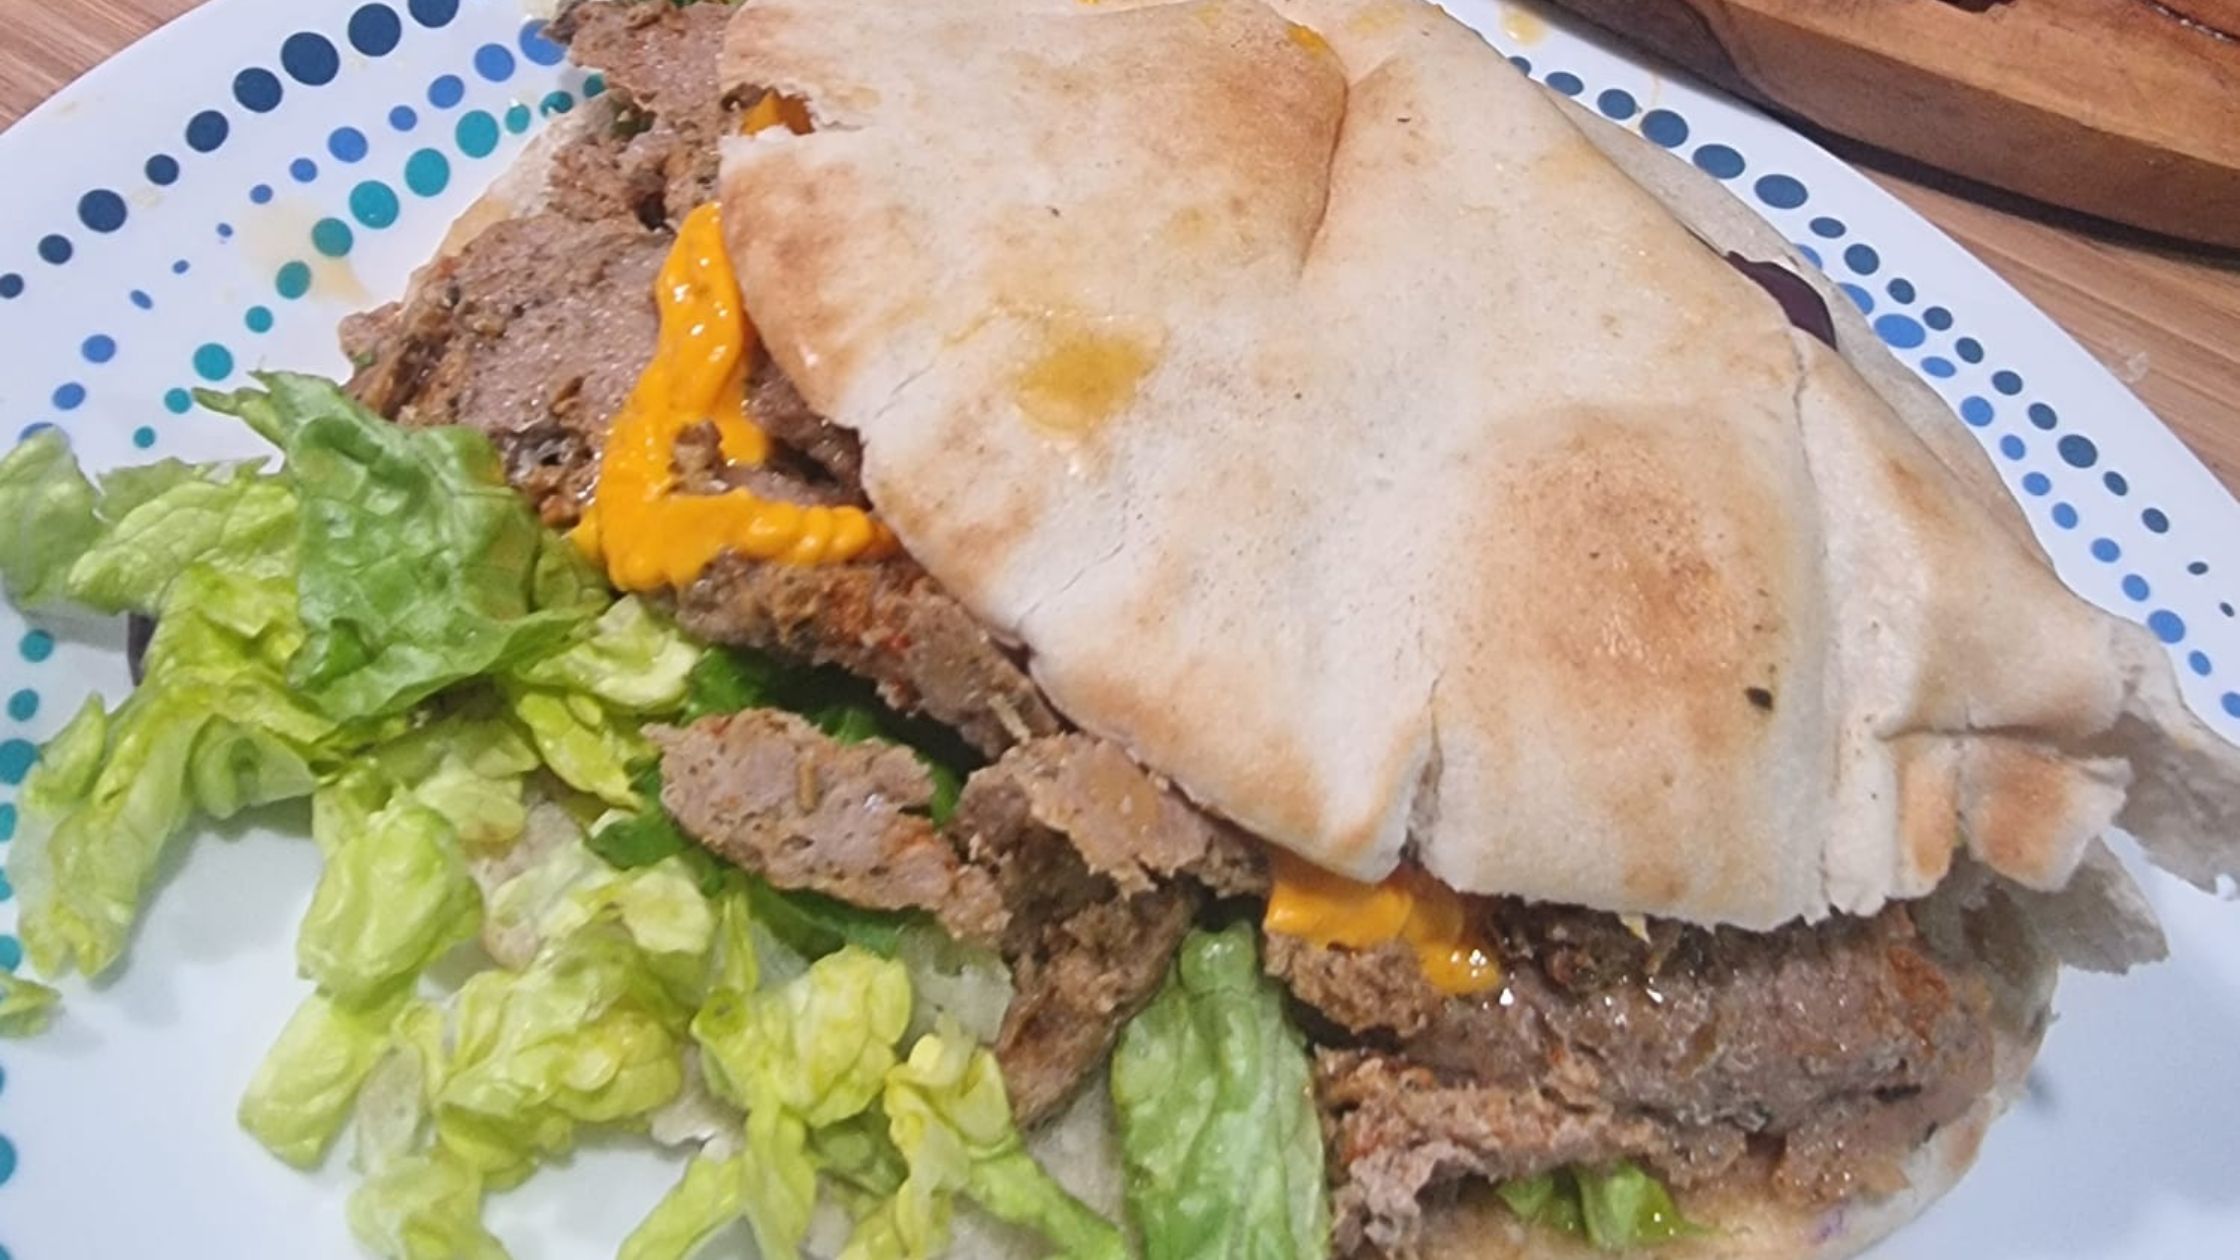
Check out this easy fakaway recipe that is healthier and tastier than your average takeaway classic. Doner Kebab Fakeaway Easy fakeaway recipe...
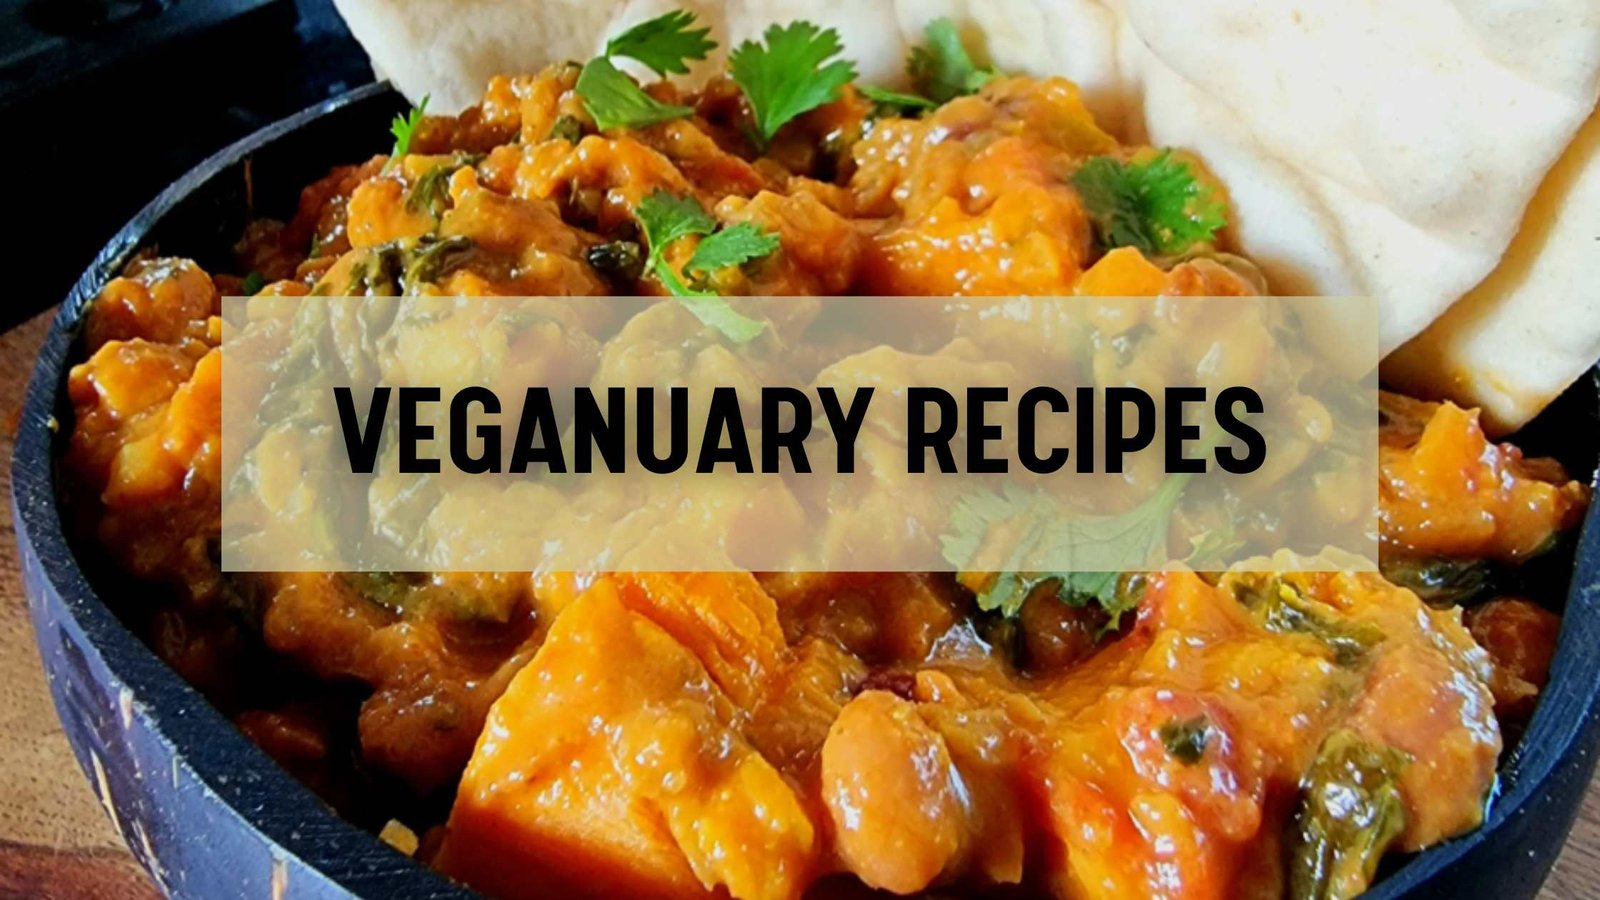
As 2024 begins so does veganuary, we have lots of exciting vegan recipes for veganuary. Vegan cooking doesn't have to be bland and boring. The...
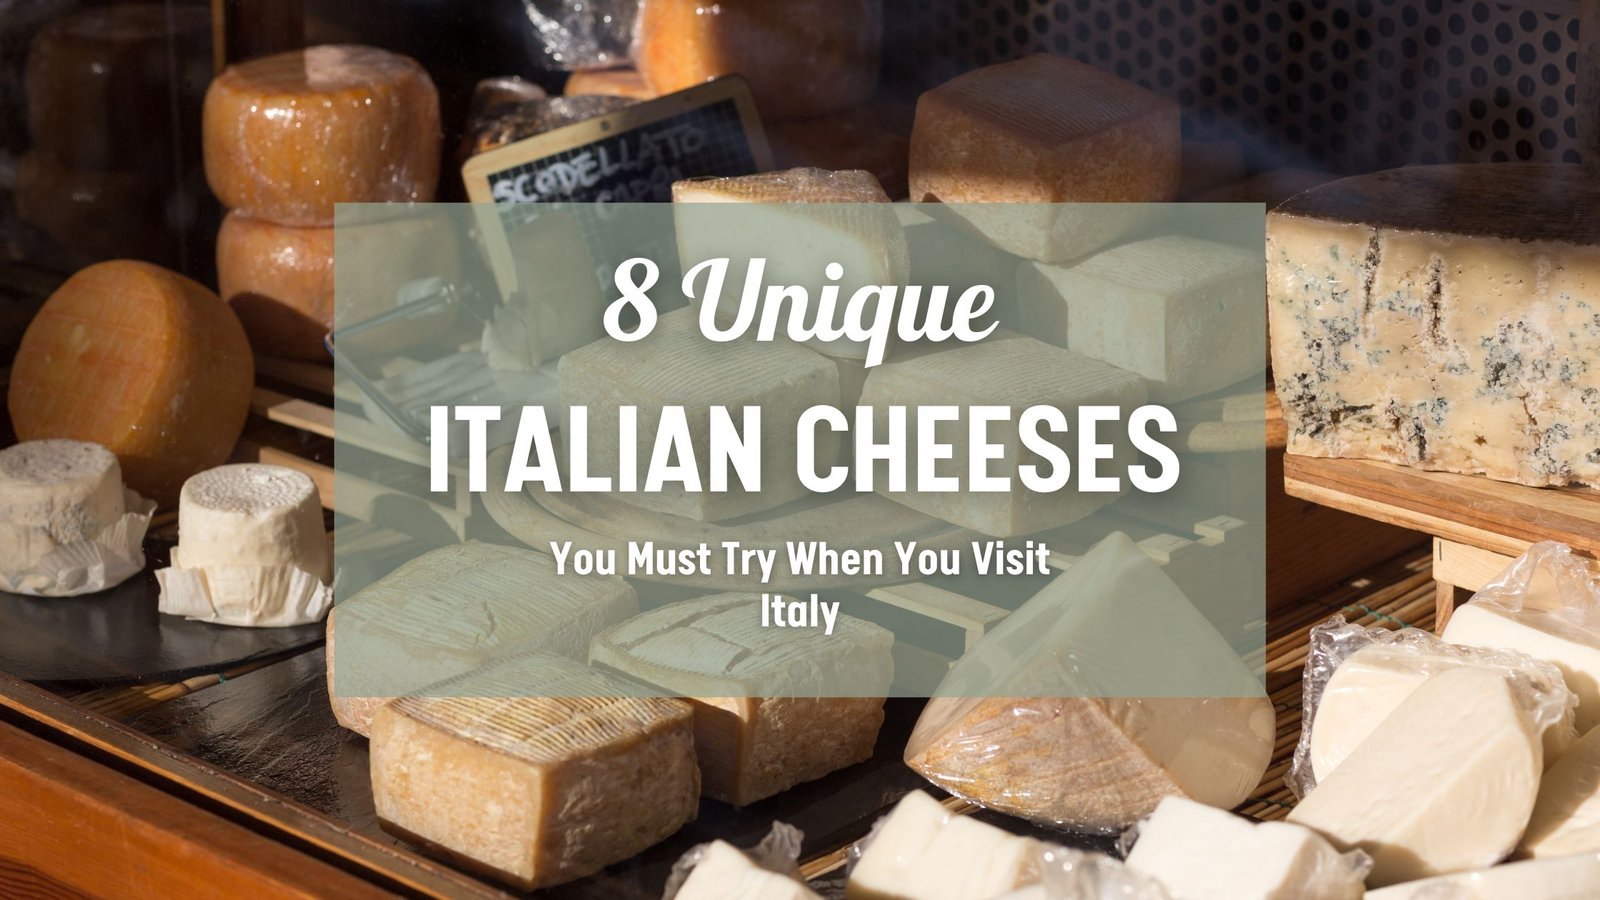
Italy is a beautiful country with an outstanding cuisine, and a haven for cheese lovers. Among the plethora of Italian cheeses, some stand out...
